Publish Instagram Photo Post
Updated
This article will cover the steps and guidelines on how to create a Photo Post to one or more Instagram accounts in Publisher. You can publish labels and apply macros and custom fields. You can also specify the feed targeting plus utilize Web Analytic profiles. Mention other published Instagram accounts and other branded Instagram accounts for collaboration with another brand.
Supported Publishing Type
Direct Publishing to Instagram requires you to add your Instagram Business Account to the Sprinklr platform. Regular Instagram accounts cannot directly publish but can schedule to Instagram through the Sprinklr platform and publish to Instagram using the native app.

Steps to add Instagram Photo Post
Click the Publisher icon
in the top right corner of the top navigation bar and select Create Post.
In the Create Post window, search and select the required Instagram Business account(s) in the Select Accounts field. You can also use Advanced Search to narrow your searches by a series of different filters.
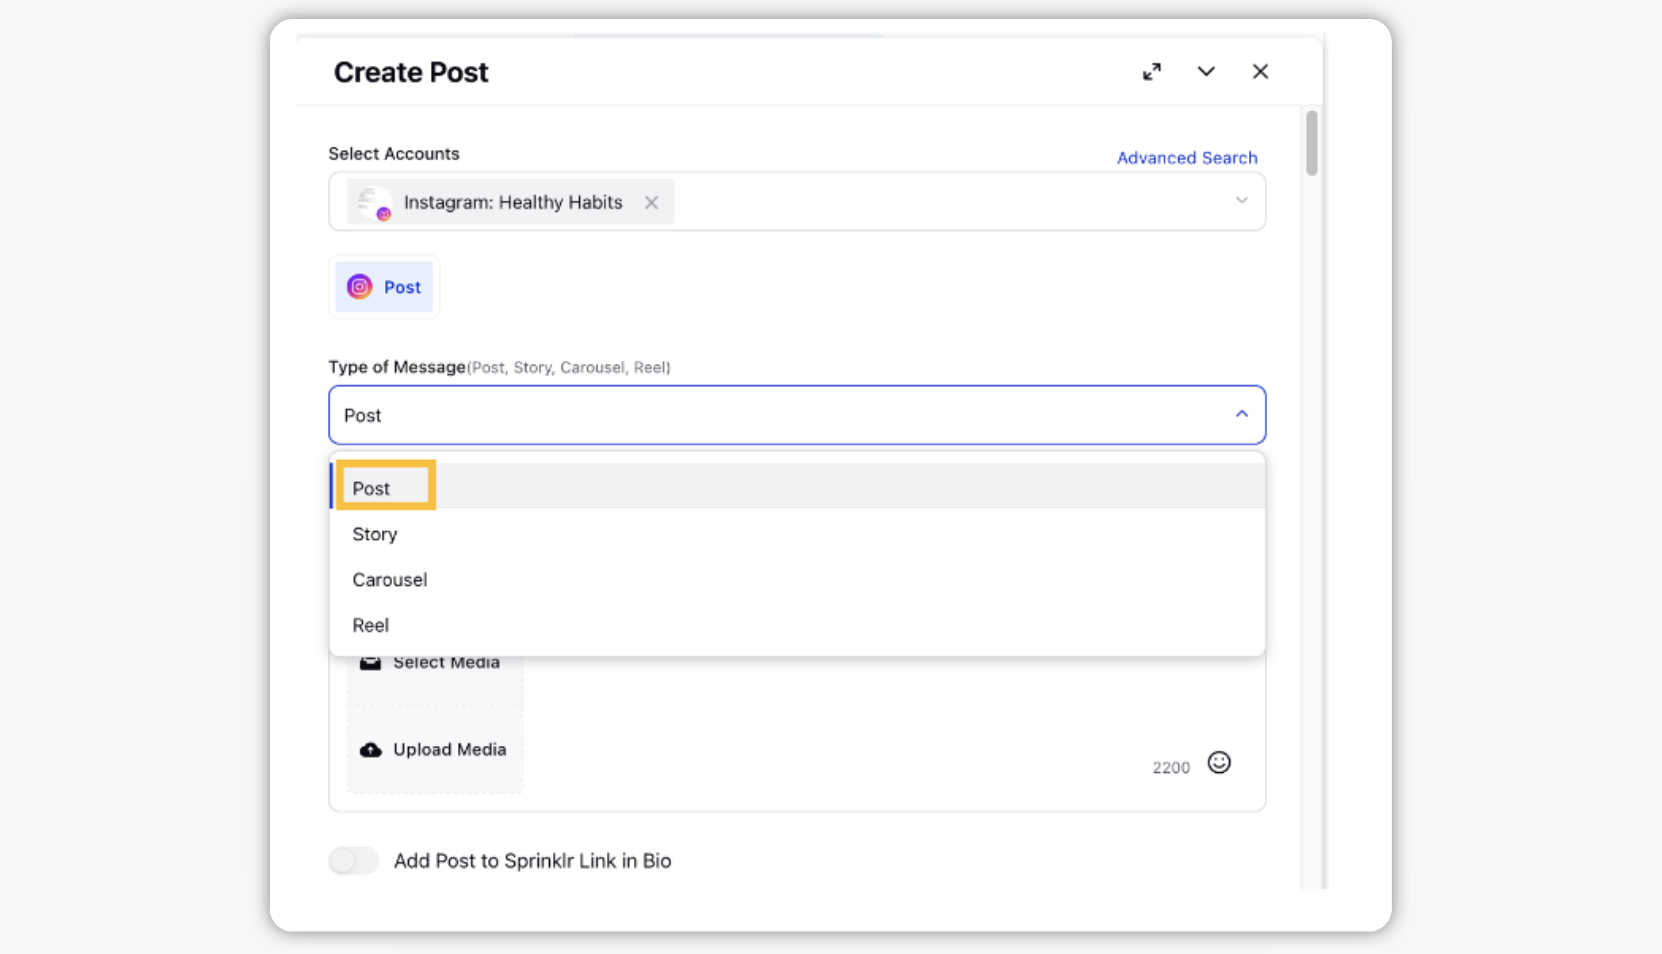
Select the Type of Message from the drop-down menu as Post. The following other options are also available - Story, Carousel and Reel.

Under Media, choose the desired Select Media to choose the media from the Media Uploader (or Upload Media to select media to upload from your device).
Note: For Post, you can only post up to 1 media asset (either a Photo or Video) at a time.
Select the Add Post to Sprinklr Link in Bio toggle to add the post on your Link in Bio feed as well. Add a redirect Link/ Tag products for the post if needed.
If you wish, enter content or hashtags under the First Comment Box
The First Comment is great for hashtags or any other information that you might not want to show initially within your caption.
Instagram only allows 30 hashtags per post - this is counted across captions and comments. For example, if you add 20 hashtags in your caption and another 20 in your first comment, the comment will not be posted.
Character Limits for the First Comment box is 2200 characters.
Select a campaign from the Campaign drop-down menu to associate your post with. You can also set your campaign as default by clicking Set as Default. You can also select a sub-campaign from the Sub-Campaign drop-down menu to associate your post with.
Select Tags and Social Bars from the drop-down menu respectively.
You can select URL Shortener to shorten every link that you paste into your message. This helps you make the most of the character limit.
Apply Properties to the post.
Under Approval, set an Approval Type for your post. You can also add an Approval Note.
The preview of the post will render on the right pane. Also, you can click the Preview icon in the bottom left corner next to Schedule Post if you have minimized the Create Post window.
To Publish click Post in the bottom right corner on the selected Instagram Account immediately. If you are not ready to publish and want to save your post as a draft, click Save as Draft.
You can also schedule your post for a future date and time by clicking the Schedule Post in the bottom left corner. Select the month, date, and time of publishing. Click Apply to save your changes. Additionally, You can check the Smart Scheduling box at the bottom of the Scheduler box.
To continue publishing another post, check the given Publish Another box at the bottom.
Note: Please refer to the Media Recommendations by Social Channel Article for Recommended Image & Video formatting guidelines for Instagram Post. |