Manage Export Options in Reporting (Distributed Users)
Updated
Export options in Reporting let Distributed users download the data in the Reporting Dashboard. The reporting data can be downloaded in PDF, Excel spreadsheet, PNG, or PowerPoint formats. The user may also opt to schedule the export to send out an automated report to other Sprinklr users or to recipients who are not Sprinklr users.
To Export Reports
Log in to the Distributed environment. Click Performance in the Menu bar.
Click the Options
icon in the upper right corner.

Click Export.
Select the File Format and the Dashboard Sections that you would like to export.
Click Export. A confirmation pop-up will appear.
Note
The user will receive an in-platform notification when the export is ready to download.
To Schedule An Export of Reports
Log in to the Distributed environment. Click Performance in the Menu bar.
Click the options icon in the upper right corner.
Click Export.
Select Advanced Export.
In the Schedule Export screen, enter the details for your scheduled export. Add brand image by clicking Add Image (see the table below).
Click When to Export to schedule the export. Fill in the other details.
Click Export in the bottom right corner.
Schedule Export Field - Description
Schedule Export Field | Description |
Name | Enter the name of the Export. |
Select the Data to Export | Select the dashboard and its section. The data from the selected dashboard sections will be included in the Export. |
Select Date Range | Select the specific date range for which the data is required in the Export. |
Scheduling Frequency | This determines the time increment of the scheduled frequency. |
Subject (Email Details) | Enter a subject for the email. |
Sender | Enter sender for the email. |
Recipients | Add recipients from the users/user groups, or add the email address of an external user. |
Export As | Select the file format from the options given, that is, Excel, PDF, PNG. |
To Edit A Scheduled Export
Log in to the Distributed environment. Click Performance in the Menu bar.
Click the options icon in the upper right corner.
Click Settings.
Click Scheduled Exports.
Hover over the Options icon, corresponding to the scheduled export.
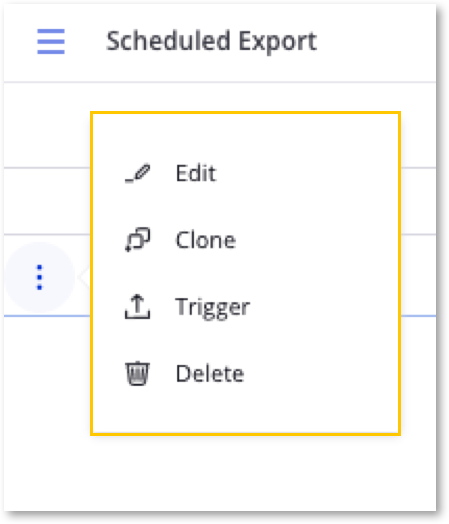
Click Edit in the pop-up window. You also have other options - Clone, Trigger, and Delete. Select your options accordingly.

8. Make the changes and click Export in the bottom right corner.