Scheduled Exports of the Editorial Calendar
Updated
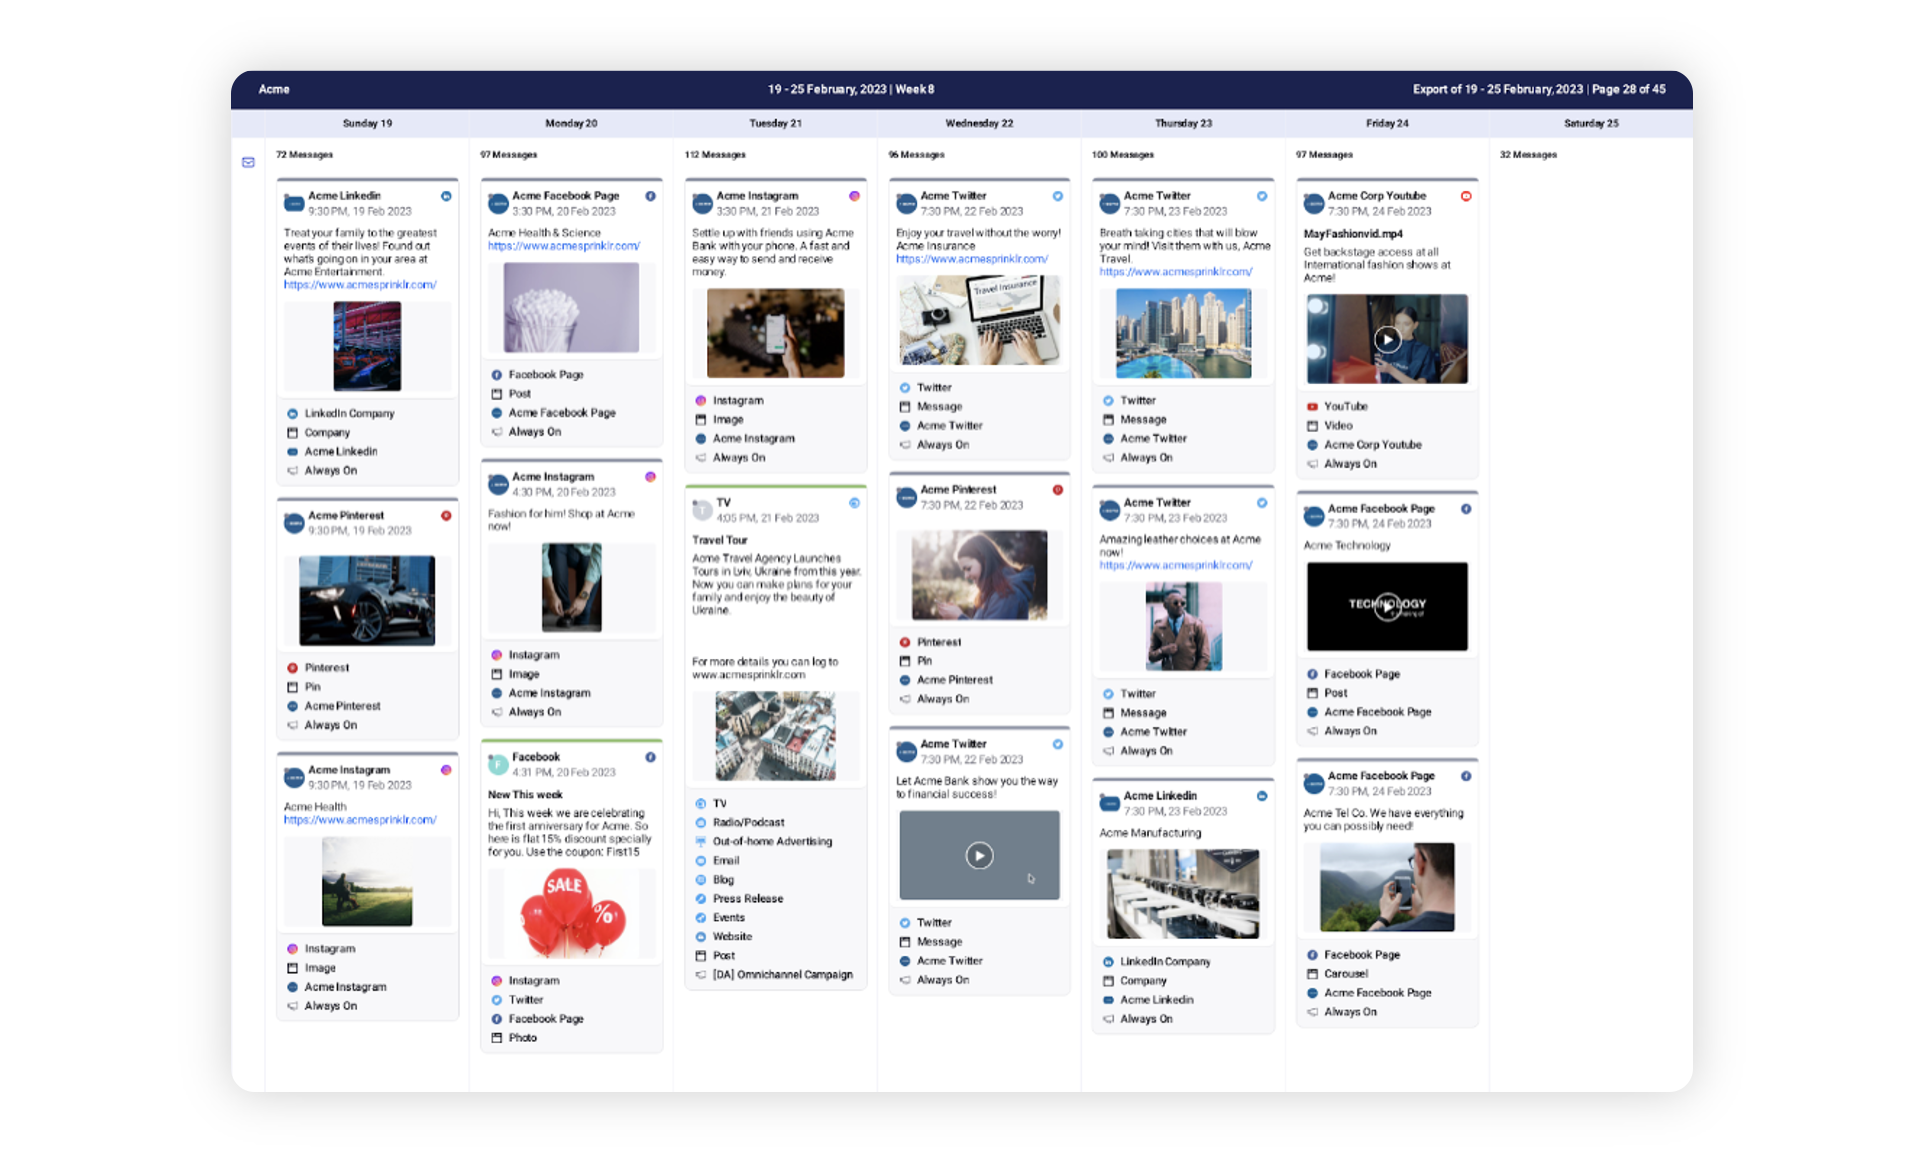
In this article, you will learn how to set scheduled exports from the editorial calendar for repeating time intervals and save time by automating the export process.
To Schedule an Export
Click the New Tab icon. Under the Sprinklr Marketing tab, switch to the Marketing section, then click Editorial Calendar within Plan.
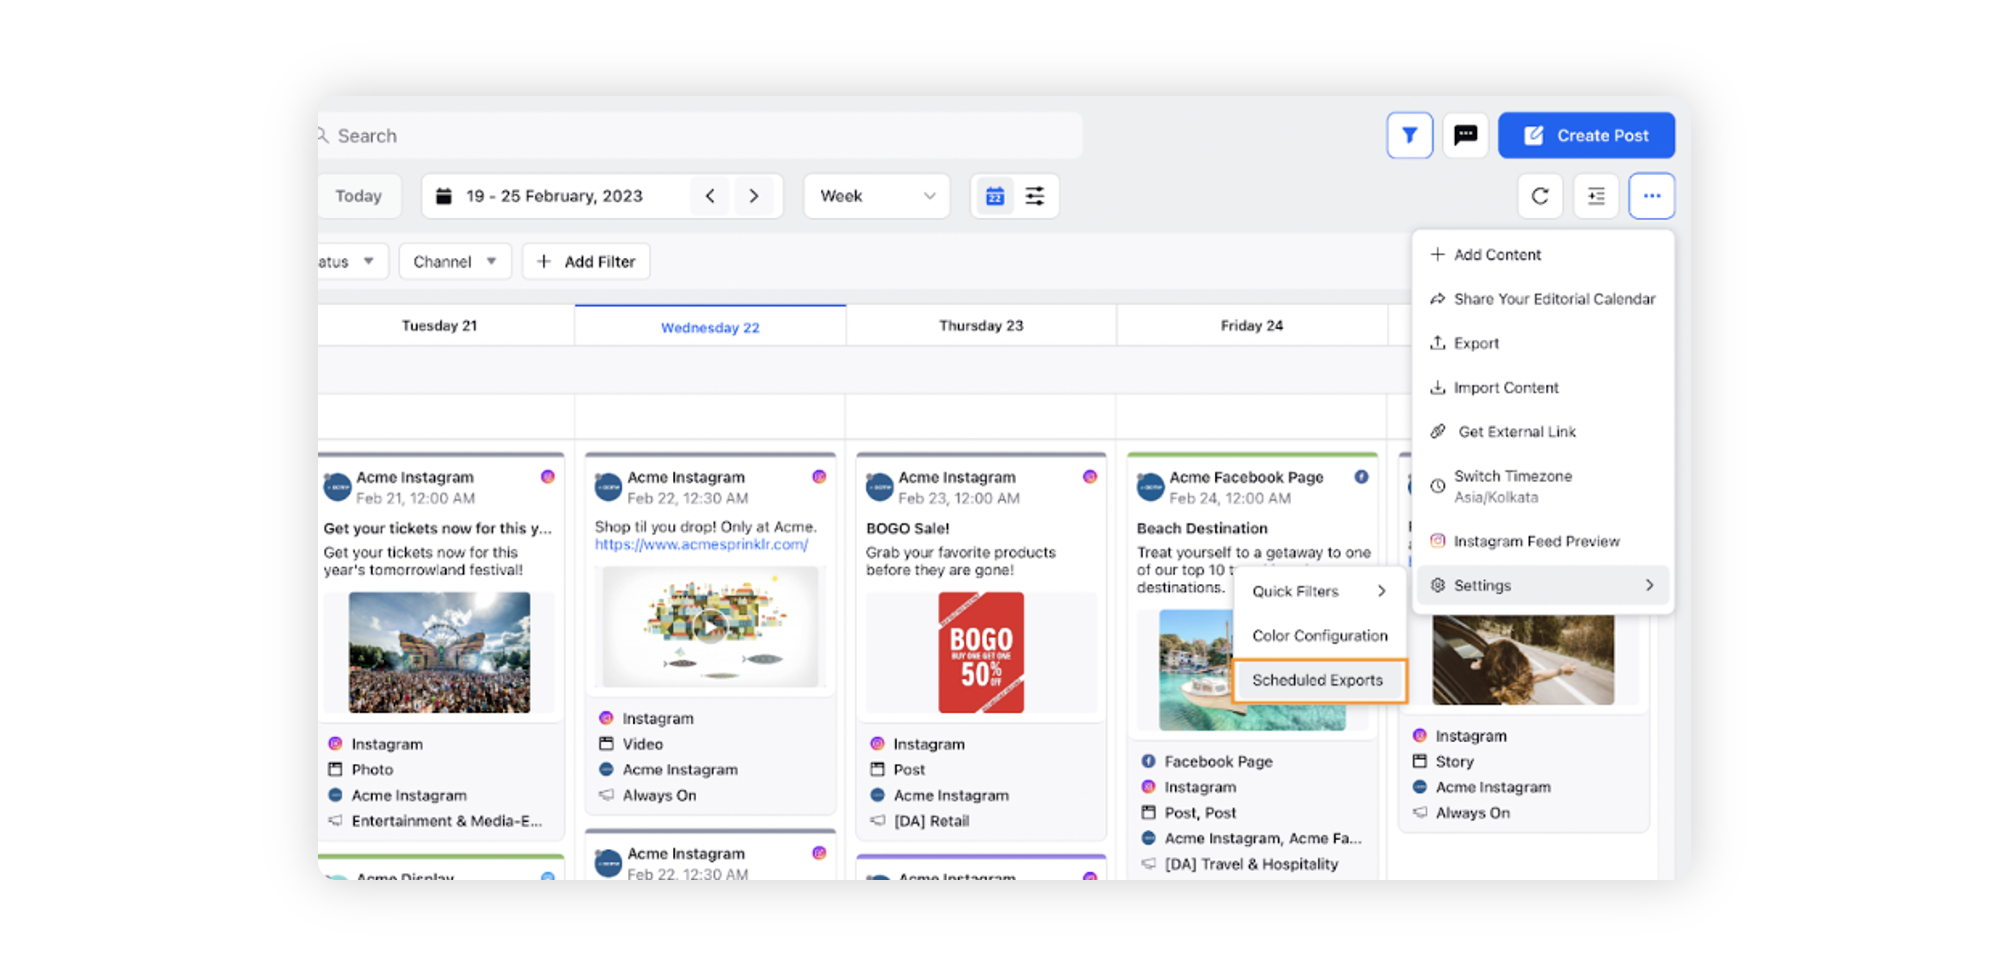
From the Dashboard Bar of the Editorial Calendar window, click the Options icon.
Select Settings > Scheduled Exports from the dropdown that appears.
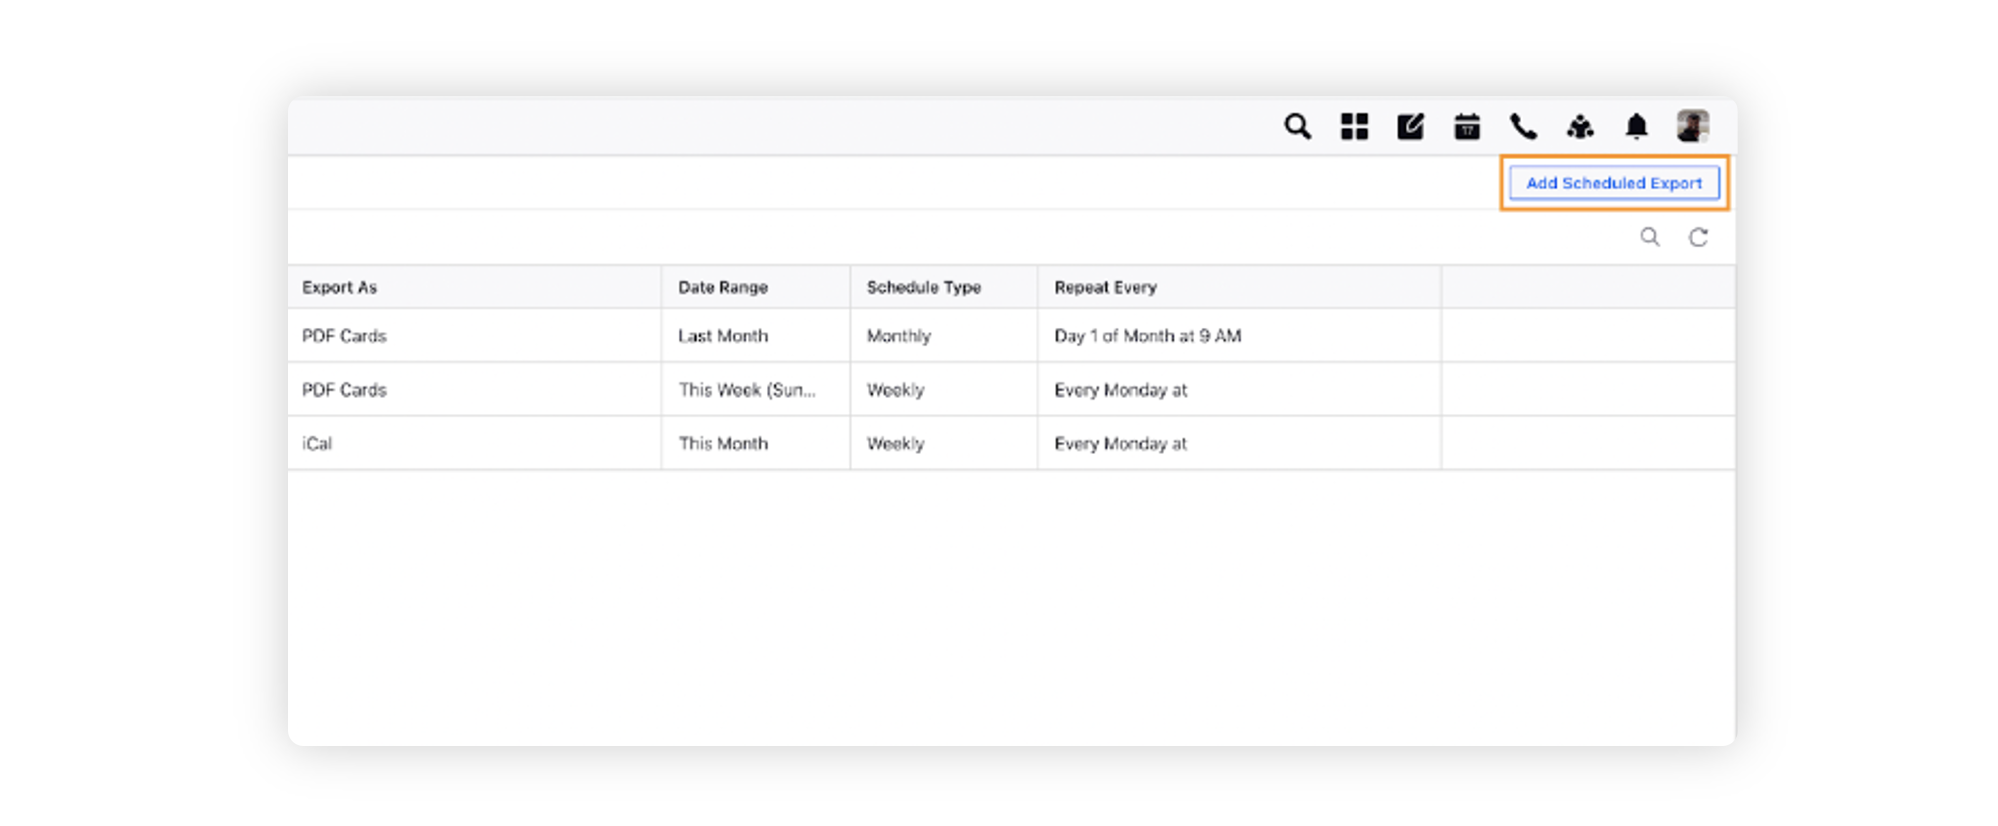
In the top right corner of the Scheduled Exports window, click Add Scheduled Export.
On the Create Scheduled Export page, fill in the required details. For more information, see Create Scheduled Exports — Field Descriptions.
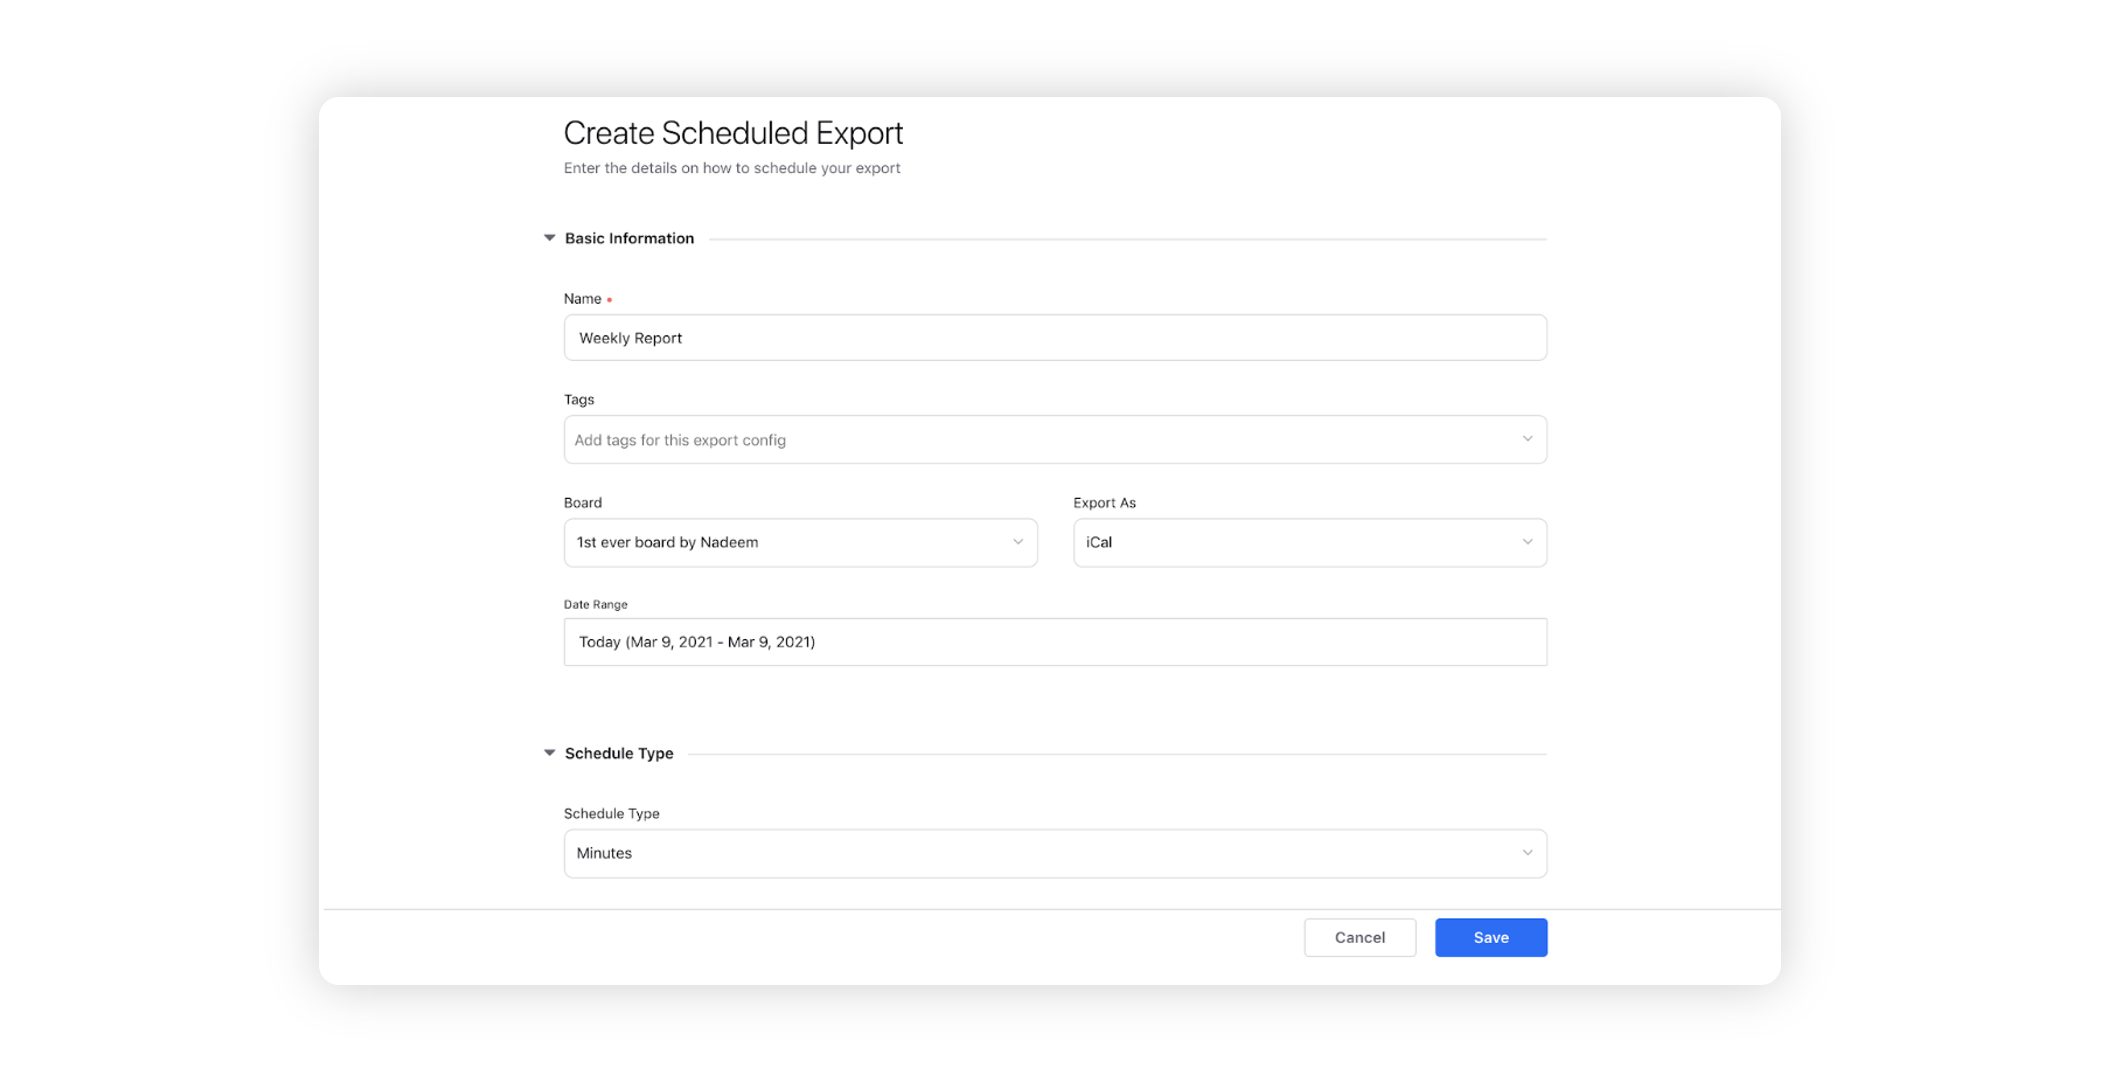
Click Save.
Manage Scheduled Exports
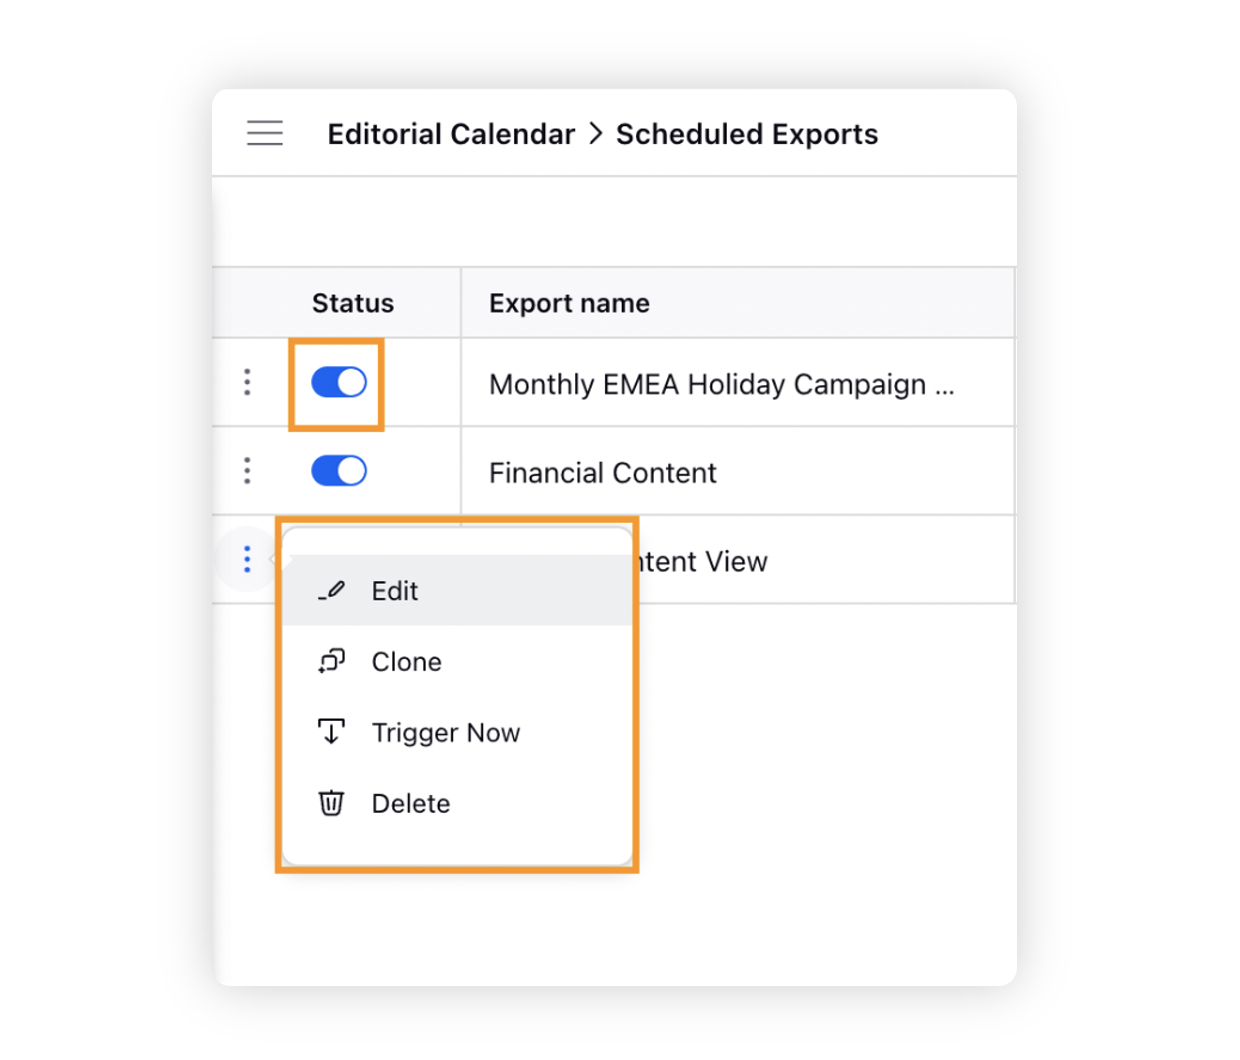
In the Scheduled Exports window, you can enable and disable the status of the Export by clicking on the toggle under the status column. You will no longer receive the export if it is disabled.
By clicking on the Options icon next to the name of the Scheduled Export you can see the following options:
Edit - Edit the details of the scheduled export.
Clone - Make a copy of the scheduled export.
Trigger now - Trigger an export right away.
Delete - Delete a scheduled export.
Create Scheduled Exports — Field Descriptions
Term | Description |
Name | Enter a name for your Export. |
Tags | Add tags for your export configuration. |
Board | Select a board from the dropdown to associate your export with. |
Export As | Choose the format for your Export. Options are:
|
Date Range | Select a date range from the available options. |
Schedule Type | Select the duration:
|
Repeat Every | Select recurrence for your export |
Country | Select a country. |
Time Zone | Select a time zone. |
Title | Type to use the title as the subject of the e-mail that you receive |
Sender Name | Type the Sender's name |
Reply To | Add an email address to which replies should be sent. |
Recipient User/User Groups | Add User(s) or User Group(s) to send the export to. |
Recipient Email IDs | Add the recipient's email IDs to send the export to. |
Exclude Me | Select the checkbox to exclude yourself from receiving the export. By default, you are a recipient of the exports. |
Email Footer Note | Type the footer note for the export email. |