Bulk Import X Cards
Updated
X cards allow you to advertise on X with more attractive, visual, and dynamic content that helps capture your audience's attention with images and videos. You can create multiple X cards at once by using the X Cards Import capability within Sprinklr Marketing (Ads). This will allow you to save a lot of time that would be spent on creating each card manually and give more visibility on X.
To Import X Cards
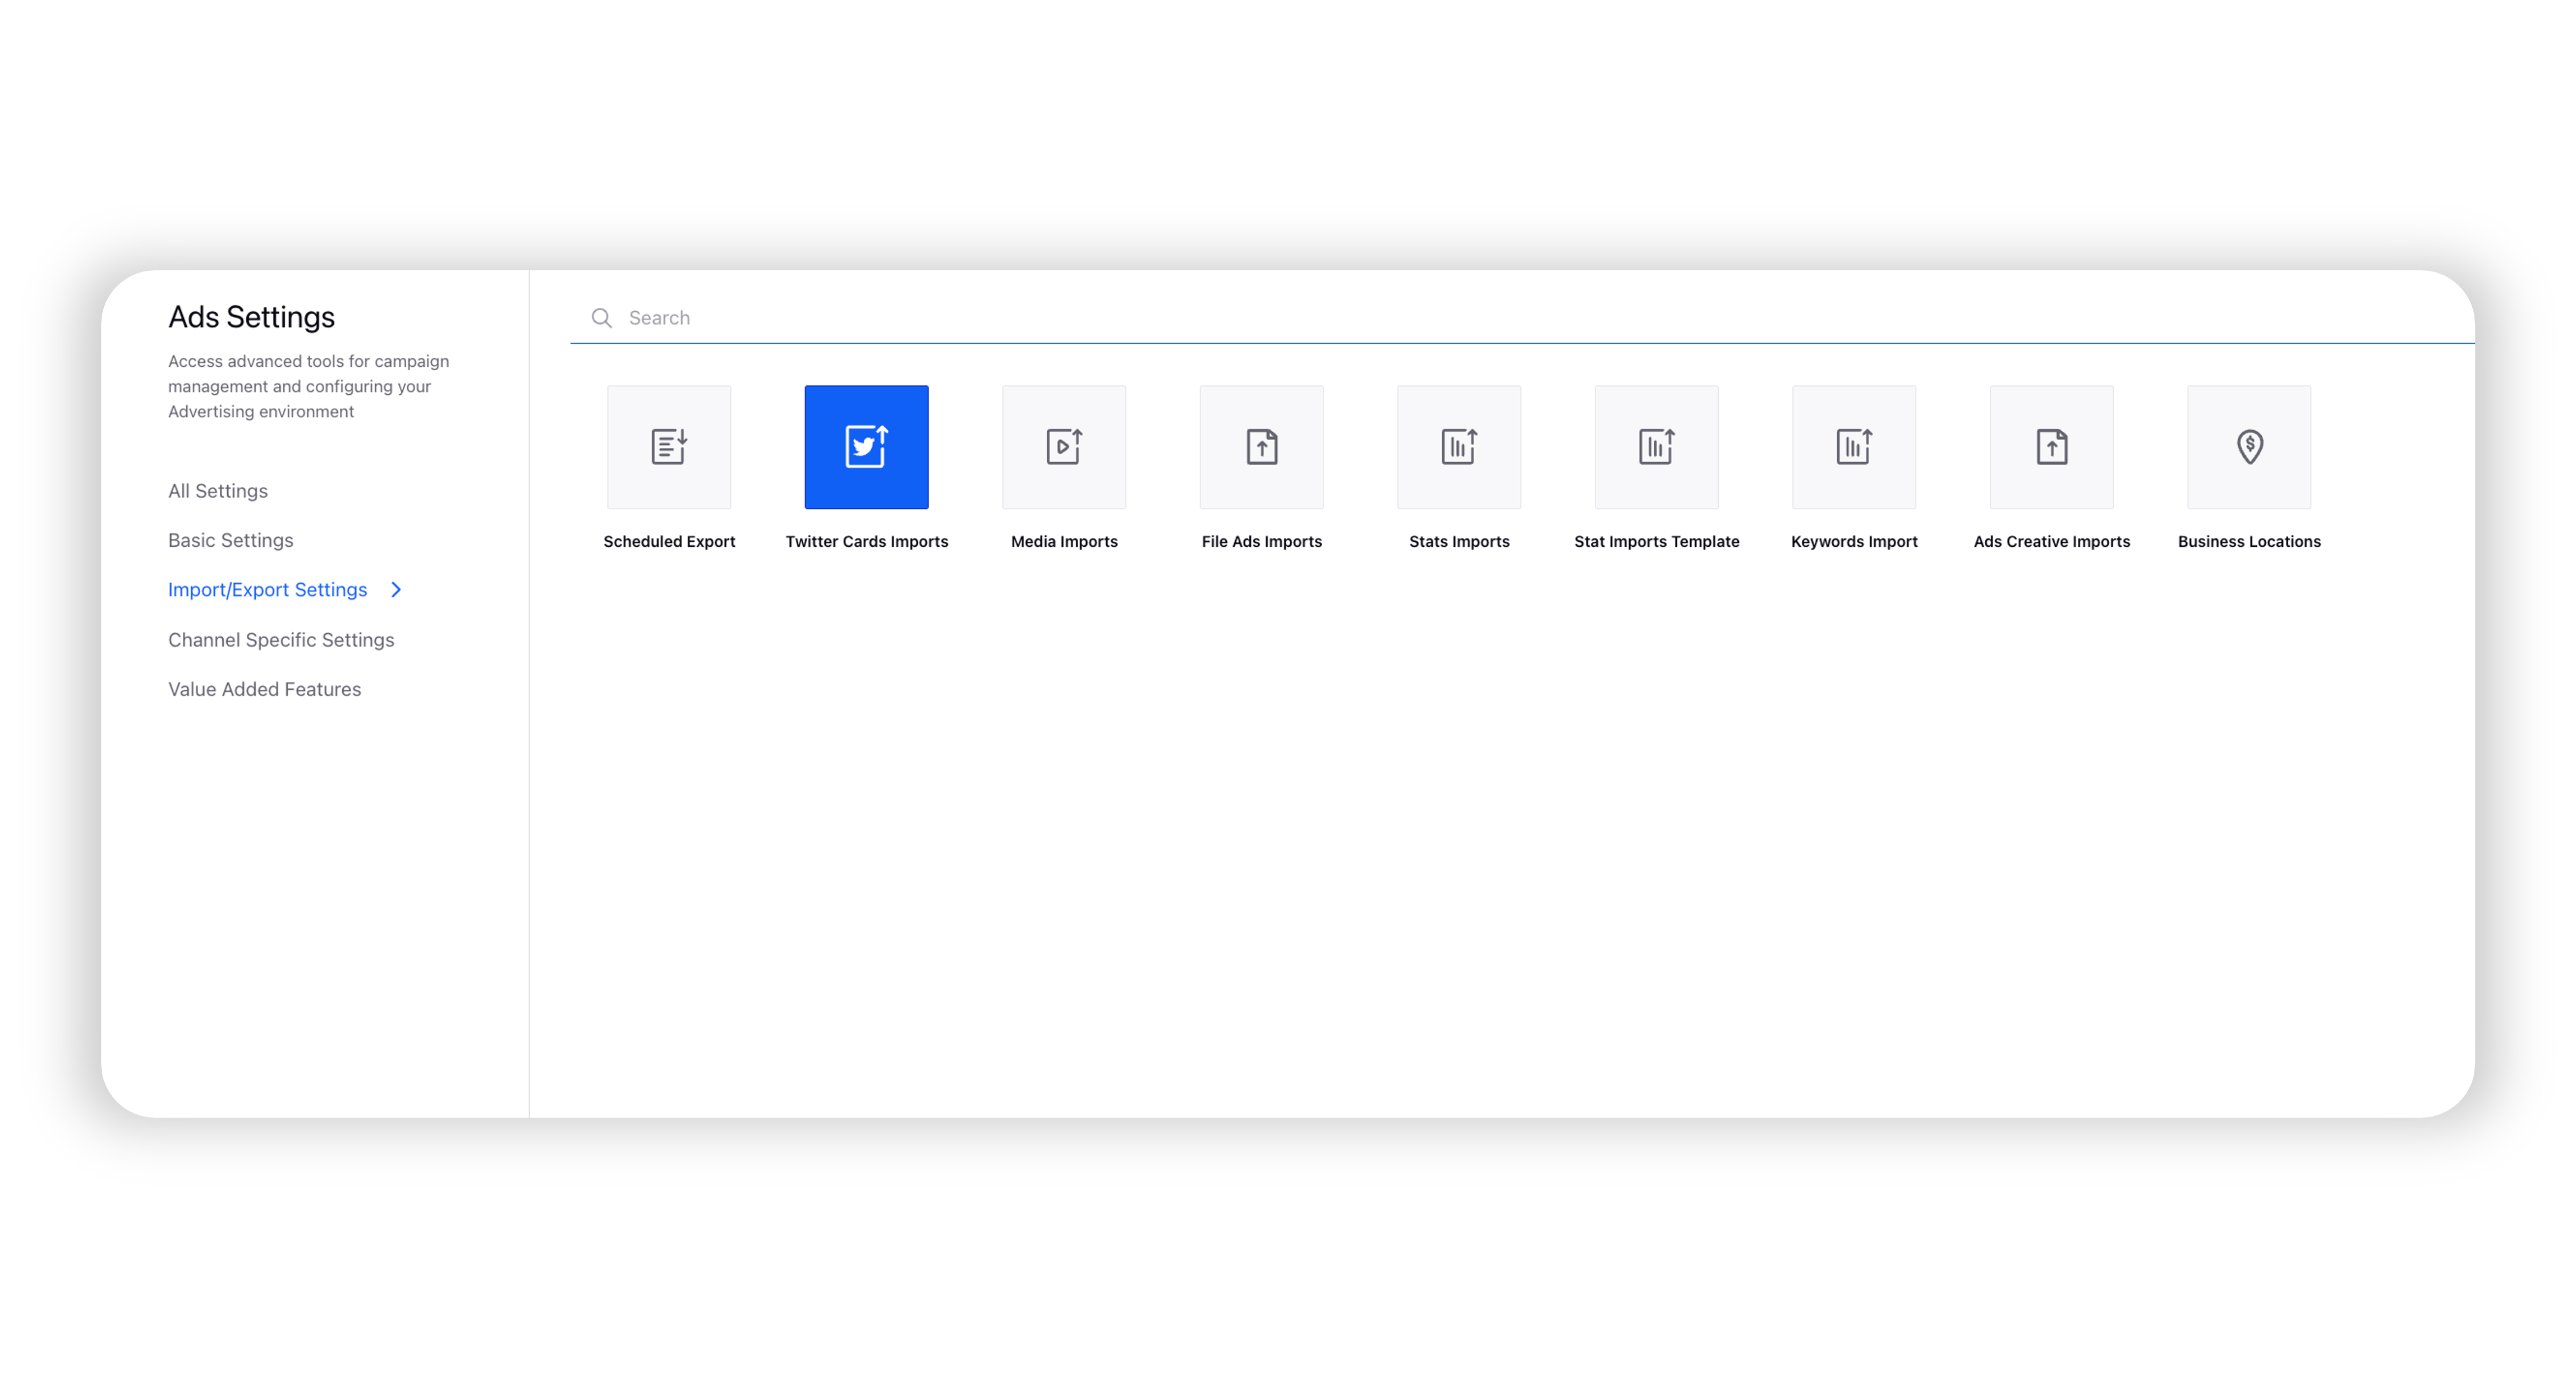
Click the New Tab icon. Under the Sprinklr Marketing (Ads) tab, click Tools and Settings within Plan.
On the Tools & Settings window, click X Cards Imports from the options within Import/Export Settings.
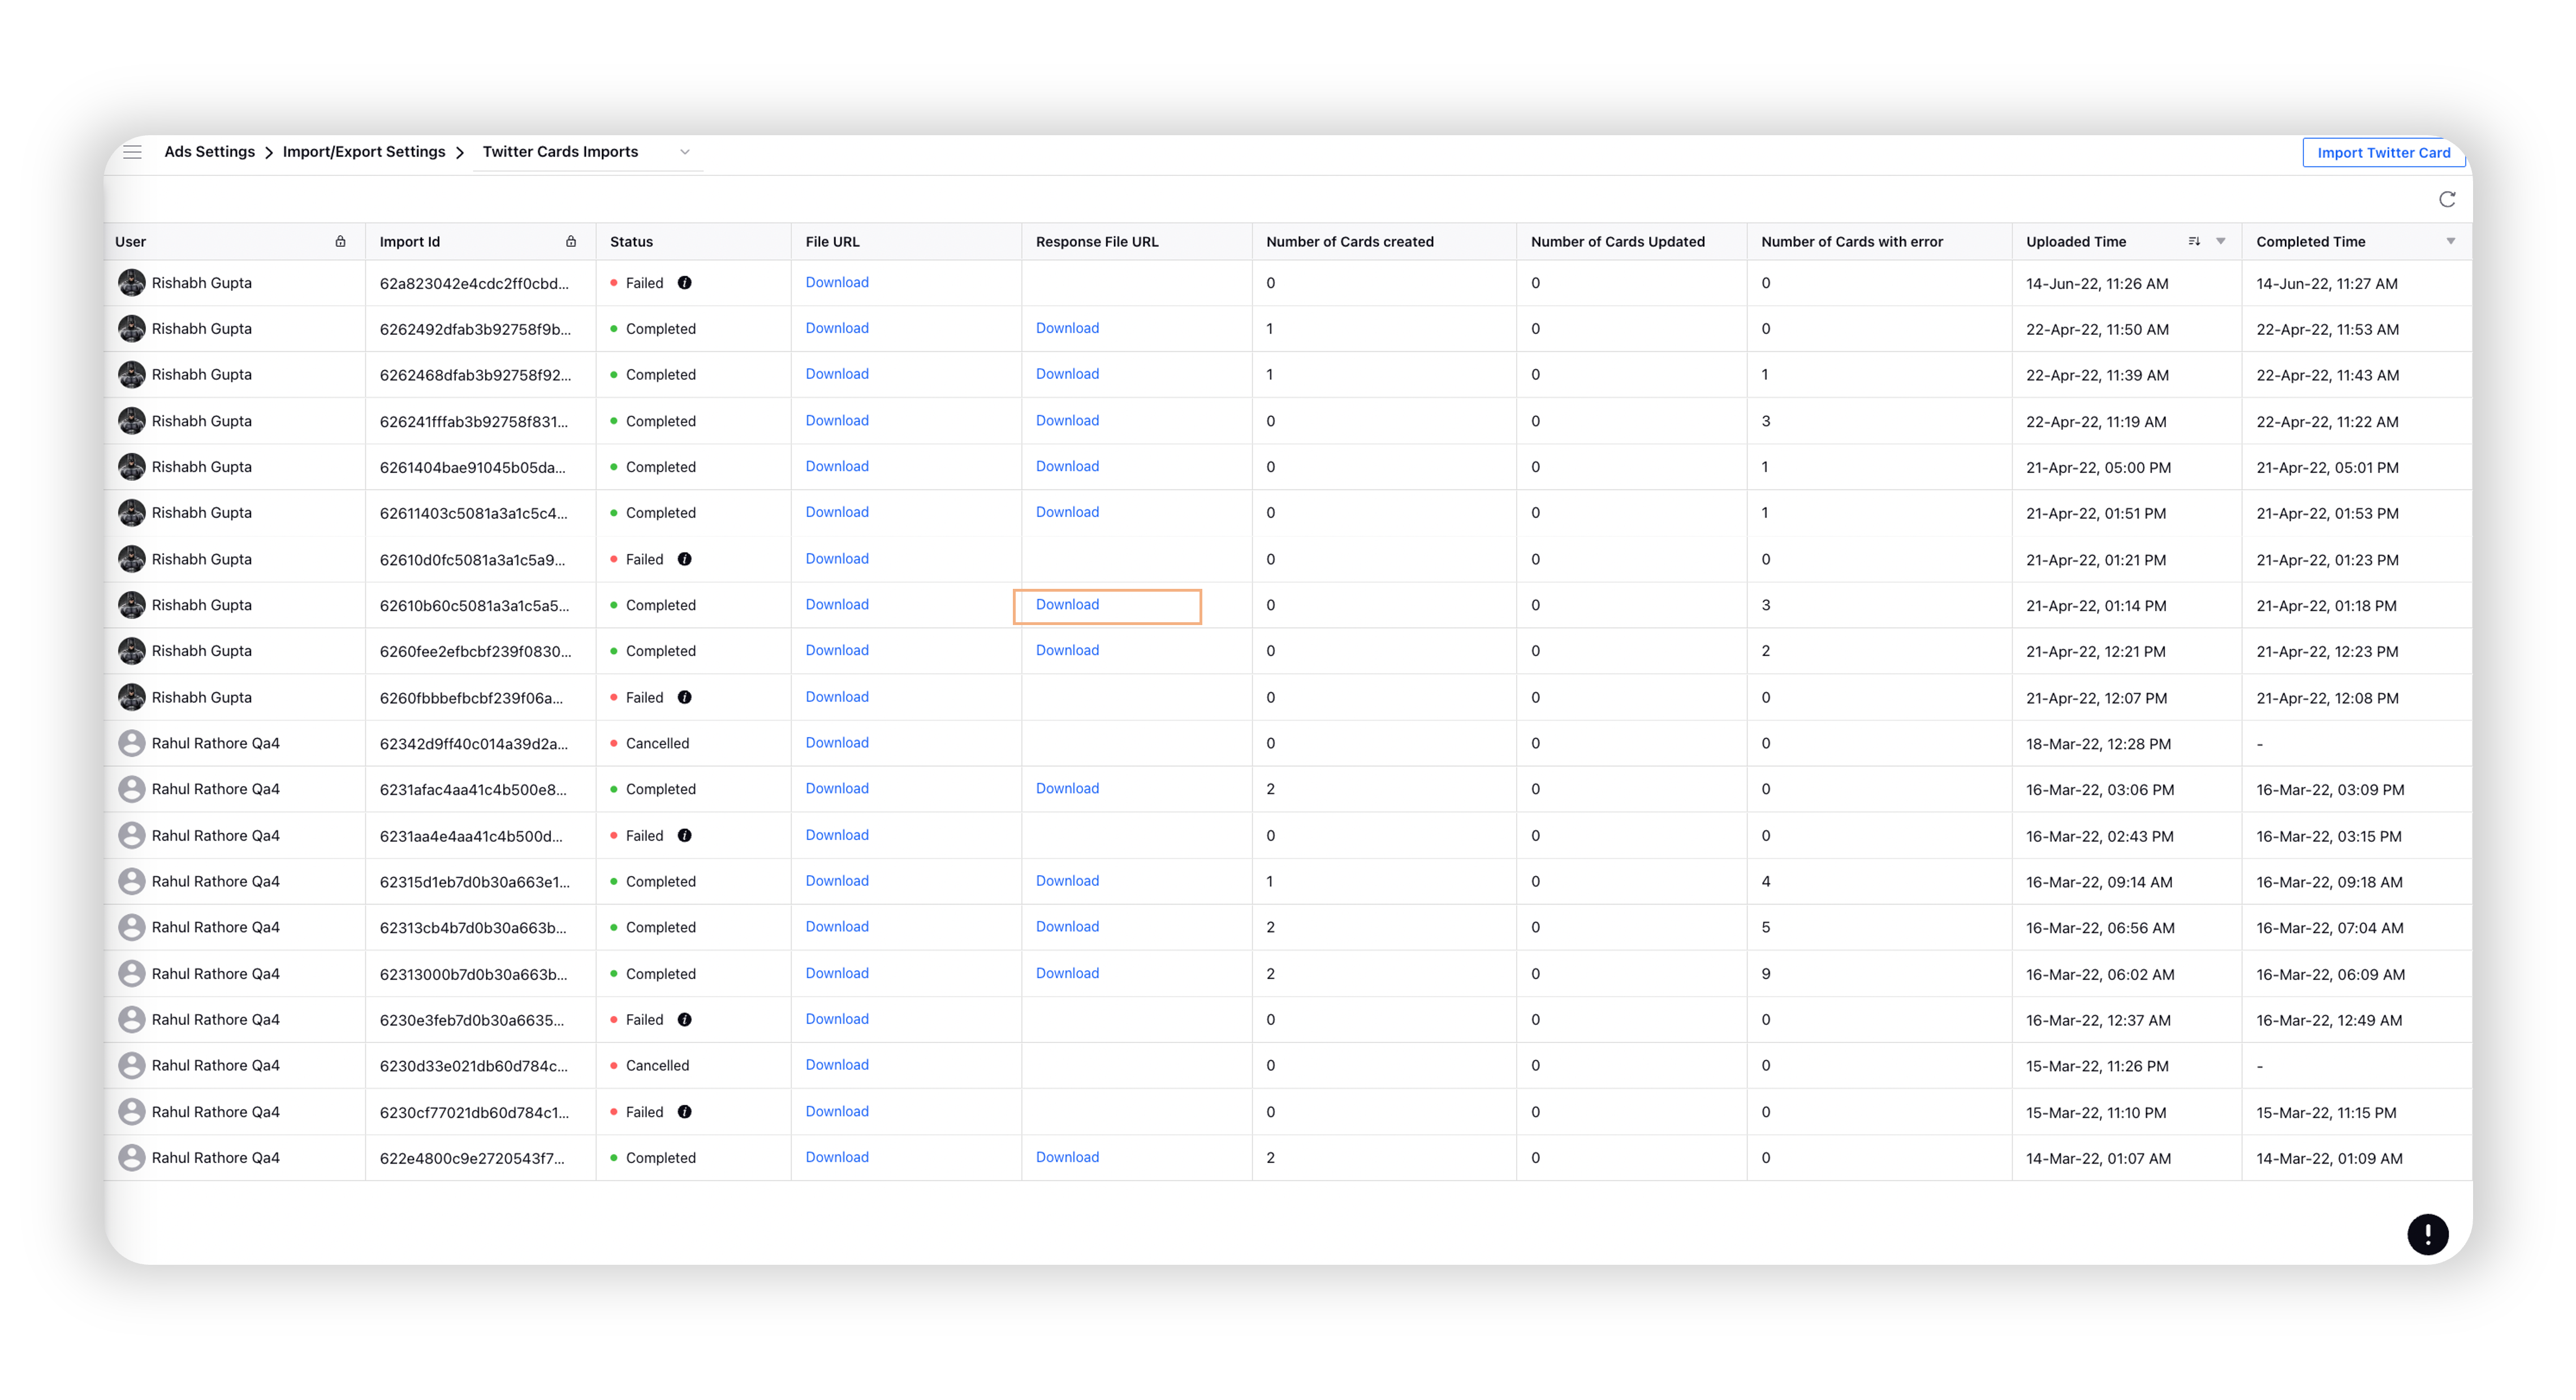
Click Import X Card in the top right corner of the X Cards Imports window.
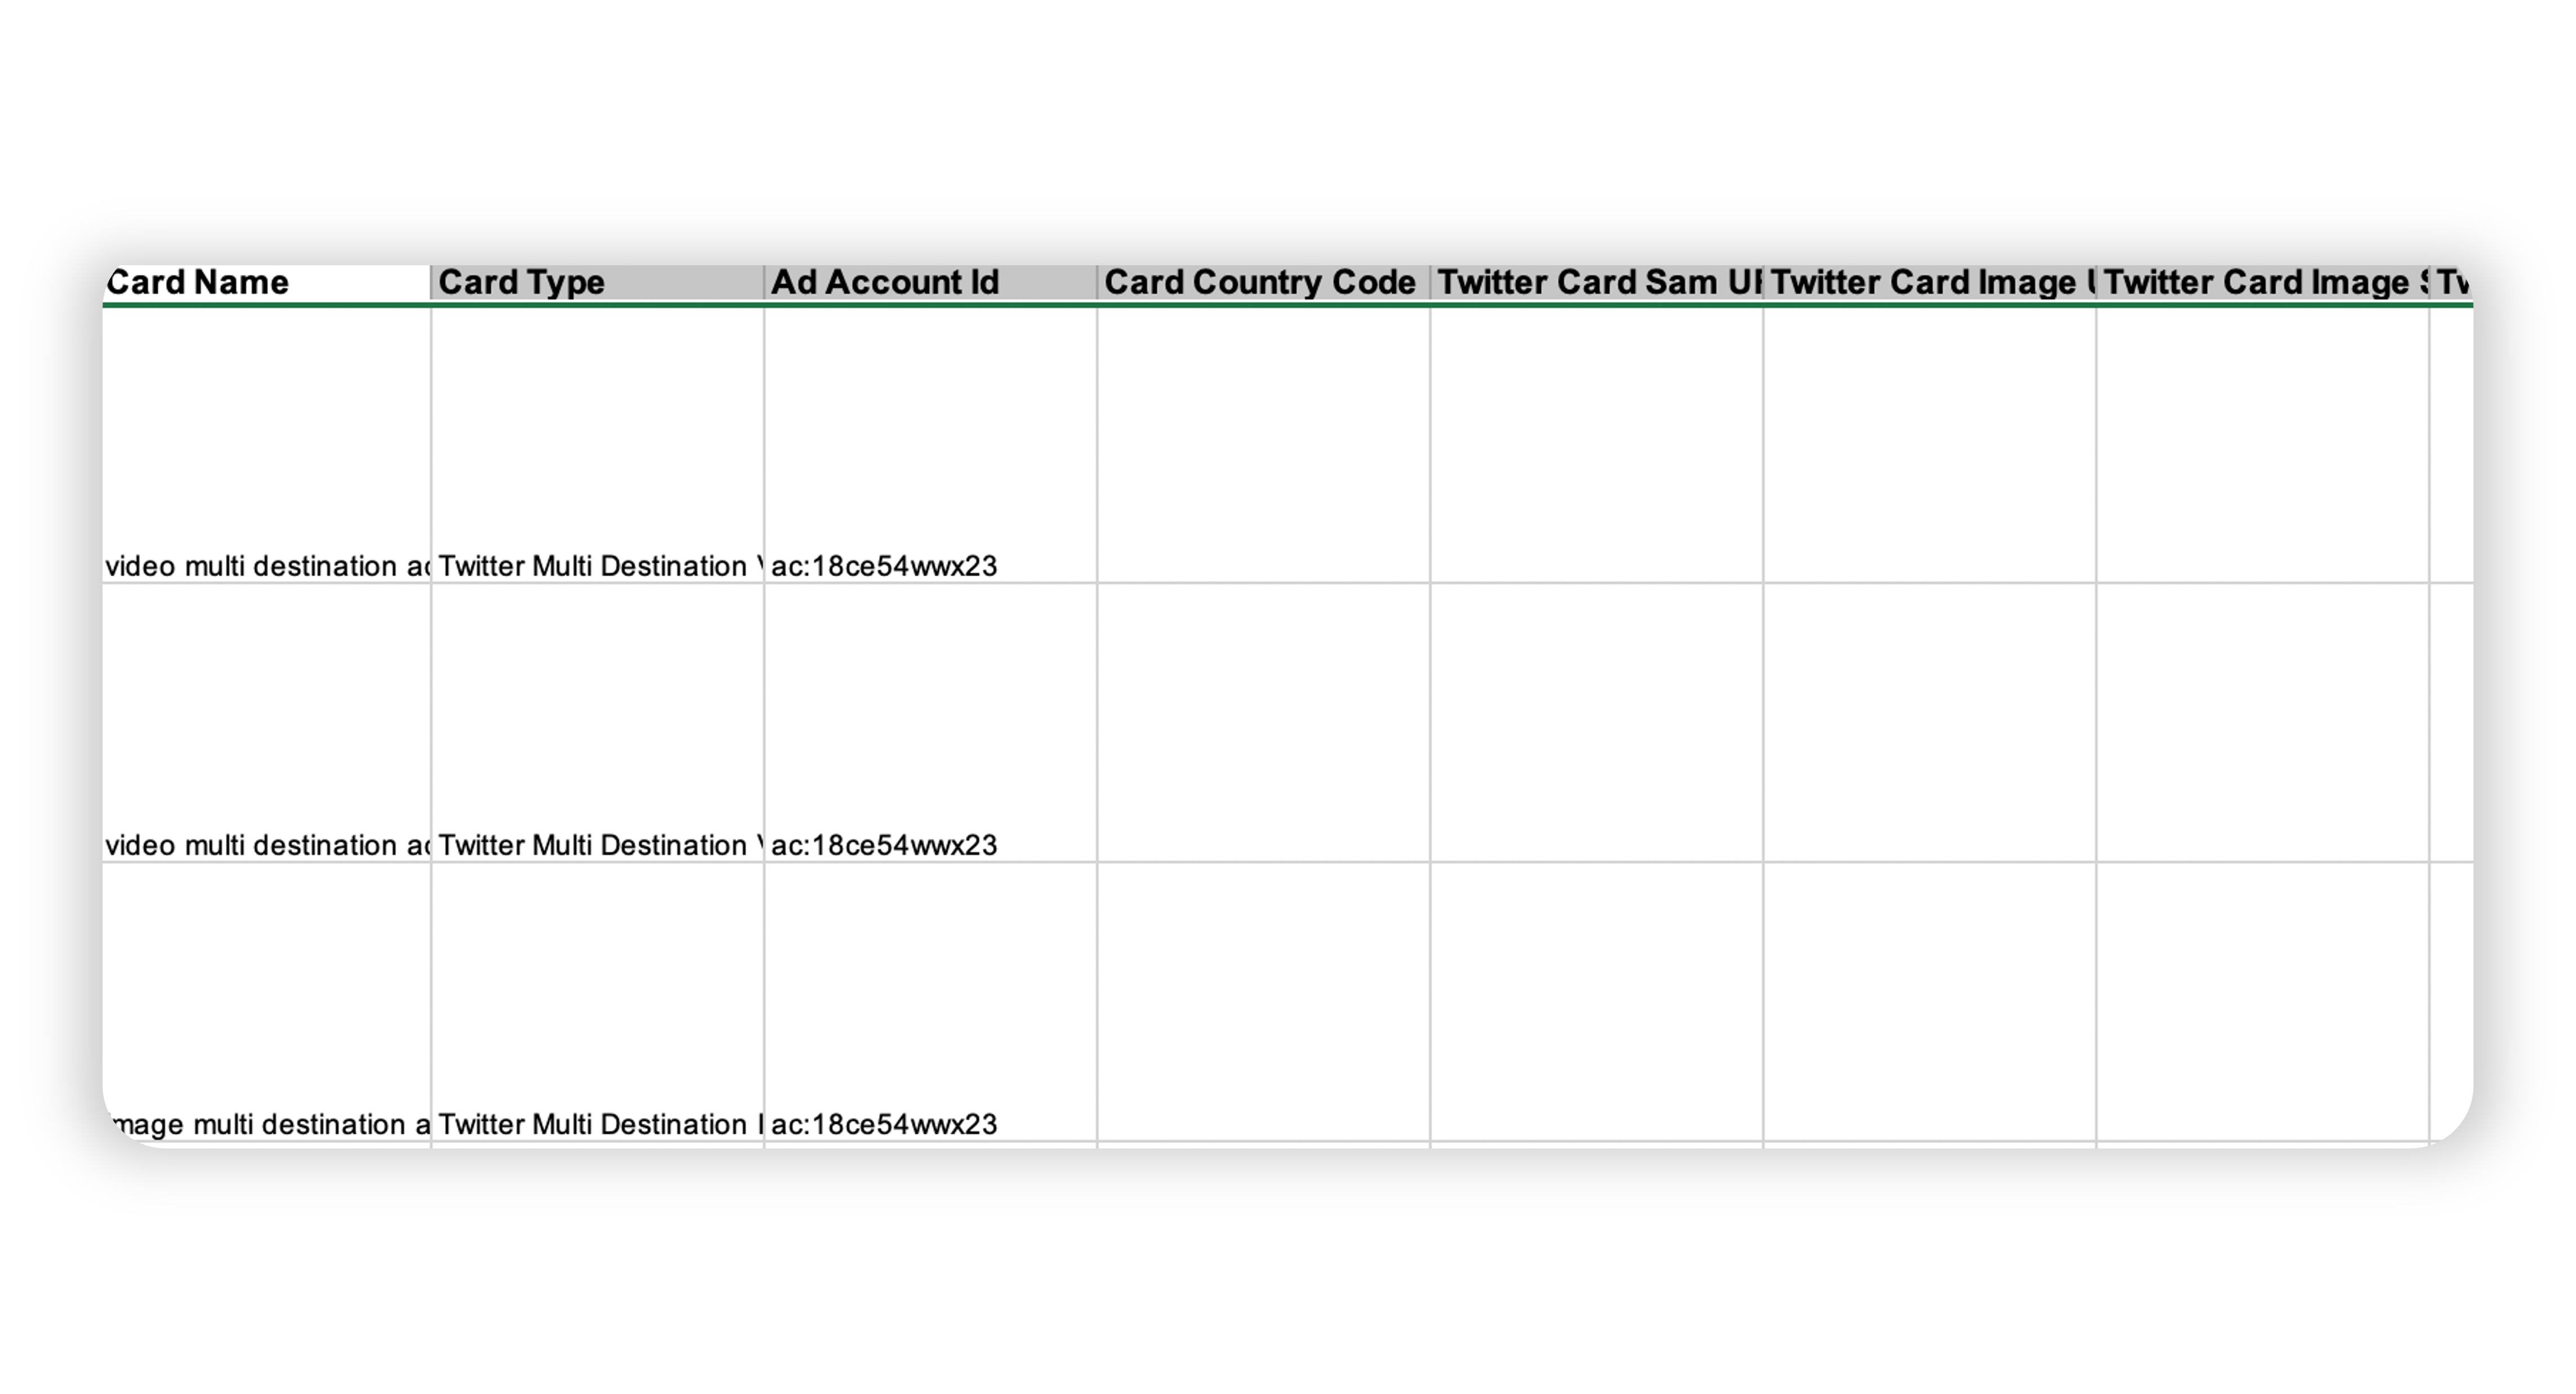
Under the Import File section on the Bulk Import pop-up window, Drag and Drop an Excel/CSV file with your X card information, or click Upload to select the file from your system. You can also download an Excel Template for your X Cards from the Creative Library (DAM) Bulk Import.
Note:
You can upload an Excel sheet up to a limit of 25k rows.
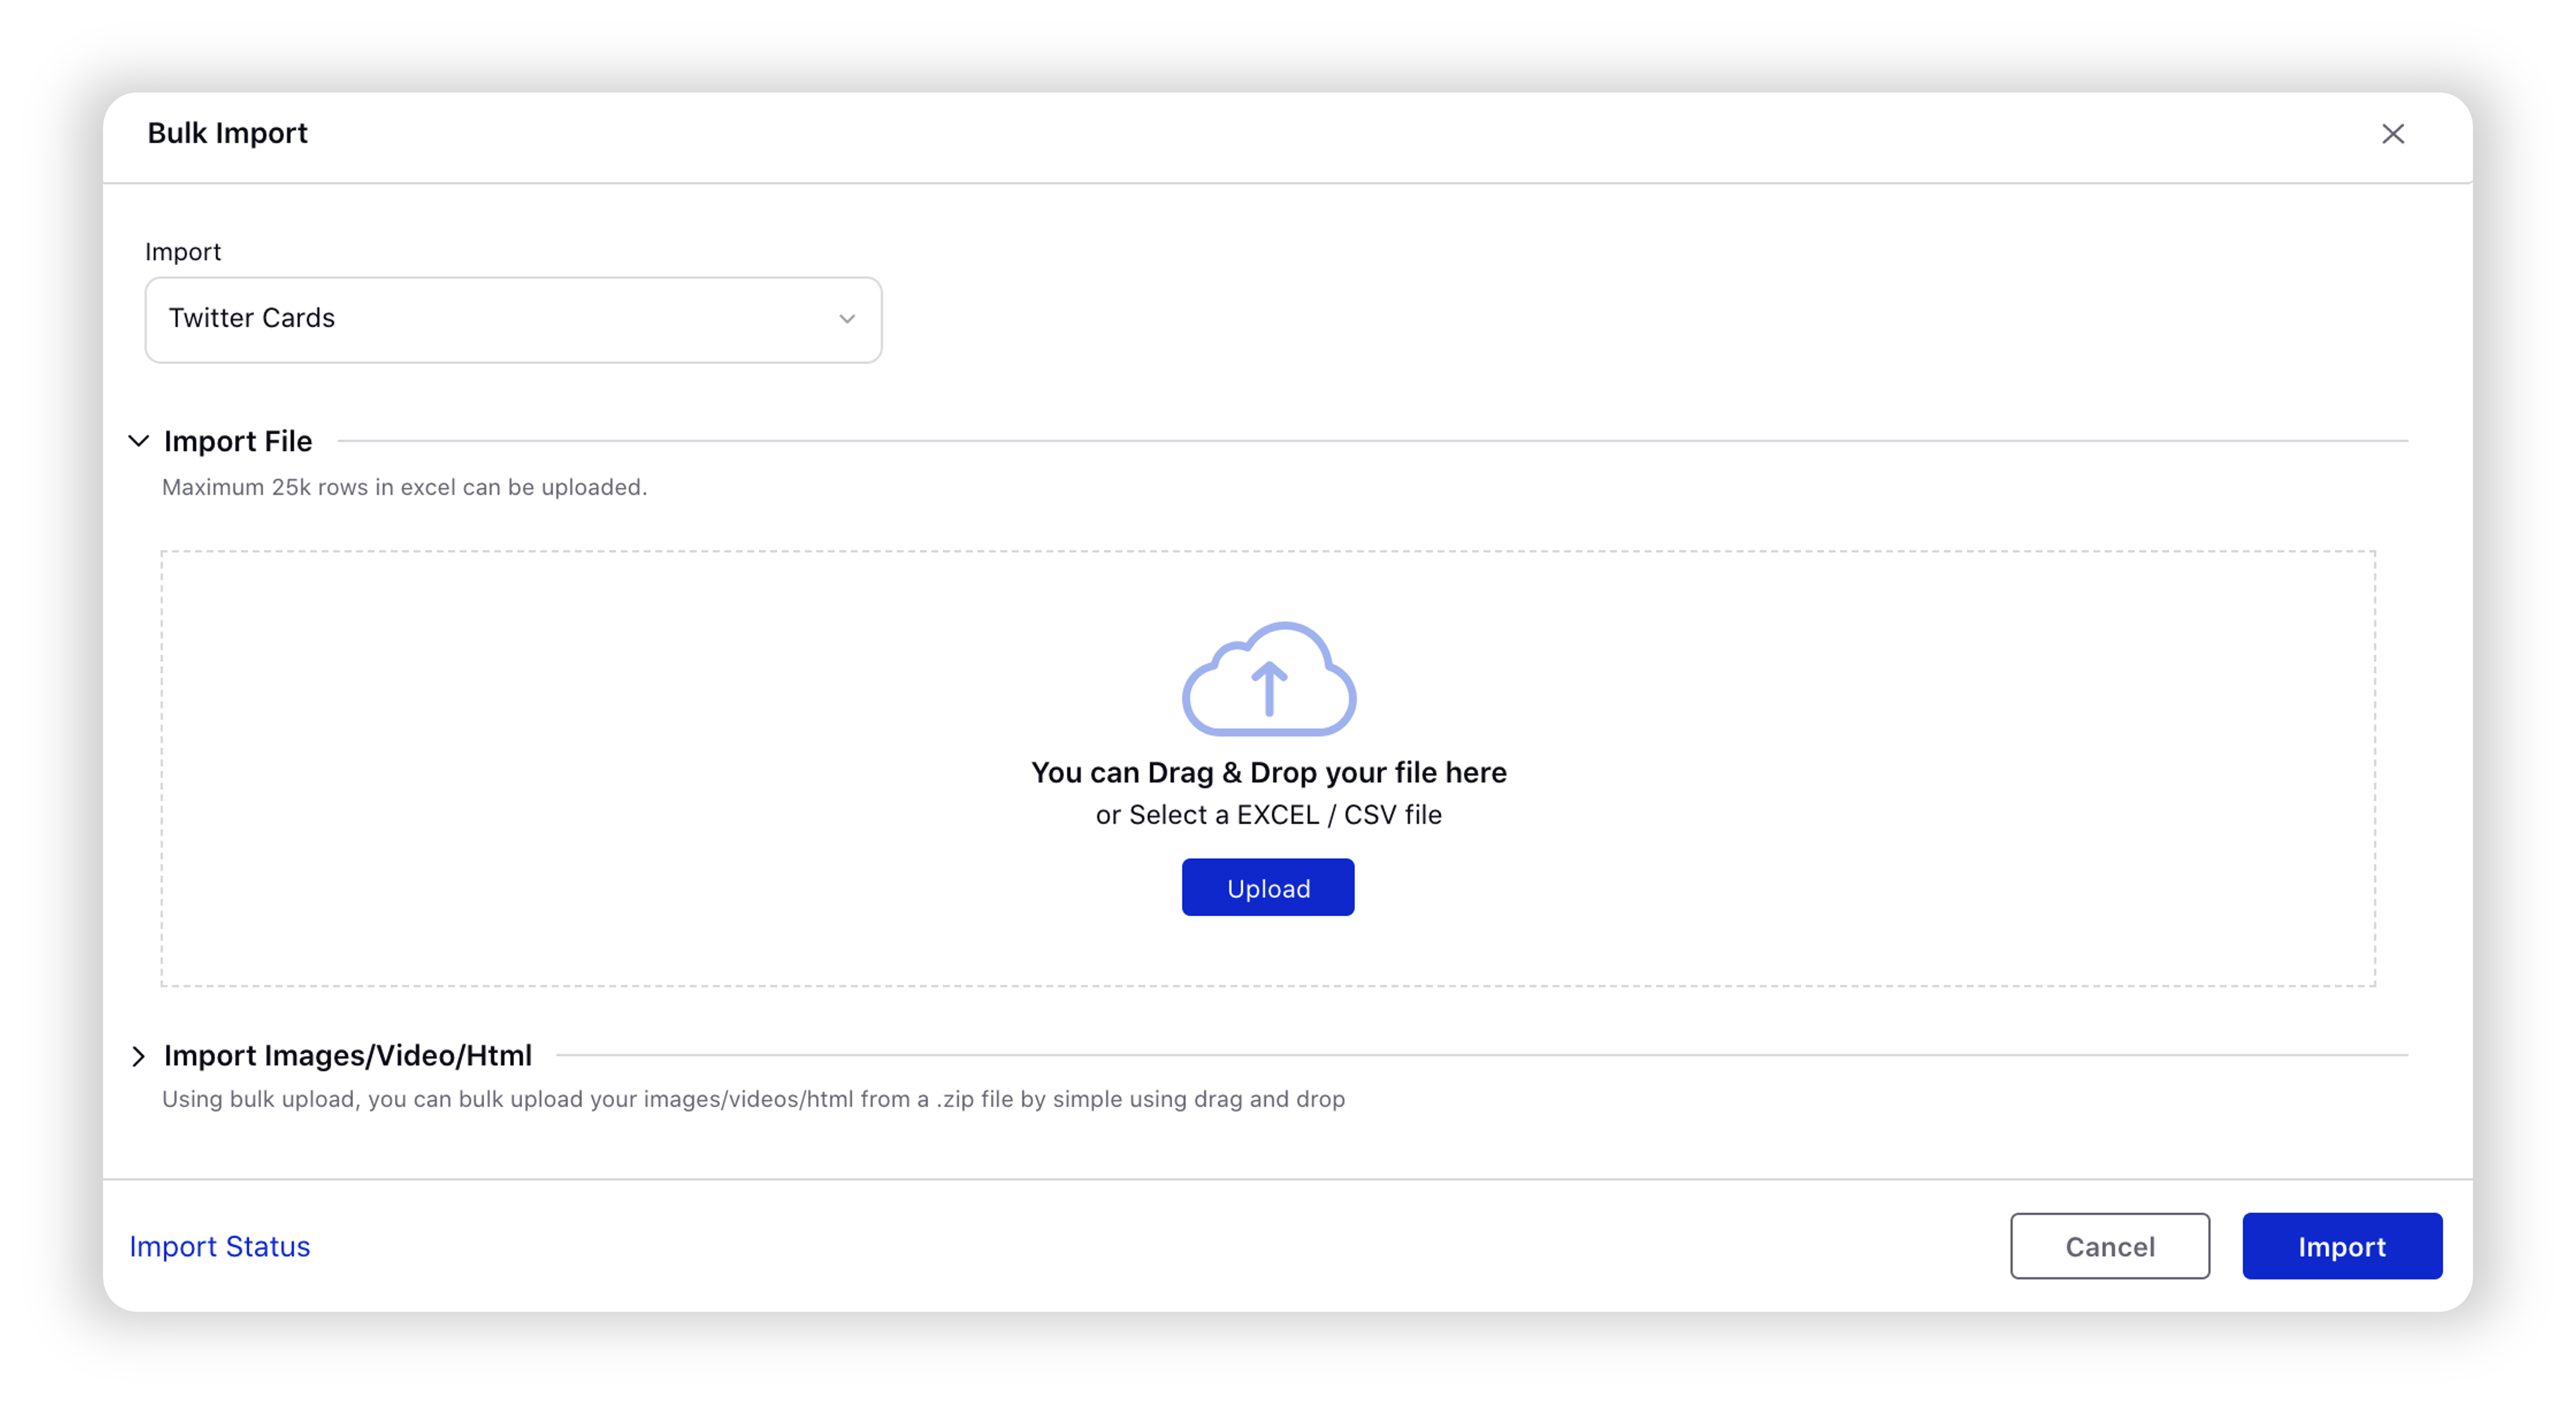
Under the Import Images/Video section, upload your media from a ZIP file by simply using Drag and Drop or click Upload to select the file from your system.
Click Import in the bottom-right corner to complete the process.
To Update Existing X Card Details via Bulk Import
To Pull X Cards using Ads Manager Bulk Import
1. Upload your X Cards in the Asset Manager or using X Cards Imports.
2. Copy the X Card Channel Id by following the steps given below for the respective import area:
3. Open your bulk import file and paste the channel id in the X Card Channel Id column.
4. Fill in the following columns as well with the corresponding values:
Unpublished Post Text - Place a copy of the Tweet Body within this field.
Unpublished Post Type - Enter STATUS within this field.
Note: All the X Cards that are bulk imported will have Status as their Unpublished Post Type. |
5. Next, click the New Tab icon. Under the Sprinklr Marketing (Ads) tab, click Ads Manager within Plan.
6. Click the Options icon in the top right corner of the Ads Manager window and select Import.
7. On the Bulk Import window, select X Cards from the Import drop-down menu.
8. Click Upload to upload your Bulk Import file with the X Card details.
9. From the bottom right corner of the Bulk Import window, click Import to pull in X Cards.