Add Amazon Ads Account
Updated
Amazon Ads allows businesses to promote their products on Amazon international marketplaces. It provides a suite of advertising solutions designed to help businesses of all sizes reach their target audiences, boost visibility, and drive sales. Sprinklr supports ads publishing and reporting from your Amazon Ad account.
Enablement Note:
The use of this capability requires that Sprinklr Advertising be enabled in your environment. To learn more about it, please work with your Success Manager.
You will need to be the ad account admin in order to add the account to Sprinklr.
To Add Amazon Ads Account
Open a new tab in Sprinklr platform and scroll down to Platform Modules.
Click All Settings within Settings.
Select Manage Workspace option from the left menu in the Platform Settings page.
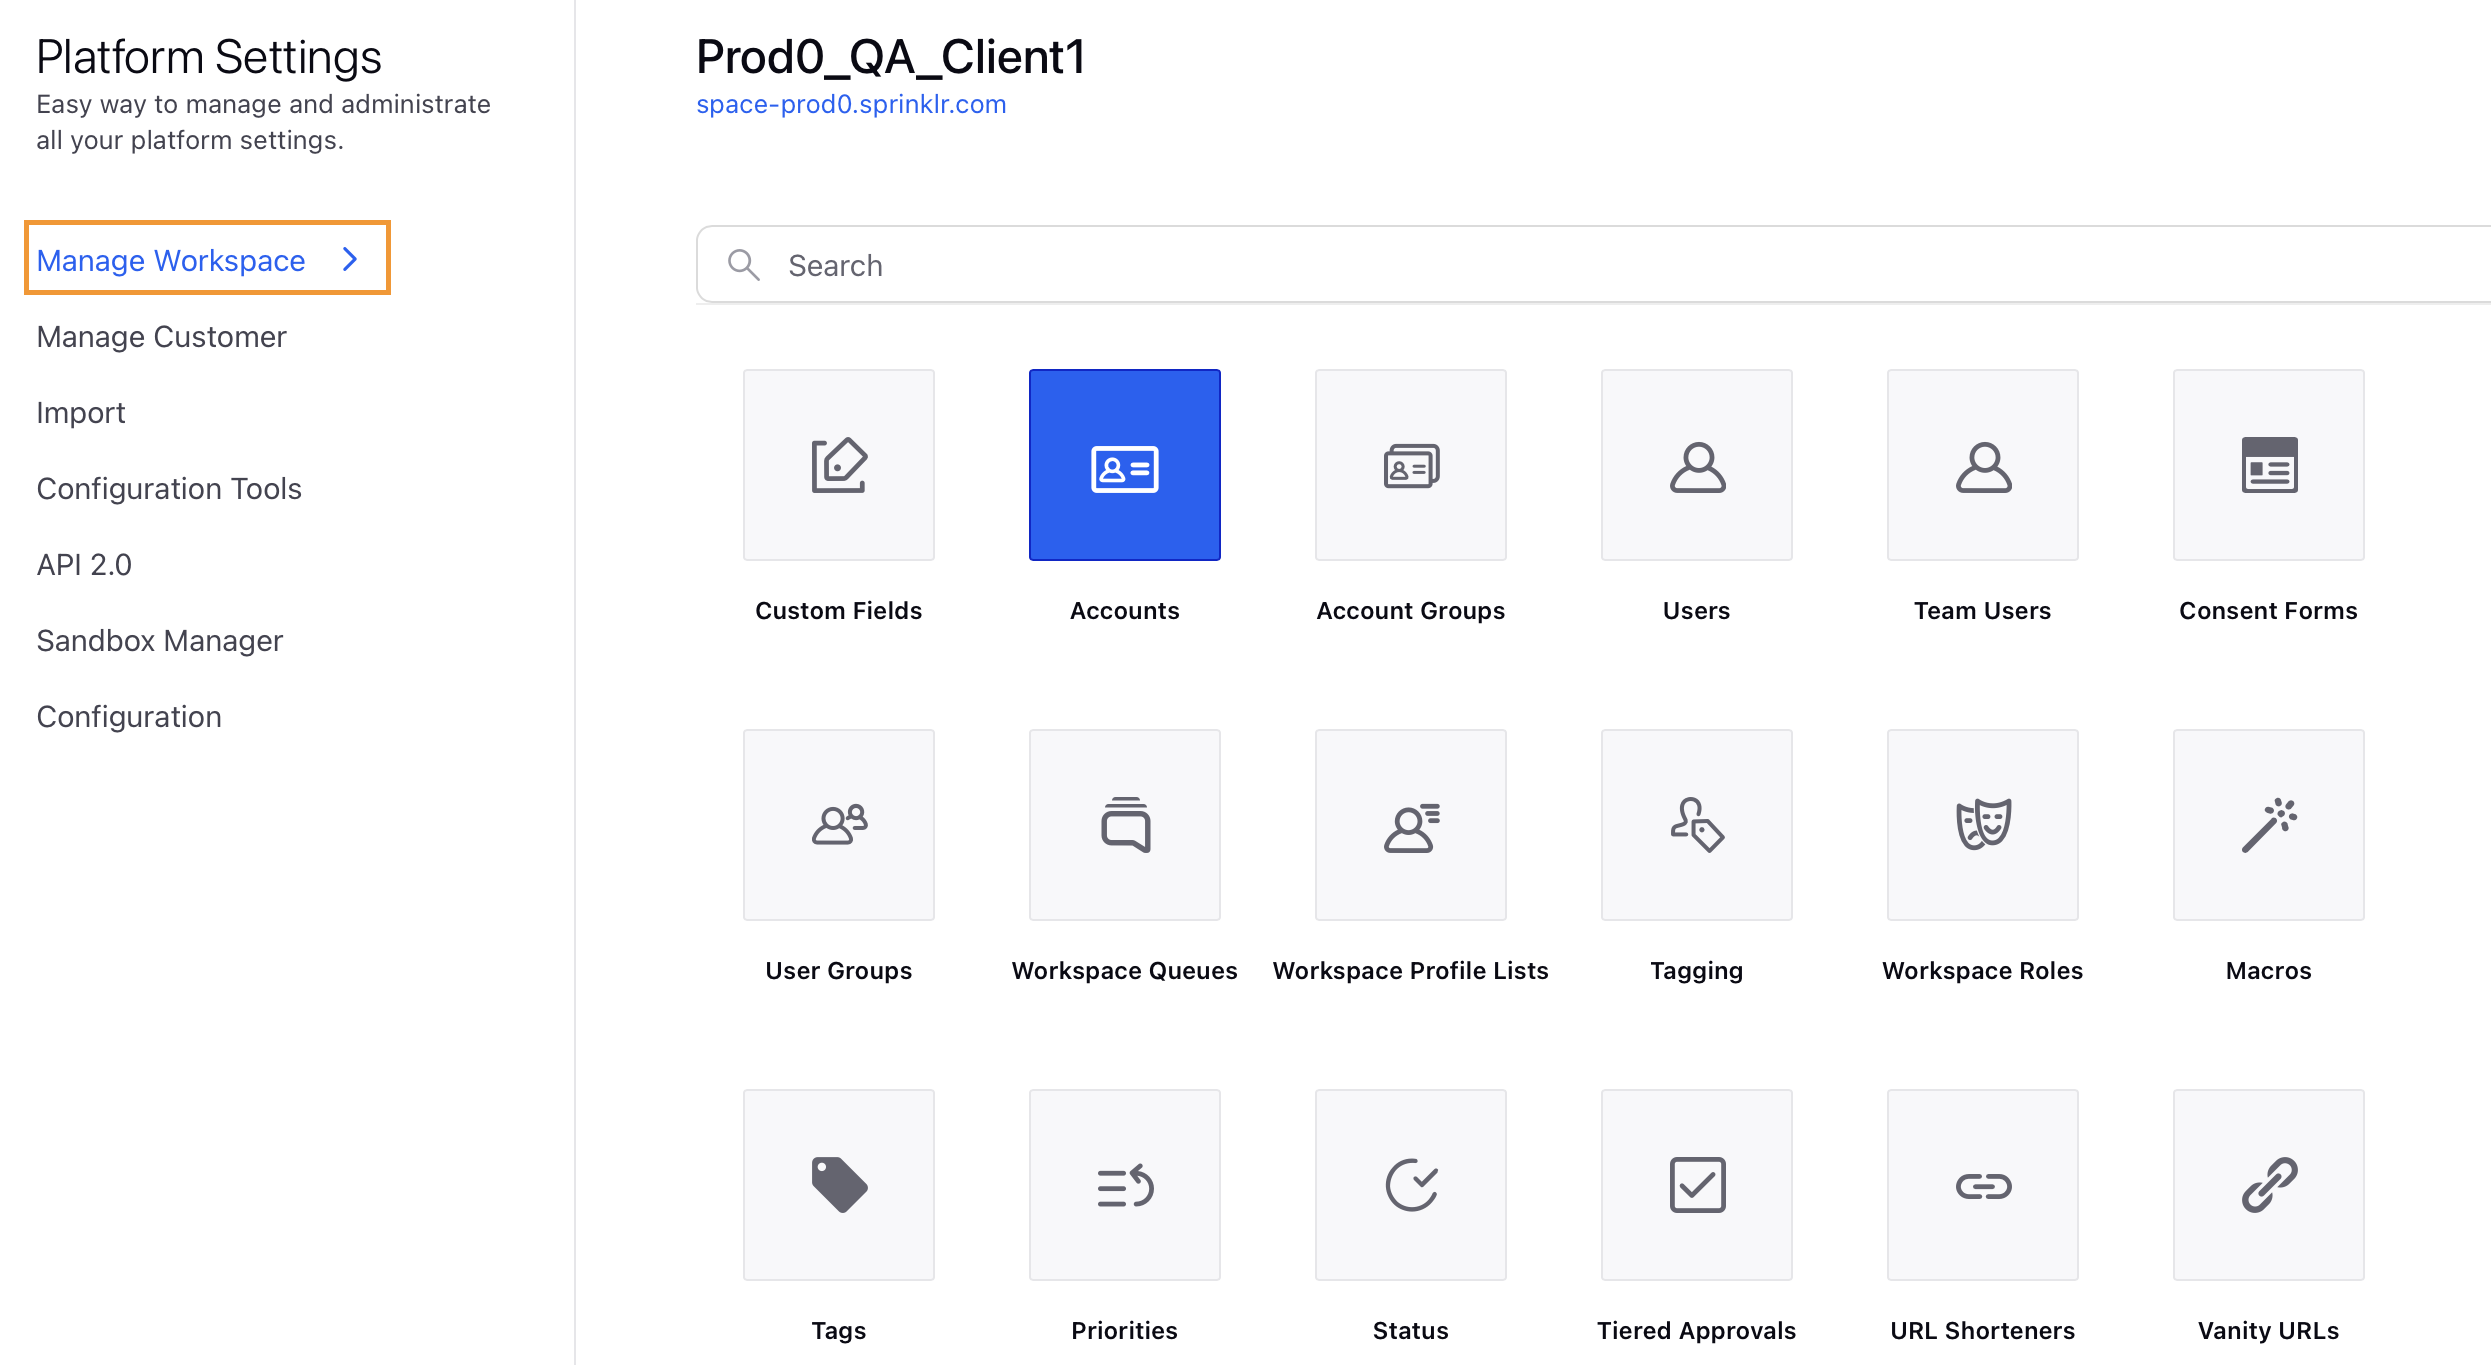
Search and select Accounts from the menu on the right.
Click +Add Account in the top right corner of the Accounts page.
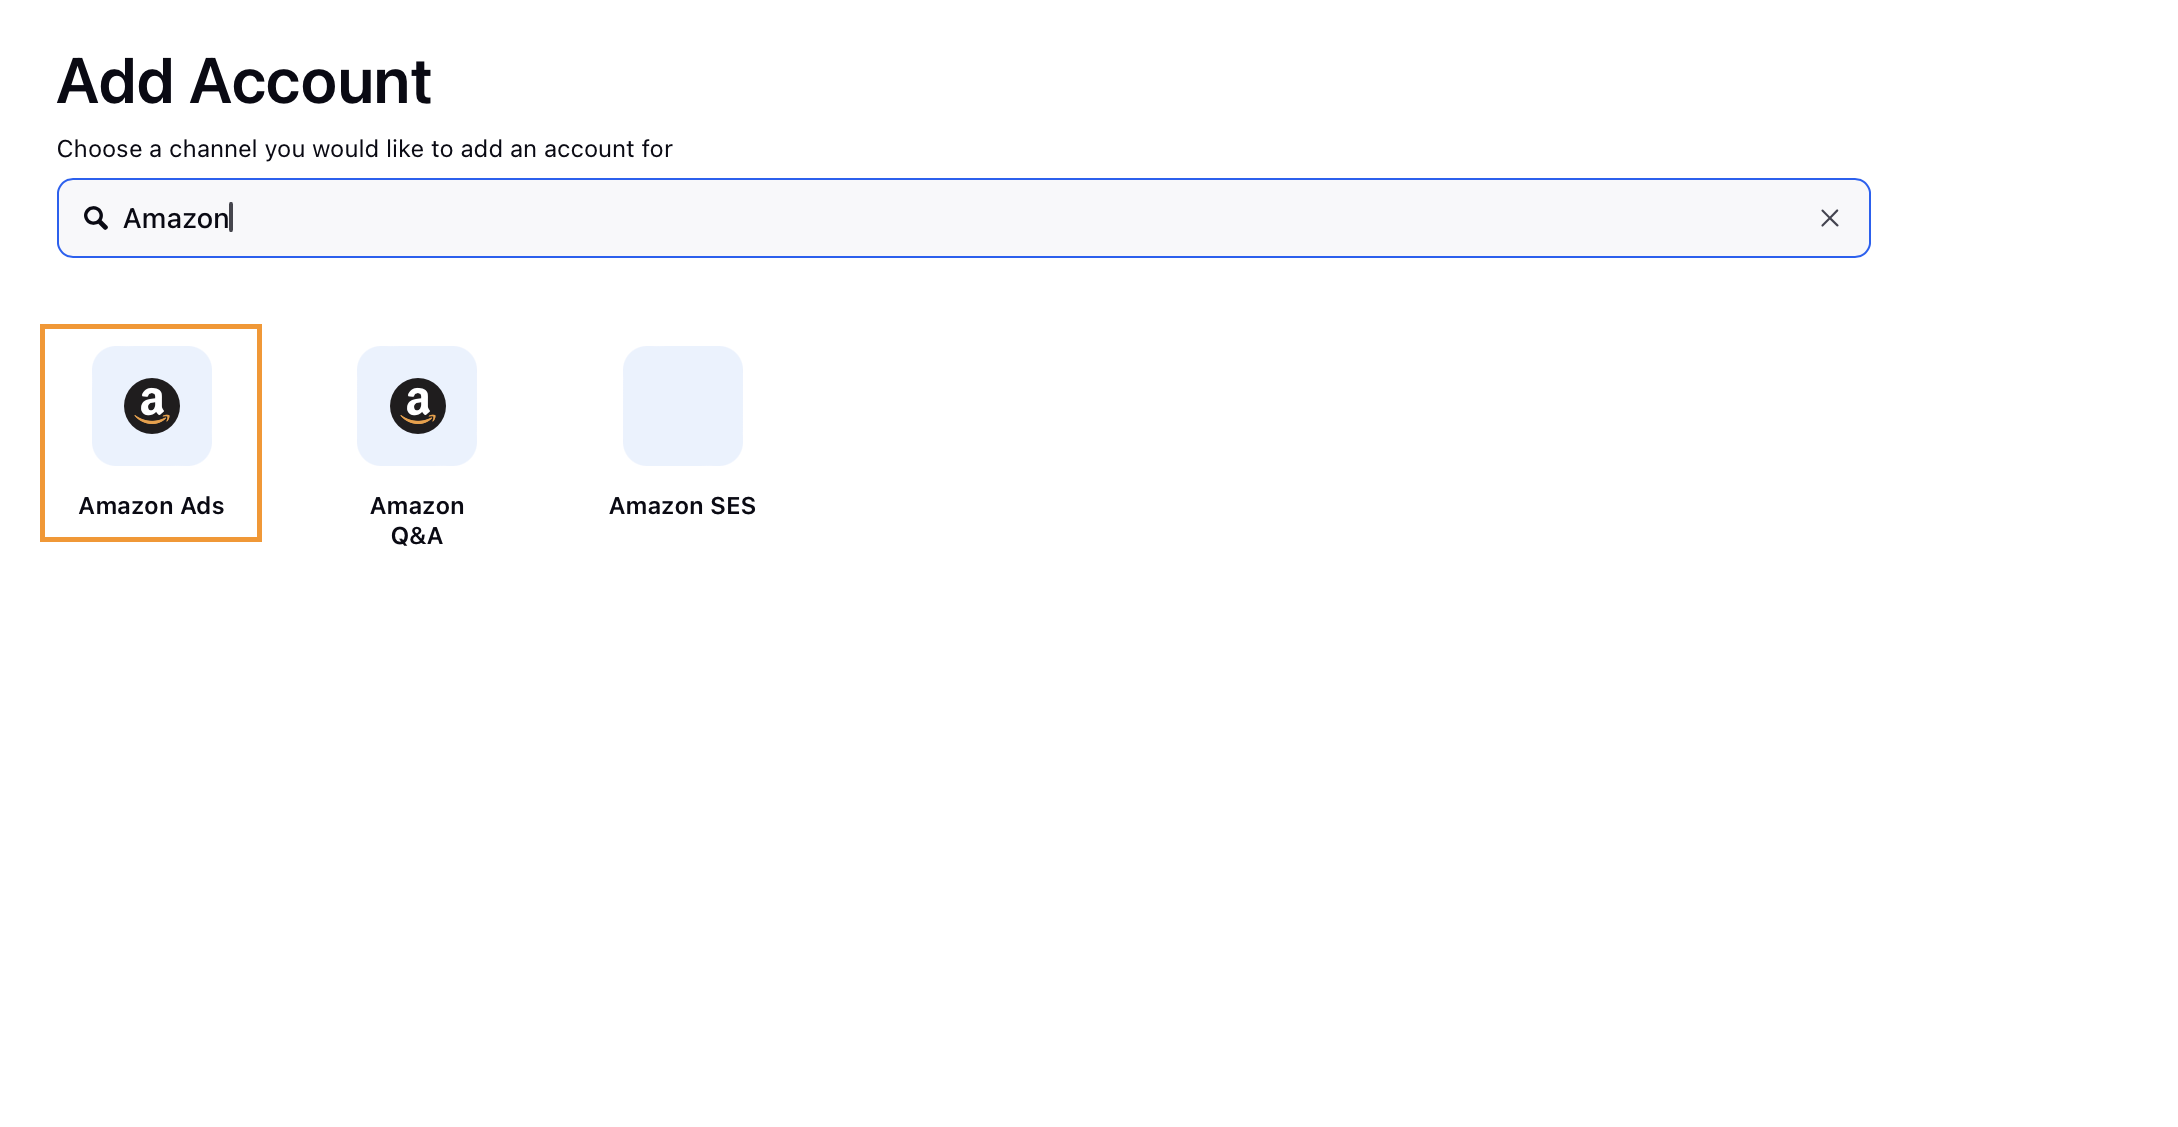
Search for and select Amazon Ads from the list of channels on the Add Account page.
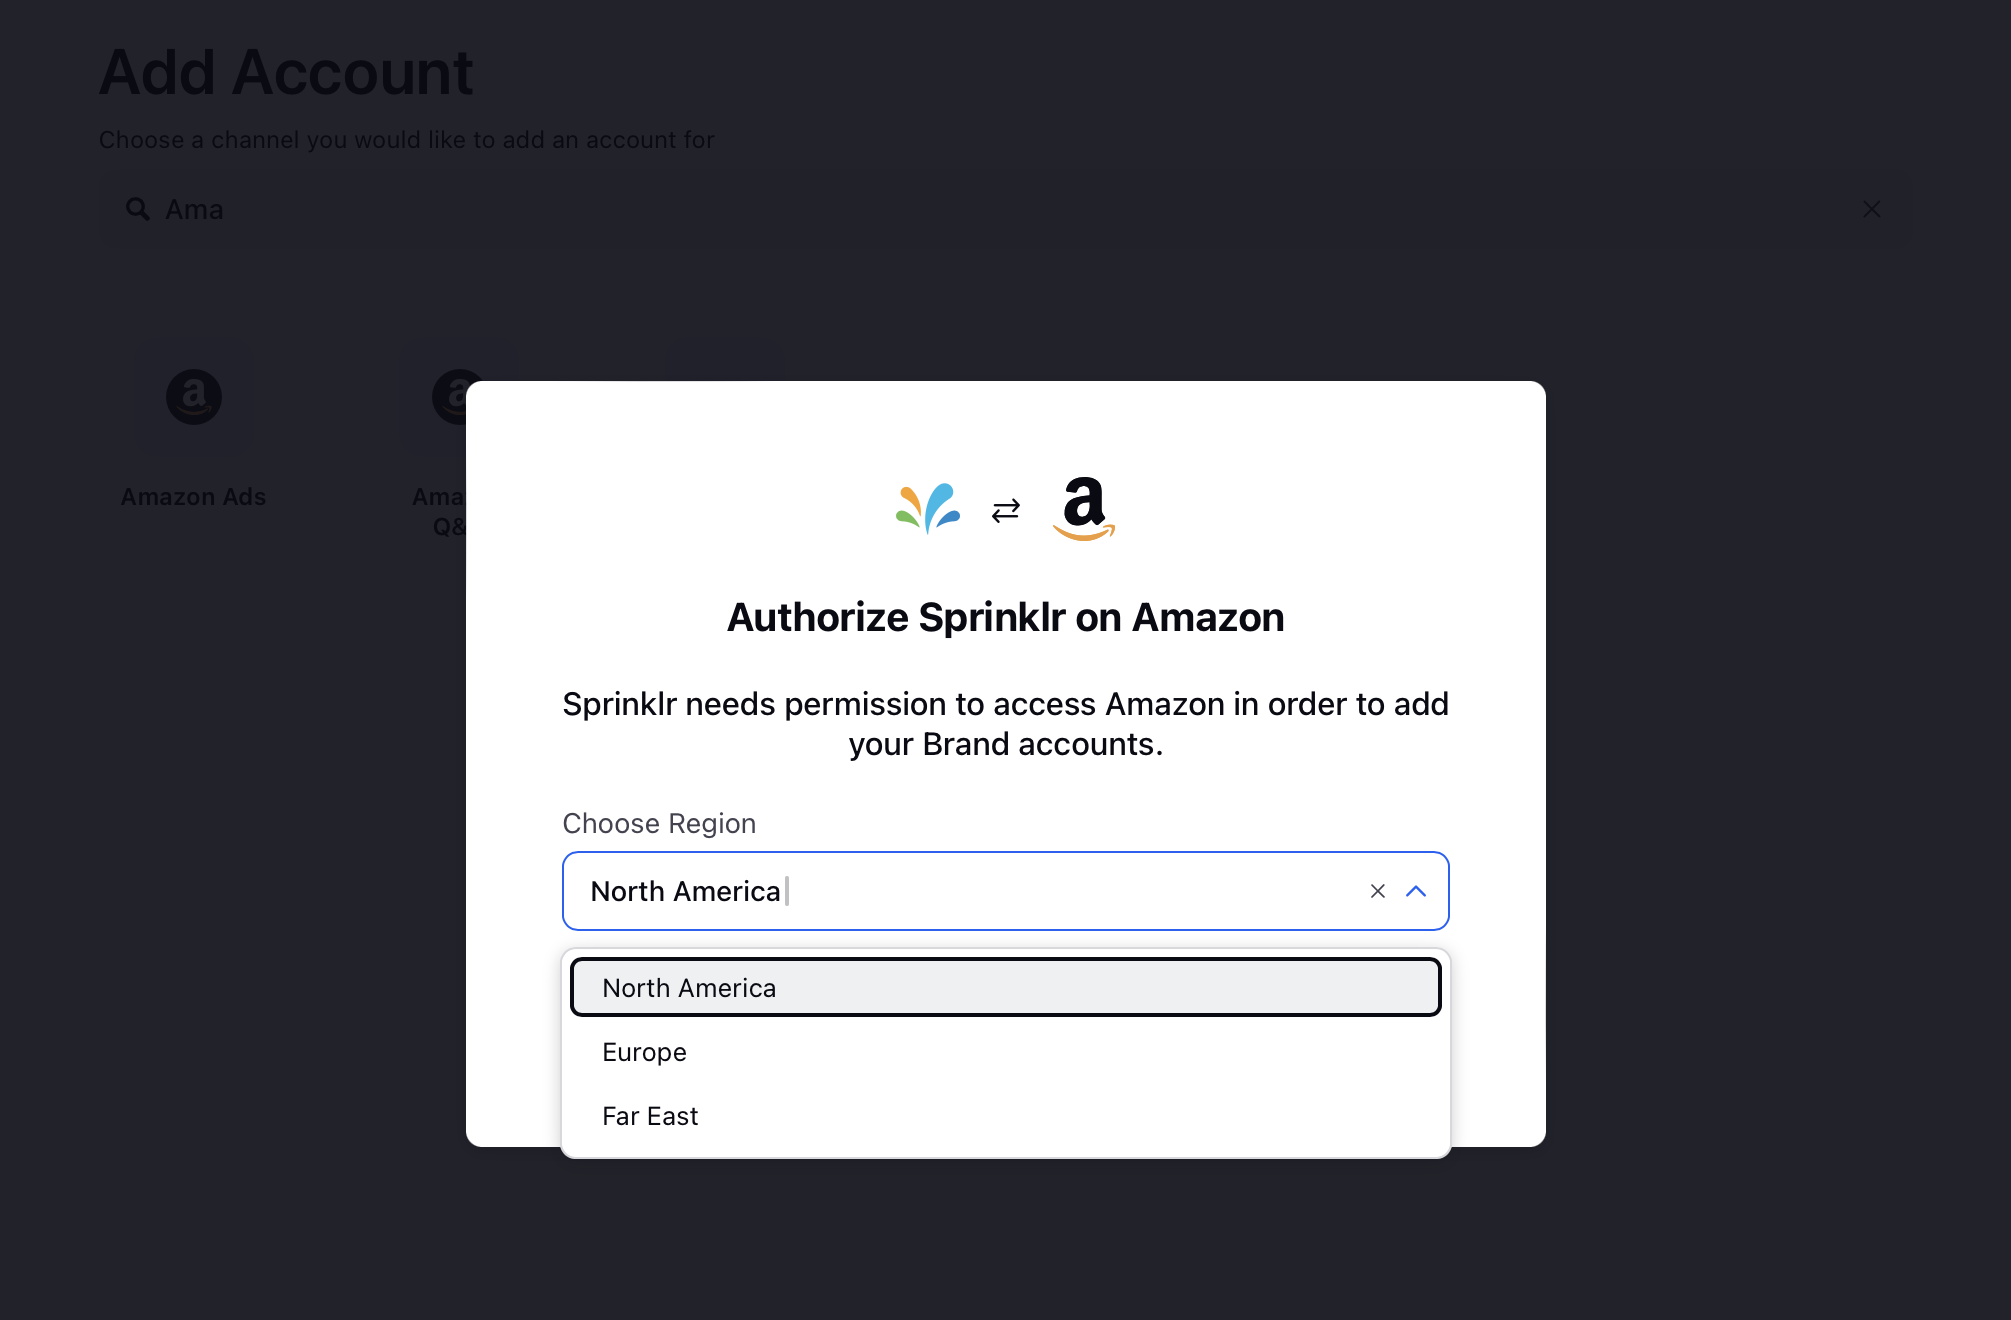
Choose the region from the pop-up window and click Next.
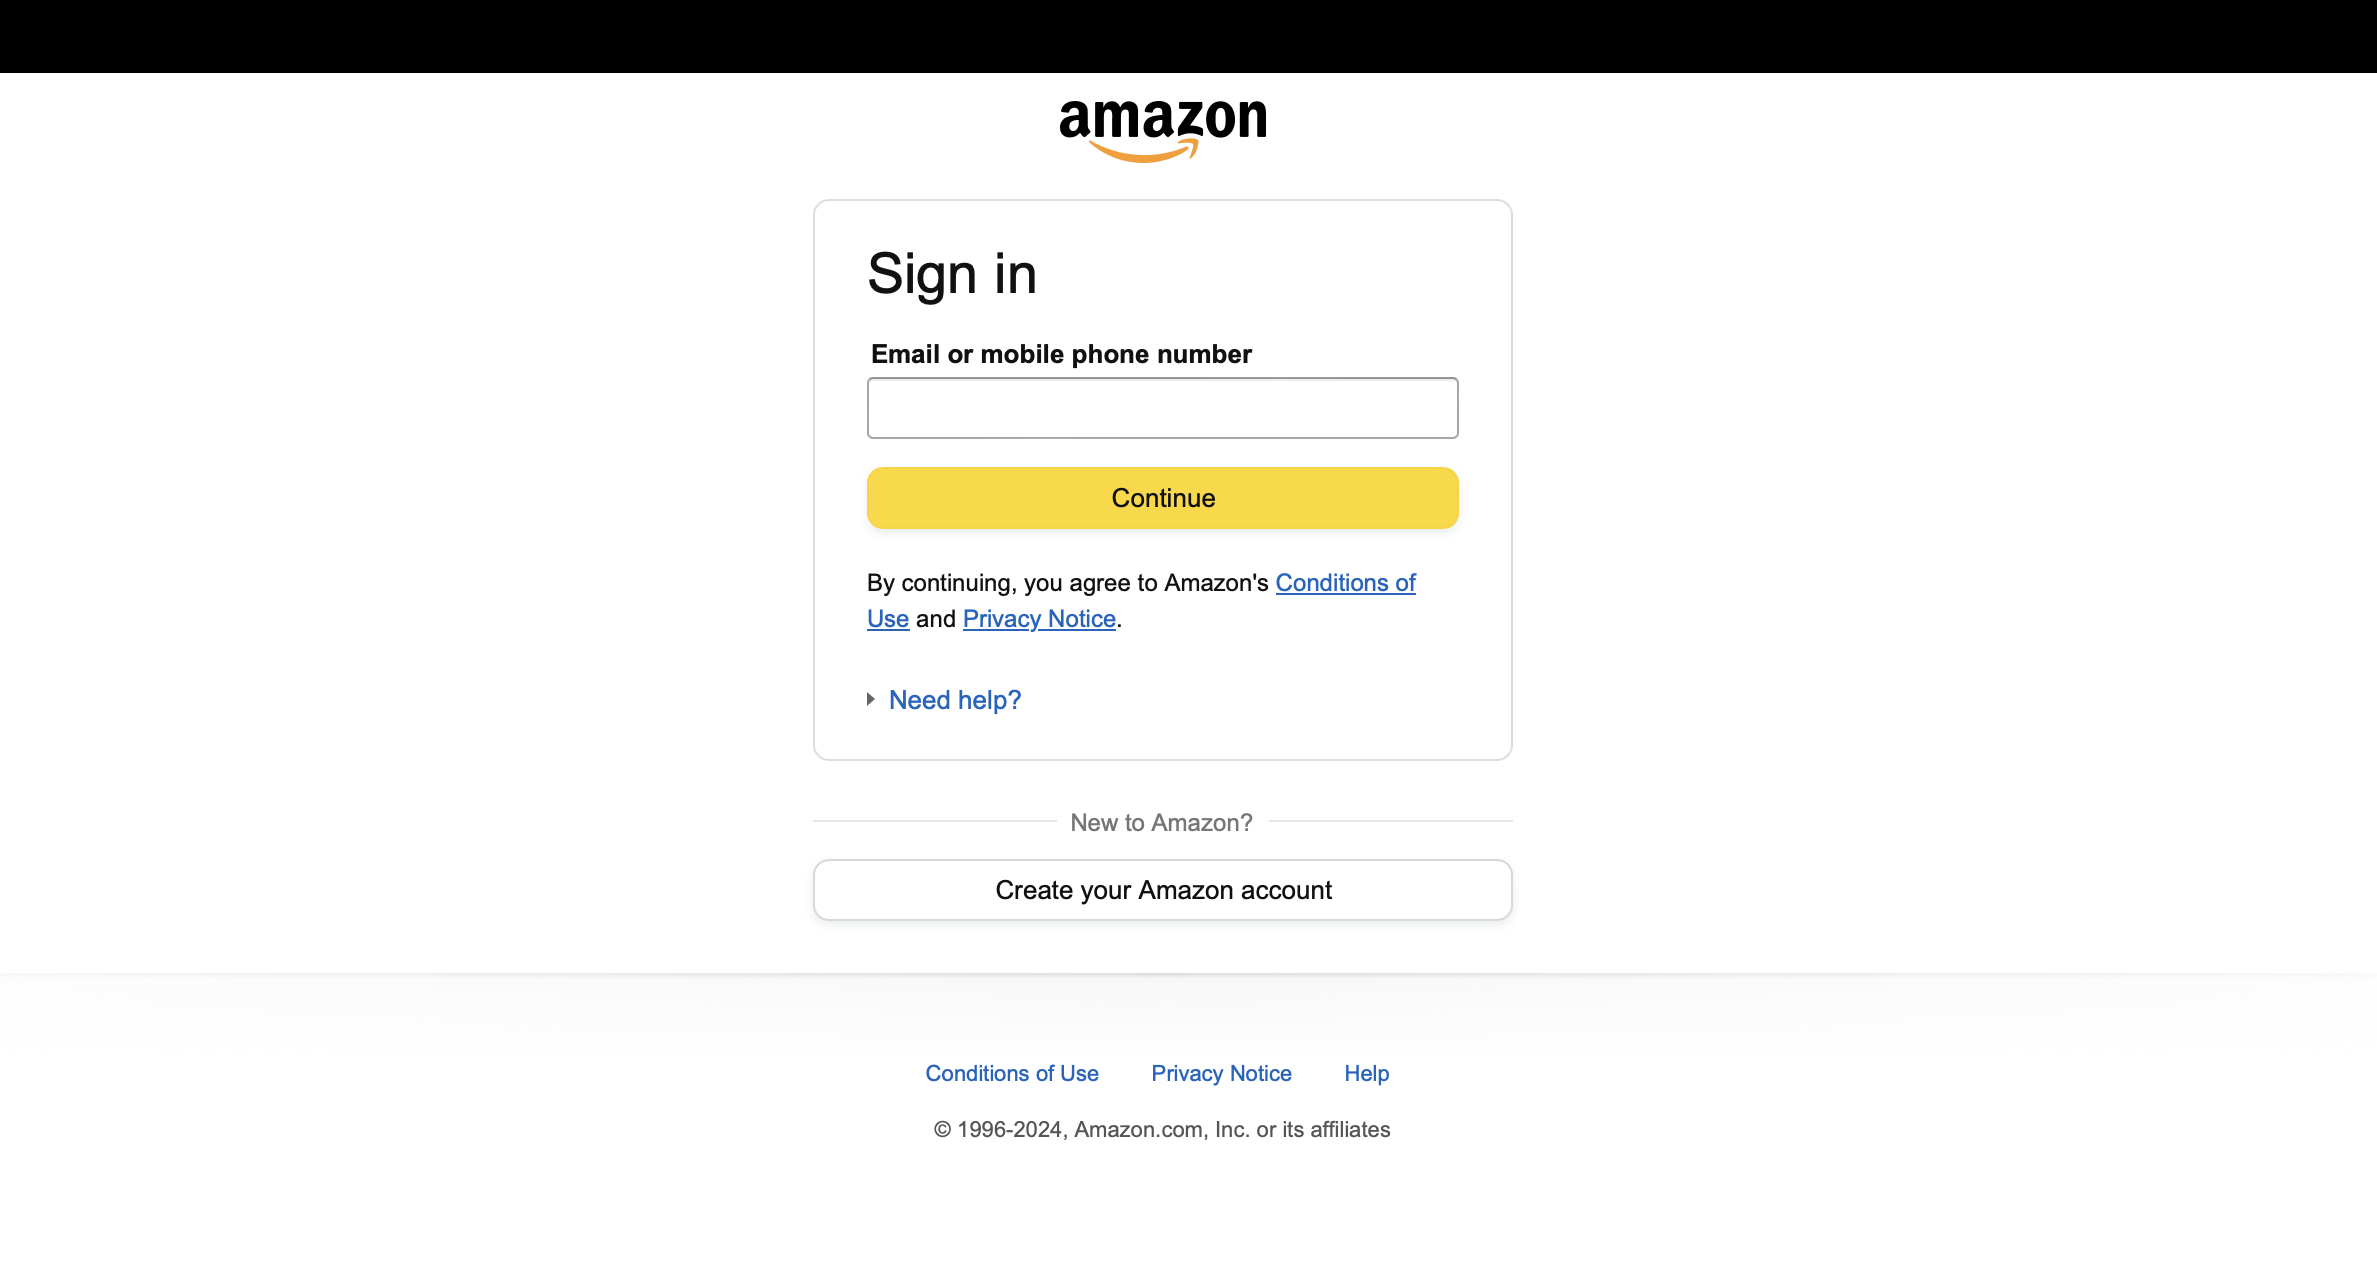
You will be directed to Amazon to enter your login credentials and authorize the account. Click Continue to authorize.
Once added, you'll be redirected to Update Amazon Ads page where you can update further account details.
Scroll down to Permissions section and select the desired permissions from the Select Action drop-down menu.
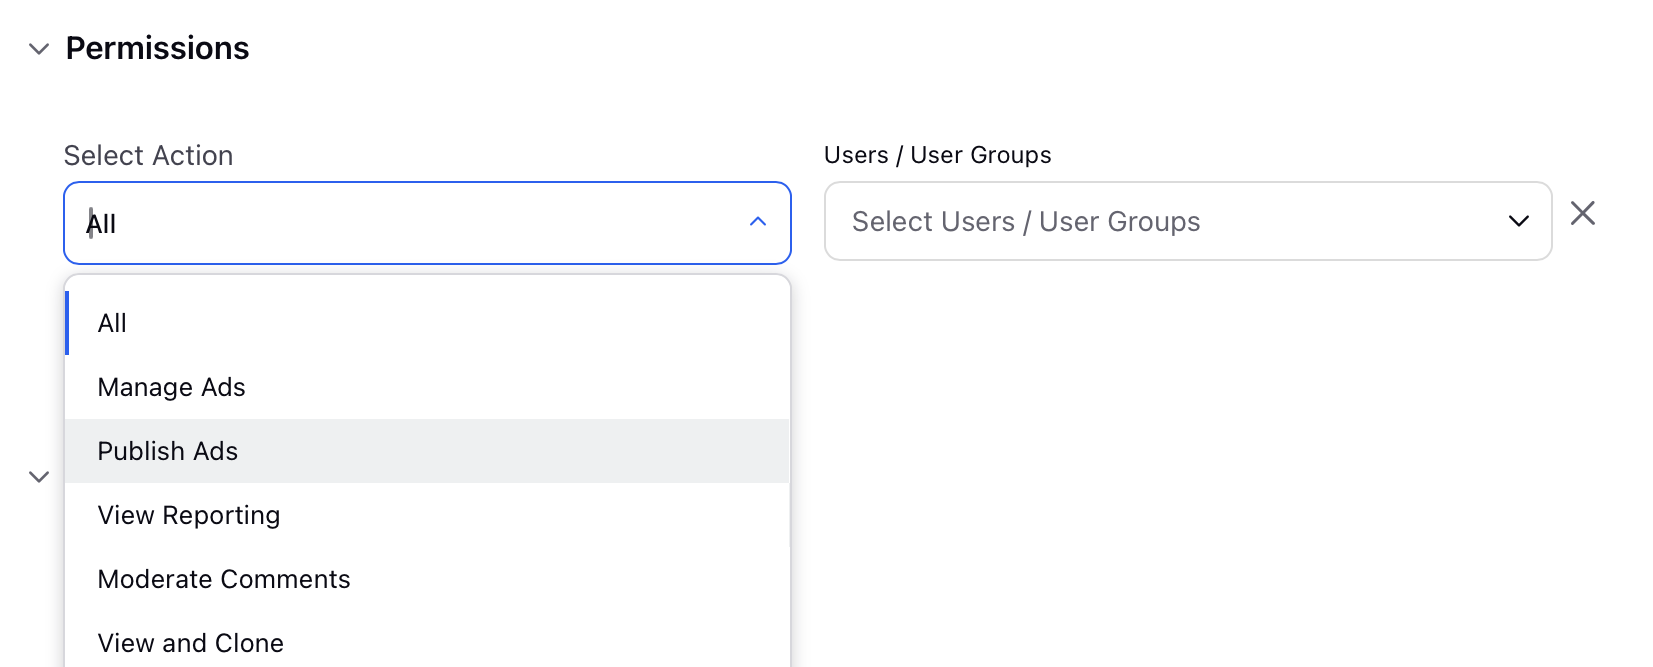
Select the users or user groups from the Users/Users Groups drop-down list.
To set another permission, click Add New Permission.
Setup account visibility across workspaces in the Share this account across workspaces section.
Choose users/user groups in the Subscribers section to receive notifications about any account changes.
Choose the appropriate Country and Timezone in the Timezone section. The values selected here will be automatically pre-filled when creating ad campaigns using this account.
Select the appropriate account properties in the Properties section. These properties can be customized based on your reporting and governance requirements.
Click Save in the bottom-right corner.