Introduction to IVR Components
Updated
The Sprinklr IVR comprises various interconnected components that work together to deliver efficient and personalized customer interactions. This knowledge base article provides an overview of these essential components, their functionalities, and how they contribute to creating seamless IVR experiences. this guide offers valuable insights into understanding and leveraging the different elements of Sprinklr IVR for optimized customer engagement.
Prerequisite for configuring the IVR: Sprinklr Voice should be enabled for the environment, and your user should have IVR View, Edit, Create, Delete, and Deploy permissions.

Steps to Create an IVR
To create a new IVR flow, click "Create IVR flow" located on the top right of the IVR manager page. Once you click on Create IVR, you enter the IVR flow settings page. This is the place where you can define basic settings for the IVR workflow like Name, Description, IVR type, Language, Timeout, Invalid message, Disconnect journey, and Sharing settings.
Note: How to Create an IVR is covered in detail in this help article
IVR Builder
The IVR Builder in Sprinklr provides a user-friendly interface for creating and editing IVRs. It features a drag-and-drop canvas where you can easily design your IVR flows. The builder offers a range of modules or nodes, each serving a specific function, which can be seamlessly integrated into the IVR flow. With this intuitive interface, you can efficiently build and customize IVRs to suit your business needs.
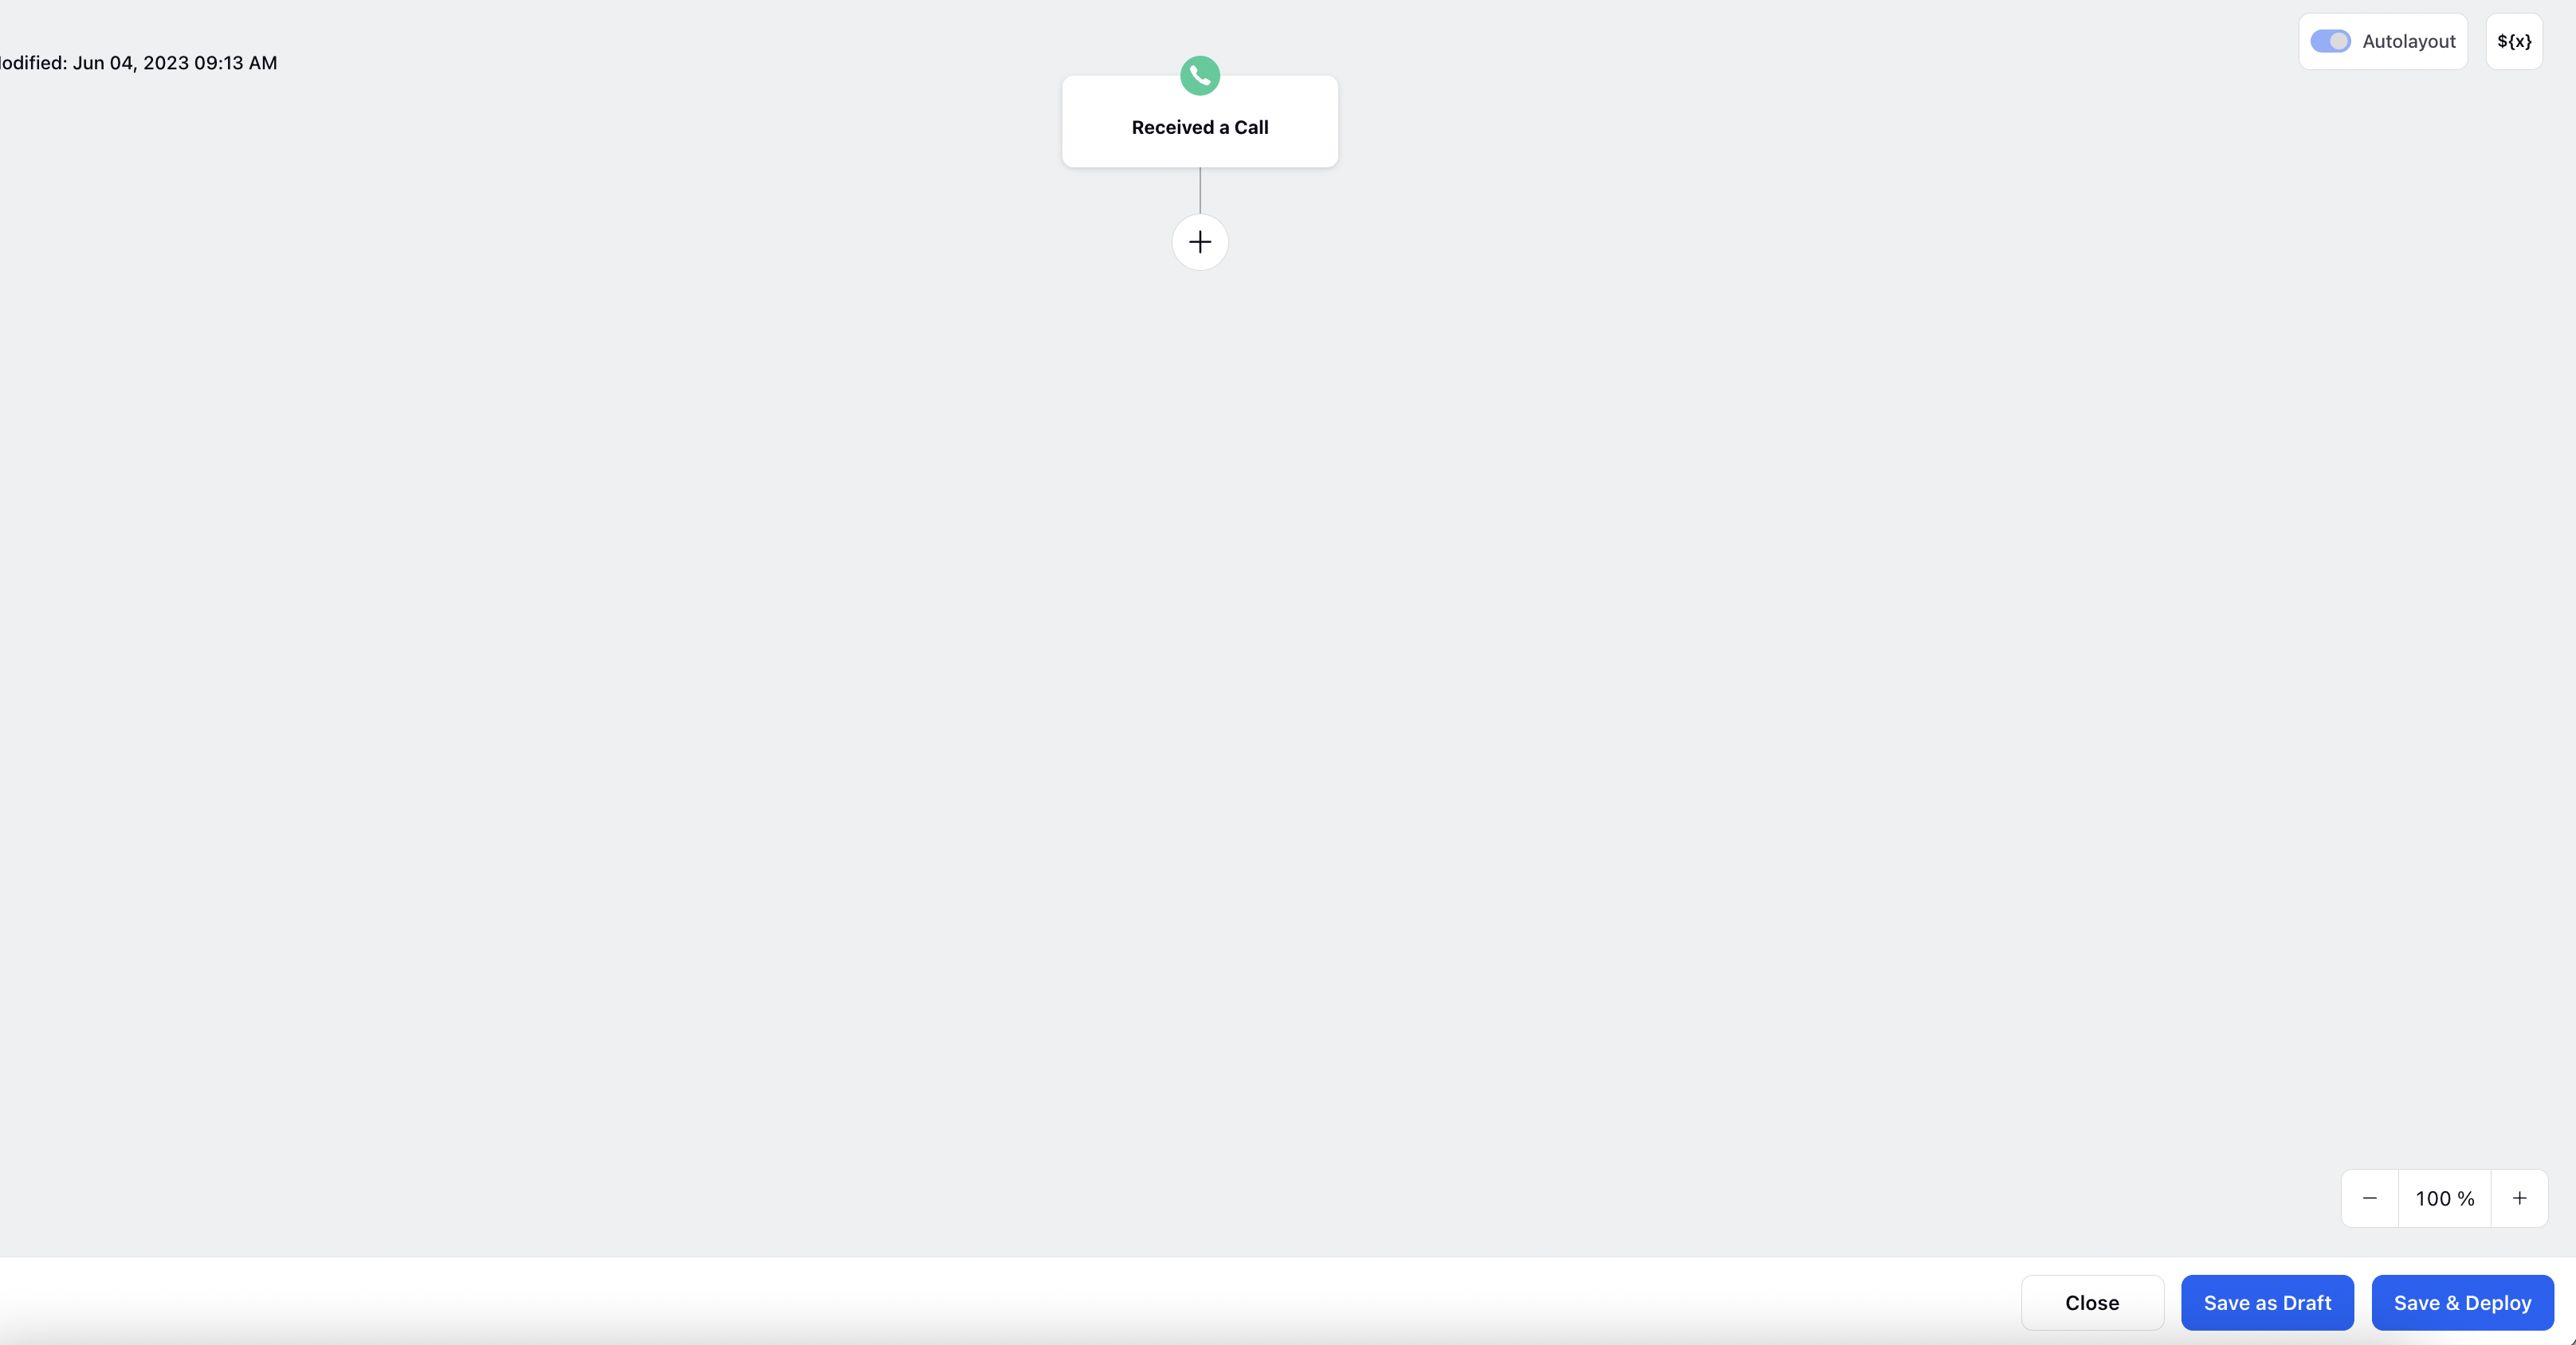
We can divide the whole builder into 6 major components:
Canvas: This is where you design your IVR flow by arranging and connecting nodes.
Add New Node: By clicking the plus sign (+), you can choose from a list to add nodes to your IVR Canvas.
Manage Resources: This is a crucial component of the IVR Builder interface. By clicking on the ${x} icon located in the top right corner, you gain access to a comprehensive view of all variables and resources utilized in the IVR. This includes variables that store important information throughout the IVR flow.
Not only can you review the existing variables, but you can also create new variables tailored to your specific requirements. These variables serve as placeholders for data that can be used and manipulated within the IVR.
System variables: These are pre-defined variables that hold important information about the call and can be used within the IVR to enhance its functionality.
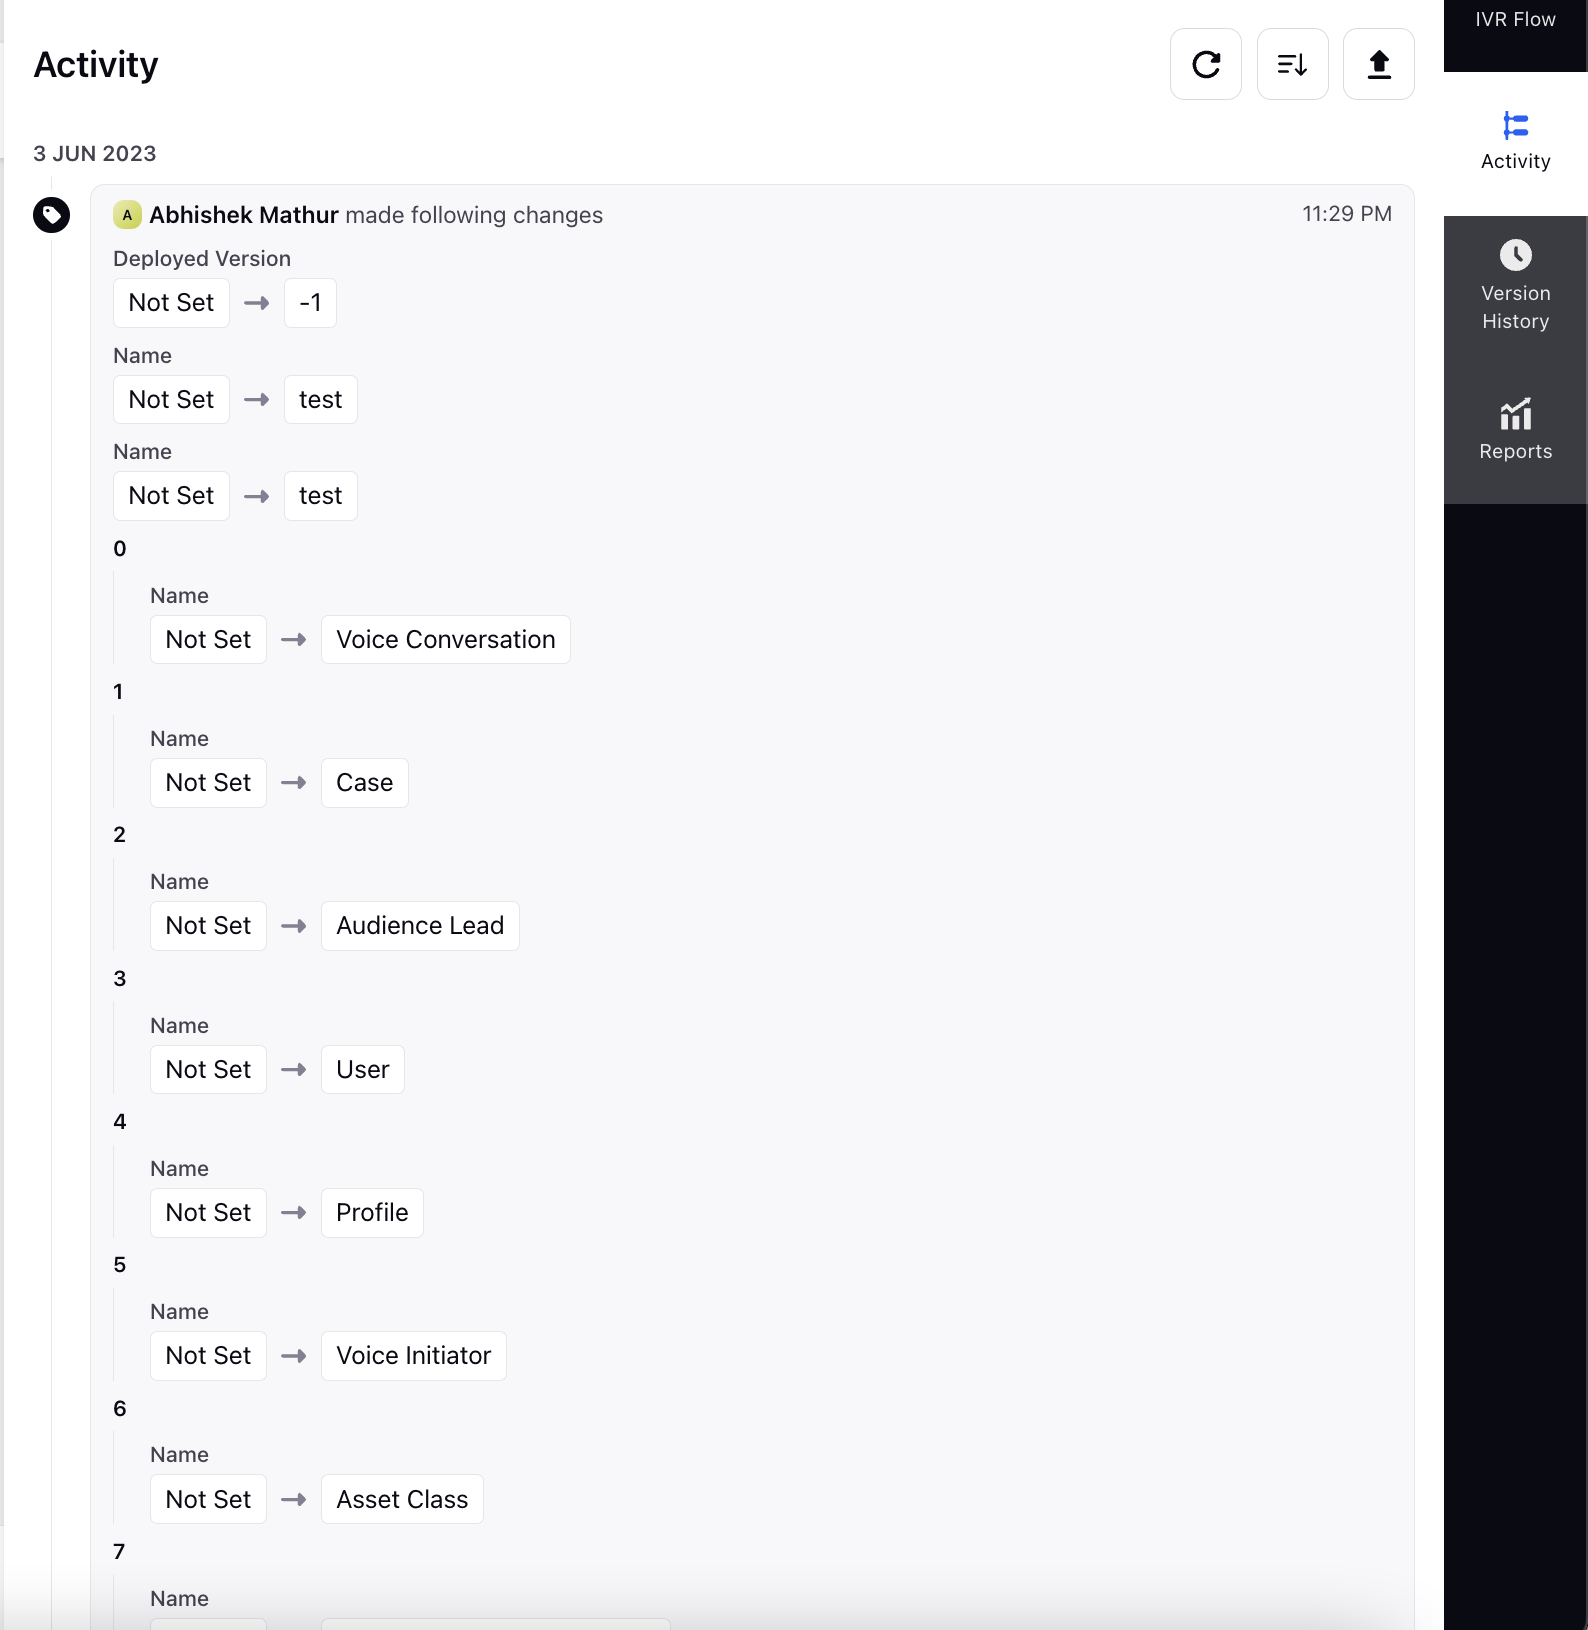
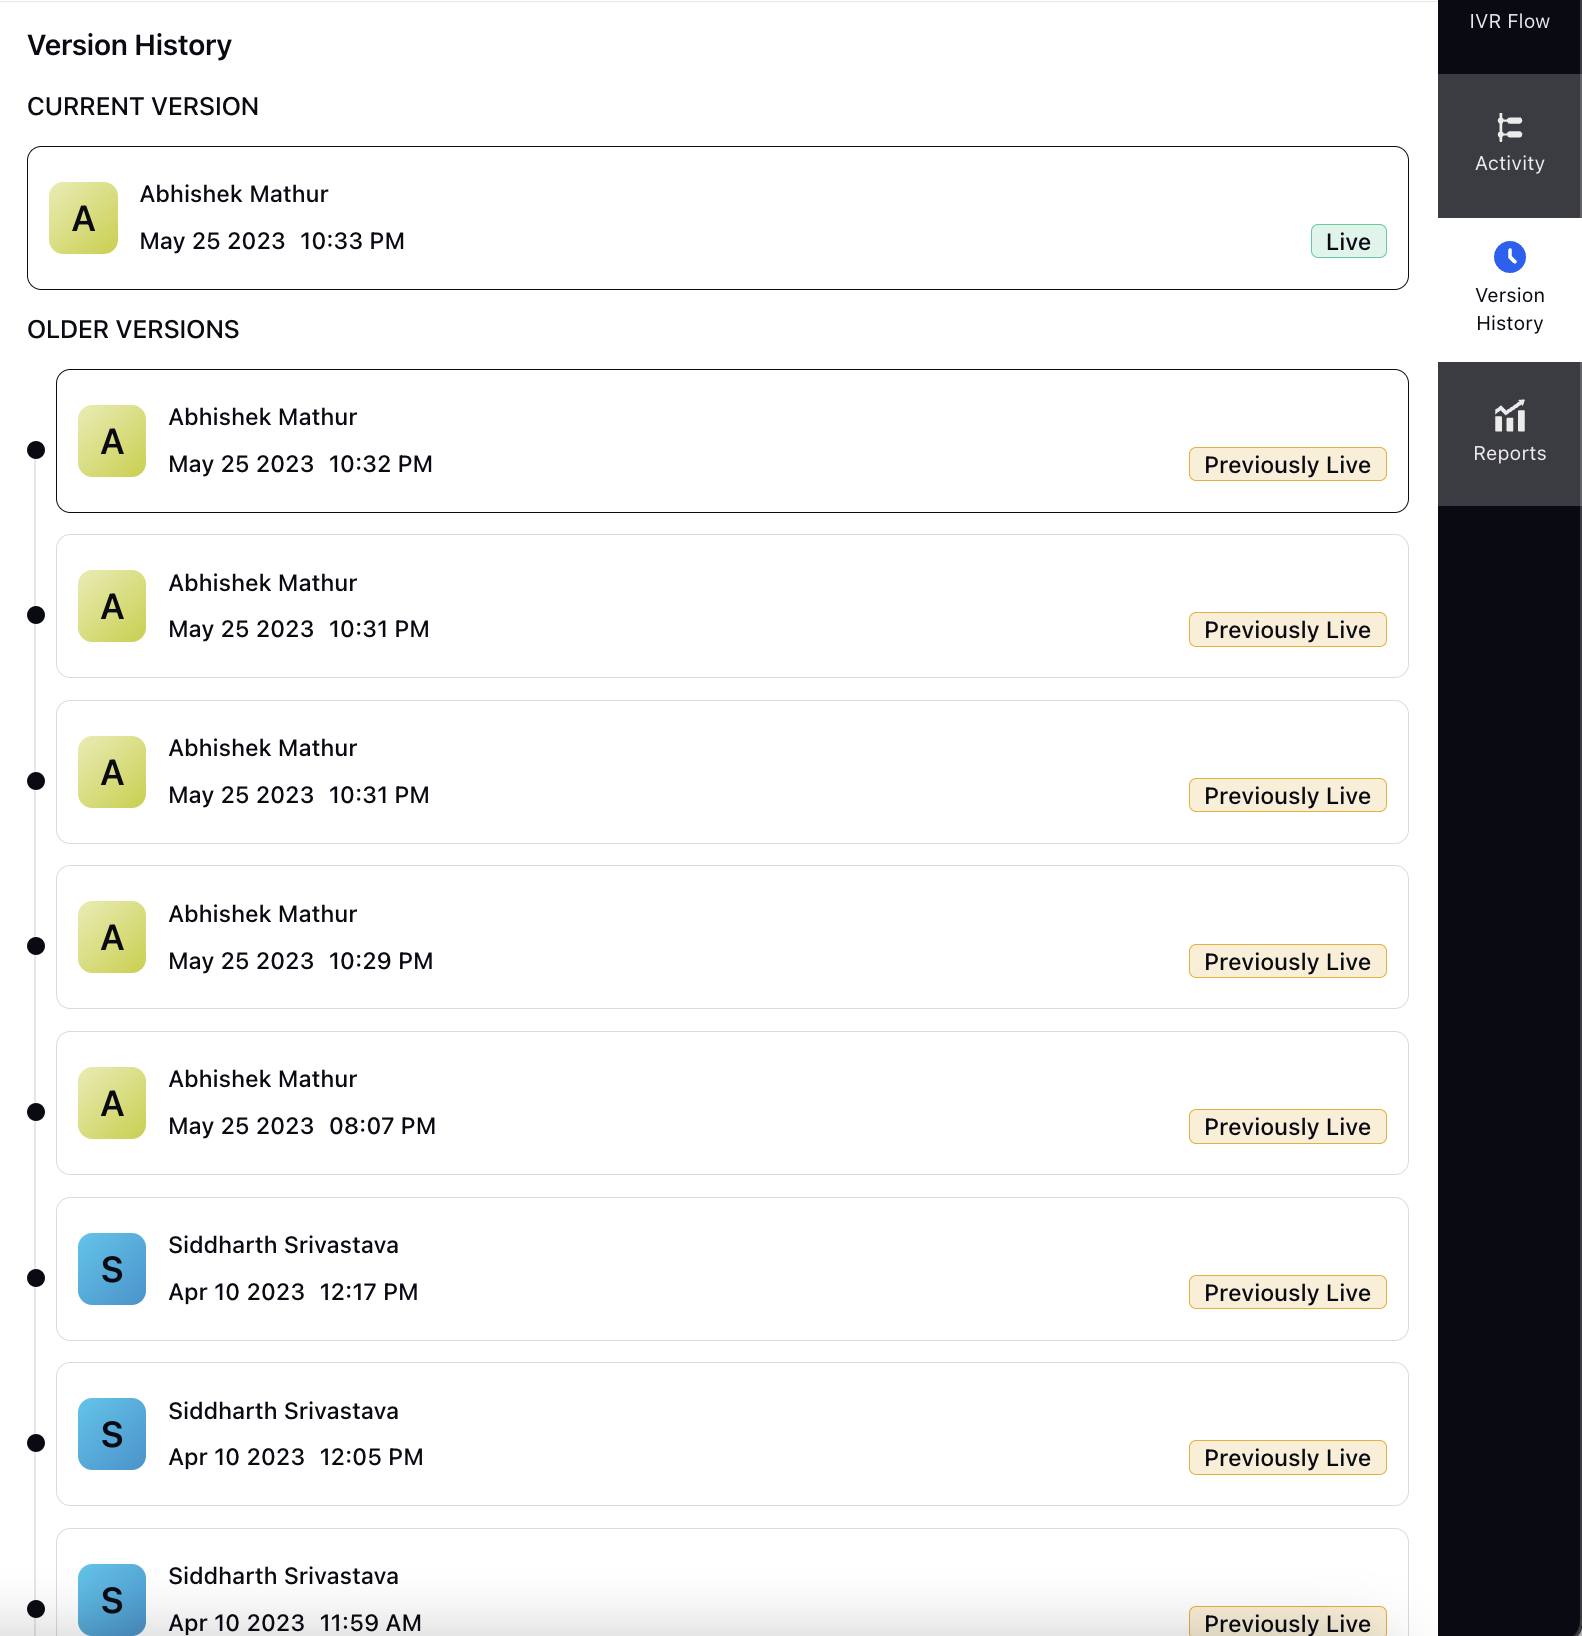
Activity: You can open by clicking on Activity from bottom left corner. This has three section-
IVR activity: This allows you to view the activity log of the IVR, showing a record of all the changes made, including the date, details of the changes, and the user responsible for making the modifications.
IVR Version History: This tab keeps track of different versions of the IVR that have been deployed. It lists previous versions along with the deployment date, time, and the user who deployed the previous IVR. You also have the option to restore a previous version of the IVR.
IVR reports: This tab provides basic information about IVR like total calls landed on IVR, how many calls were connected to Agent, how many calls abandoned on this IVR, Avg Call time etc. This tab has the option to get the data for the required timeframe
Nodes and Functionalities
Here you will find information about the different conponents that can be used while creating an IVR. These actions include gathering customer responses, deflecting users to another channel, sending SMS or email, and more.
To add a new node action, simply click on the plus sign > select the desired node from the available options. Below, you will find comprehensive descriptions of each node action. There are three kind of node-
Communication nodes
System Nodes
Transfer Action
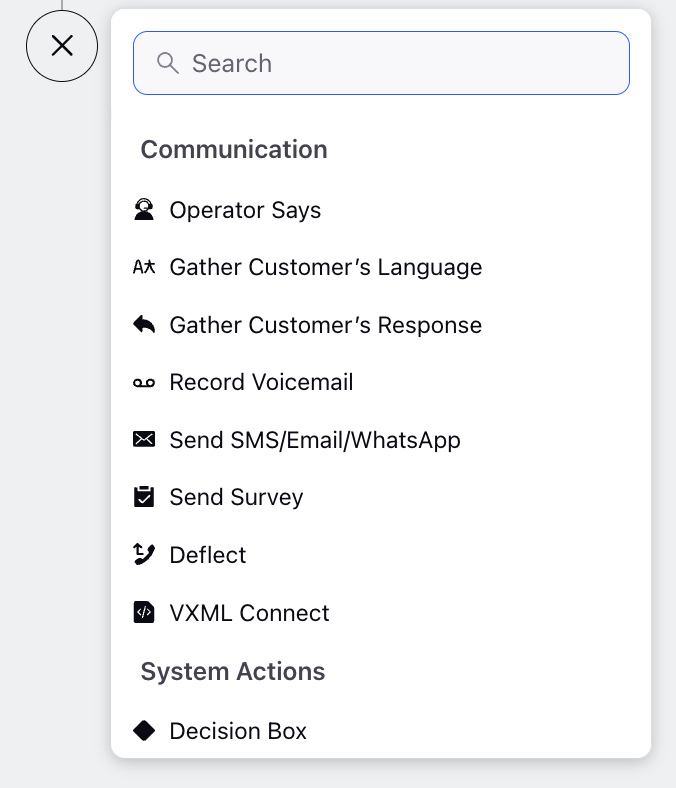
Communication Nodes
Operator Says: This allows us to define the messages played for caller in the IVR. In this, you can enter text that will be converted into speech using the Text-to-Speech.. Additionally, you have the option to upload recorded prompts as well. This node is dosent take input, it is just to play message to caller.
Gather Customer's Language: This node enables callers to select their preferred language. This node determines the language that will be used for playing prompts in subsequent menus.
Gather Customer's Response: This node enables us to take input from the customer. This node is used when you want to take different paths/ actions for different use cases in the IVR.
Record Voicemail: This node in Sprinklr IVR allows customers to leave detailed voice messages when agents are busy or outside of business hours.
Send SMS/EMAIL/Whatsapp: This node allows you to send messages through SMS, Whatsapp or Email to customer wherever required during the IVR Flow.
Send Survey: This node is used to send automatic surveys that are pre-configured in the Sprinklr Survey Builder.
Deflect: This node is used to deflect the customer to other channel. Deflection is possible for 4 channels - SMS, Email, Whatsapp and Live Chat.
VXML Connect: Integrate the this node into your IVR system and provide the VXML URL for script hosting, configure API input parameters to gather relevant information, define parameters to send to the API, set up API output parameters to capture responses, and specify where to store the API output value within the IVR system. This streamlines the communication between the IVR and external services, allowing for a dynamic and customized user experience based on API interactions.
System Actions Nodes:
Decision Box: in IVR allows to create multiple paths based on specific conditions. In this you can specify the criteria for selecting a particular path.
API: are mini programs that help to fetch data from third party servers or applications. This node helps to pull information using APIs based on specific inputs. This allows us to use the retrieved data in the IVR for self-service options and routing decisions, enhancing the customer experience.
Custom Field Action: This Node is used to add, remove, merge or in general edit any custom fields for case and profile.
Set Priority: This node allows assigning priority to callers within the IVR, ensuring that high-priority callers receive preferential treatment when assigning agents. It helps brands prioritize valuable customers for enhanced service delivery.
Set Skill: This node helps in tagging customer calls with the right skills, which are then considered during call routing to connect customers with agents who have the necessary expertise.
Add or Remove from Queues: This is used to add or remove the current case from a case queue.
What is case queue? Queues in Sprinklr are a collection of entities. A particular case queue is noting but a bucket of cases. Cases can be added or removed in their respective queues either automatically using macros or rules; or manually by agents.
Merge Profile: This node facilitates the merging of customer profiles from different channels into a universal profile. By doing so, agents can easily access and view all customer details and past interaction across multiple channels.
Note: In IVR, generally we merge the phone number profile with the Email profile.
Get Business Hour: This node helps you to put condition on business hour. This node is particularly useful when you want to create paths based on whether the call is received during or outside of business hours.
Work Queue Properties: This node retrieves real-time information about a queue, such as estimated wait time, the number of pending cases, and the number of available agents, etc. This data can be used to inform callers about the estimated wait time or offer options like scheduling a callback or deflection.
Add Notes: This allows you to add custom notes inside the IVR at profile & case level. These notes can be used by the brand for internal reference purposes or can be used to give context to the agents when the case assigned to them or can also be used for debugging your IVR.
Loop: In IVR, when we have a variable list of items, such as a list of accounts or transactions, the Loop node allows us to perform actions on each element of the list automatically.
Break Loop: During the iteration process using the Loop node, there might be certain conditions where we need to stop the loop before reaching the end of the list. The Break Loop node helps us achieve this by ending the loop at a specific element.
Call Another Flow: Sometimes, there are certain flows or inputs that are needed repeatedly in different IVRs, such as language selection or phone number input. To make things more efficient, we can create a separate IVR for these repetitive processes and call them within the main IVR whenever needed. Once the child IVR completes its task, control returns to the main IVR for further processing.
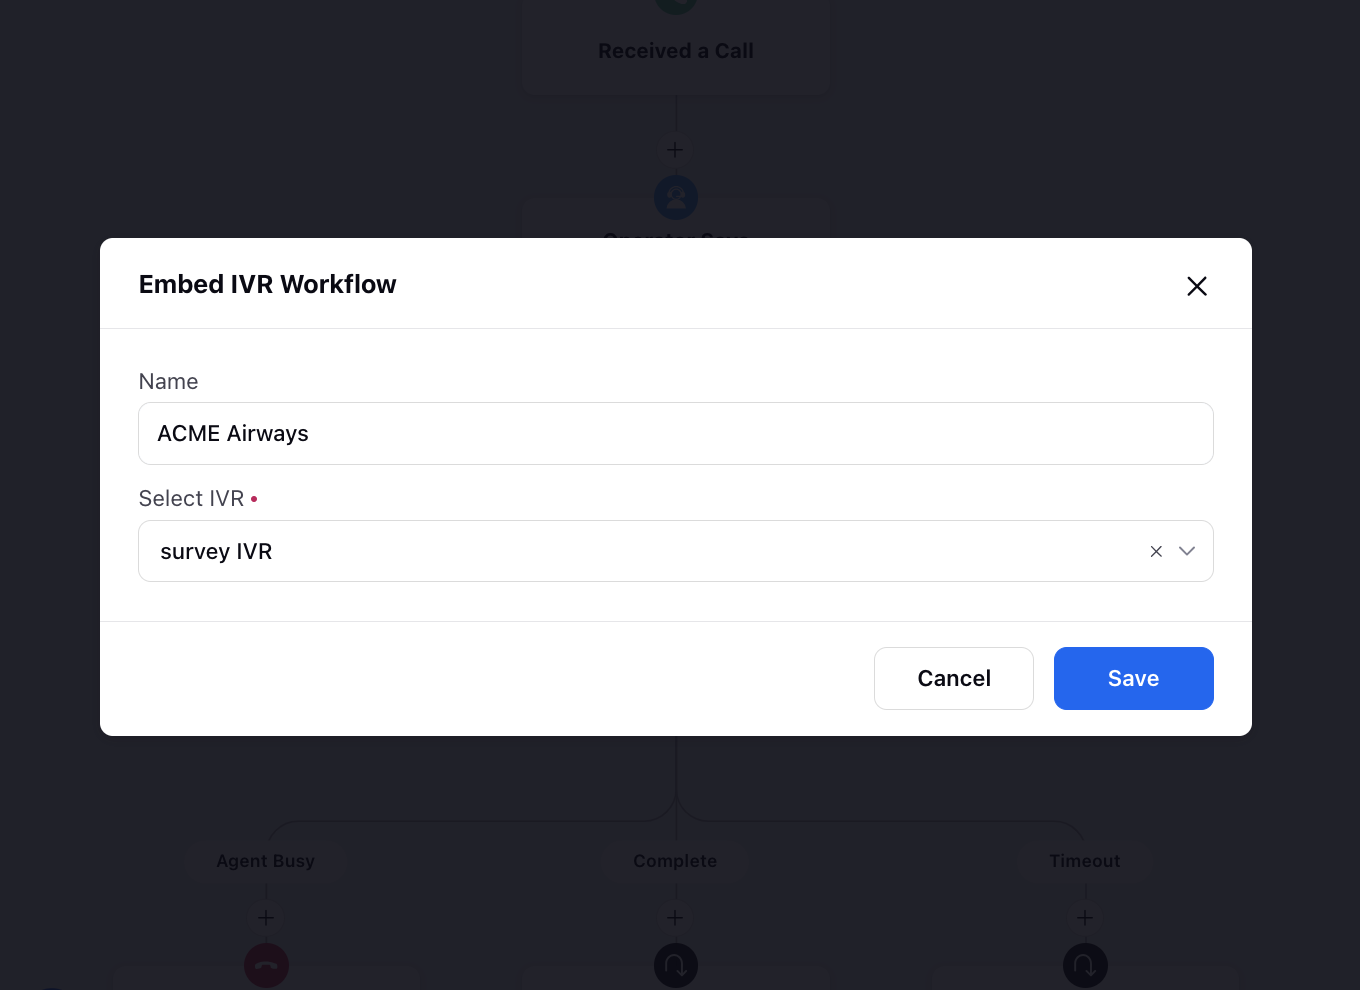
Embed IVR Flow: You can seamlessly integrate another IVR within your current IVR. This allows for the sharing of variables between the embedded IVR and the current IVR, enabling efficient data exchange. In cases where a variable name is identical but holds different values, the value from the later declaration will override the previous one.
Schedule Callback: This node helps callers to schedule a callback in IVR for the later time.
Assign Value: This node is used to set the value for some variable/resources in the IVR.
Get Records: This node is used to load properties for any other case, profile, any custom entity present in the Sprinklr into the IVR.
Update Records: This node is used to update properties for any other case, profile, any custom entity present in the Sprinklr from the IVR.
Create Records: This node is used to create a record like case, profile or any other custom entity present in the Sprinklr from the IVR.
Count Records: This node allows you to count records based on defined conditions and use the results to drive flow decisions.
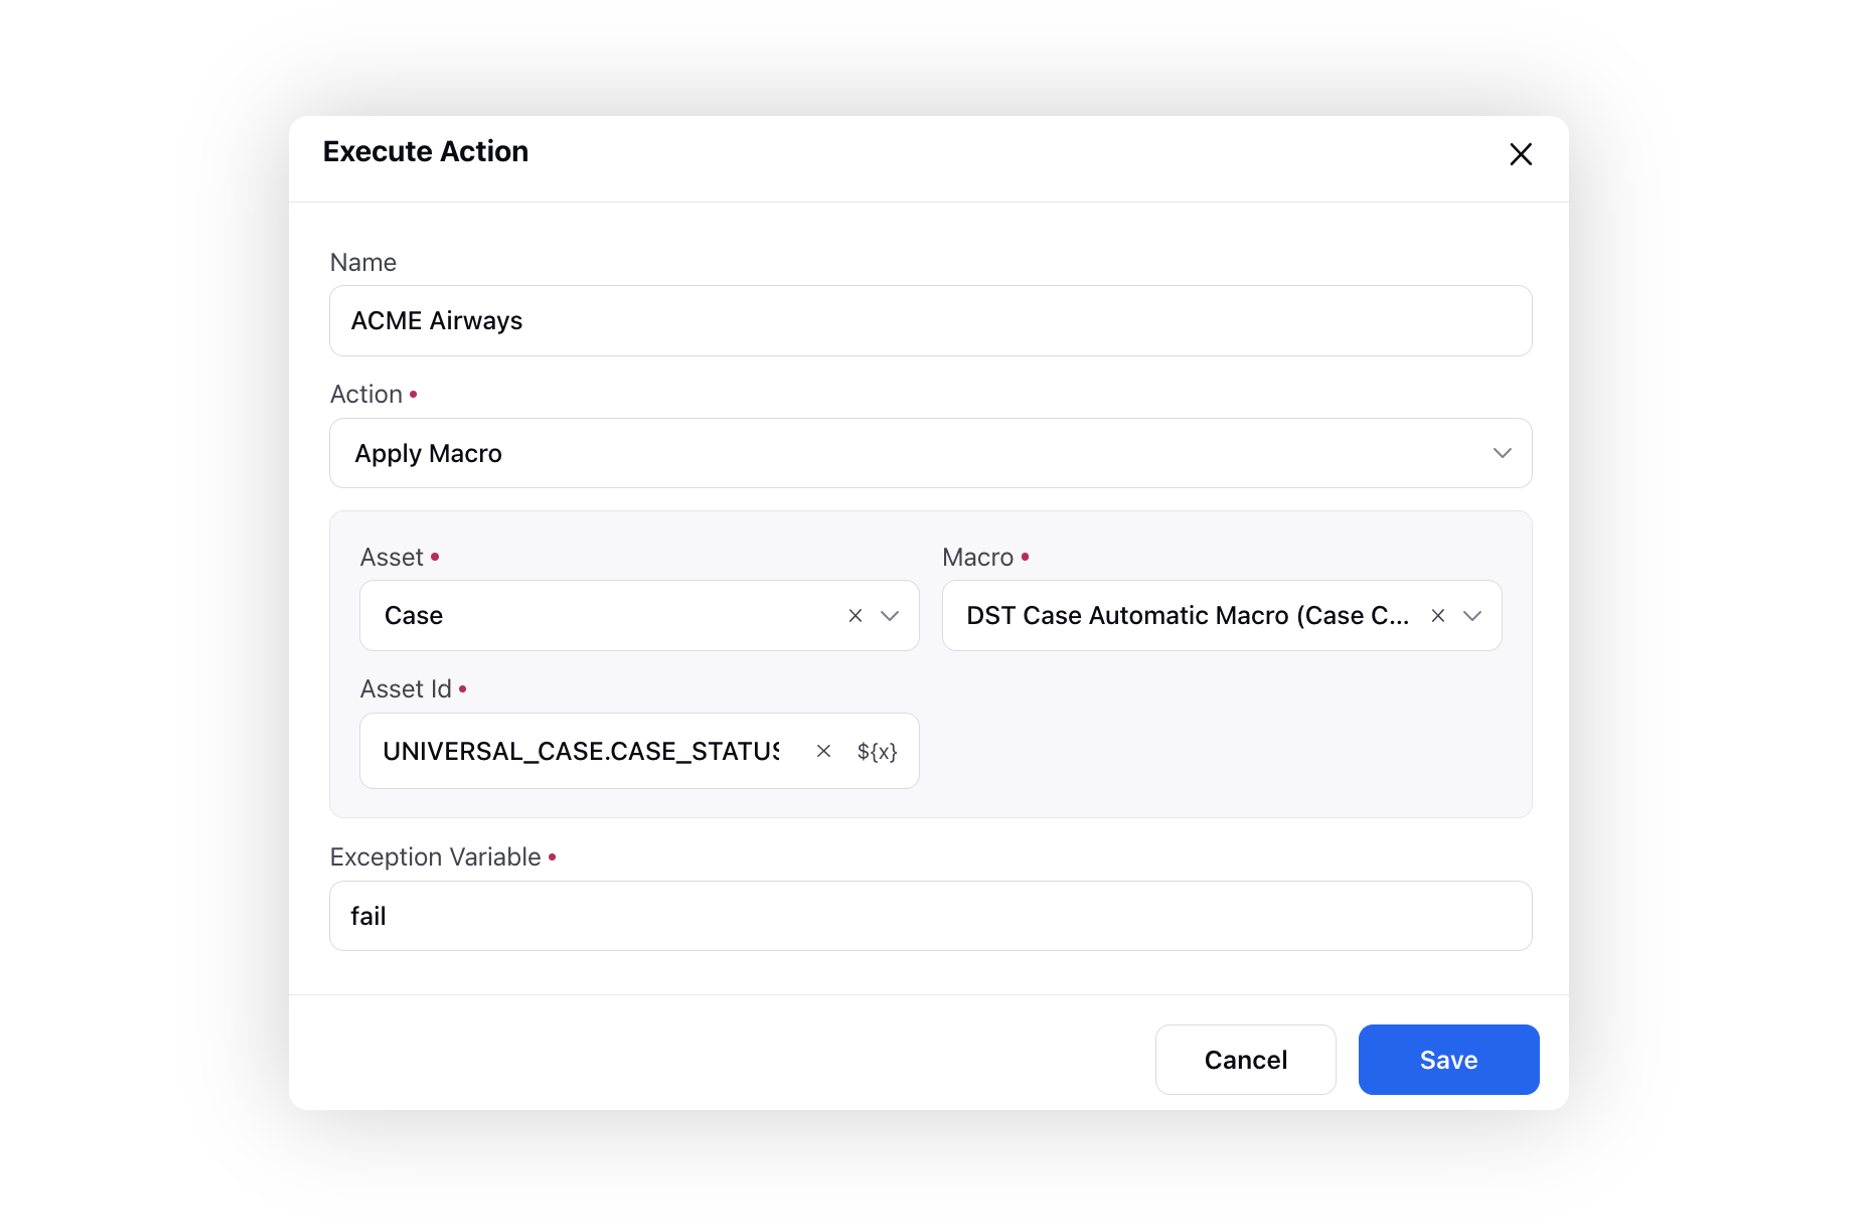
Execute Action: You can utilize this node to apply a macro, fetch all attachments linked to a case and display them within the 'Notes' section in Care Console using the 'Add Notes' node, add the pending cases/calls to the holding queue, or evaluate dynamic script to dynamically assess conditions, make decisions, and store results for further processing. Below this node, you'll find two branches: one for "Success" and the other for "Failure."
Transfer Actions Nodes
Assign Agent: This node is use to transfer the call from IVR to agent
DID Transfer:
a. This node is used for transferring calls to external numbers, unlike the 'Assign Agent' node which transfers calls only to agents within the Sprinklr.
b. This node facilitates call transfers to third-party SIP solutions by providing a SIP URI. It also enables call recording and transcription for transfers to third-party SIP URIs. Additionally, this node supports passing SIP headers from Sprinklr to the third-party SIP URI.
Redirect to Voicebot: This node transfers the call to a voicebot, allowing callers to navigate the workflow using their voice instead of keypad inputs. It functions similarly to the 'Call Another Flow' node, returning the call to the IVR once the voicebot interaction is completed
Flow Action Nodes
Hang Up: This node is used to disconnect the ongoing IVR call. This is different from end connection as even after the call is disconnected, connection is not broken and the brand can still perform actions like sending surveys, email etc.
End Connection: This is the final node in each branch of the IVR that terminates the interaction between the customer and the system. If the End Connection node is encountered within a child IVR, the call returns to the main IVR. Once this node is executed, no further actions can be performed on that path.
Resume Previous IVR: This node becomes handy when a customer drops somewhere in the IVR. If a customer wishes, he can directly continue from where he left on encountering this node.(Generally used with a decision box where the brand gives an option to the customer to either resume the conversation or start a new one). This call has two paths.
Save and Deployment Options
Once you are done with your configuration, you have three options to save the progress-
Save & Deploy: Saves your IVR and deploys it i.e. puts it in ‘Active’ state. Only after deployment, IVR can be used with an application.
Prerequisite for Deploying IVR: Your user should have IVR Deploy Permission.

Note: It's important to note that if you plan to use the IVR in a "Call Another Flow" scenario, the child IVR also needs to be in the active state for the option to add it to the main call flow to appear.
Save as Draft: Choosing this option saves your IVR configuration as a draft version, which sets its status to "Paused." This allows you to save your work and make further modifications at a later time without activating the IVR immediately.
Close: Clicking on this option closes the IVR configuration interface without saving any changes. It is essential to note that closing the IVR without saving will result in the loss of any unsaved progress.
Deployment and Setup
Prerequisite for Setup voice IVR on Voice application- Your user should have Manage Voice Application Edit or Create Permission and the application must be shared with you.

To activate your IVR and set it up for use in a voice application, follow these steps:
Click on "Save & Deploy" located at the bottom right of the IVR builder. This action will activate the IVR and make it ready for deployment.
Proceed to the "Voice Care" module within the Sprinklr Service launchpad. You can find it under the "Listen" section.
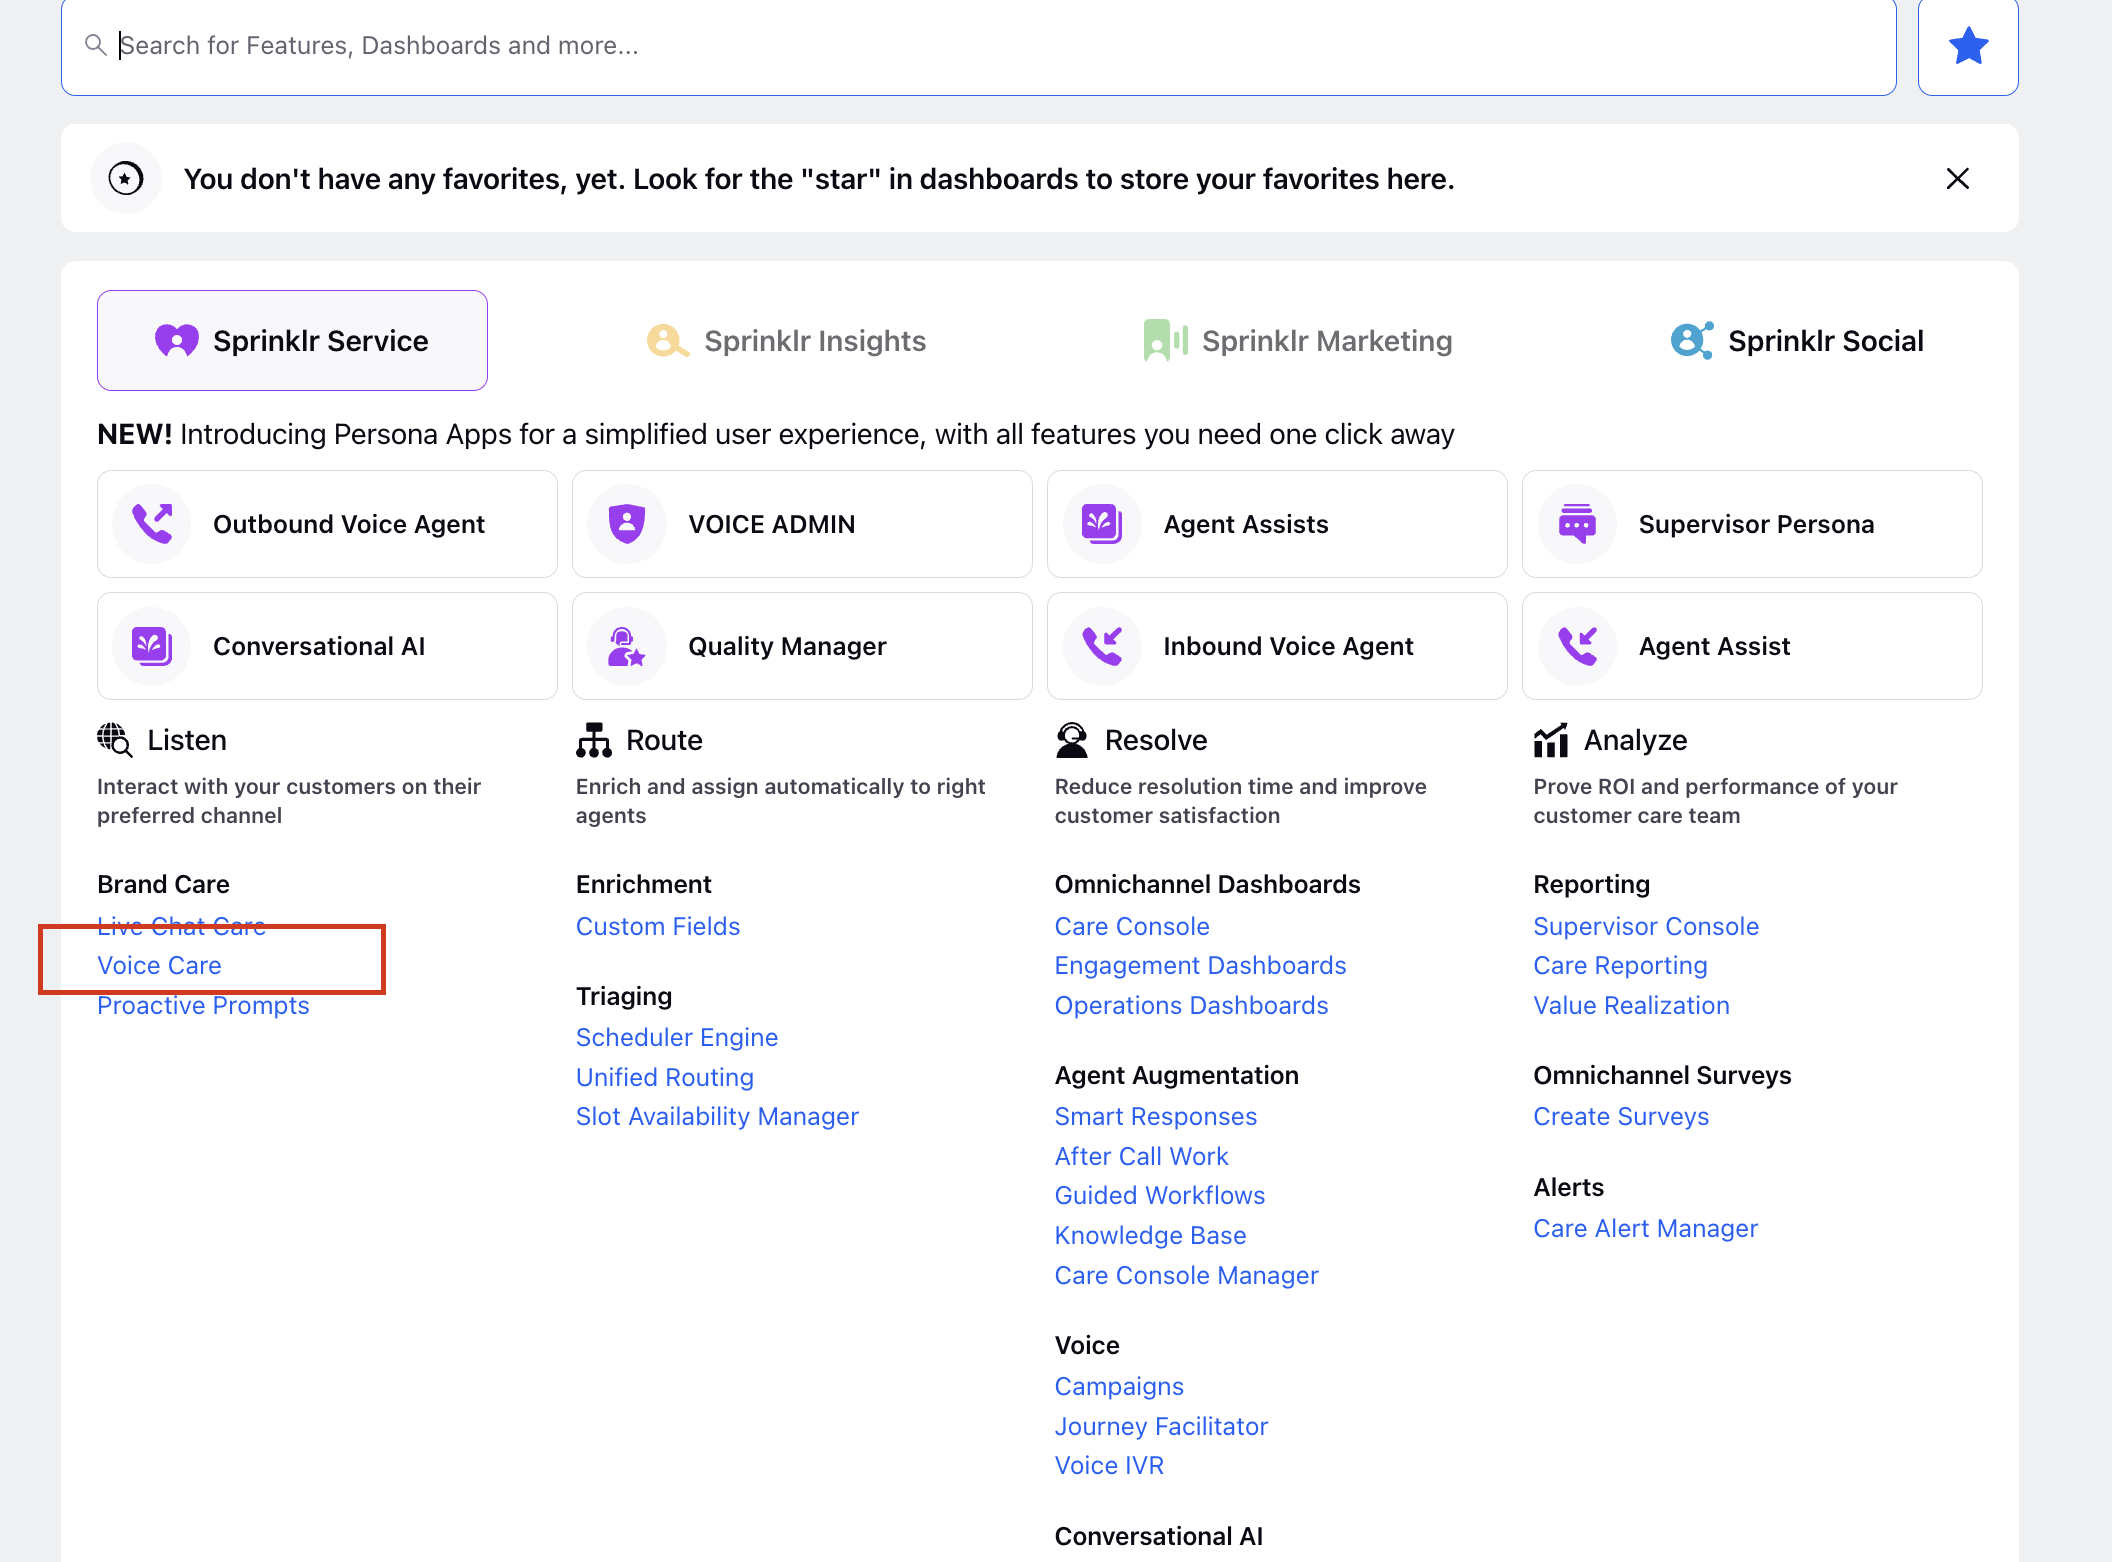
Inside the "Voice Care" module, you will see list of applications that have been added to the Sprinklr. Click on the three dots located on the left side of the desired application to which you want to add the IVR.
Within the application settings, search for the field labeled "Select IVR Process". From the dropdown menu, choose the specific IVR you want to associate with the account. After selecting the IVR, click on the "Save" button.
Note: Only active IVRs will be visible in this selection.
Congratulations! Your IVR is now deployed and ready to be used. To test its functionality, you can call the phone number associated with the application and experience the IVR in action.