Create a Post
Updated
You can create a post on the Community Forum. The post can be categorized as Question, Problem, Idea, Praise, Announcements, Articles, etc. based on the options enabled.
On the Community Homepage, click Post Question or the title that you have set.
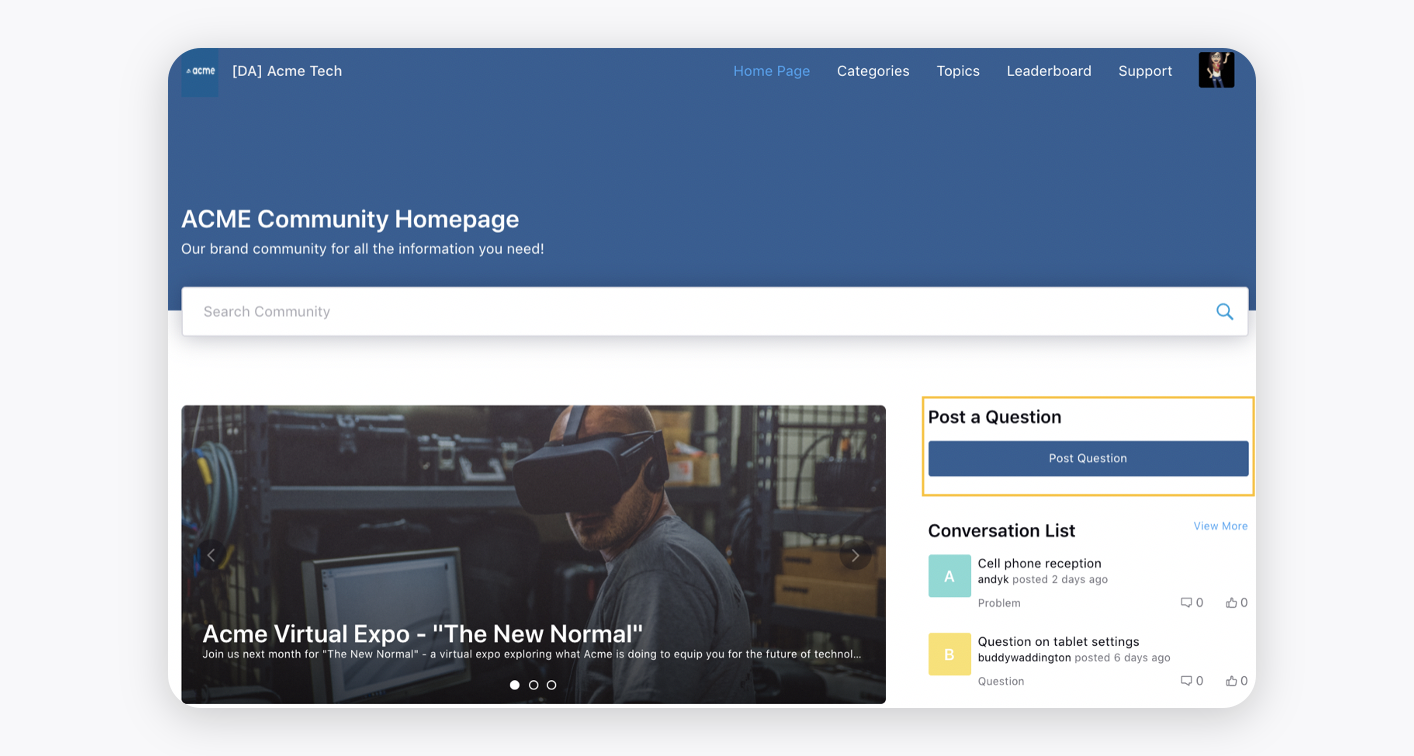
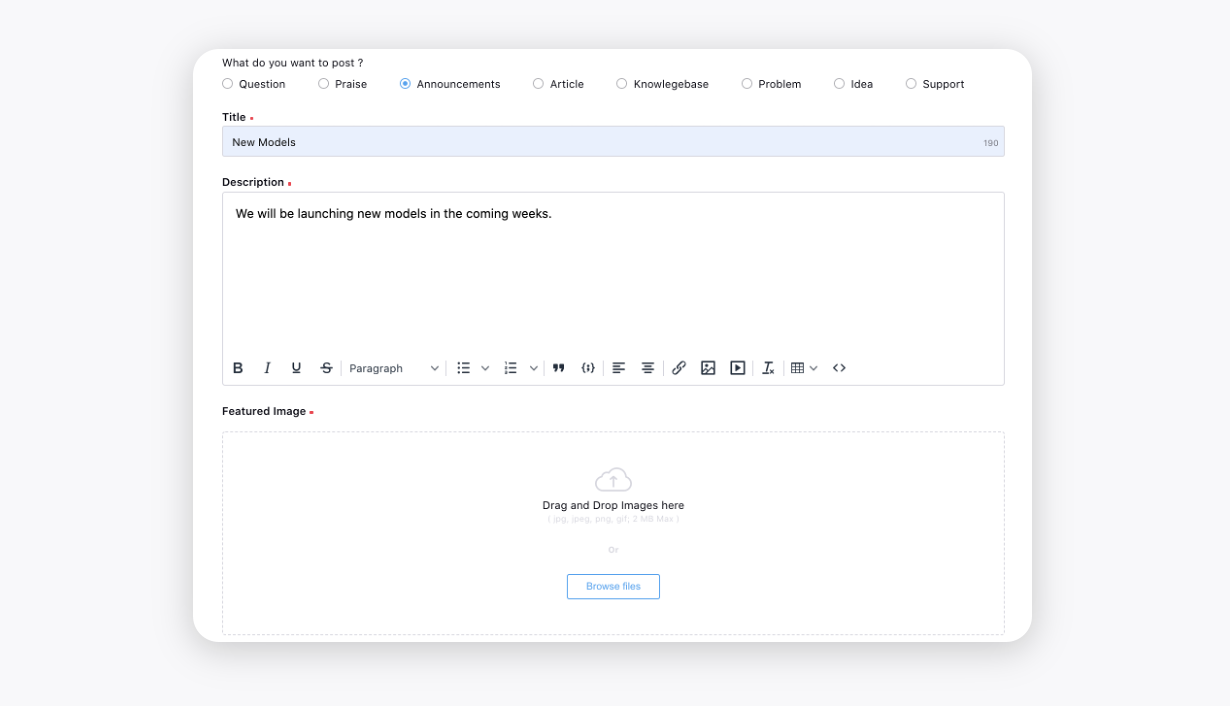
On the New Post window, select the conversation type that you want to post under the What do you want to post section. All the fields displayed on this page are based on the options that are enabled while creating the community.
When creating a new post or commenting/replying in the community, a draft pop-up will appear if there was previously saved content. If the user clicks "load," the drafted content will be added to the post. Conversely, if the user deletes the drafted content, it will be removed.
In the case of multiple drafted contents, the latest draft takes precedence and gets loaded.
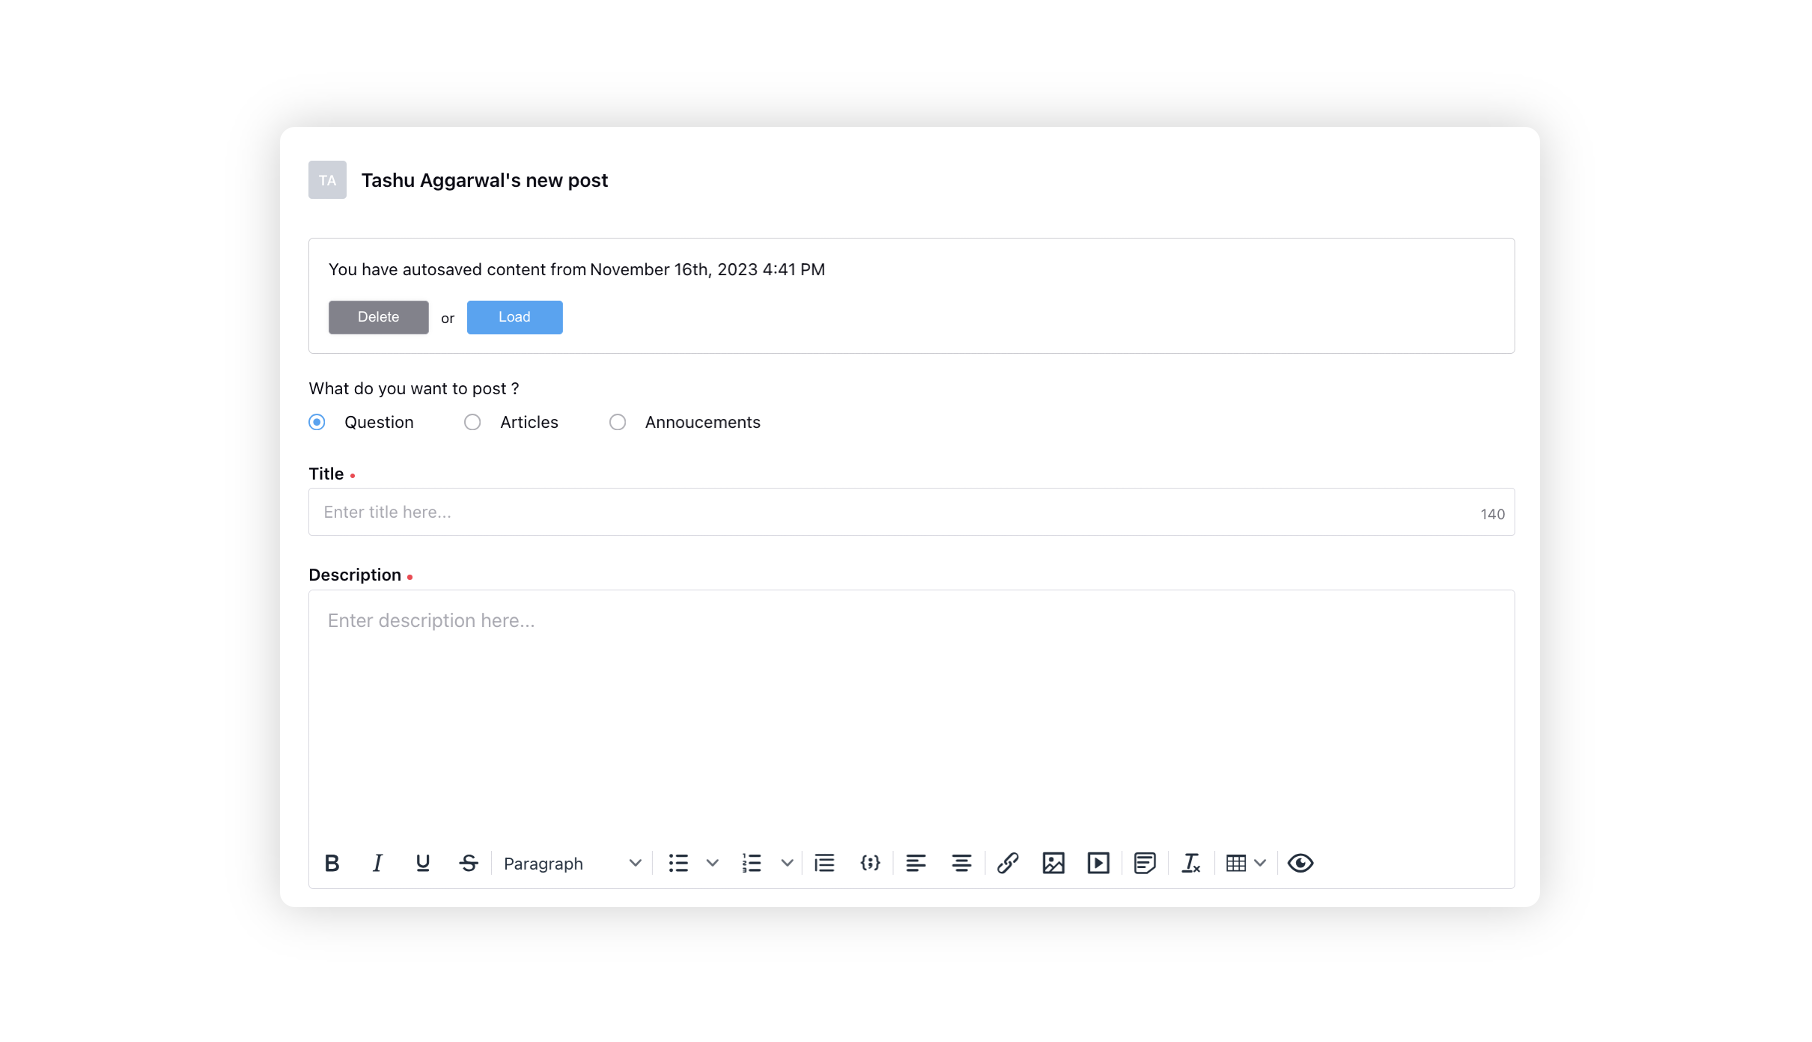
Users will see a message indicating the last auto-save of their draft when they begin creating a new post, comment, reply, or edit a previously saved draft. The message will display: "Your content was last saved at 'x' timestamp," providing users with the date and time of the most recent auto-save.

To utilize the message draft feature, users can enable it in the Profile Settings of the community builder.

Users can enlarge the post, comment, and reply boxes for a more spacious and comfortable writing experience, promoting better content creation and expression.

Enter a Title and Description for the post.
As soon as, you start typing the title of the post, related posts and articles will automatically be suggested to you to refer to, helping you avoid duplication. It will also help brands save their time as they won't need to engage with similar posts.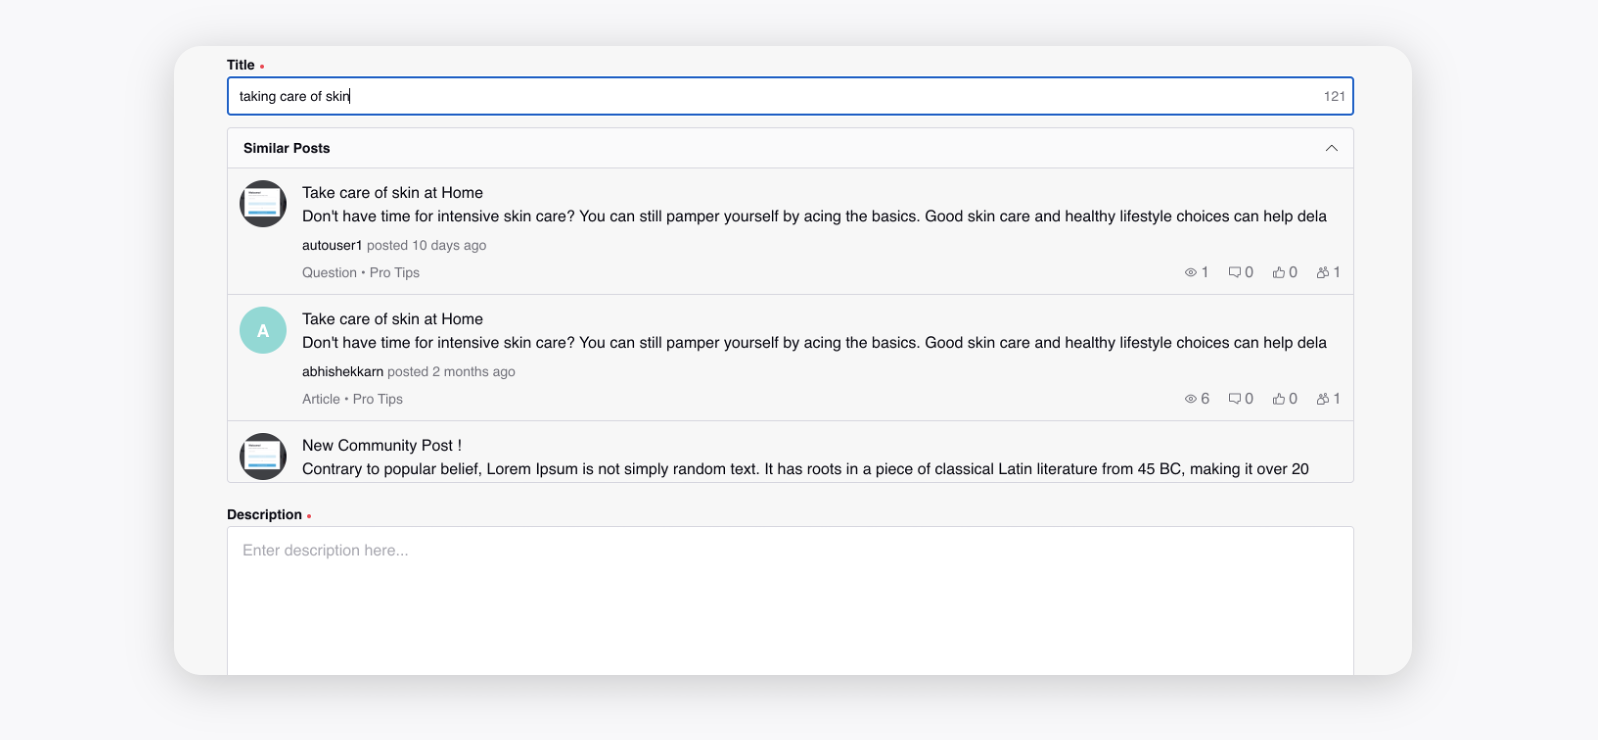
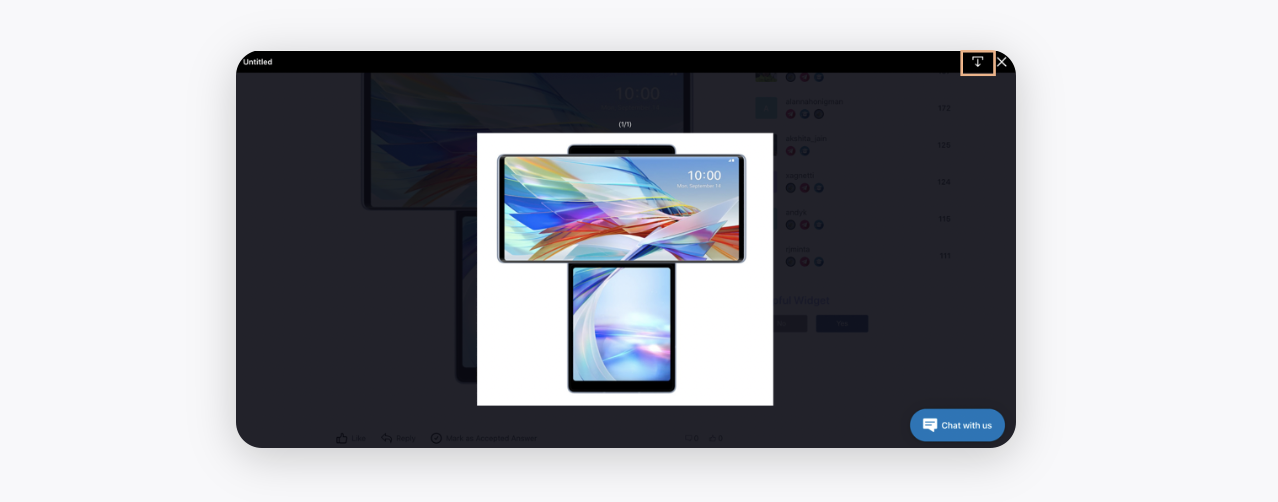
For description, you can use different formatting styles available at the bottom and also insert images (upload images or add image links from Digital Asset Manager, Google, etc.), videos (add video links from Digital Asset Manager, YouTube, or Vimeo), code blocks, tables, etc. By clicking on the Image icon, you can also select the Canned Images created in Profile Settings. You can also view and edit the source code of the content if you have the permission Publish Custom HTML.Clicking the Preview icon, you can preview what the post will look like before posting it.
Note: Click on the image posted with a post/comment/reply to see the original size of the image in a modal view. You will also be able to download the image.
For Articles and Announcements, you can add a Featured Image directly while creating a post on the community forum.
Select Category, Topics, and Tags from the drop-down menus. You can also create new tags here.
Note: The Category, Topic, and Tags fields are customizable and will appear only if you have enabled them.
Check the Post this conversation privately box, if you want your post to be private. To view this option, the user must have the Manage Self Private Messages permission. These private posts/comments/replies will only be visible to those users who have the permission Manage Private Messages.
Check the box alongside Edit this conversation silently? to edit your posts silently so that the edited post doesn’t start appearing at the top as the activity time gets updated. This option will only be visible to those users who have the permission Silent Edit any Message.

Click Post in the bottom right corner.
After clicking on Post if the user is asked to signup/sign-in to Community, they can do so by entering the OTP that they receive on their email for verification without the need of going to a different page by clicking on a one-time link sent on their email.
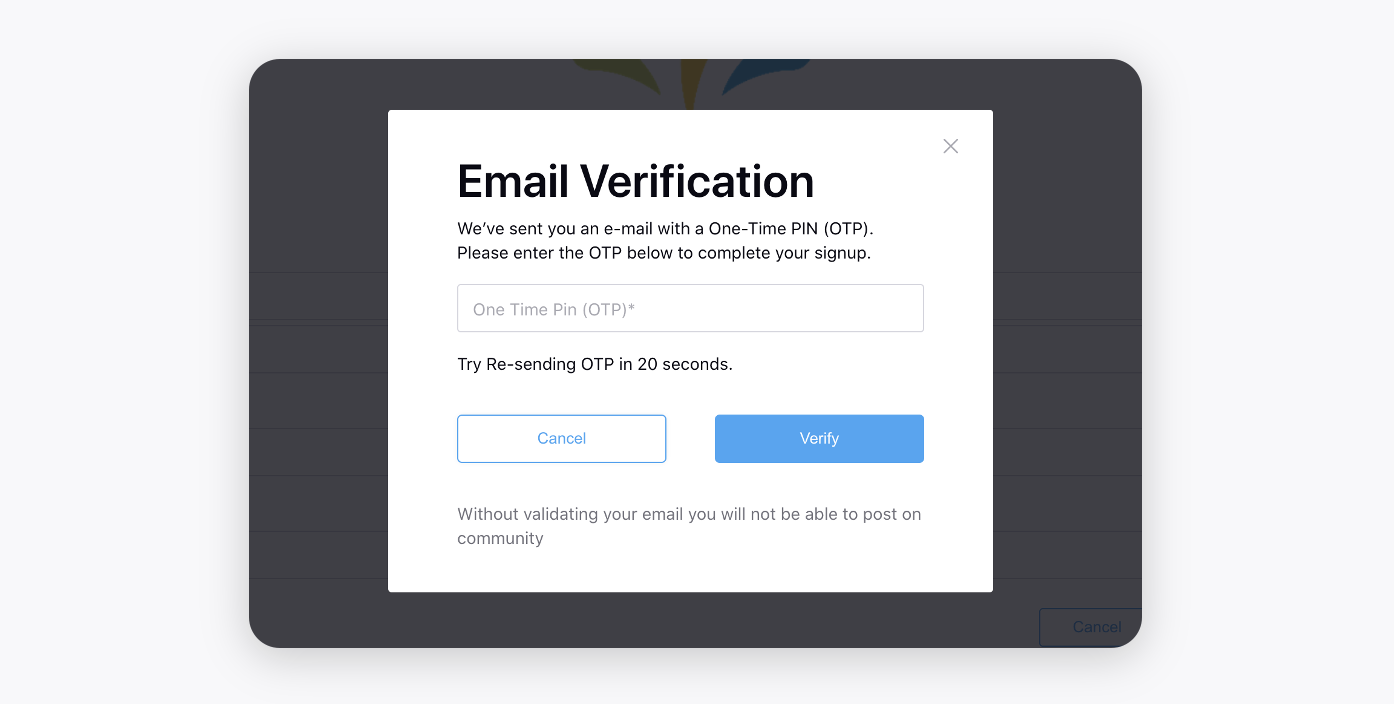
You can also set the OTP Expiry time (in seconds) within the SignUp Page section of Content settings in the builder.

Post Options
The users can Like, Comment, Follow, and Share a post.
While writing a comment, you can also @mention community users.
You can use different formatting styles available at the bottom and also insert images (upload images or add image links from Digital Asset Manager, Google, etc.), videos (add video links from Digital Asset Manager, YouTube, or Vimeo), code blocks, tables, etc. By clicking on the Image icon, you can also select the Canned Images created in Profile Settings. You can also view and edit the source code of the content if you have the permission Publish Custom HTML.
After following a post, the users will receive updates on that. The users will also be able to receive Platform/Email notifications when a post they are following is edited. To get this capability enabled, reach out to support at tickets@sprinklr.com.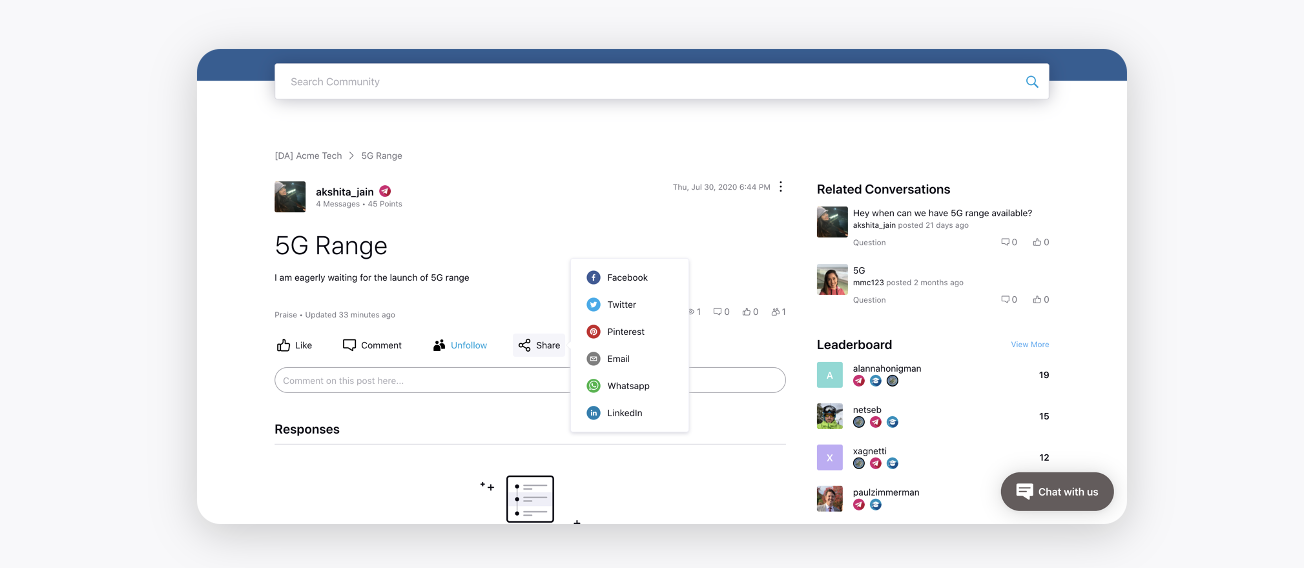
For the Idea posts, you will have an option to upvote or downvote the idea instead of liking the post. This will help you understand how many users support the idea.
The community admins can click Activity at the bottom of the post to view all the actions performed by the users on that post.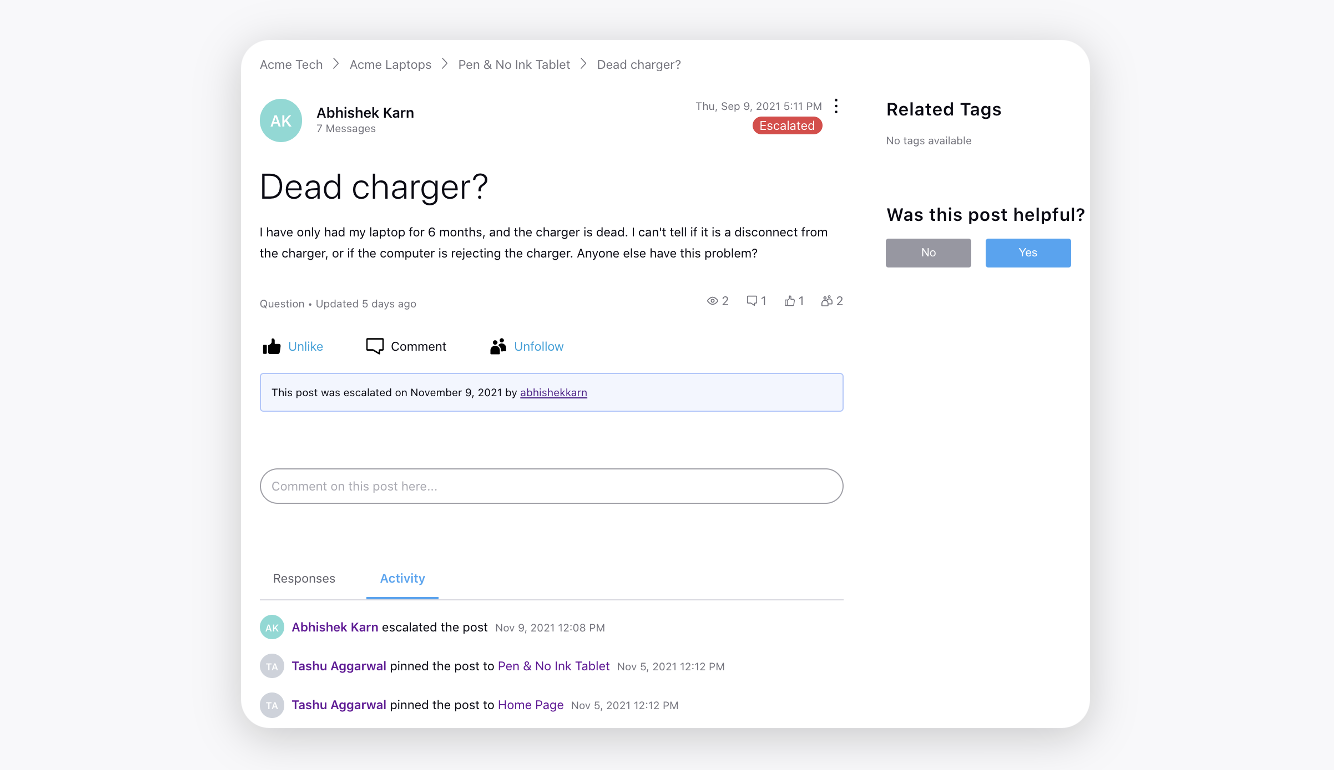
Comment Options
For comments, you can Like, Reply, and Mark as Accepted Answer. While replying, you can also @mention community users and enlarge the comment box for a more spacious and comfortable writing experience, promoting better content creation and expression.
Marking the comment as an accepted answer is done to show that the comment is an accepted solution or answer for the post. To view this option, the user must have the appropriate permission. By default, the authors of the post have the permission to mark/unmark any comment on their posts as an accepted answer.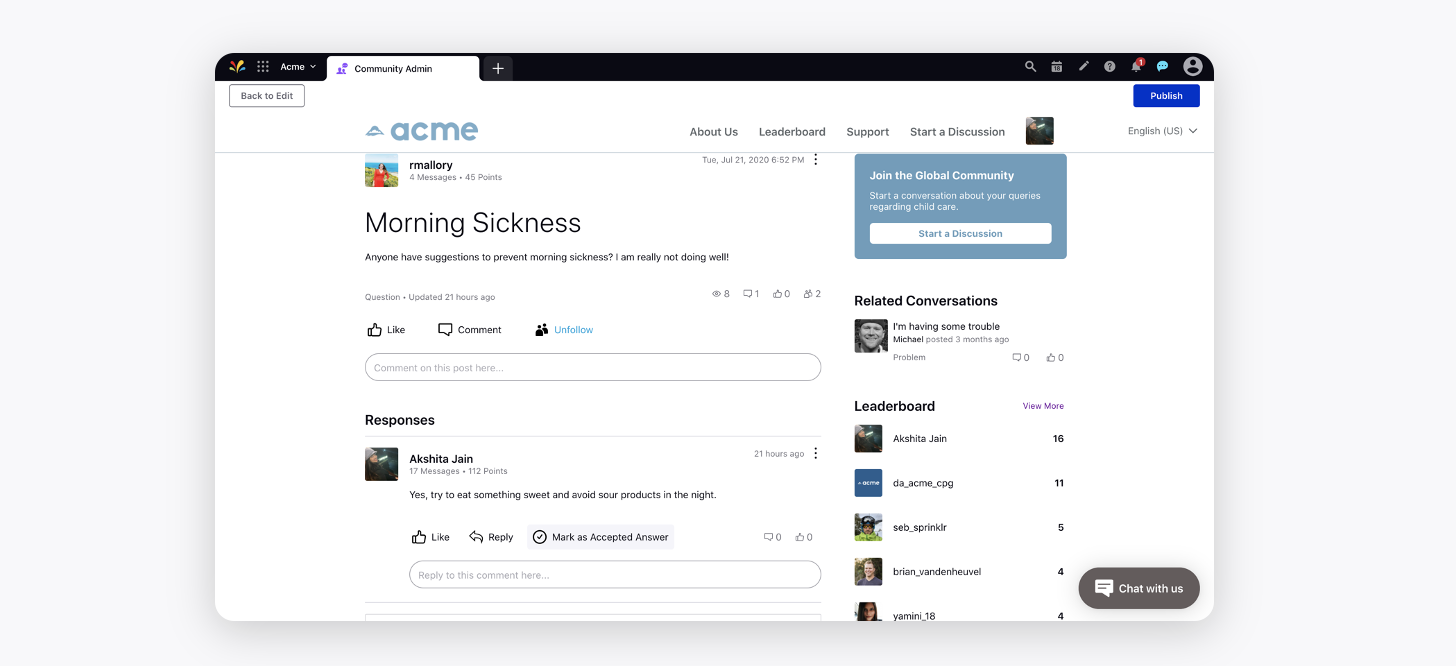
Bulk Mention User Groups
Authorized users with the Mention User Groups permission can mention specific profile lists in posts, comments, and replies. All users in those lists will receive an individual notification for the mention.
.png)
These profile lists can be defined within the "Conversation Create Page" section under "Content Settings" in the builder. To enable bulk mentions, toggle on the "Allow users to mention profile lists" option and then select the desired profile lists for use.

Post Templates
You can create post templates within the "Post Templates" section under "Content Settings" in the builder, allowing predefined templates to be used during post creation. When creating a template, you can select from a list of rich text templates available in the Digital Asset Manager. Additionally, you can specify the post types, categories, and topics where these templates will be applied, ensuring they are used in relevant contexts. Templates can also be enabled globally, allowing them to be applied across the entire community.

.png)
SEO Page Title and Description
Authorized users with the Manage Meta Tags permission can add an SEO page title and description when creating posts. These entries will be included as meta tags, specifically the meta title and meta description, in the post's HTML code. This feature enhances the post's visibility on search engines by providing clear and relevant information that helps improve search rankings and click-through rates, ultimately increasing engagement with the content.
.png)