Welcome Guide for Users
Updated
Sprinklr Community allows users with a myriad of opportunities to engage, connect, and achieve their goals. They can participate in discussions, share their knowledge and experiences, seek advice, and offer support to fellow members. By actively contributing to the community's content, users can establish their reputation, build professional networks, and gain valuable insights from experts in their field. Additionally, they can participate in events, contests, polls and other engagement initiative to gain recognition and rewards. This article lays down the sign up process along with the simple actions they can take on the community.
Note:
|
Sign up in Community
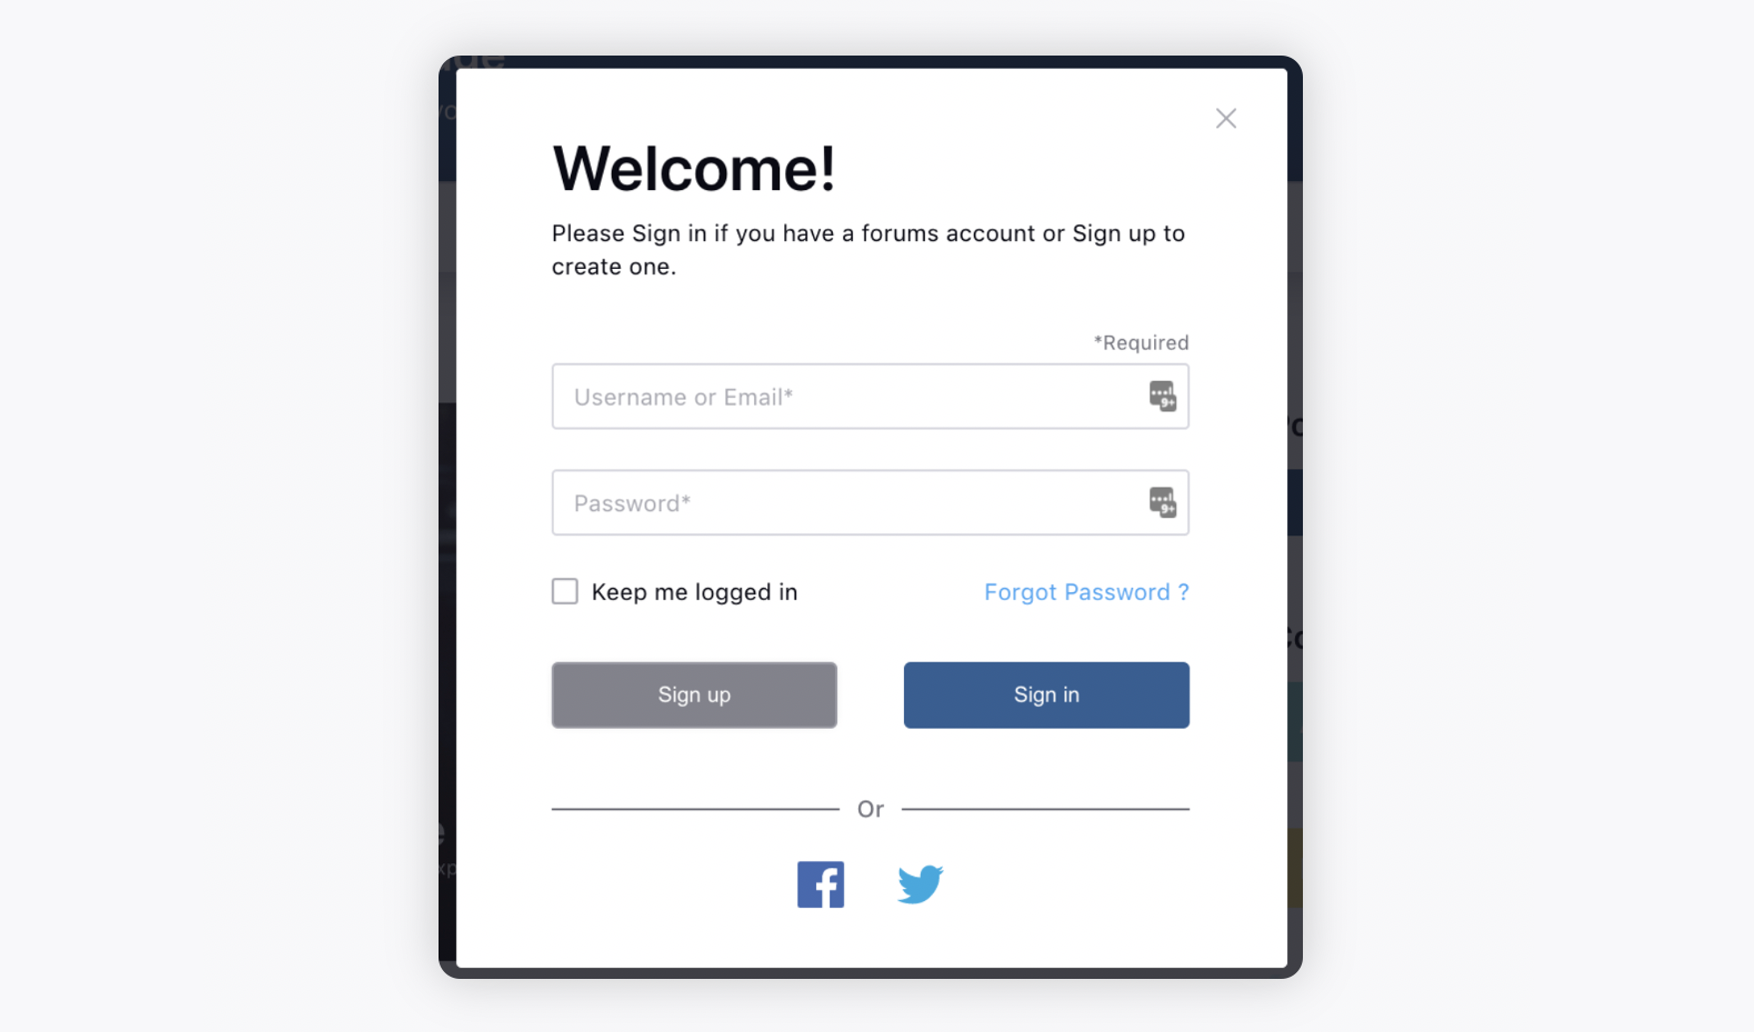
From the top navigation bar of the Community Homepage, click Sign in.
Note:
You can block users from login/signup into the community by providing their IP addresses/emails. Also, you can define the email domains to allow only those to signup on Community. To enable these capabilities, raise a support ticket at tickets@sprinklr.com.
On the Welcome pop-up window, click Sign up.
On the Let's Get Started window, fill in the First Name, Last Name, Username (Username must be 3 characters long. It could contain lowercase(a-z), number(0-9) and special characters), Email, and Password. (Password must have at least 8 characters, contain one uppercase letter, contain one lowercase letter, one number (0-9) and one special character (!,$,#,…))
Check the I'm not a robot box.
Click Sign up at the bottom.
Forgot Password
You can implement rate limits and enable reCAPTCHA for the "forgot password" flow to enhance security measures by reaching out to Sprinklr support at tickets@sprinklr.com .
IP-Based Limiting:
This feature prevents a single IP address from generating too many requests, which could suggest a DDoS attack or a malfunctioning script. The specific limit would vary based on expected traffic, but a common value might be 10-20 requests per hour.
User-Based Limiting:
This functionality restricts a single user from making excessive requests. The limit could be set based on specific requirements, with a typical value being 3-5 requests per hour.
IP-User Combination Limiting (Current Implementation):
This feature prevents a single user from making an excessive number of requests from a single IP address. It proves useful in scenarios where a user shares an IP address, such as in a public WiFi hotspot. The limit for this could align with the user-based limit.
Additionally, reCAPTCHA will be incorporated, with backend token verification at every attempt for added security.
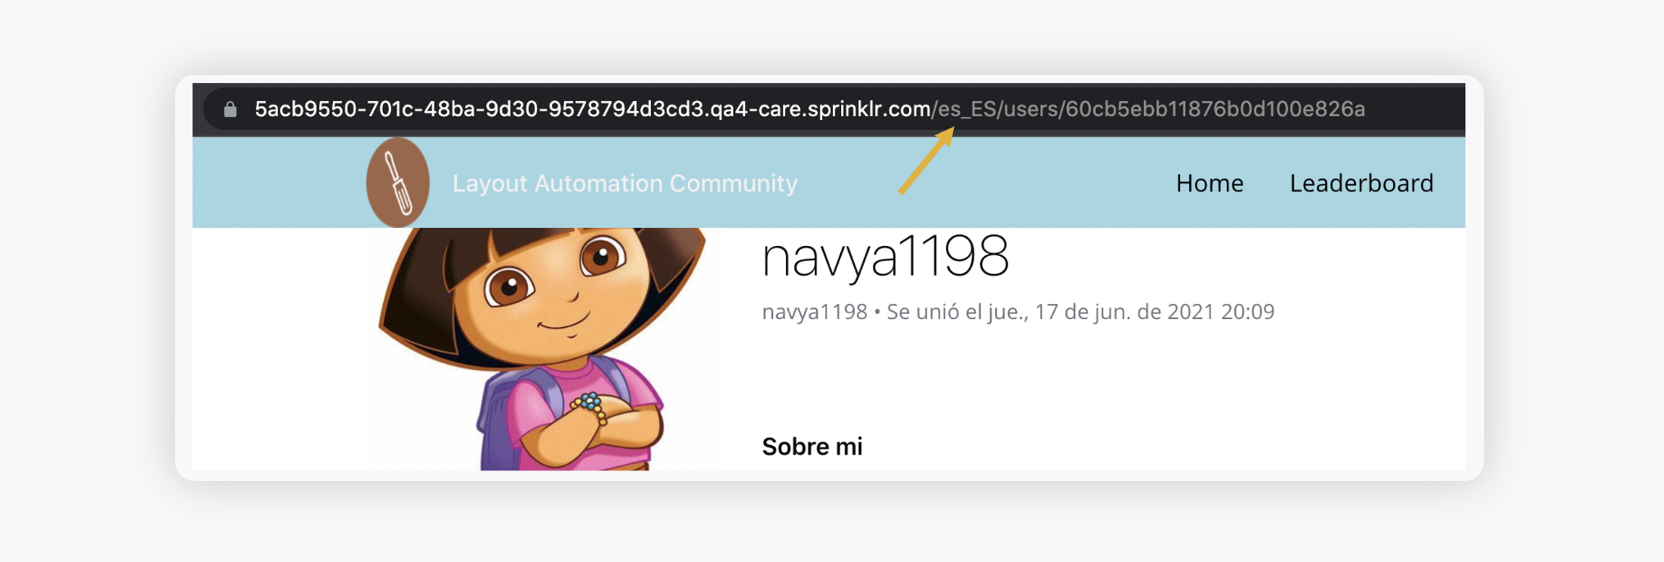
View User Profile
Your user profile contains information like username, email, badges, points earned, etc. It also shows the engagement stats including likes, comments, replies, and posts. The user activities are also displayed in chronological order.
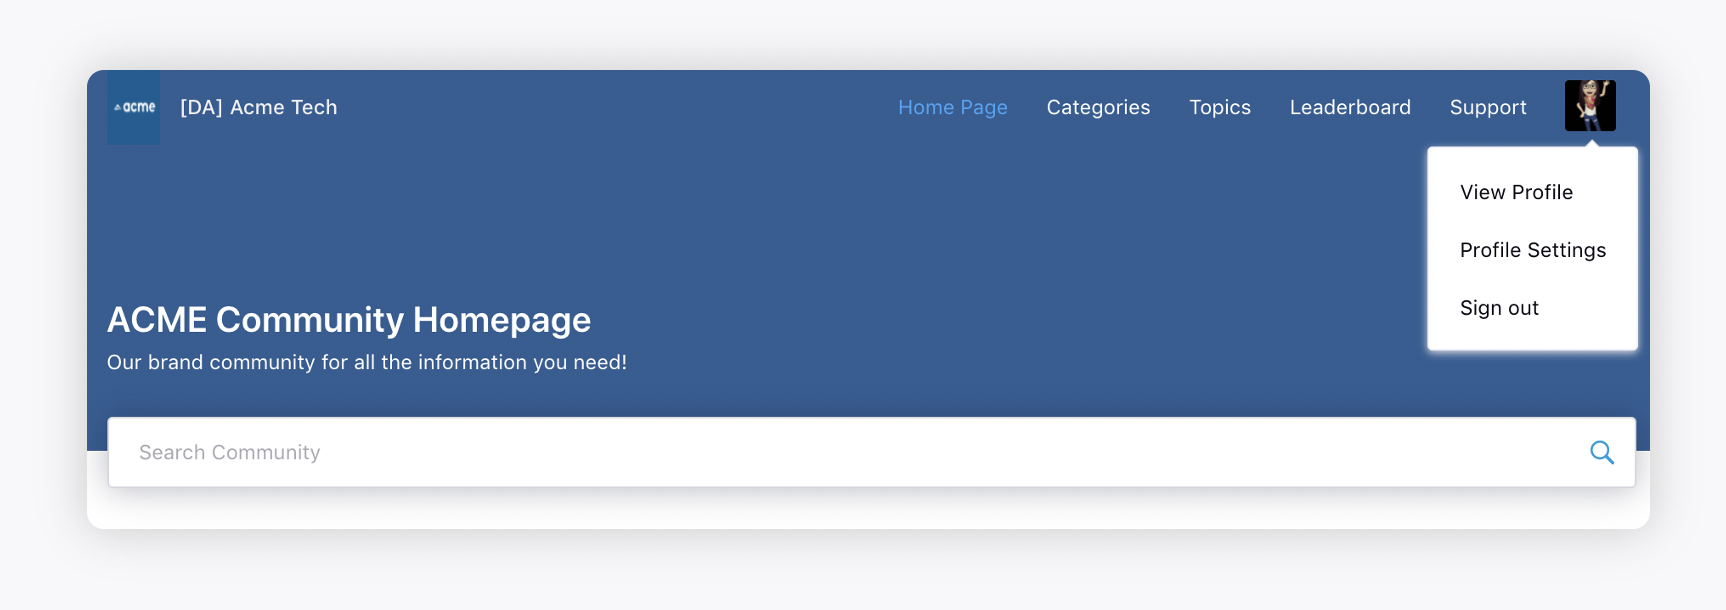
In the top right corner of the Community Homepage, click the Initials of your user.
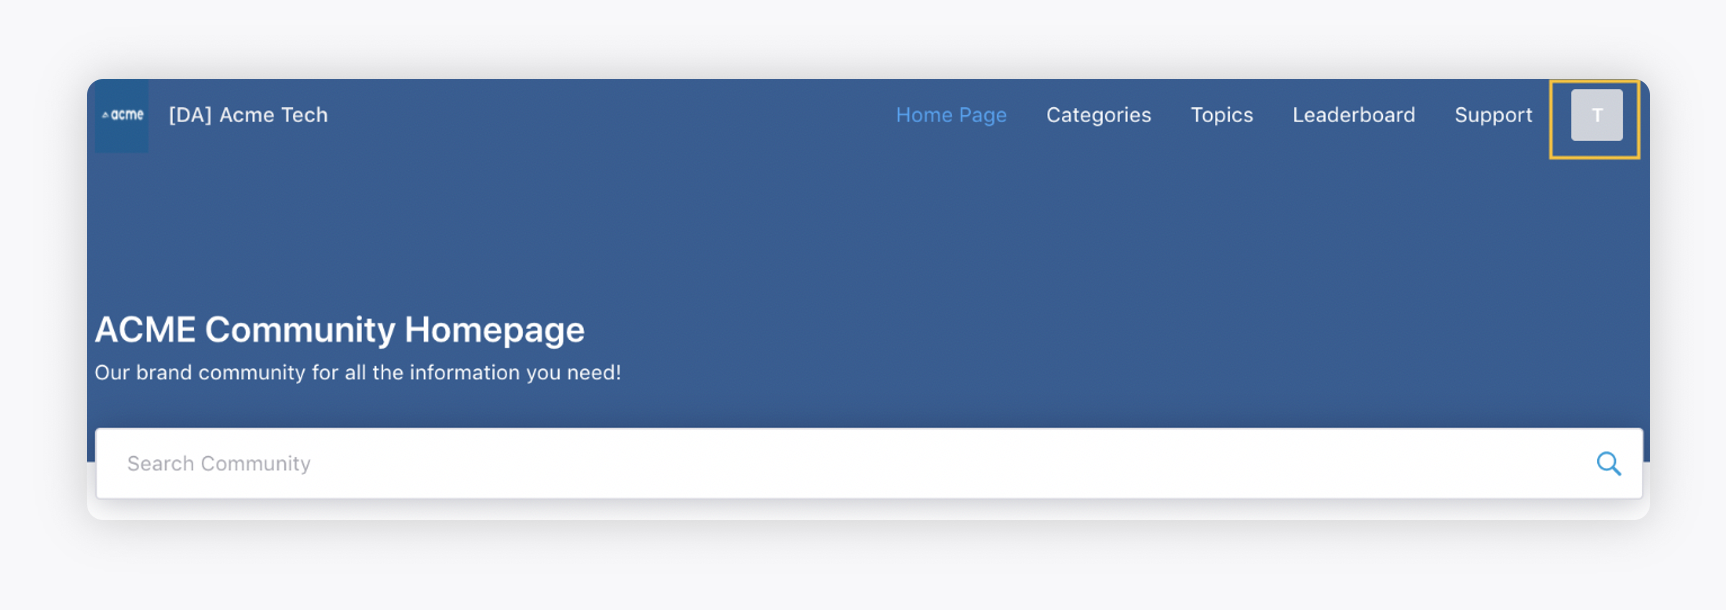
Select View Profile from the drop-down.
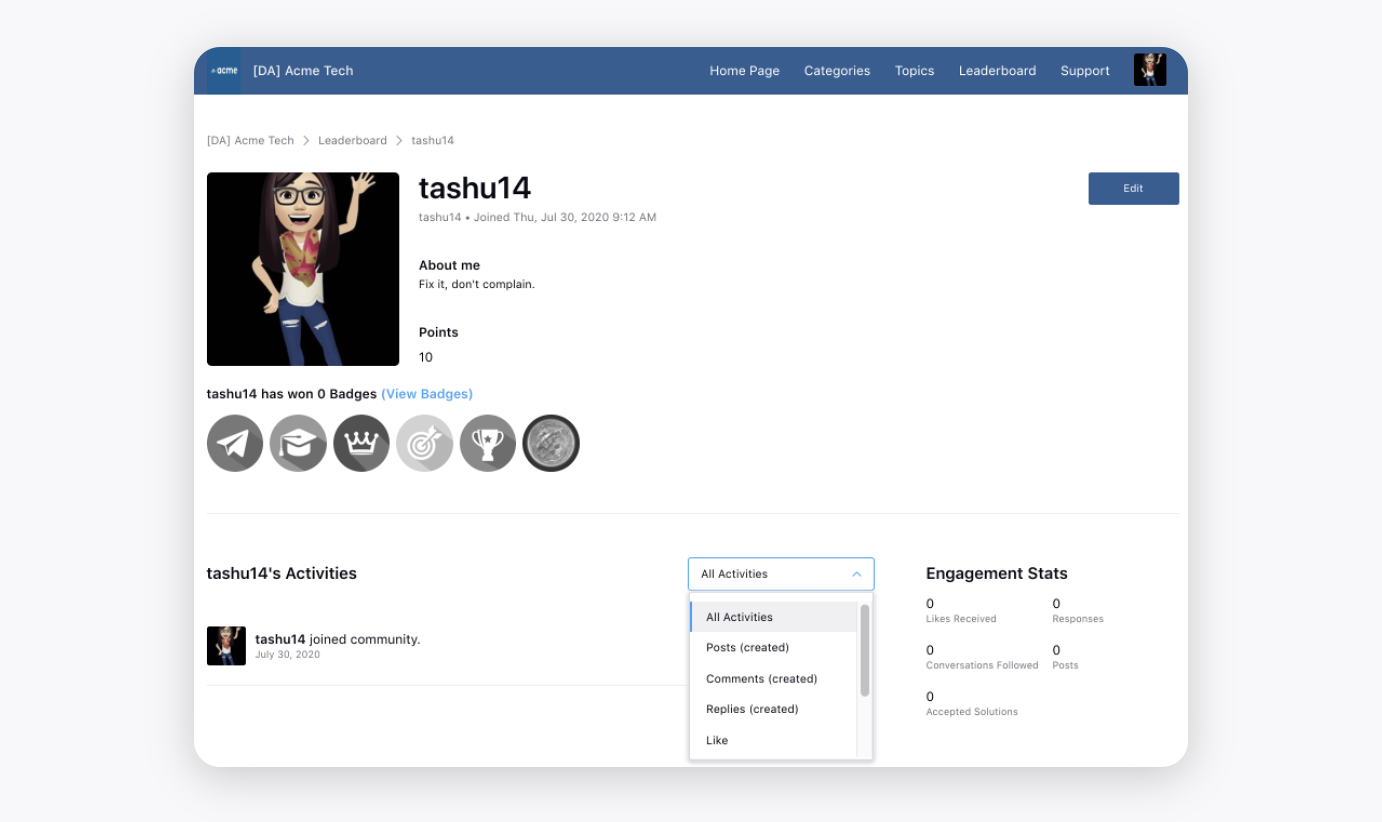
Here, you can view the User Profile, Badges, Points, Engagement Stats, and Activities. You can also select an individual activity to be displayed. Also, you can edit the user profile details by clicking Edit.
View and update Profile Settings
In the top right corner of the Community Homepage, click the Initials/image of the user.
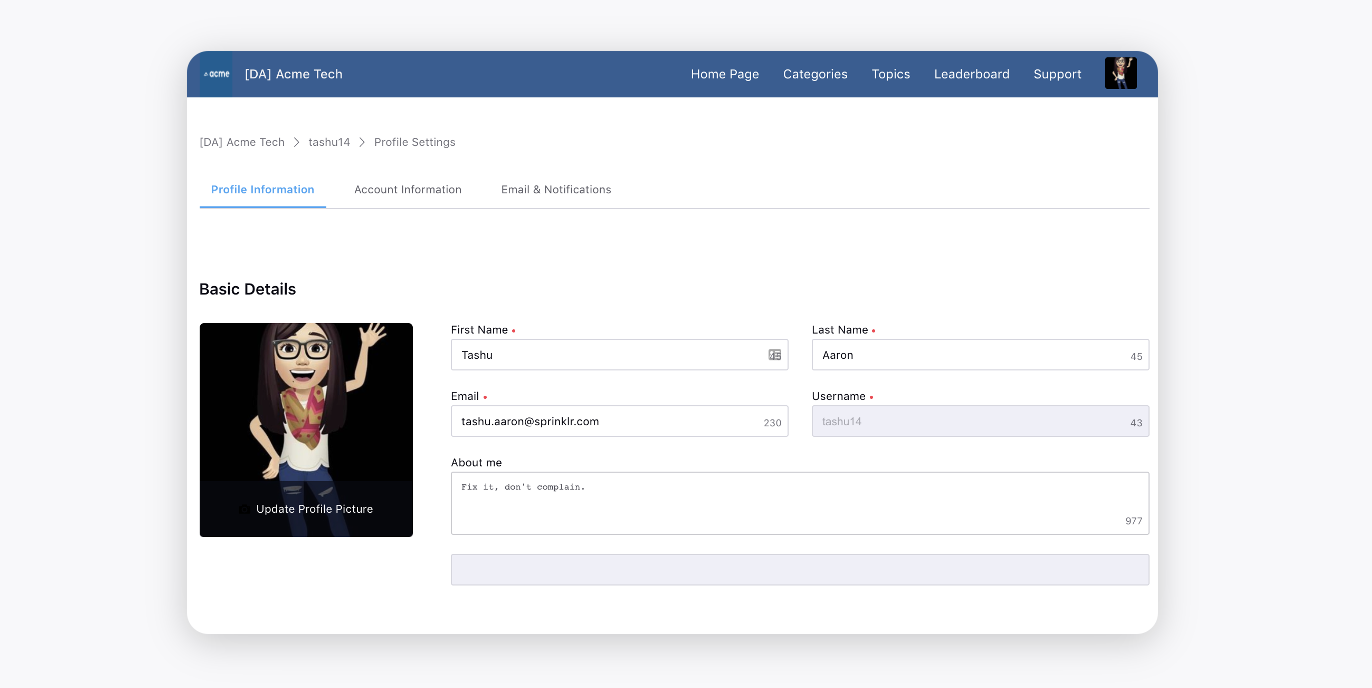
Select Profile Settings from the drop-down menu.
You can change your Profile Information such as Profile Picture, First Name, Email, etc. You can also opt out of private messaging. For more information, see Peer to Peer Chat.
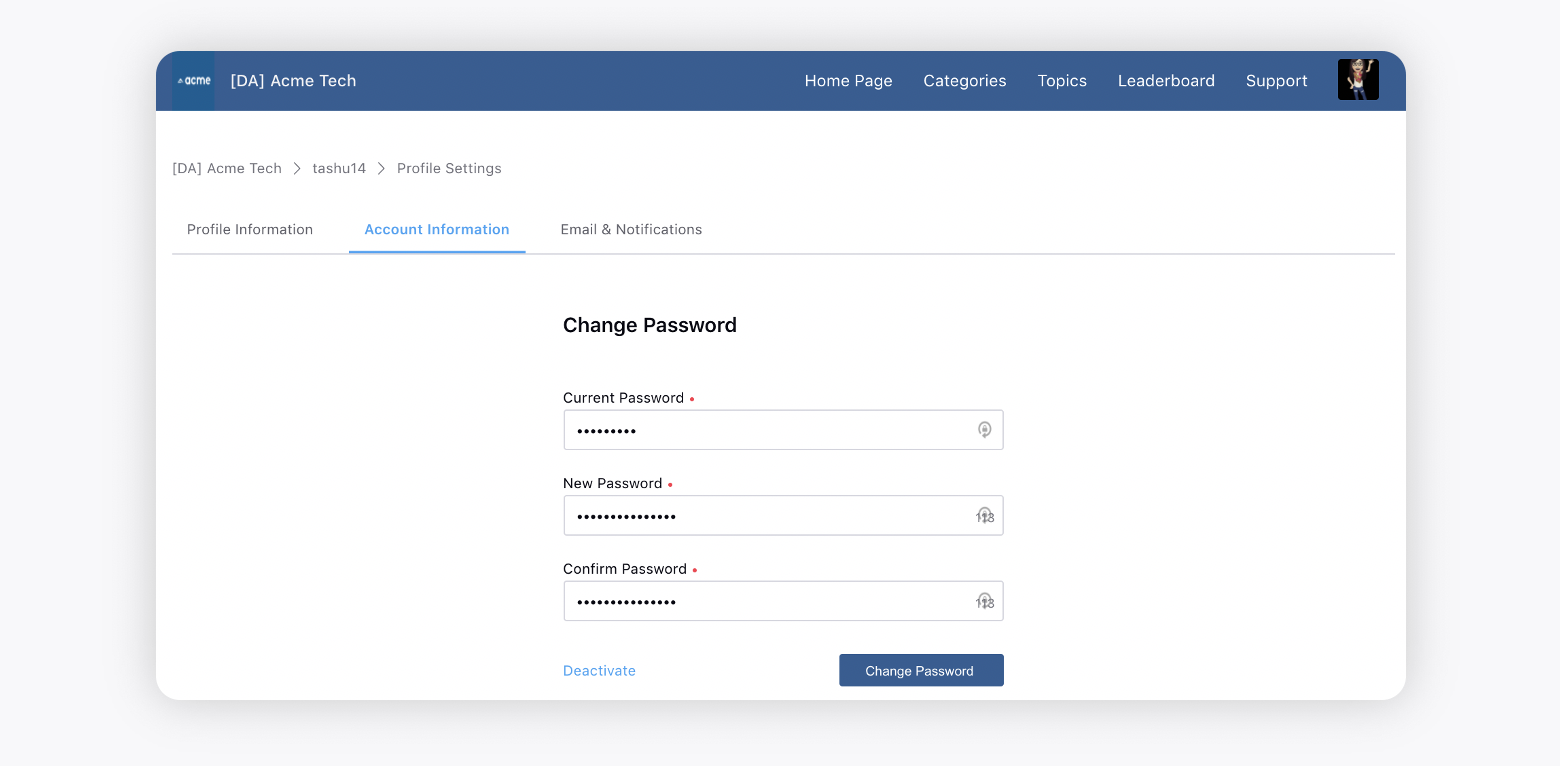
Click the Account Information tab to Change Password or Deactivate. Clicking Deactivate will deactivate your personal user account only and will not affect your community account. Note that if you log in through SSO then you can not change the account information.
Note: You can restrict the users from using the previously used passwords while changing it in Profile Settings or while resetting it in case they forgot the password. For example, when a password is changed, the old password must not be reused until either: at least four (4) other passwords have been used, or at least 4 months have passed, whichever is longer. You can control the time duration and the number of passwords. To get this capability enabled, reach out to support at tickets@sprinklr.com.
Additionally, to ensure user account security, you can put a restriction in place that allows a user to send, e.g., a maximum of 3 reset password emails within a 10-minute time frame for a particular email address. This limitation helps prevent excessive or unauthorized password reset attempts. If a user attempts to send more than specified password requests within the specified time period, an error message stating "Something went wrong" will be displayed on the user interface (UI). For specific details regarding the exact time duration and the number limit of password reset emails, it is recommended to reach out to the support team at tickets@sprinklr.com.
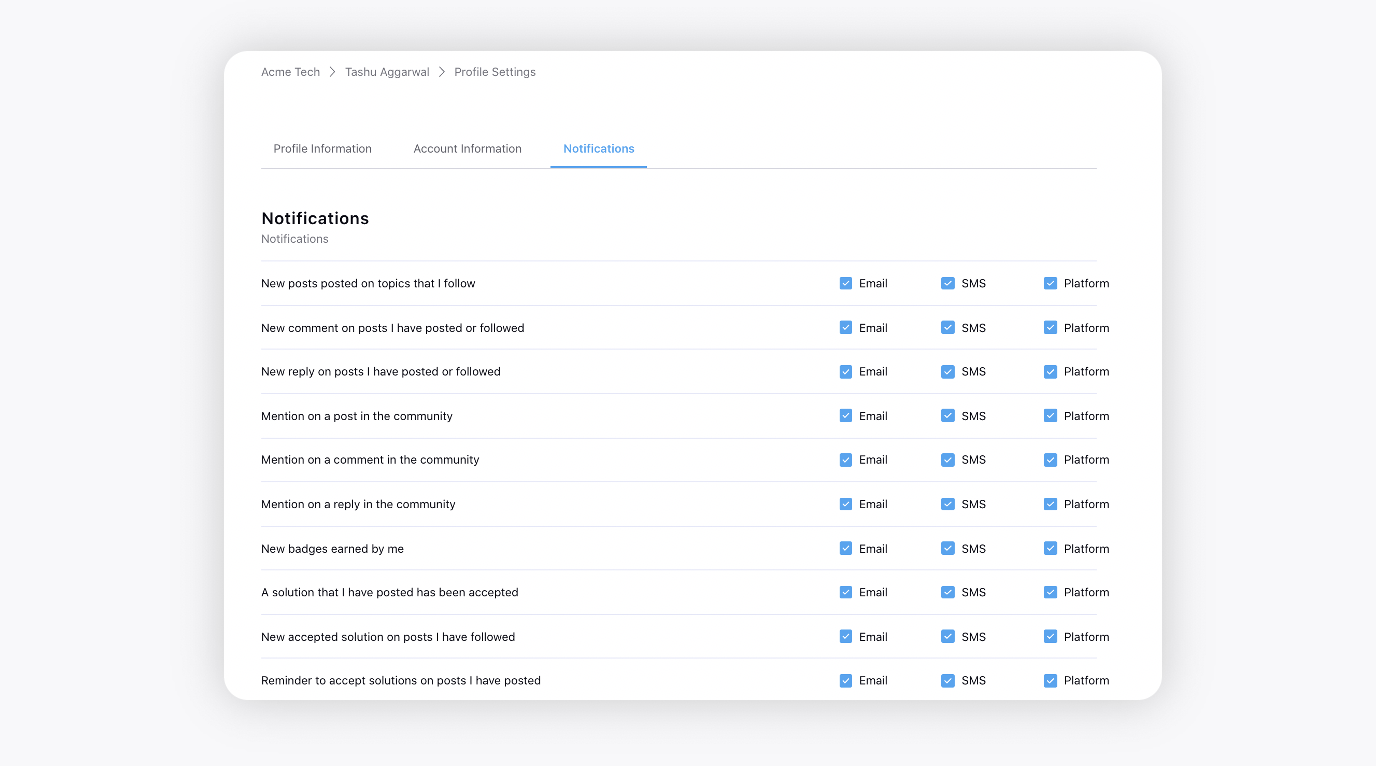
Click the Email & Notification tab to select your notification options.
Note:
1. If an admin or any community user posts an announcement post on Community, the users will be notified via Emails and In-app notifications. To get this capability enabled, reach out to support at tickets@sprinklr.com. However, the users can opt-out of these notifications from here.
2. You can send email notifications to users who have been inactive for 'X' days on Community. The number of days is configurable from the backend and needs to be set at the time of enablement of this feature.
To enable this capability, raise a support ticket at tickets@sprinklr.com.

3. For similar activities that trigger Email Notifications, you will now receive only one notification instead of two.
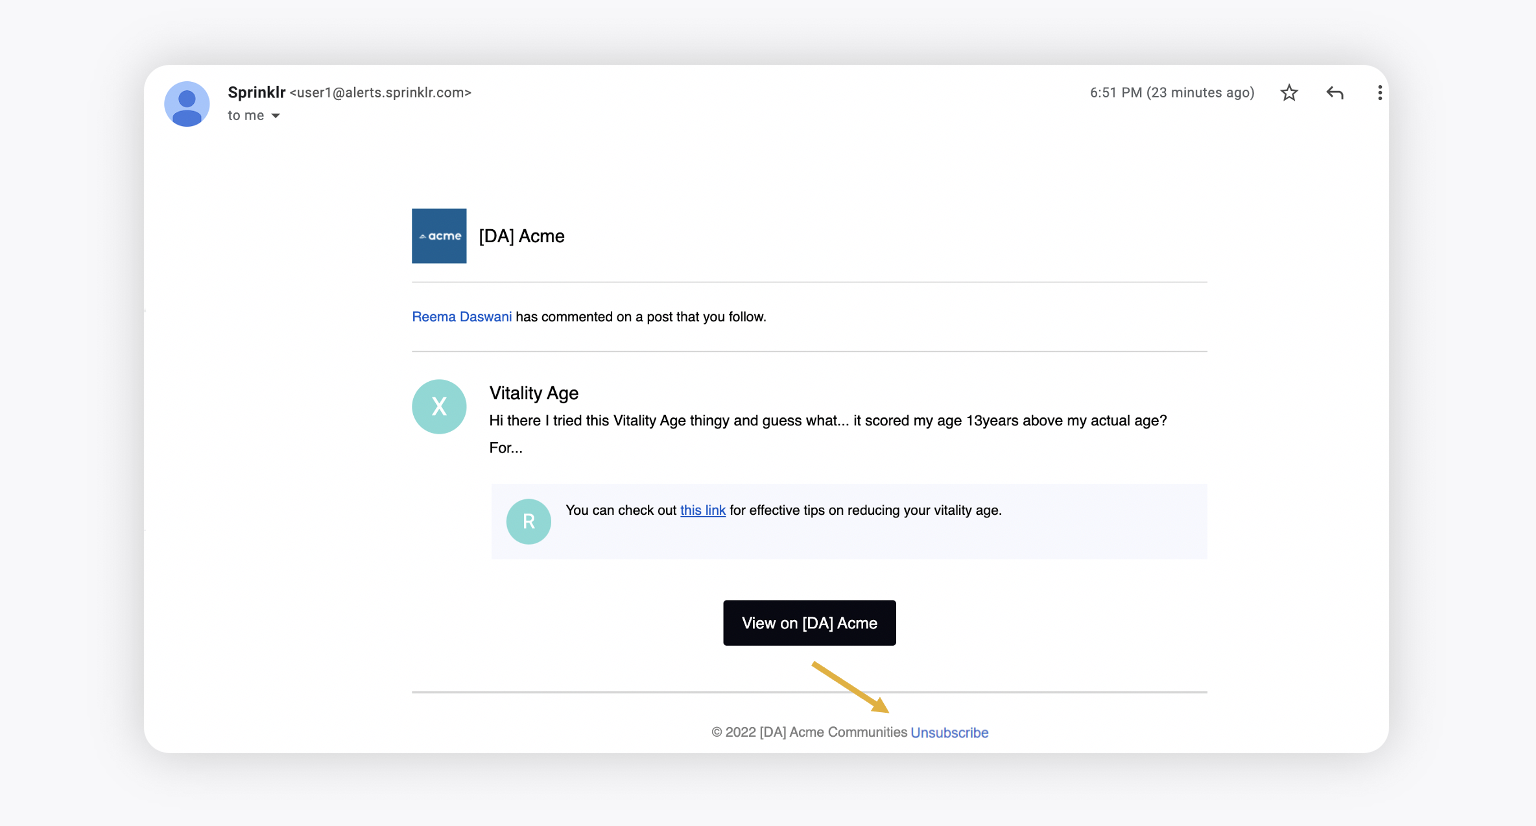
For example, if a user mentions you in a comment on a post created by you, then instead of receiving two notifications, one for a comment on your post and another for the mention, you will receive only one notification.4. You can unsubscribe from email notifications from your mailbox, without the need of logging in to Community. To get this capability enabled, reach out to support at tickets@sprinklr.com.
You can also select the default parameter by which you want to sort the conversations in the widget.
You can switch between the 12-hour and 24-hour time formats on the community by adjusting your preference in the User Preferences section. Once modified, the timestamp across all community widgets displaying time will be automatically updated to reflect your chosen time format.
You have the flexibility to select your preferred date format from those configured in the builder. This ensures that dates are displayed in the format you prefer throughout the platform. By accommodating various date formats, this feature contributes to making the community more accessible and user-friendly on a global scale.

Set Frequency for Email Notifications - You can choose how often to receive Community email notifications—Off, Immediate, Daily, or Weekly—from your Notification Preferences. Notifications will be grouped based on your selection (example, one summary email for multiple likes). This helps reduce email clutter and keeps you informed on your terms. These settings apply only to email notifications and will not affect in-platform alerts. The feature is available only if enabled by your admin.

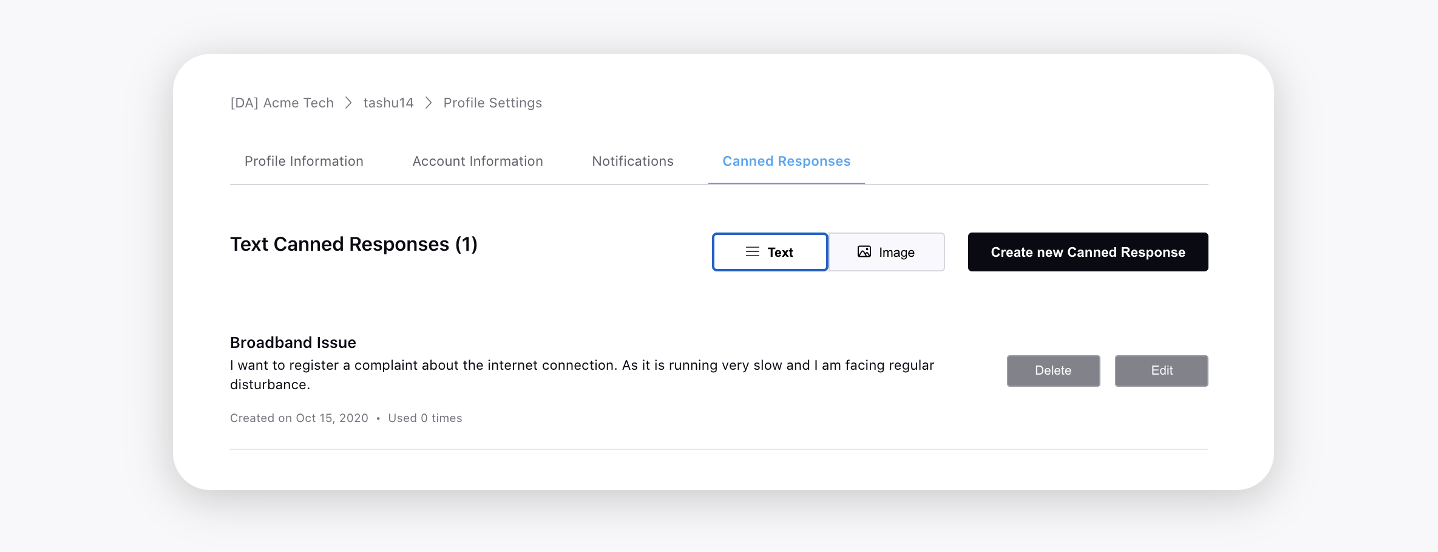
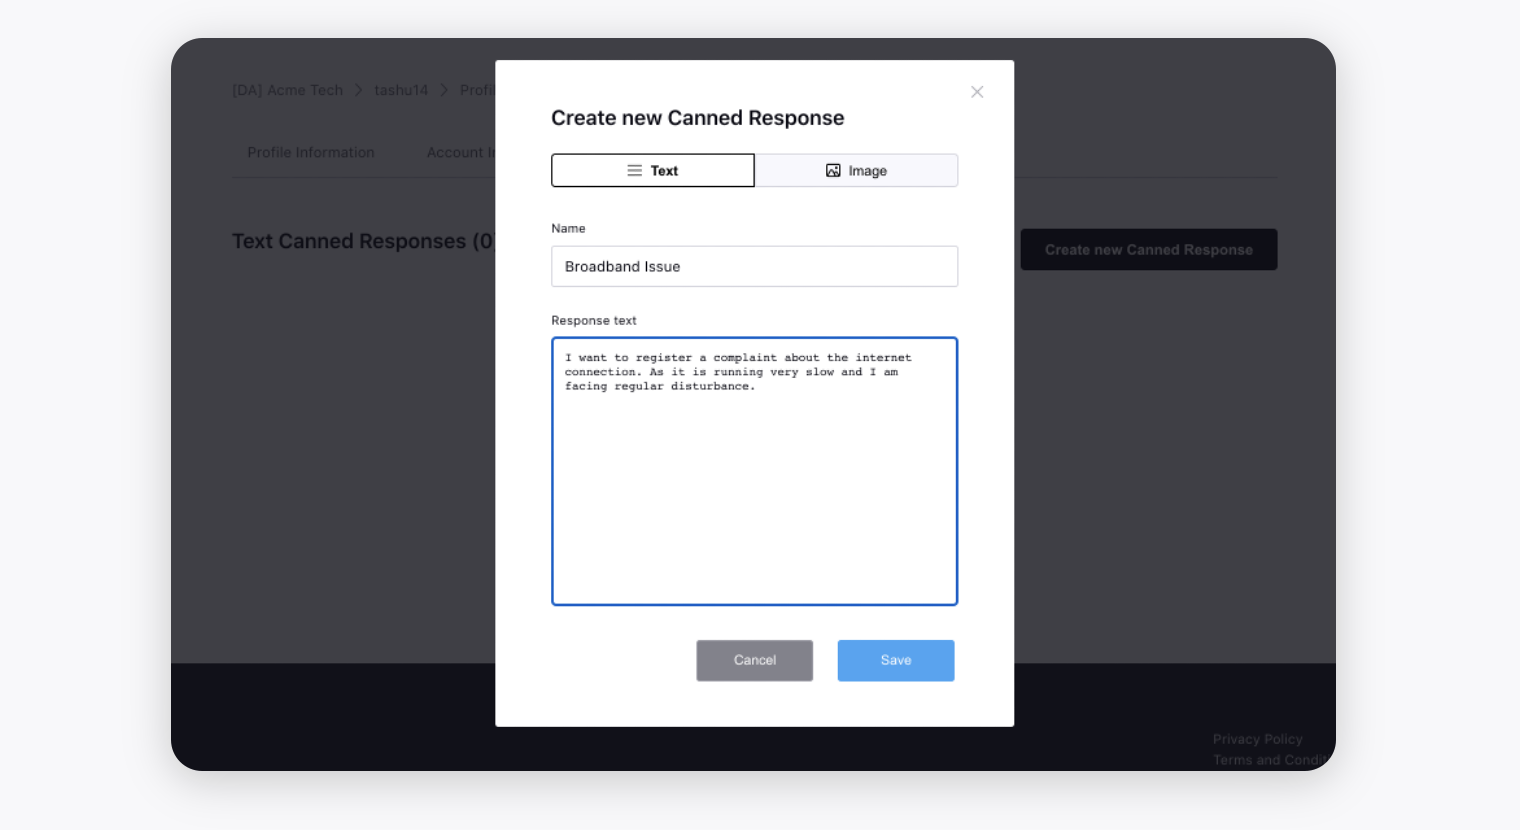
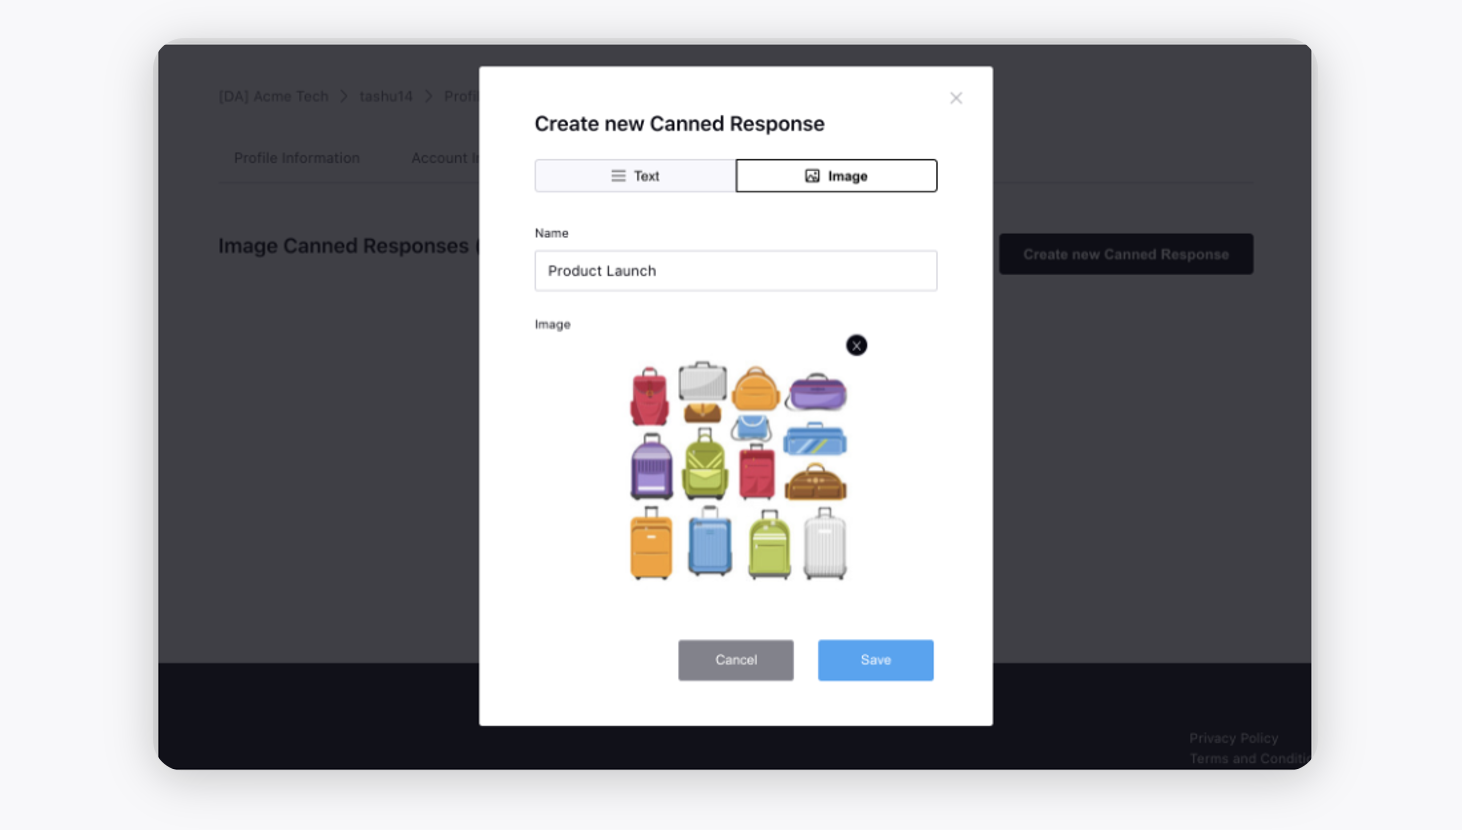
Click the Canned Responses tab to create Text and Image templates that you can use while publishing any post or comment.
Delete Profile
You can also delete Community user profiles directly from the frontend. There are two options:
Temporary Deletion: This action anonymizes the user’s identity while preserving profile data in the backend. This action requires no approval and can be reversed within a configurable timeframe.
Permanent Deletion: This action completely removes the profile and all associated activities. This action is non-reversible and requires administrator approval before execution.

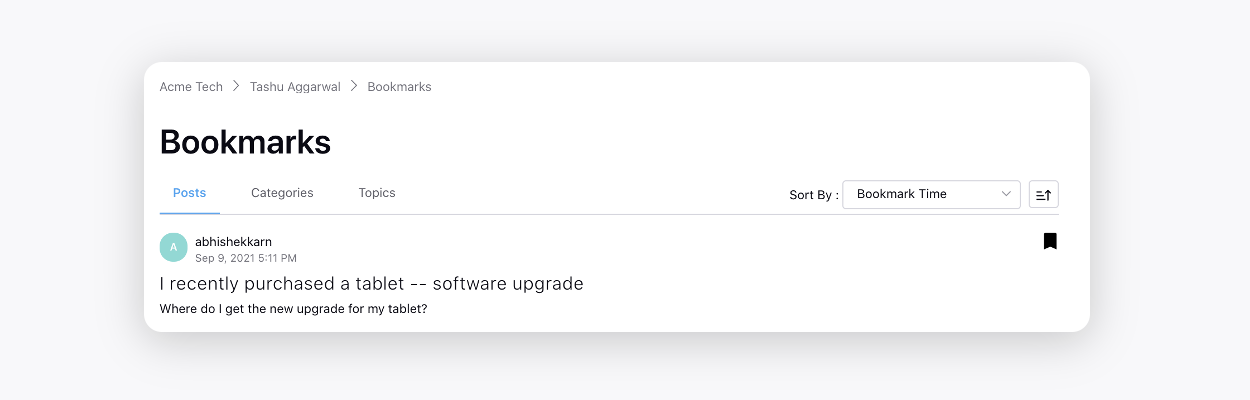
View Bookmarks
From here, the community users can view and remove Bookmarks for Categories/Topics/Posts. Bookmarks should be enabled while configuring the community in the Community Builder.
In the top right corner of the Community Homepage, click the Initials/image of the user.
Select Bookmarks from the drop-down menu.
Here, you can view the bookmarked Categories/Topics/Posts and also remove them from bookmarks. Additionally, you can sort the bookmarks by Bookmark Time or Content Creation Time.
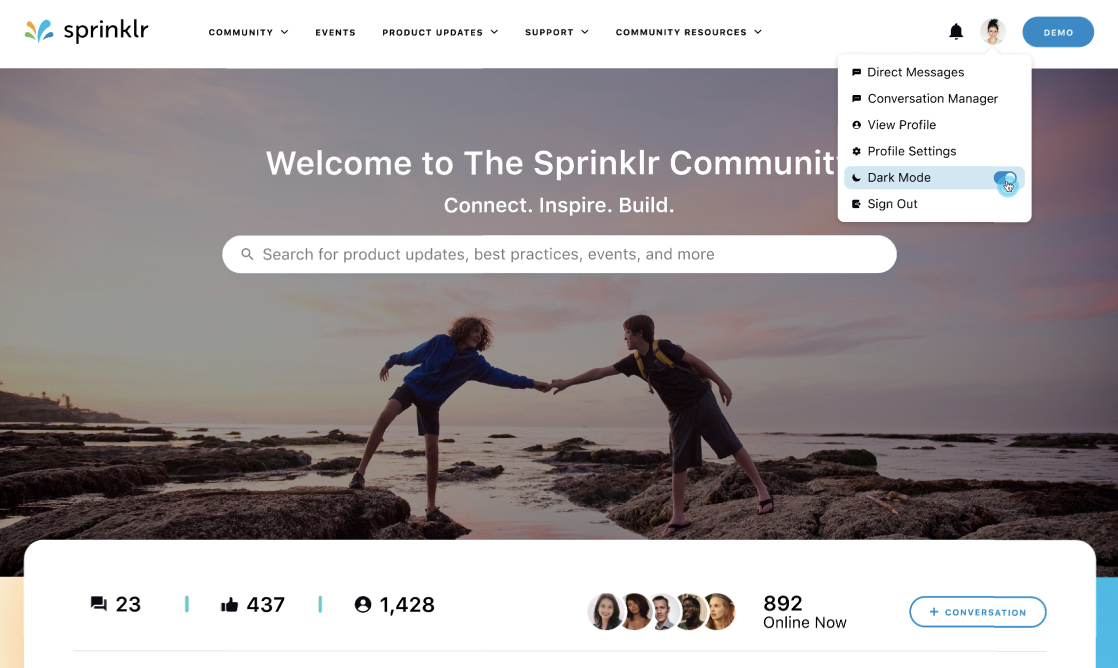
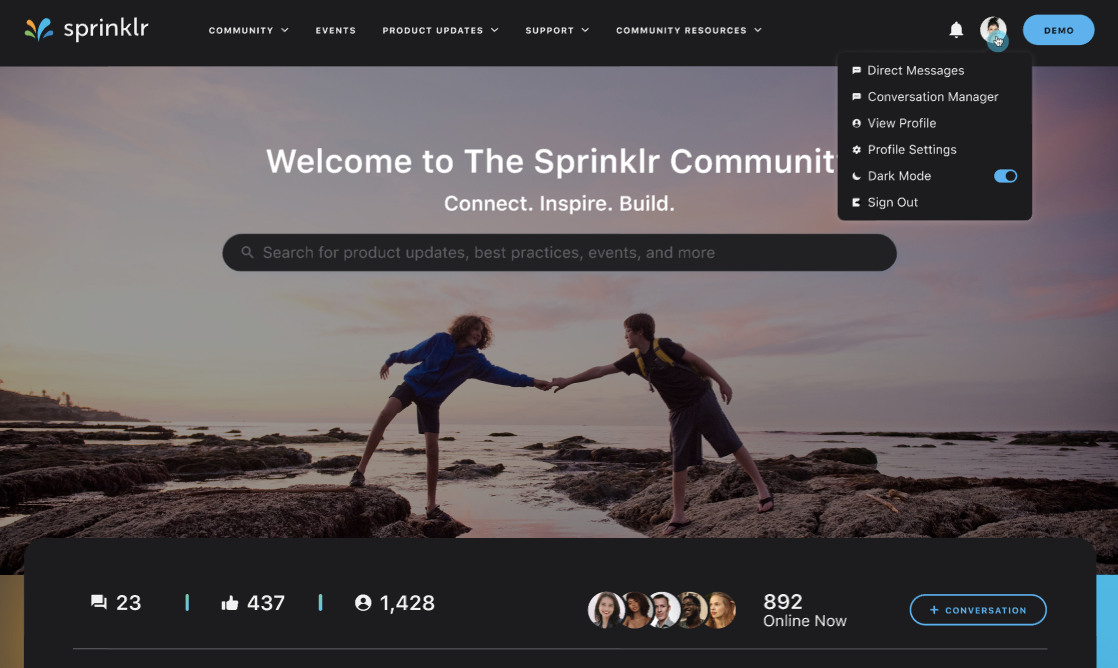
Dark Mode
You can enable Dark Mode for the community, giving you the option to customize your experience according to your preferences.
Create a support case
If enabled in the community builder, your customers can create a support case directly from the Community Forum and also reply from there.
Note: You can also allow users to create Support Cases without the need of logging in to the Community. Note that Email should be added as a mandatory field in the ticket creation form. |
On the Community Homepage, click Create Tickets or the title that you have set on the navigation bar.
On the Create Request window, enter the Subject and Description for the email case. For description, you can use different formatting styles available at the bottom.

Enter other details and click Submit.
The users can also view all the support requests that they have created and are cc'd on.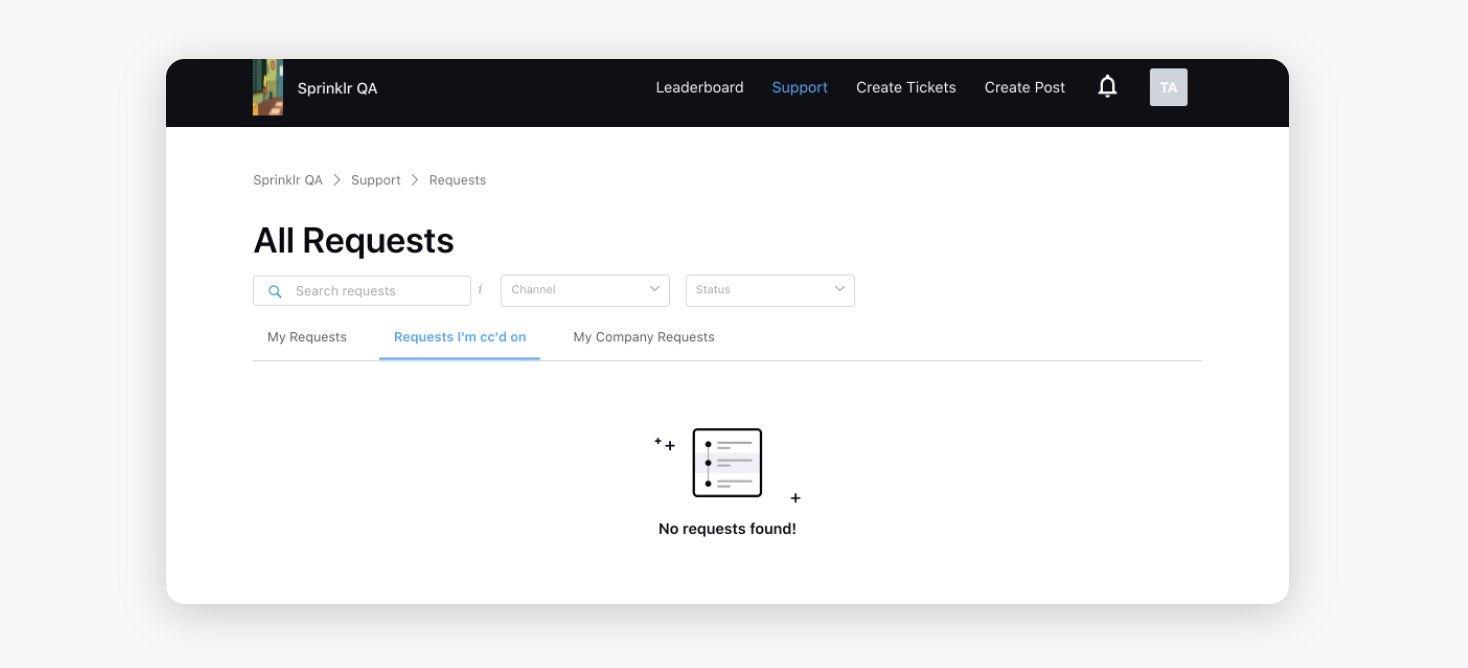
View Leaderboard
Community users are provided points for every post they do on the forum. The points keep on increasing based on the popularity of the post which is determined based on likes, shares, etc. The users also get opportunities to earn special Badges which are the indicators of special achievements and milestones they reach in the Community. The users are also given a Rank which is an indicator of how involved they are in the Community. To view all this information including points, ranks, badges, etc. of the community users, click Leaderboard from the top navigation bar of the homepage. For more information, see Community Leaderboard.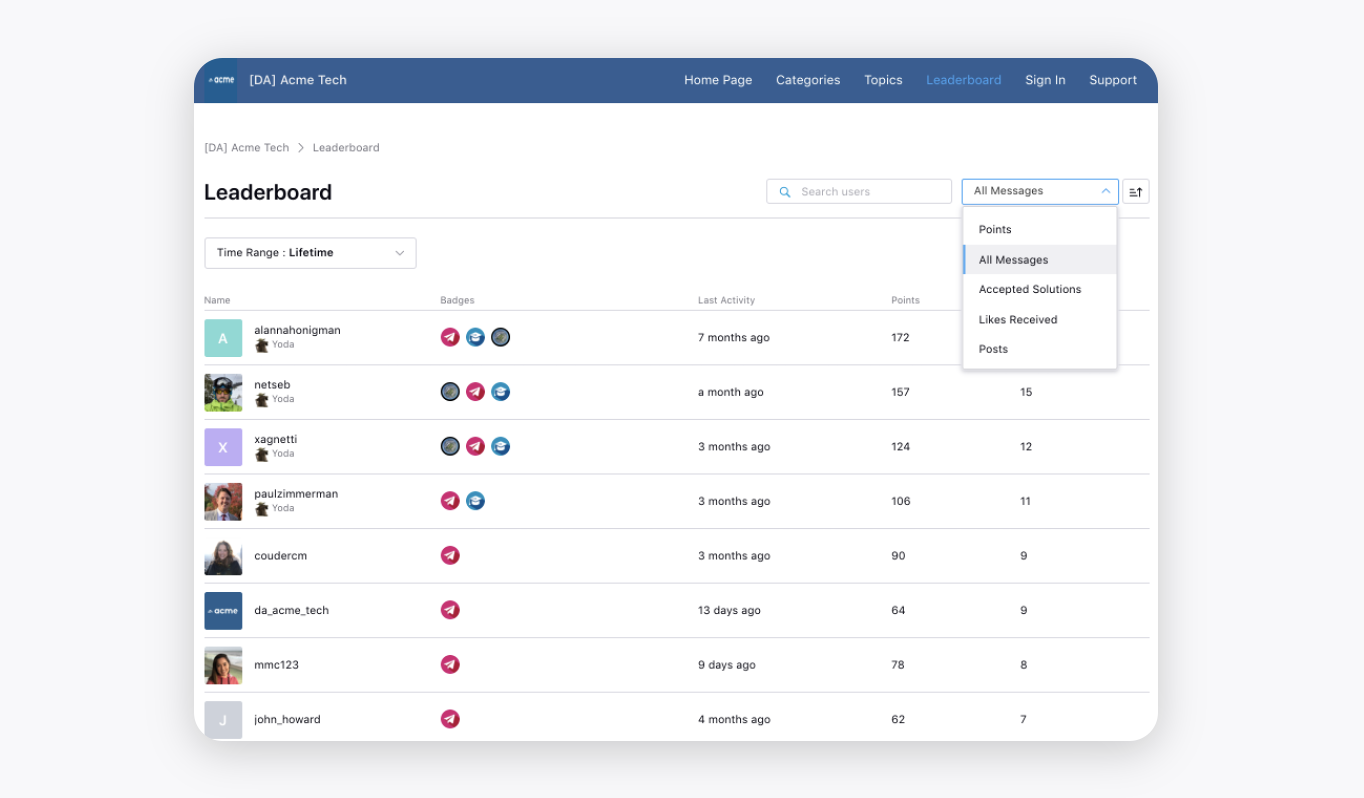
Using Quotes for Exact Term Search
Users can search for exact terms within the Community platform using quotes. By enclosing search terms in quotes, users can ensure that the search results specifically match the exact phrase they are looking for. This functionality streamlines the process of locating accurate and relevant information, making it easier for users to access the specific information they need promptly and efficiently.

Notification Type Filters in Feed
The notification feed includes filters for different notification types such as likes, comments, and mentions. Users can easily filter and view specific notifications in the feed.
.png "download (53).png")
Follow/Unfollow Notification
For topics you follow, you will receive timely in-app notifications and, if configured, email alerts whenever new posts are created. When you follow or unfollow a topic, an instant confirmation message will appear in your preferred language. Additionally, you can configure the frequency of email notifications you receive after following a topic.
Read/Unread Notifications
Users can manage their notifications with enhanced filtering options:
Mark All as Read: A button is available to mark all unread notifications as read. This option disappears once all notifications are read.
Filter by Read/Unread: A toggle helps users view only unread or all notifications, keeping the panel organized.
Smart Copy Display: If no unread notifications exist, users will see “No new notifications.”
Automatic Updates: Notifications are marked read when individually opened or when "Mark All as Read" is used.
These improve notification hygiene and help users stay focused on new interactions.
