Add an Email Marketing Account to publish emails in bulk
Updated
In this article you will learn how to add an Email Marketing Account in Sprinklr
How to set-up
It is necessary to get the domain verified as a prerequisite in order to send the emails using the domain. You can follow the following steps to get your domain verified:
Raise a support ticket at tickets@sprinklr.com mentioning your domain that you would like to get whitelisted.
Sprinklr will provide you with the CNAME records to be entered in your DNS (Domain Name System). Your IT Team can help you with this.
Once the CNAME records are added, Sprinklr can verify that the entry is correct and then you can add the Email Marketing Account in Sprinklr with the given domain.
For example, if Acme's marketing team wants to send newsletter to its audience using Sprinklr, Acme must share its domain (acme.com) with Sprinklr raising a support ticket. Sprinklr will then provide you with the CNAME records that has to be entered in your DNS. The entry of the CNAME is verified by Sprinklr and upon successful verification, Acme can add the Email Marketing Account into Sprinklr and use it to publish emails.
After the domain is verified, you can go ahead and create the Email Marketing Account.
How it works
Click the New Tab icon and select All Settings option within Settings under the Platform Modules section. You can also use the search bar to find the All Settings option.
Select Manage Workspace on the left of the Settings Home window.
Select Accounts from the available options.
Click Add Account in the top right corner of the Accounts (Settings) window.
Choose Email Marketing from the list of channels.
Enter the details in the Add Email Marketing account window. For more information, see Add Email Marketing Account—Field Descriptions.
Click Save in the bottom right corner to save the account details.
Add Email Marketing Account—Field Descriptions
Term | Description |
Upload Picture | Upload a picture you want to associate with your email marketing account. |
Display Name | Enter a name which will be displayed to others. |
Email | Enter the email address. |
From Name | Enter the name with which emails shall be sent to customers. |
Reply to | Enter the name of the user to which customers shall reply over email. |
Unsubscribe Mail to | Enter the email id of the receiver who will receive emails when an end user unsubscribes. |
User Frequency Capping | Enter the maximum limit of the number of emails you can send to the end user within a given time frame. |
User Frequency Capping Time Unit | Select the time unit for the user frequency capping. |
Account Frequency Capping | Enter the maximum limit of the number of emails you can send from a specific account within a given time frame. |
Account Frequency Capping Time Unit | Select the time unit for the account frequency capping. |
Best practices
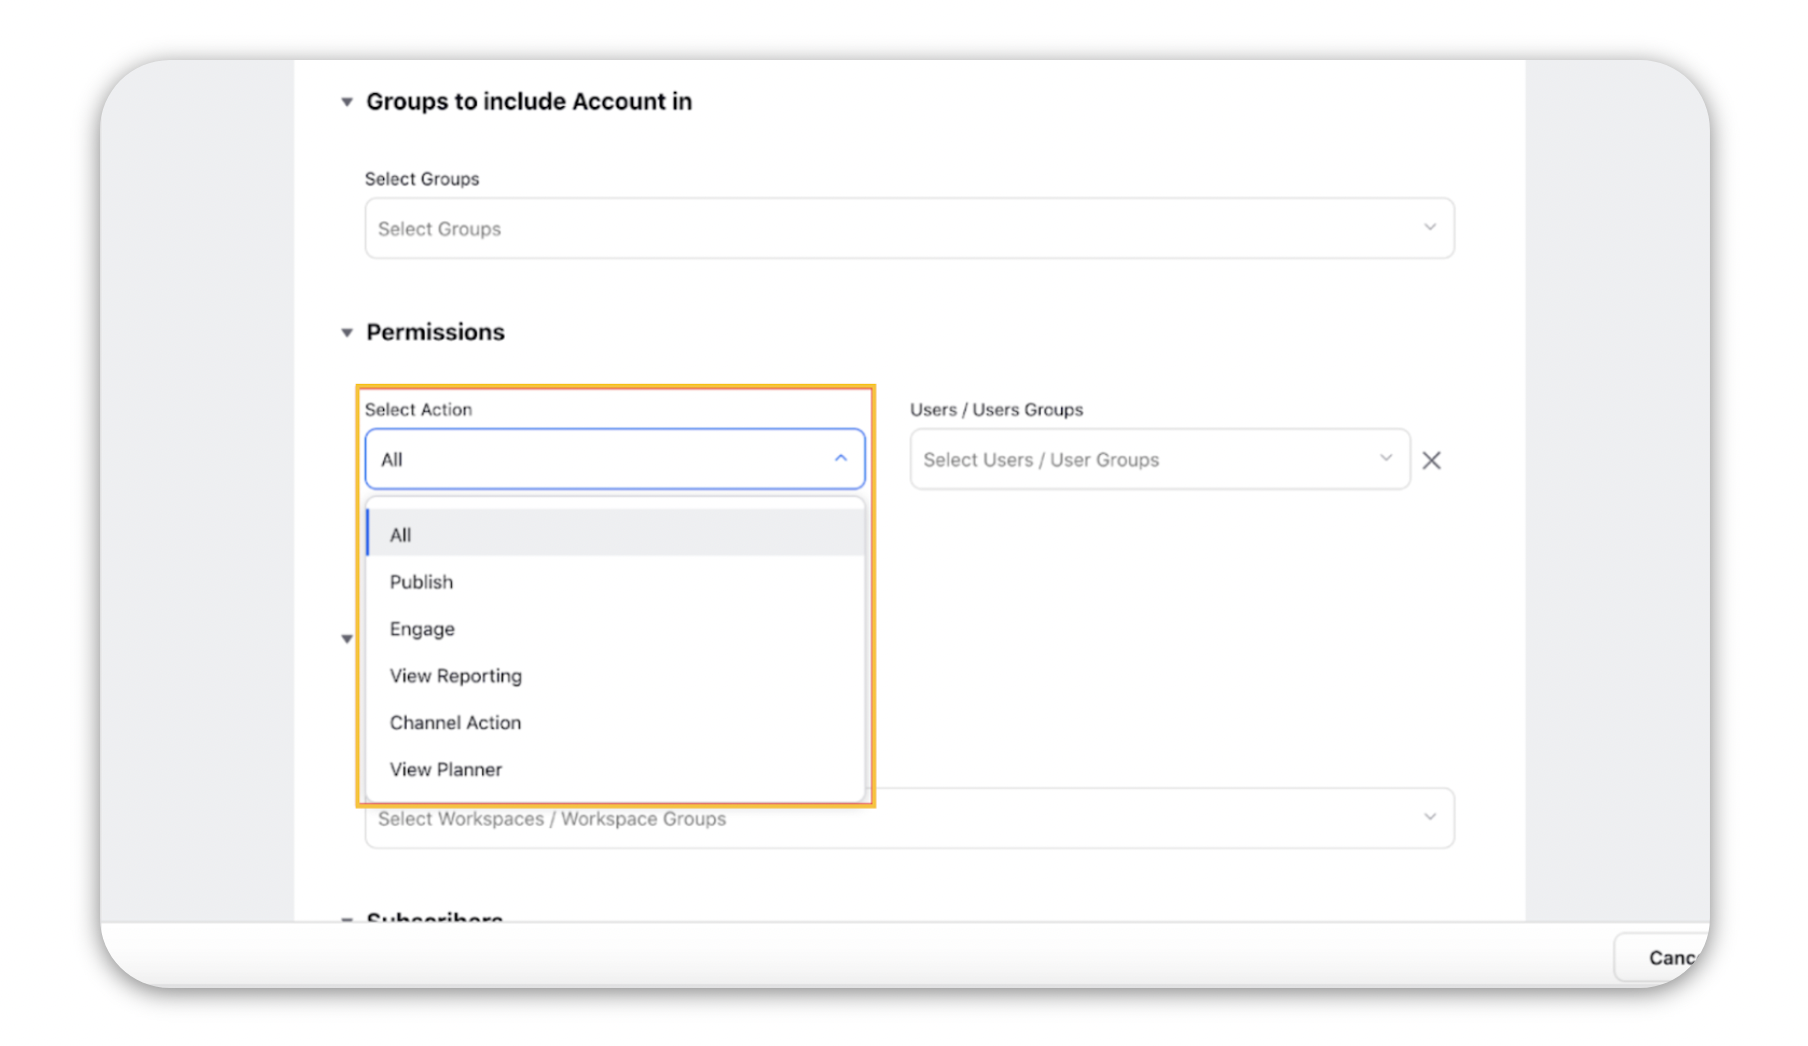
You can grant permissions for various actions to different users and user groups for governance purposes using the permission section. This section can be accessed by editing an Account by selecting Edit option from the elipsis menu.