Customize Your Supervisor Console
Updated
You can customize a Supervisor Console persona app according to your requirements. The following customizations can be done in Supervisor Console:
Create your team
Enable Hyperspace
Create Quick Filters
Create Colour Tags
Share Reporting dashboards with persona
Share Engagement Dashboard with Persona
Supervisor Console Permissions
Add custom drilldowns for reporting metrics
Create Your Team
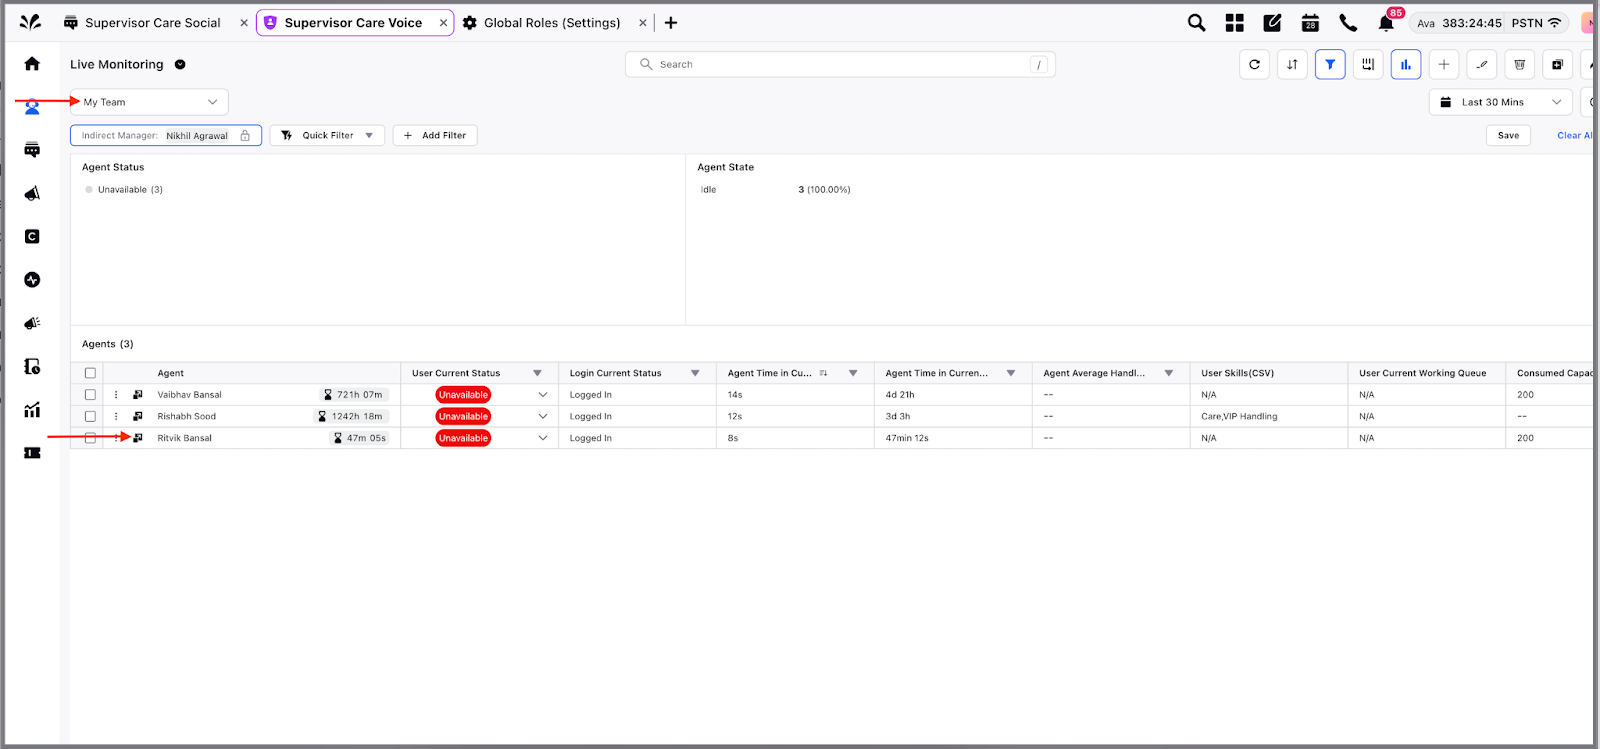
Supervisors can create custom teams for them to monitor. They can set the manager of their agents for easy monitoring.
To map a Supervisor with an agent, follow these steps:
1. Click the New Page (+) icon or Launchpad (![]() ). In the search box, search for All Settings.
). In the search box, search for All Settings.
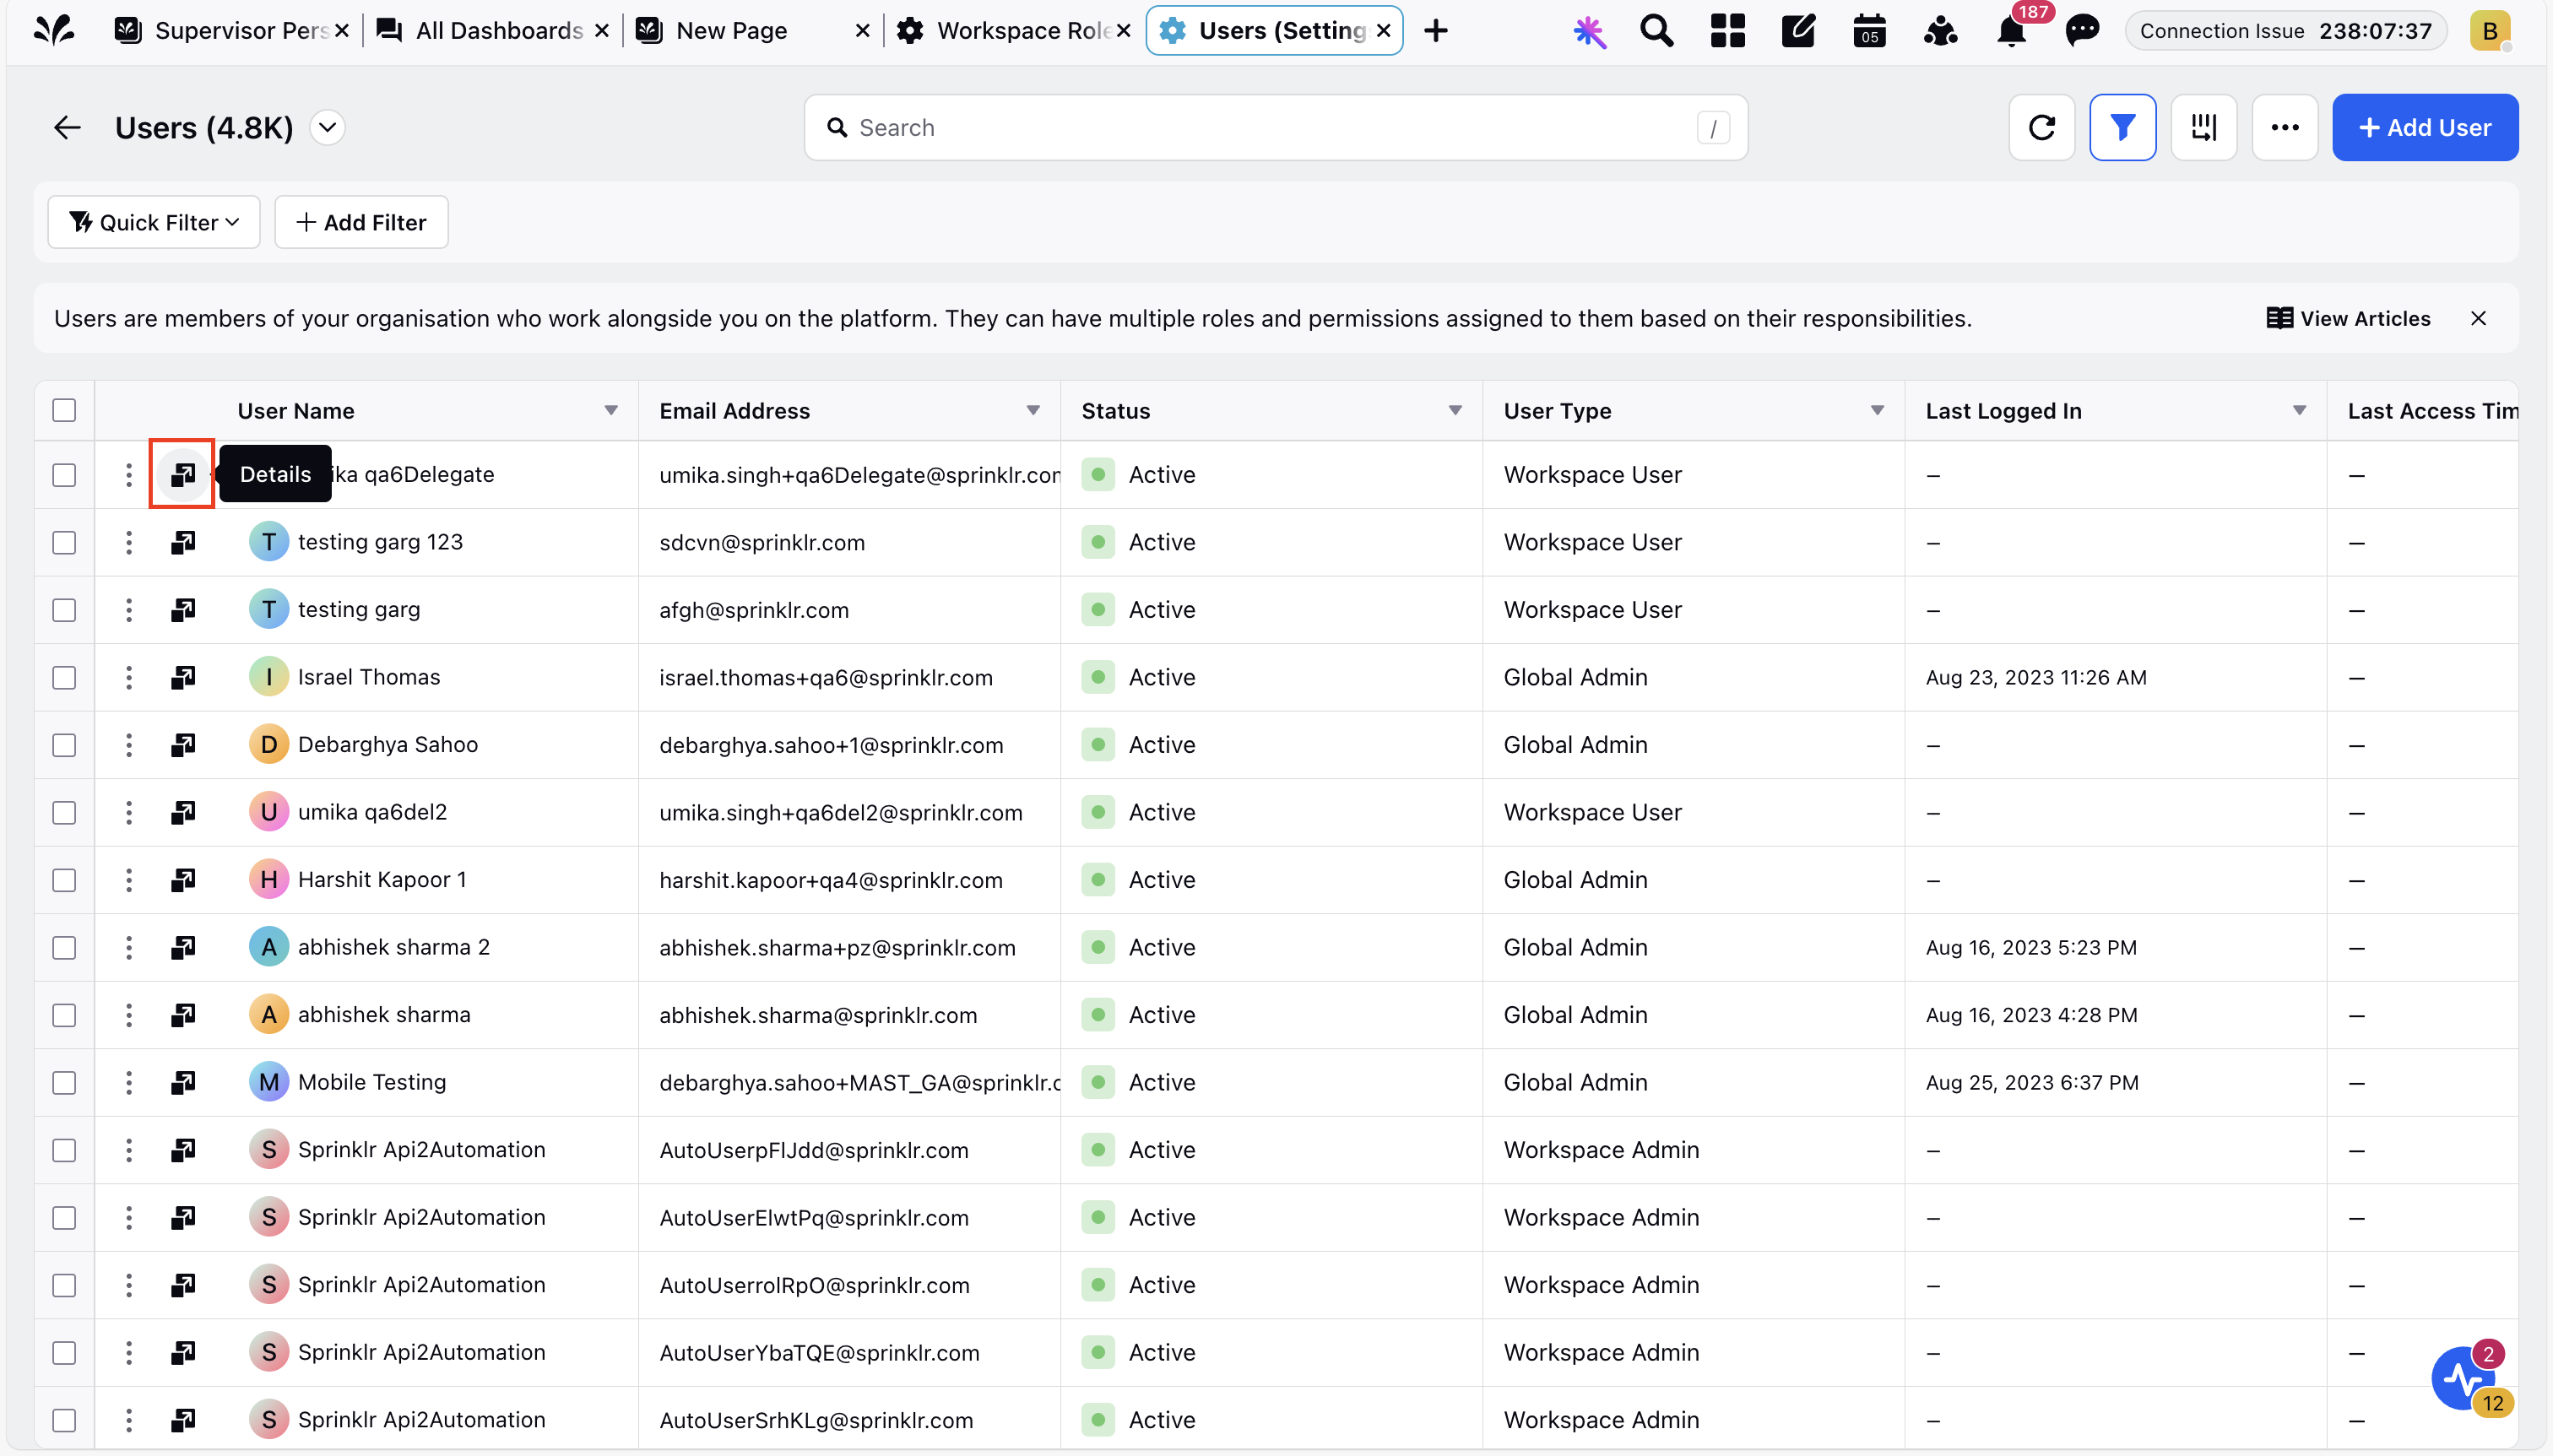
2. In All Settings, go to Manage Workspace > Users.
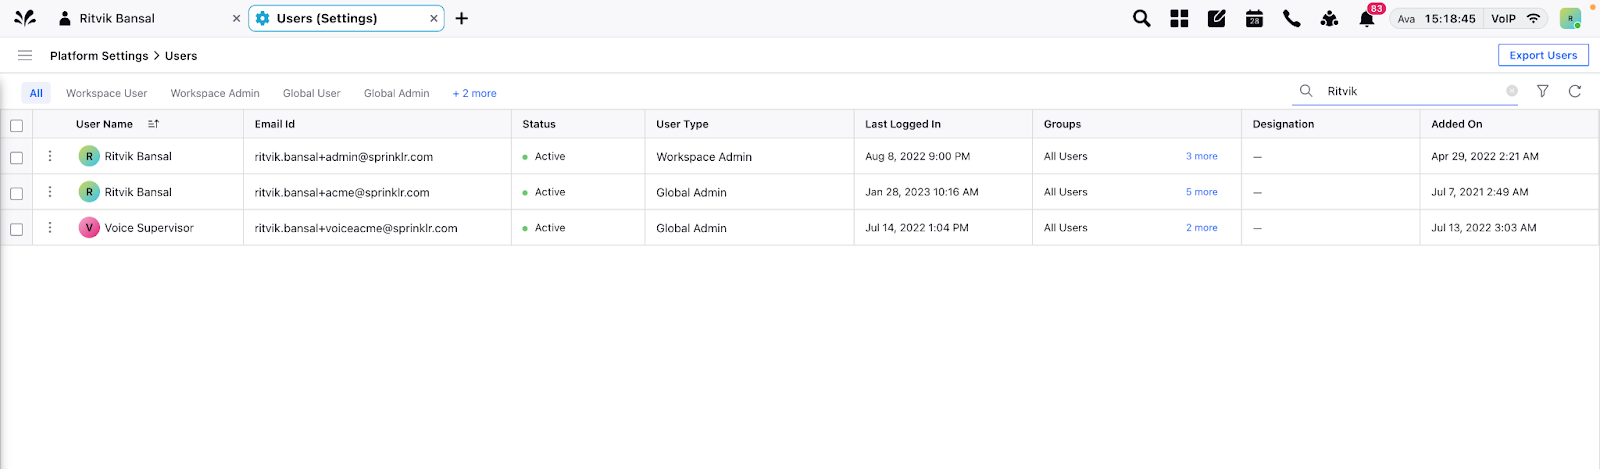
3. In the Users page, search for the user whose supervisor you want to assign. Click the three-dot icon next to the user's name, and then click Edit.

The user details page will open.
4. In the user details page, update the Manager field by selecting the appropriate manager for the user. Click Save.
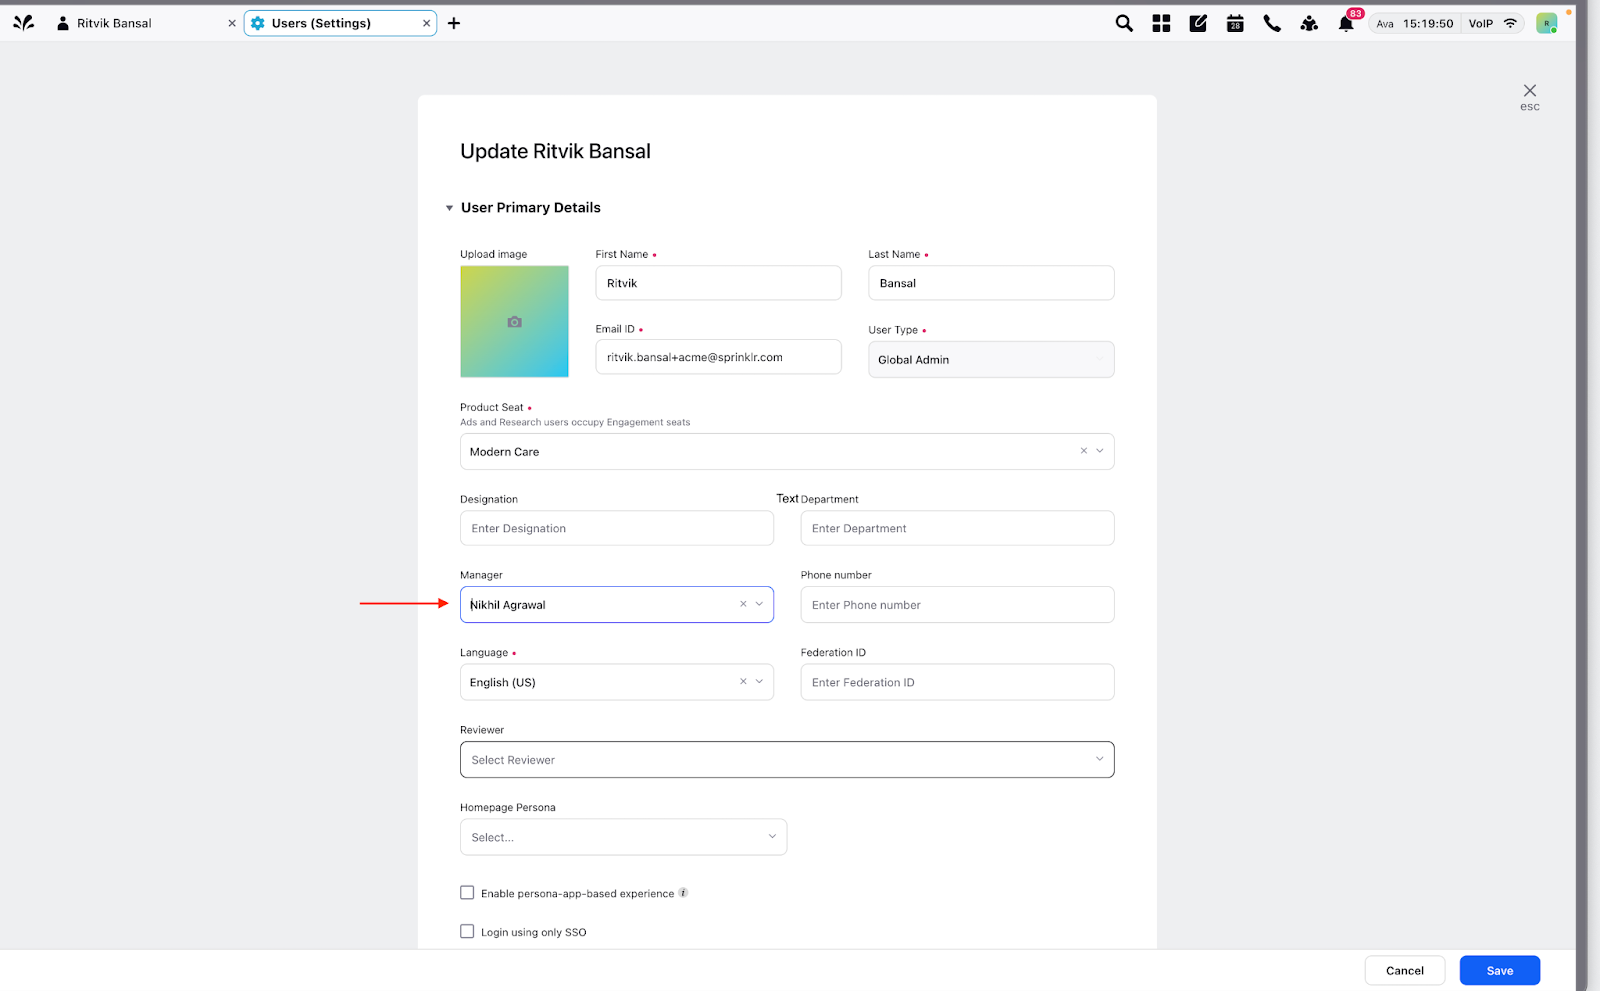
After the update, the supervisor will be able to see this agent in the My Teams section in Supervisor Console.
Enable the Hyperspace View
Supervisor Console 2.0 is currently available in Persona View and Hyperspace View. The benefit of the Hyperspace view over Persona view is that you can access multiple persona apps and reports simultaneously in different tabs.
Persona View: This gives restricted access of most relevant modules to the supervisor.

Hyperspace View: This helps supervisor to access persona app along with other core Sprinklr modules.

Share Persona Apps with Users in Hyperspace View
To share persona apps with users in Hyperspace, follow these steps:

1. Click the New Page (+) icon or Launchpad (![]() ). In the search box, search for and select All Settings.
). In the search box, search for and select All Settings.
2. In All Settings, go to Manage Customer > Persona App Manager.
Persona App Manager shows the list of persona apps created under different product suites.
3. To share a persona app, click the Share Persona App button to the left of Persona ID. This will open the Customize Custom Persona App dialog box.
4. In the Shared Users and Groups field, select the users and groups you want to share the persona app with.
5. Click Submit.
The selected users will now be able to see the persona app on their Sprinklr Launchpad.
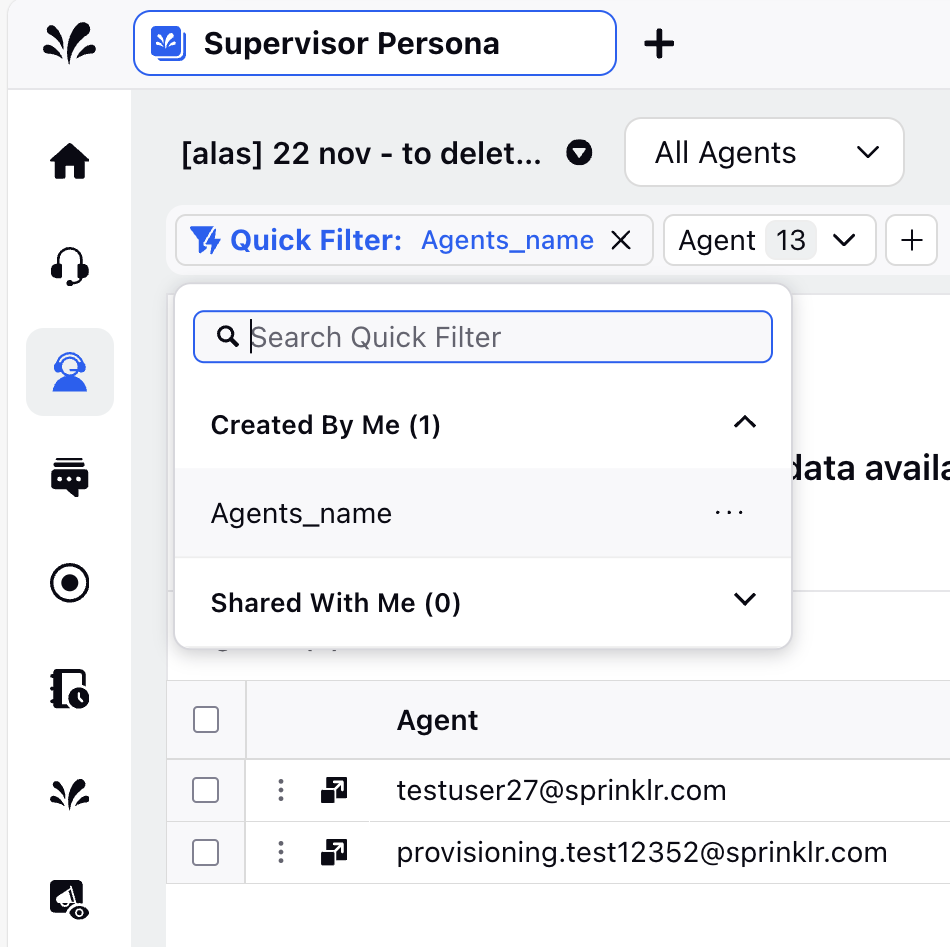
Create Quick Filters
Supervisors can use quick filters to view a specific set of agents based on the defined conditions. With this feature, supervisors can create the filters to view frequently accessed agents or teams. These filters can be enabled in a single click, thereby saving time and increasing the supervisor efficiency.
Steps to create a Quick Filter
To create or save a quick filter, follow these steps:
1. Open the Supervisor Console persona app from the Launchpad.
2. In the left pane of Supervisor Console, click Agents.
3. Click the Filters icon (![]() ) located at the top-right corner. The Add Filter icon will appear above the dashboard.
) located at the top-right corner. The Add Filter icon will appear above the dashboard.
4. Click the Add Filter (+) icon. Define the filter based on your requirements.
5. Click Apply.
6. To save the applied filter, click the Save button located at the top-right corner. The New Quick Filter dialog box is displayed.

7. Enter a name for the filter and click Submit.
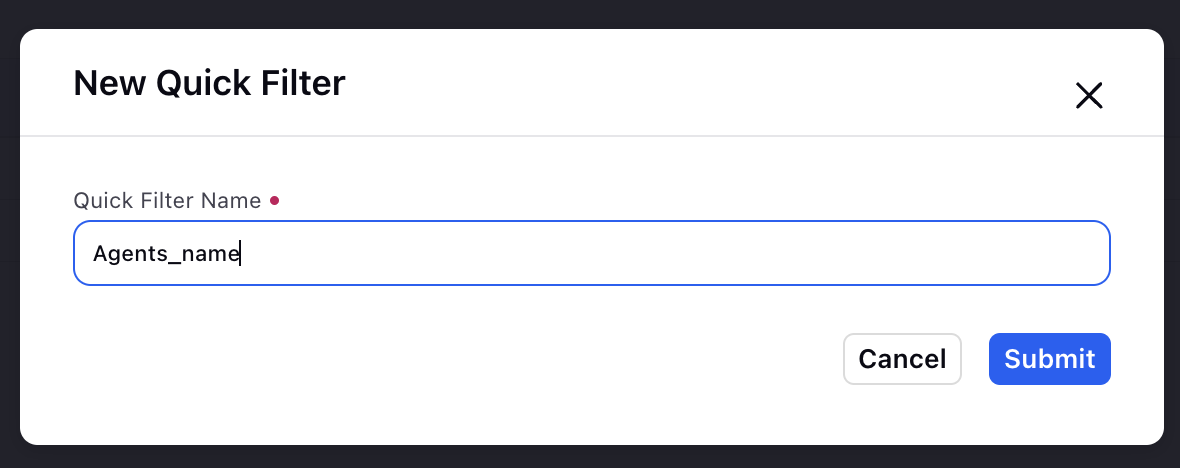
The filter you created will now appear in the Quick Filter dropdown.
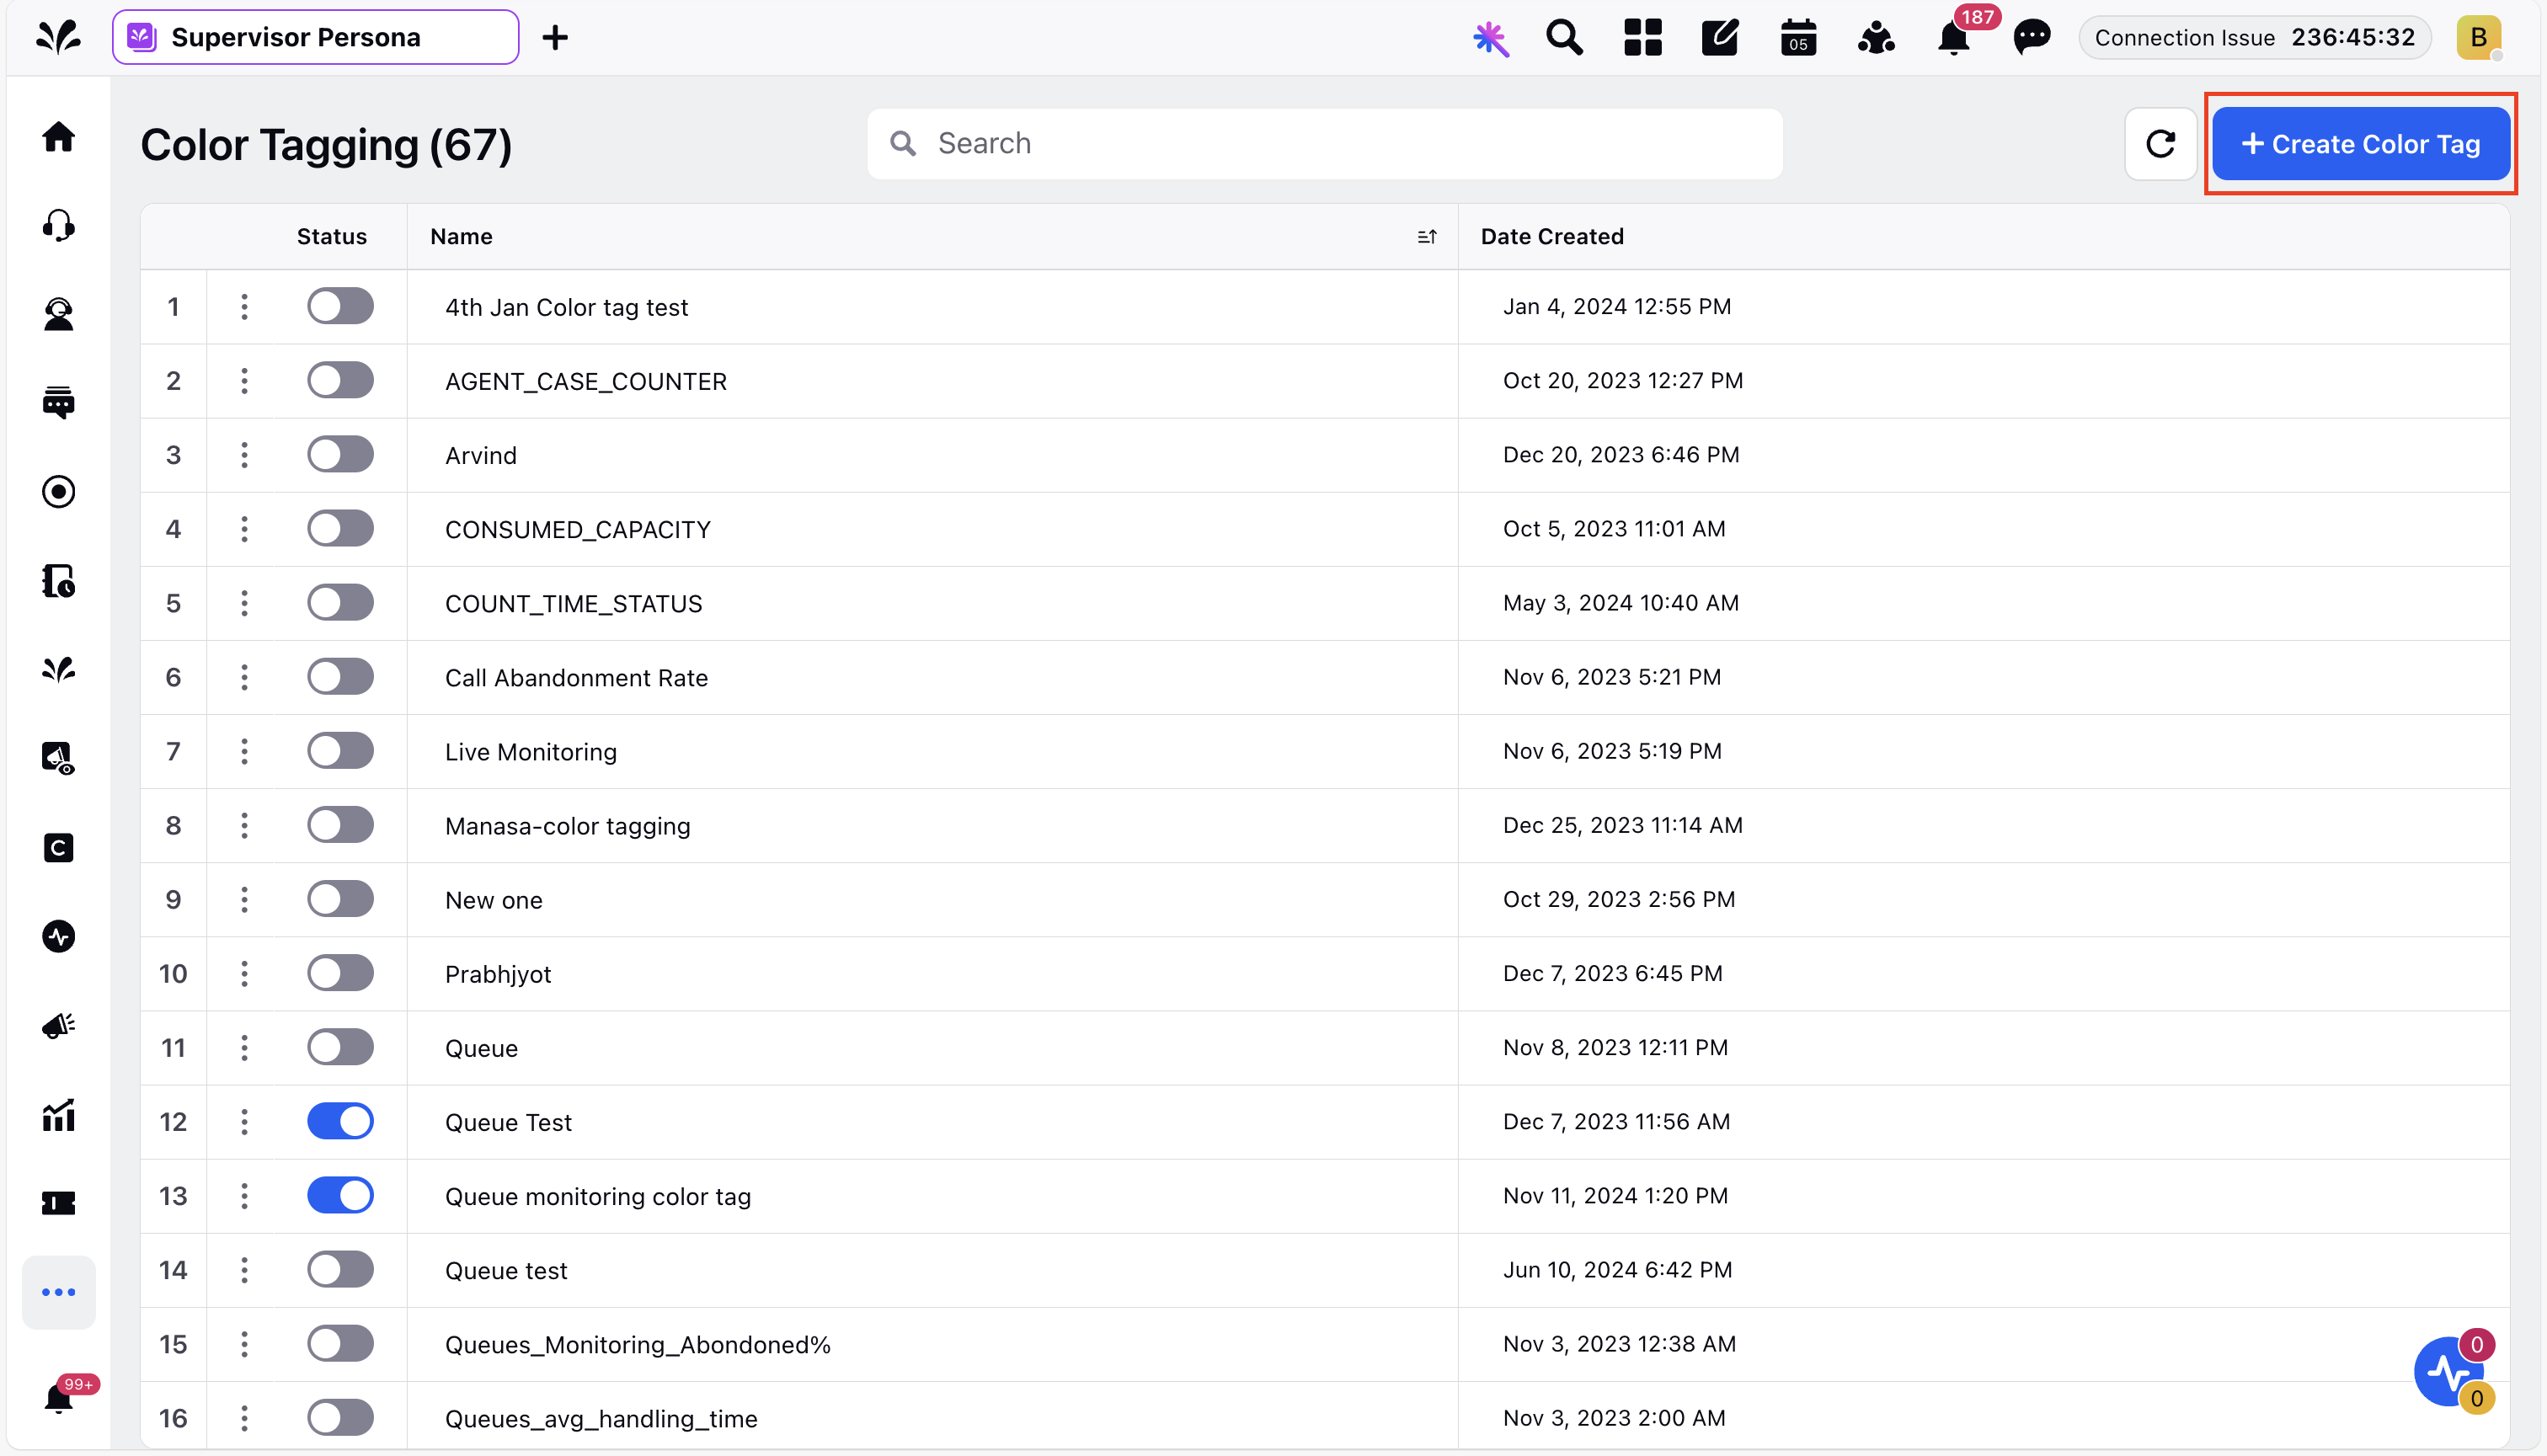
Color Tags in Supervisor Console
Color tags can be used to identify and monitor agents based on their activities. These visual indicators help supervisors quickly identify breaches in metrics, SLA, critical KPIs. For example, a green color tag on an agent’s icon can indicate that they are available. A red color tag on the User Current Status can indicate that the agent has exceeded the stipulated time in a non-productive status.
Set Color Tags
To set color tags, follow these steps:
1. Open the Supervisor Console app from the Launchpad.
2. In the left pane, click Settings.
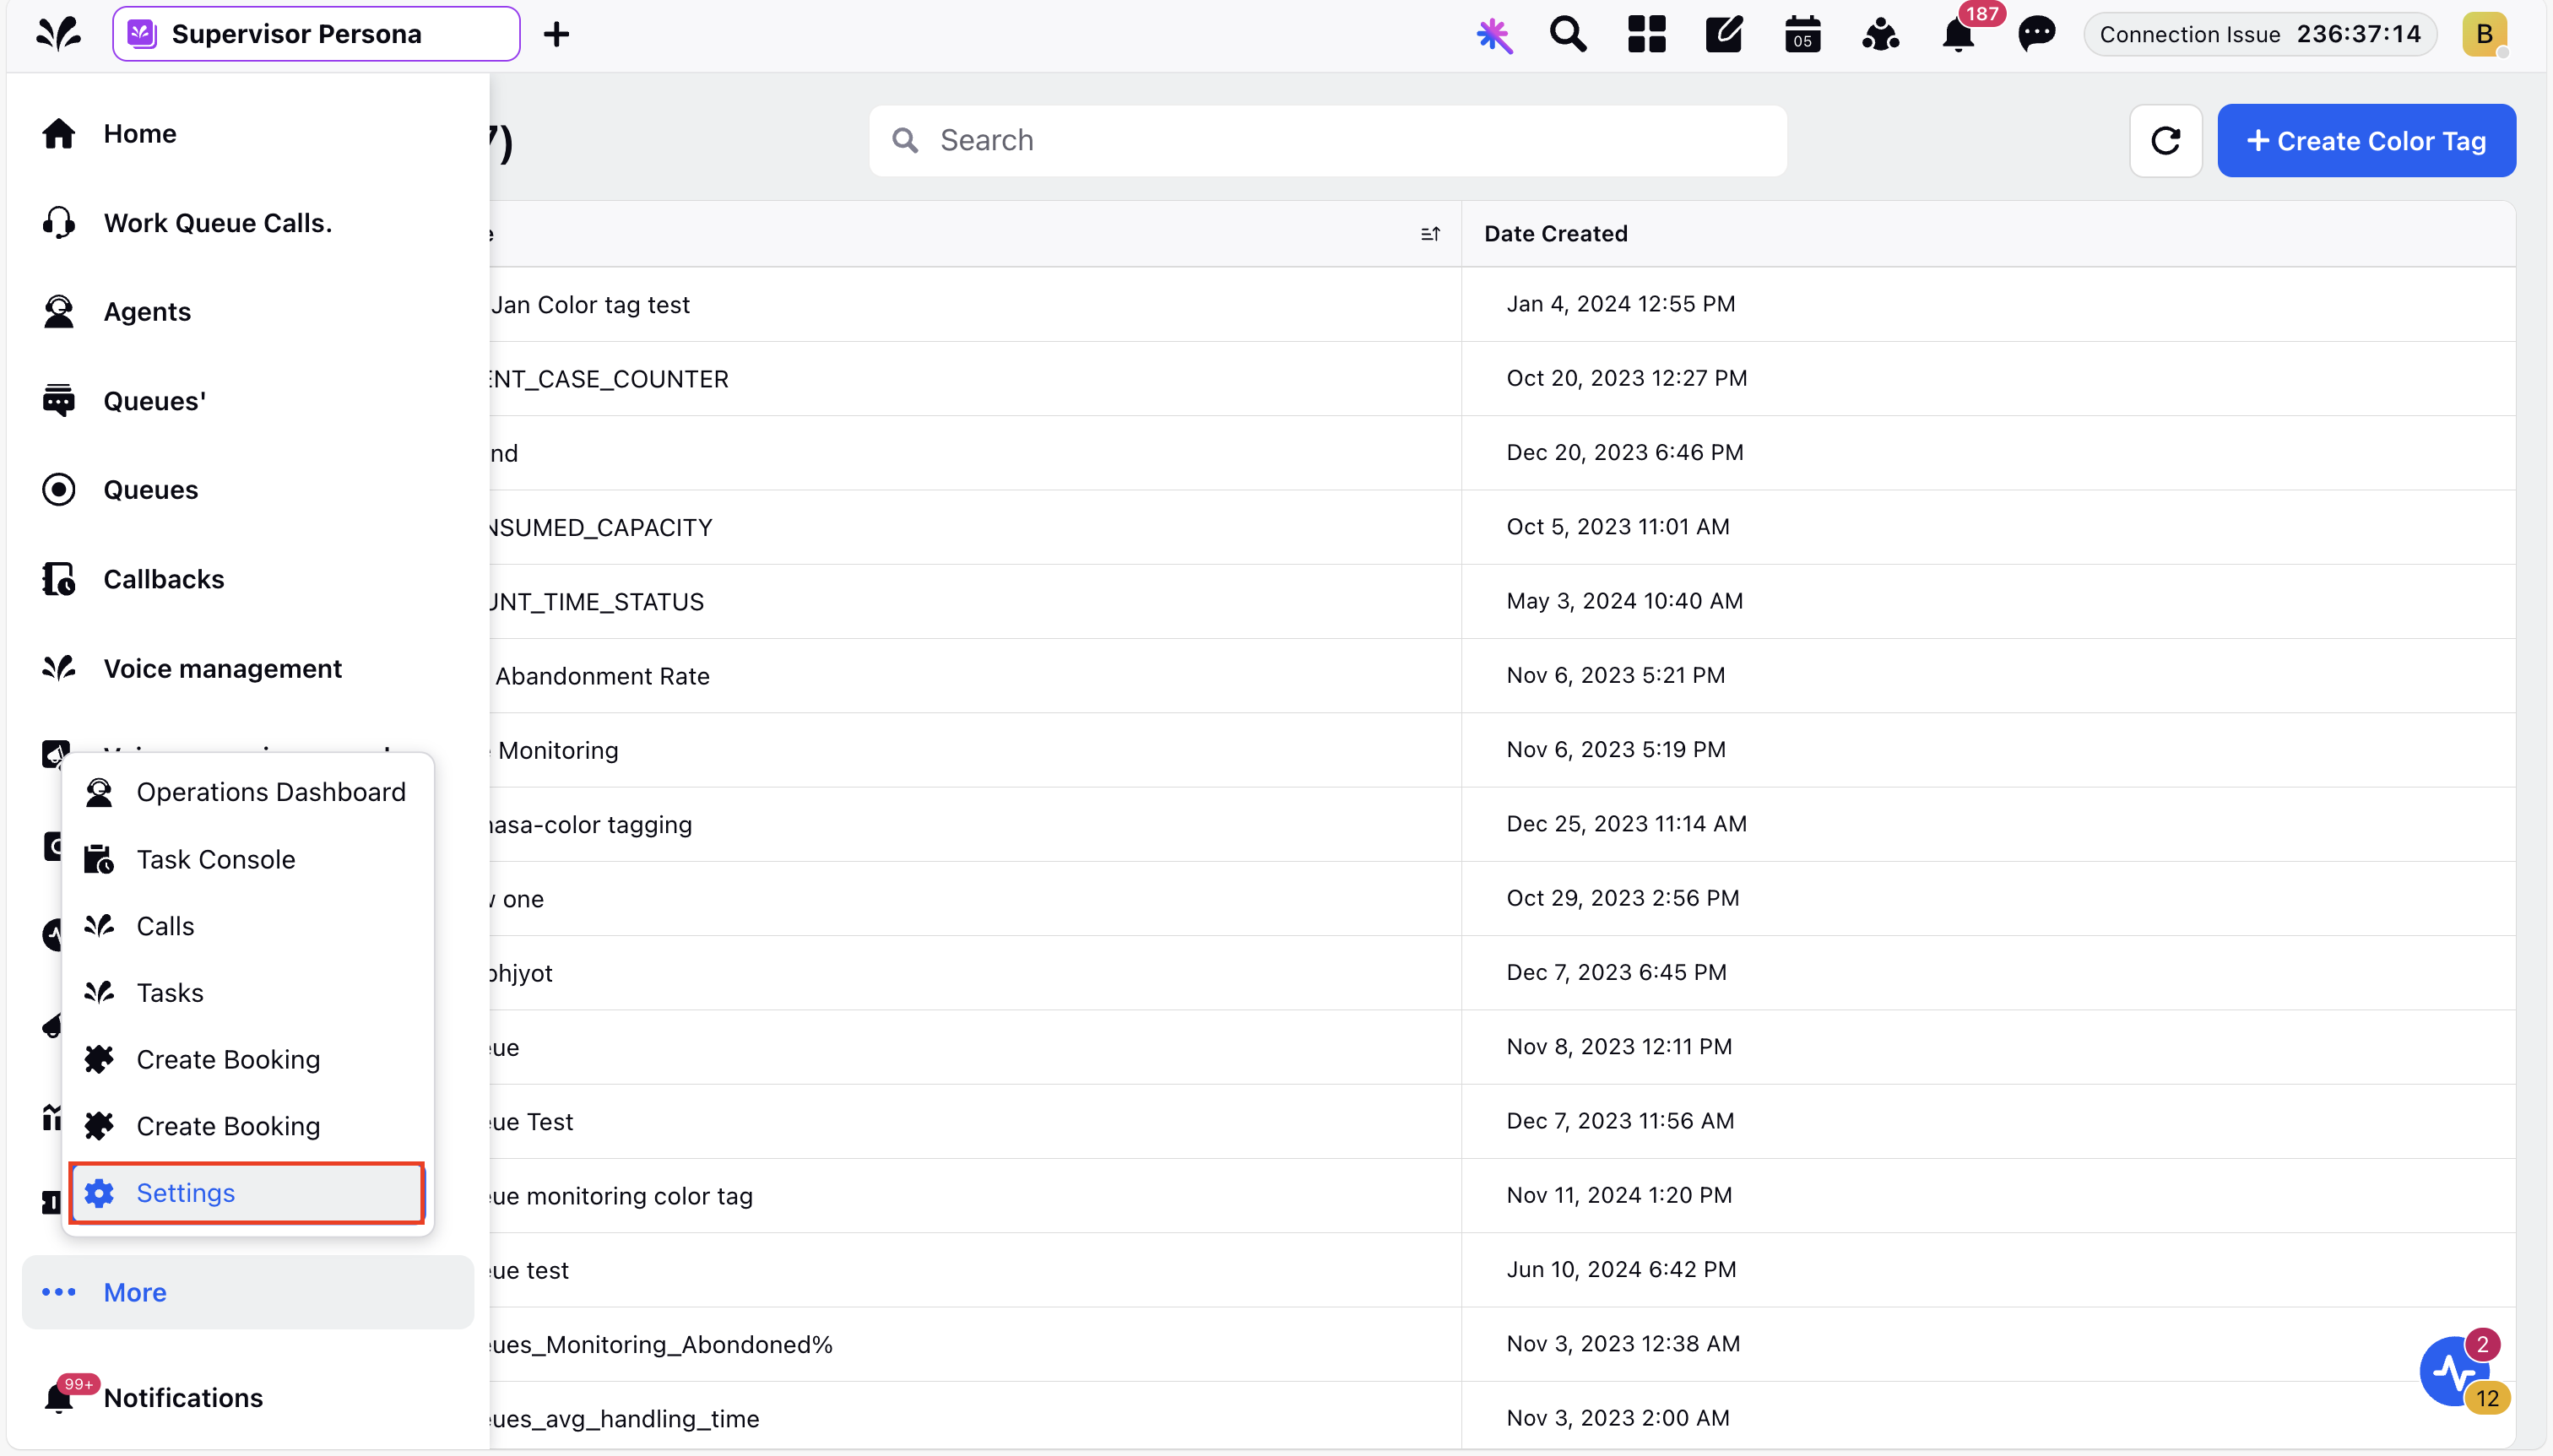
3. In the Settings page, search for and select Color Tagging. This will open the Color Tagging screen where you can see the list of existing color tags.
4. Click Create Color Tag. This will open the Create New Color Tag window.
5. In the Create New Color Tag window, enter the color tag details:
Field | Description |
Name | Enter a name for the color tag. |
Module type | Select the module or the monitoring screen where this color tag will be applied. |
Visible in all workspaces | Choose whether you want the color tag to be visible across workspaces. |
Workspace | Select the specific workspaces where the color tag will be visible. |
6. In the Color Tag Criteria section, select the attribute you want to color code. Set the criteria, and then select the affected column name and assign a color.
The following color coding themes are available:
Change the color of the background appearing beneath the text.
Change the color of the text itself.
Select the color of the circle shaped icon that will appear before your text depending upon your availability.
Choose the color of the triangular shaped icon that appears after your text.
7. Once you have entered all the details, click Create.
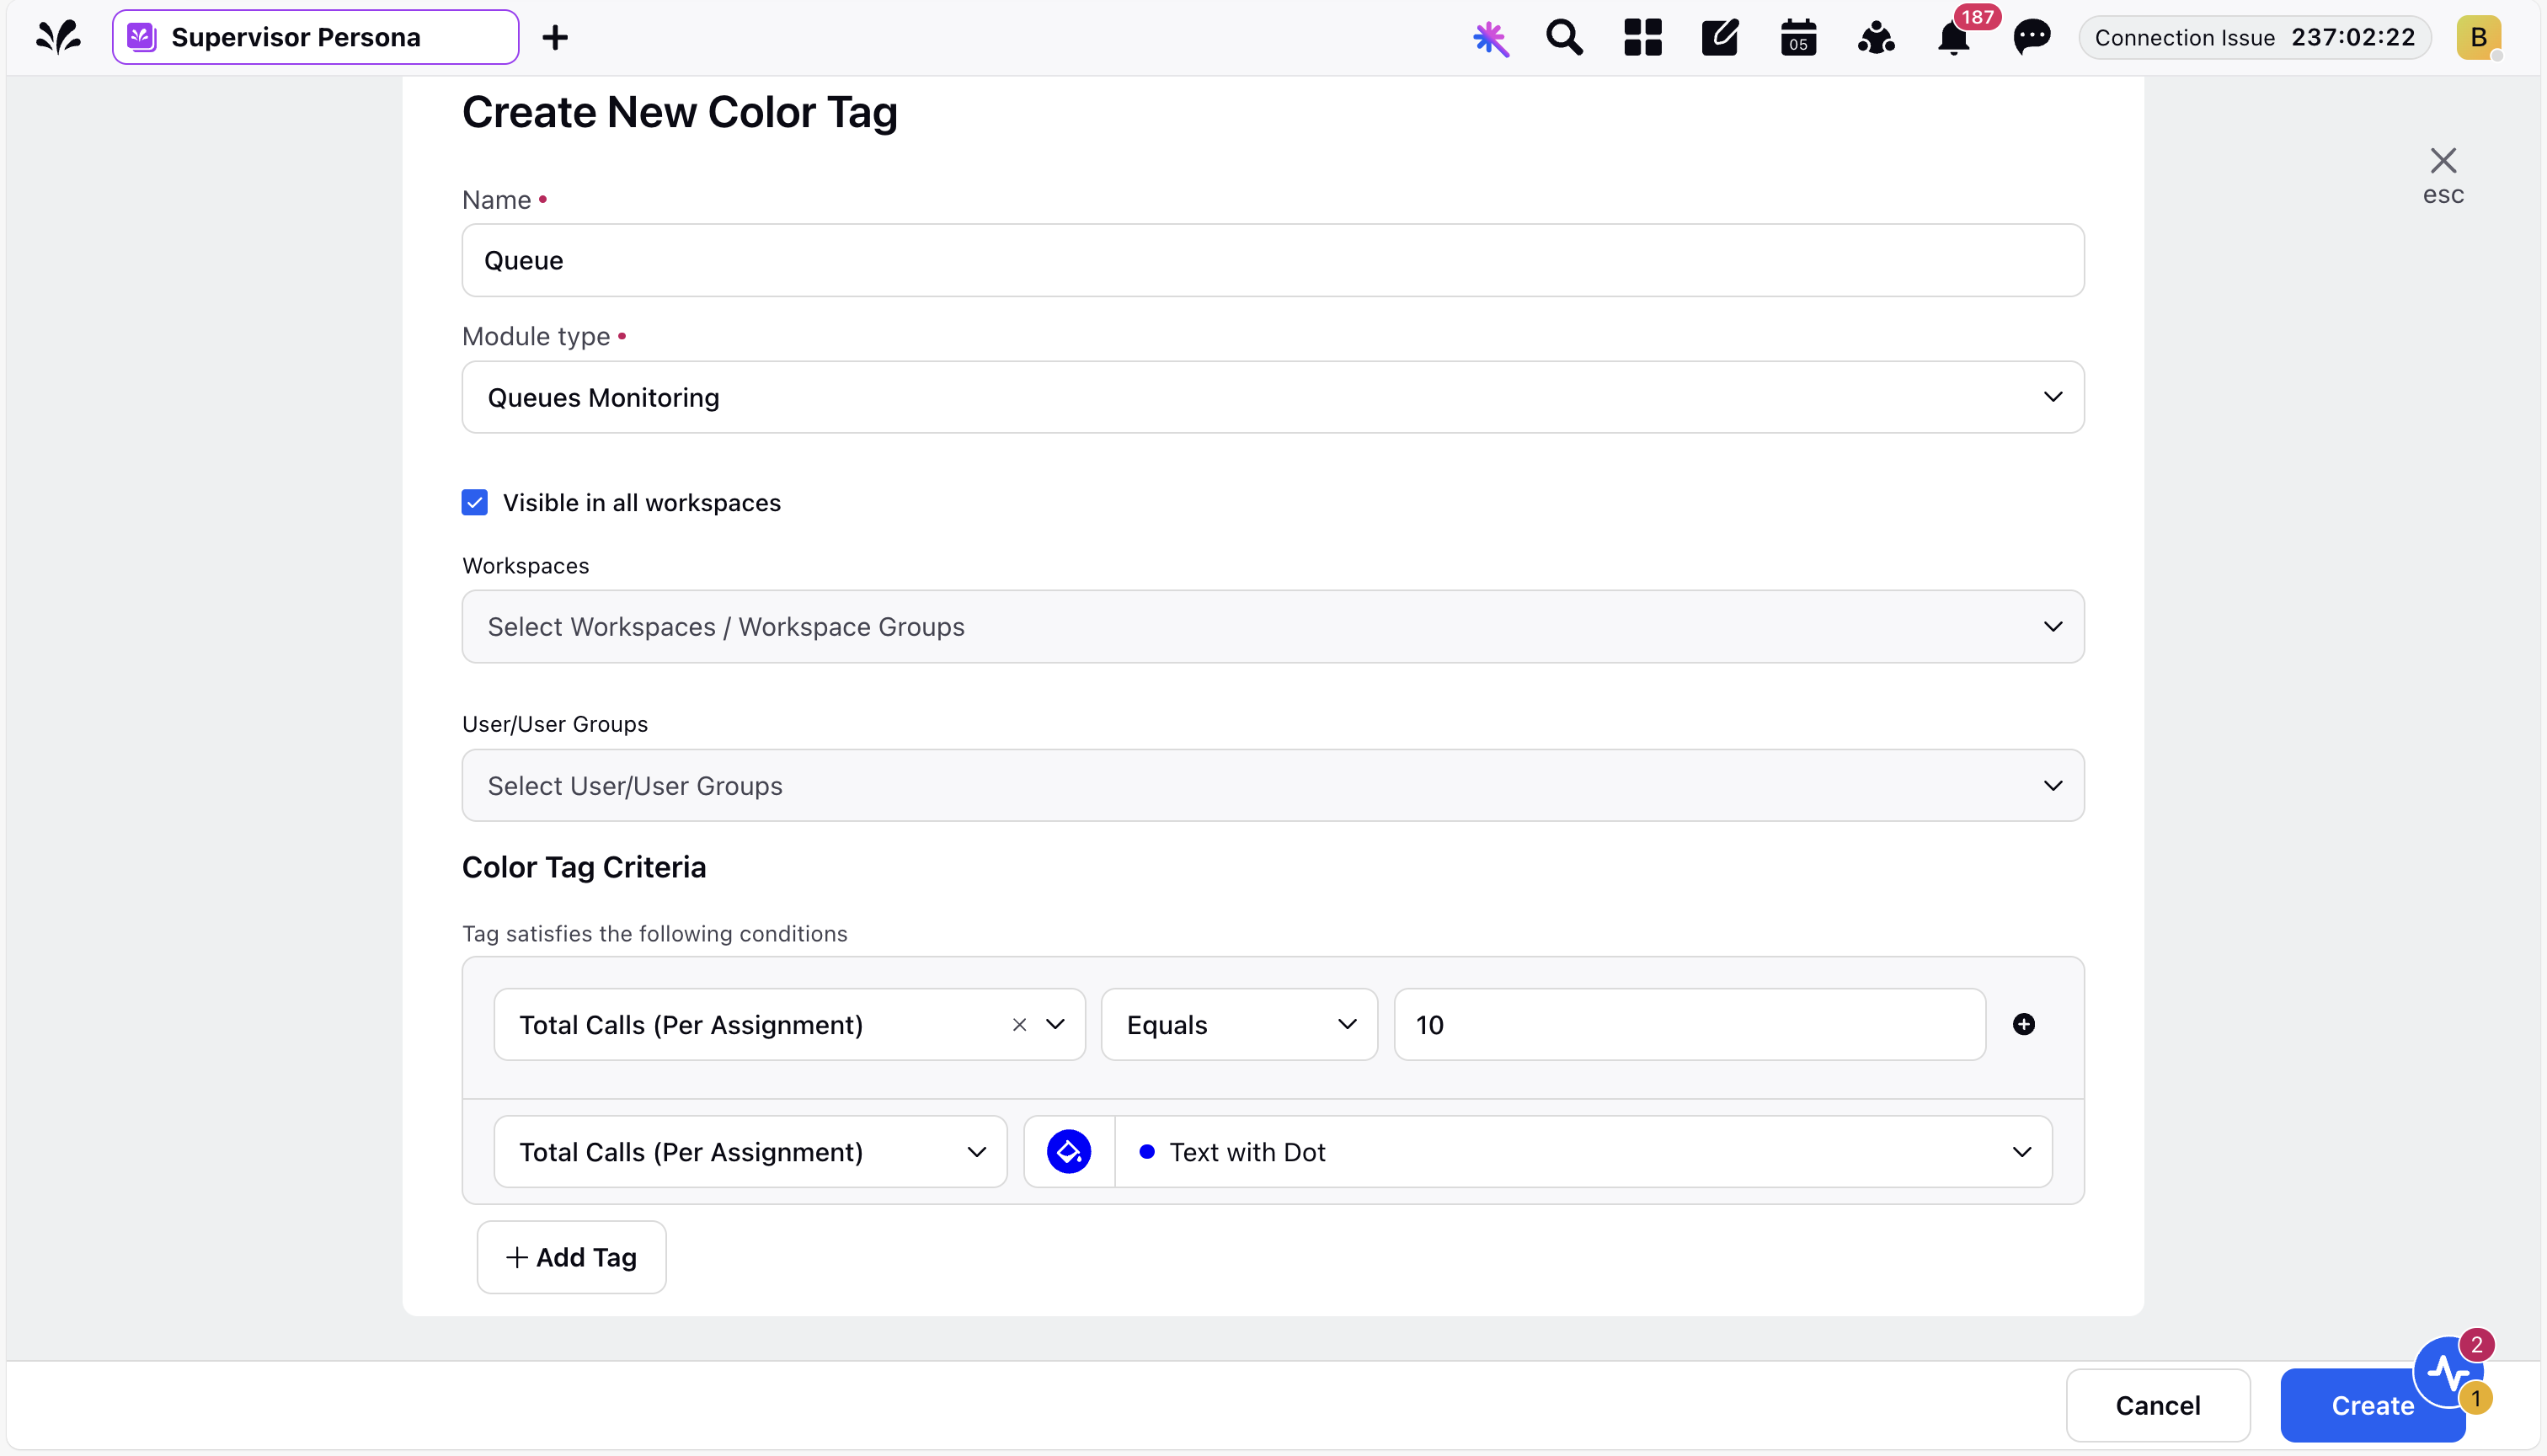
After the color tag is created, the status color will get changed based on the predefined conditions.
Share Reporting Dashboards
In the Reports section of Supervisor Console, supervisors can view the reports in the persona app directly without having to switch to the Reporting module. This provides a unified view for the supervisor.
For steps to share a reporting dashboard with a supervisor persona, see Share Reporting Dashboards with Persona Apps.
Share Engagement Dashboards
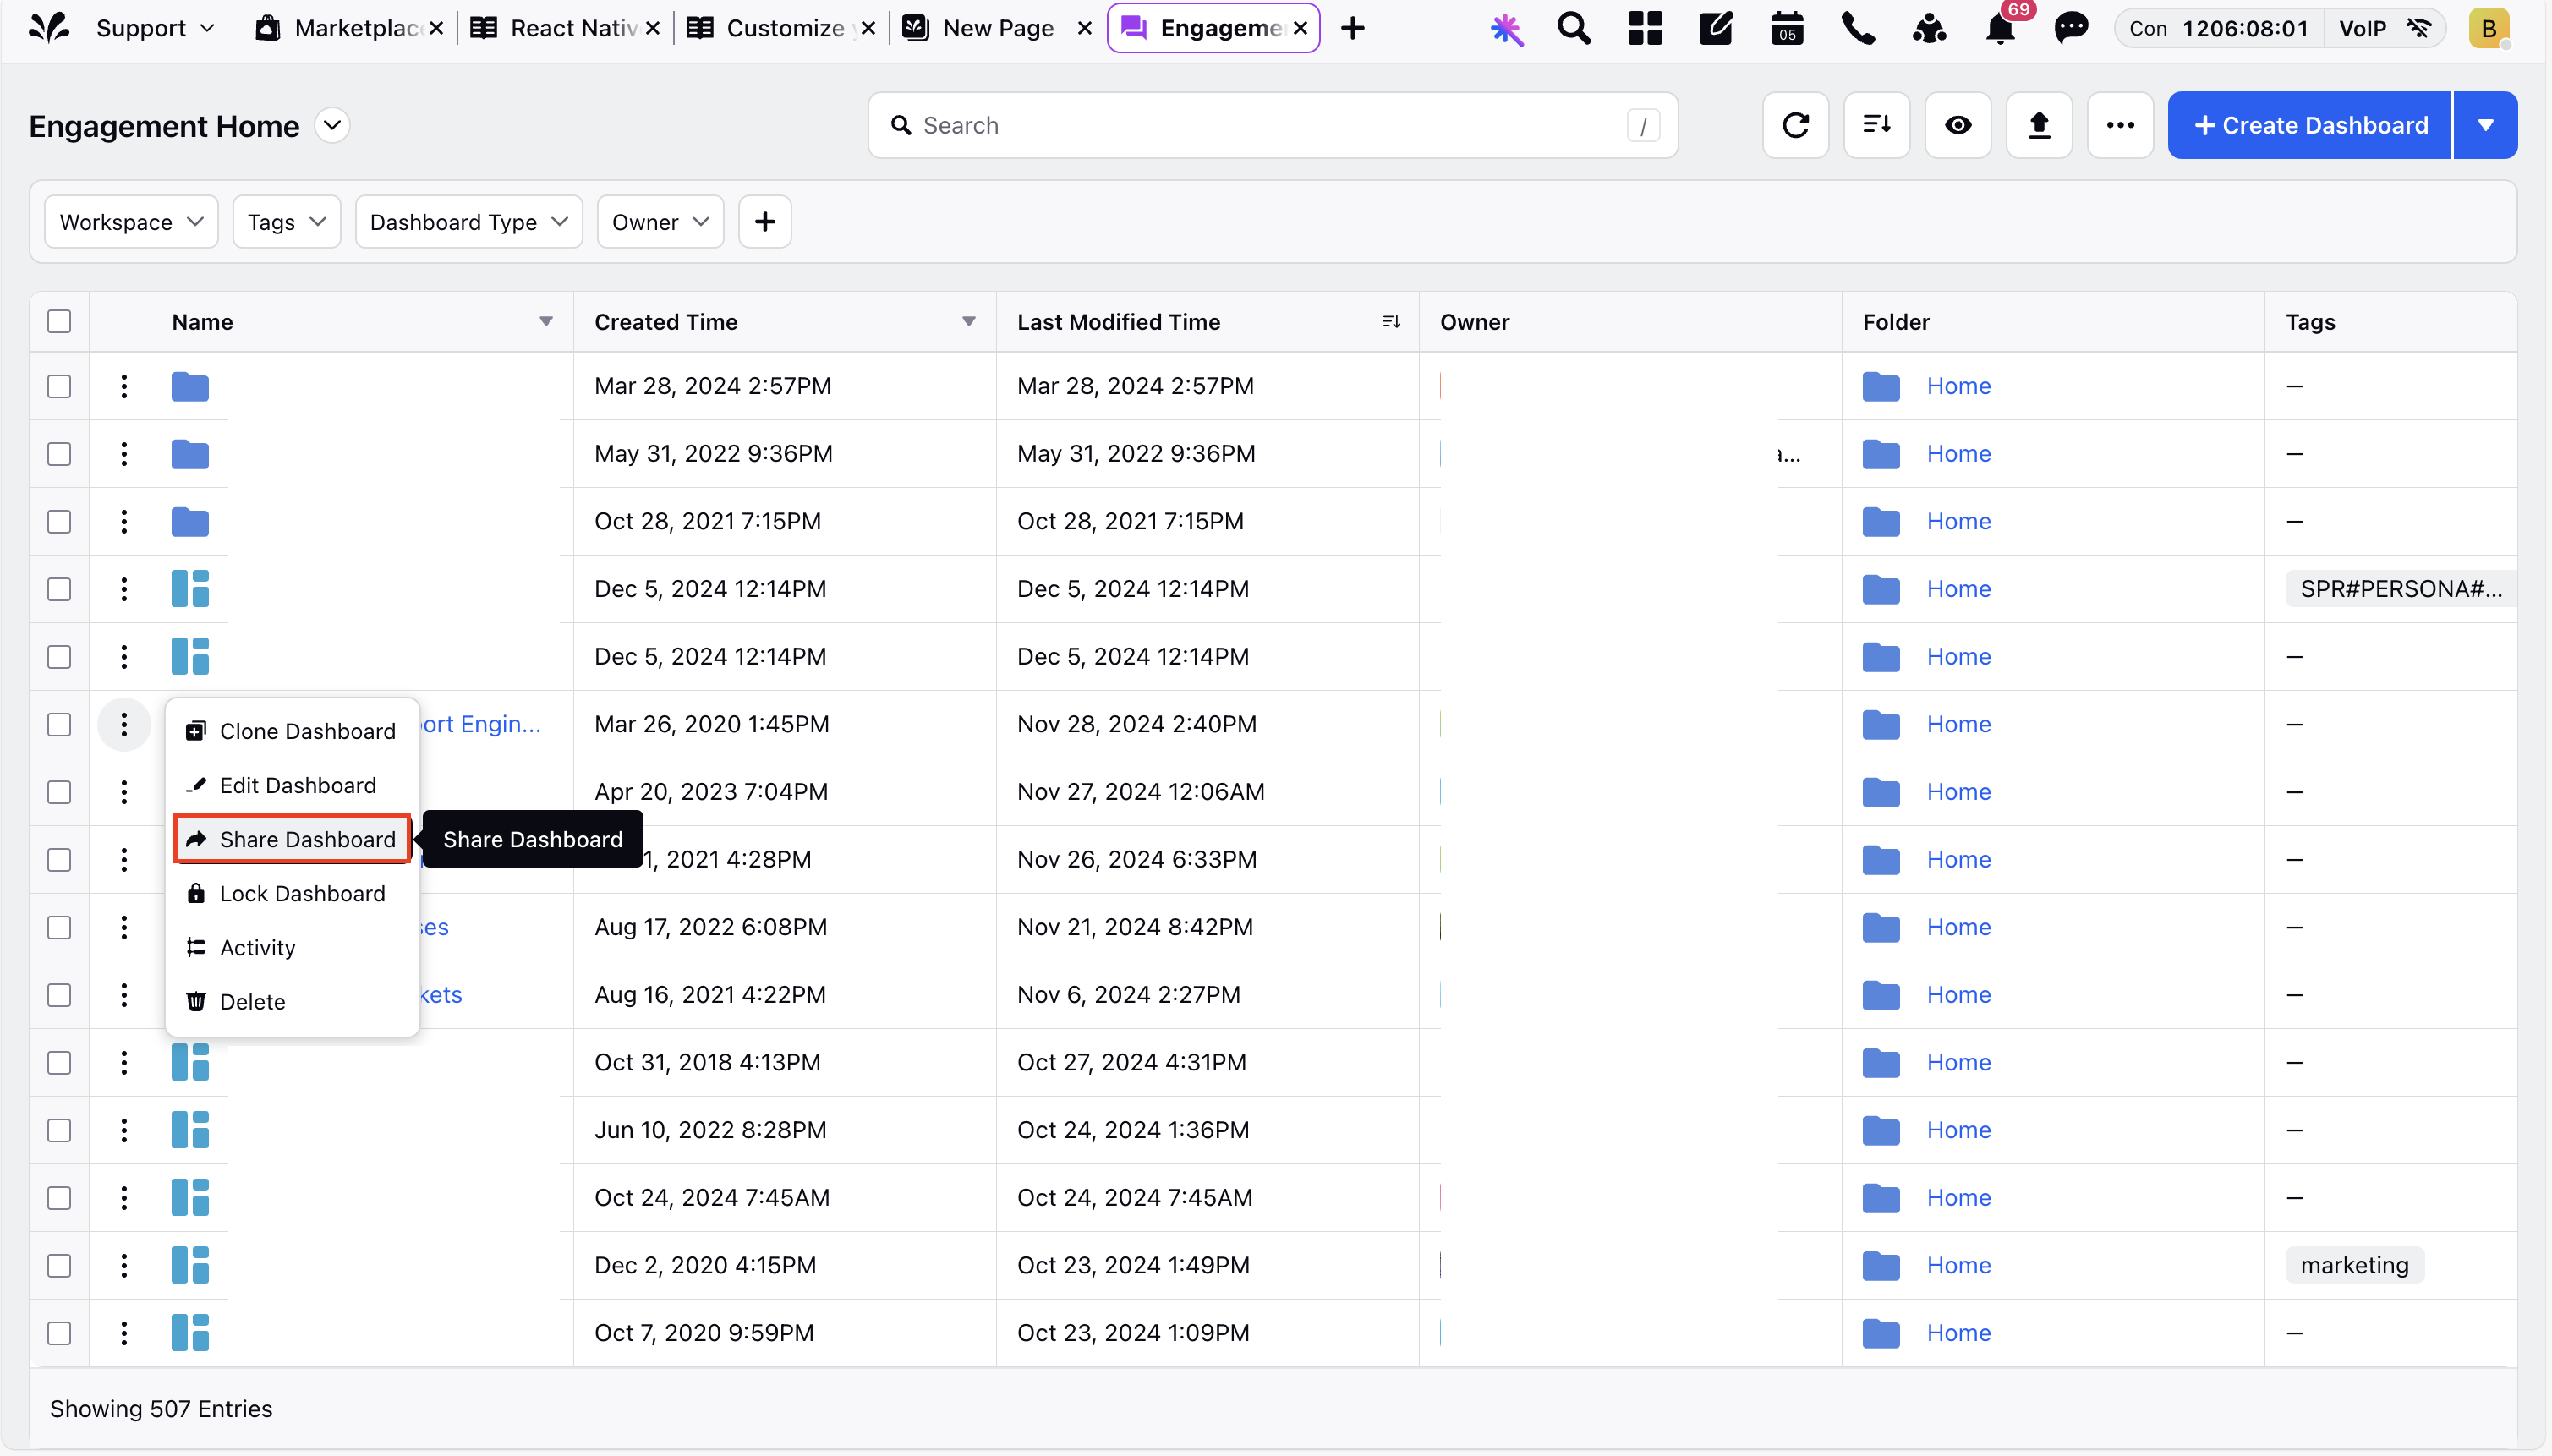
To share an engagement dashboard, follow these steps:
1. Click the New Page (+) icon or Launchpad (![]() ). In the search box, search for and select Engagement Dashboards.
). In the search box, search for and select Engagement Dashboards.
2. In the Engagement Dashboards page, locate the dashboard you want to share.
3. Click the three-dot icon beside the report name. Then, click Share Dashboard.
4. In the Share Dashboard dialog, select the appropriate options for sharing:
Workpaces: Select the workspace and workspace groups where you want the engagement dashboard to be shared.
Users / User Groups: Select the users or user groups with whom you want to share the engagement dashboard.
Persona App: Select the persona app where the engagement dashboard should be visible.
Once you have selected the sharing options, click Share.
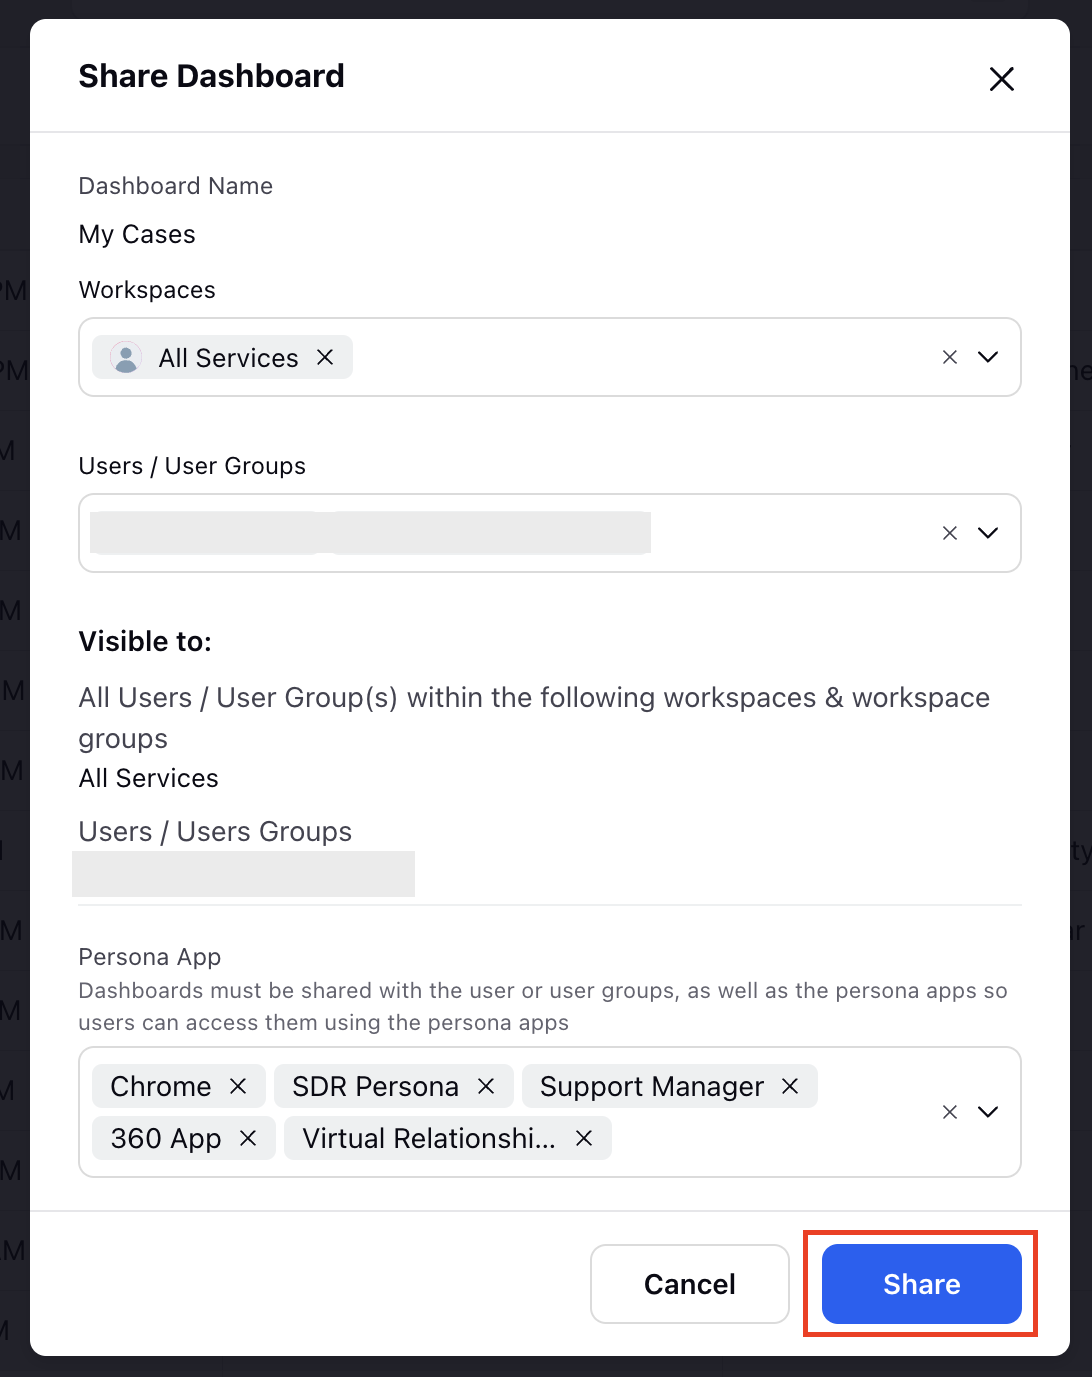
You have now successfully shared the engagement dashboard with the selected users and persona apps.
Supervisor Console Governance
Supervisors need the Supervisor Console permissions to access different capabilities of Supervisor Console. You can create multiple workspace/global roles and set permissions in it. These roles can then be assigned to any user/user group as required.
View Workspace Roles
To view workspace roles, follow these steps:
1. Click the New Page (+) icon or Launchpad (![]() ). In the search box, search for and select All Settings.
). In the search box, search for and select All Settings.
2. In All Settings, go to Manage Workspace > Workspace Roles.
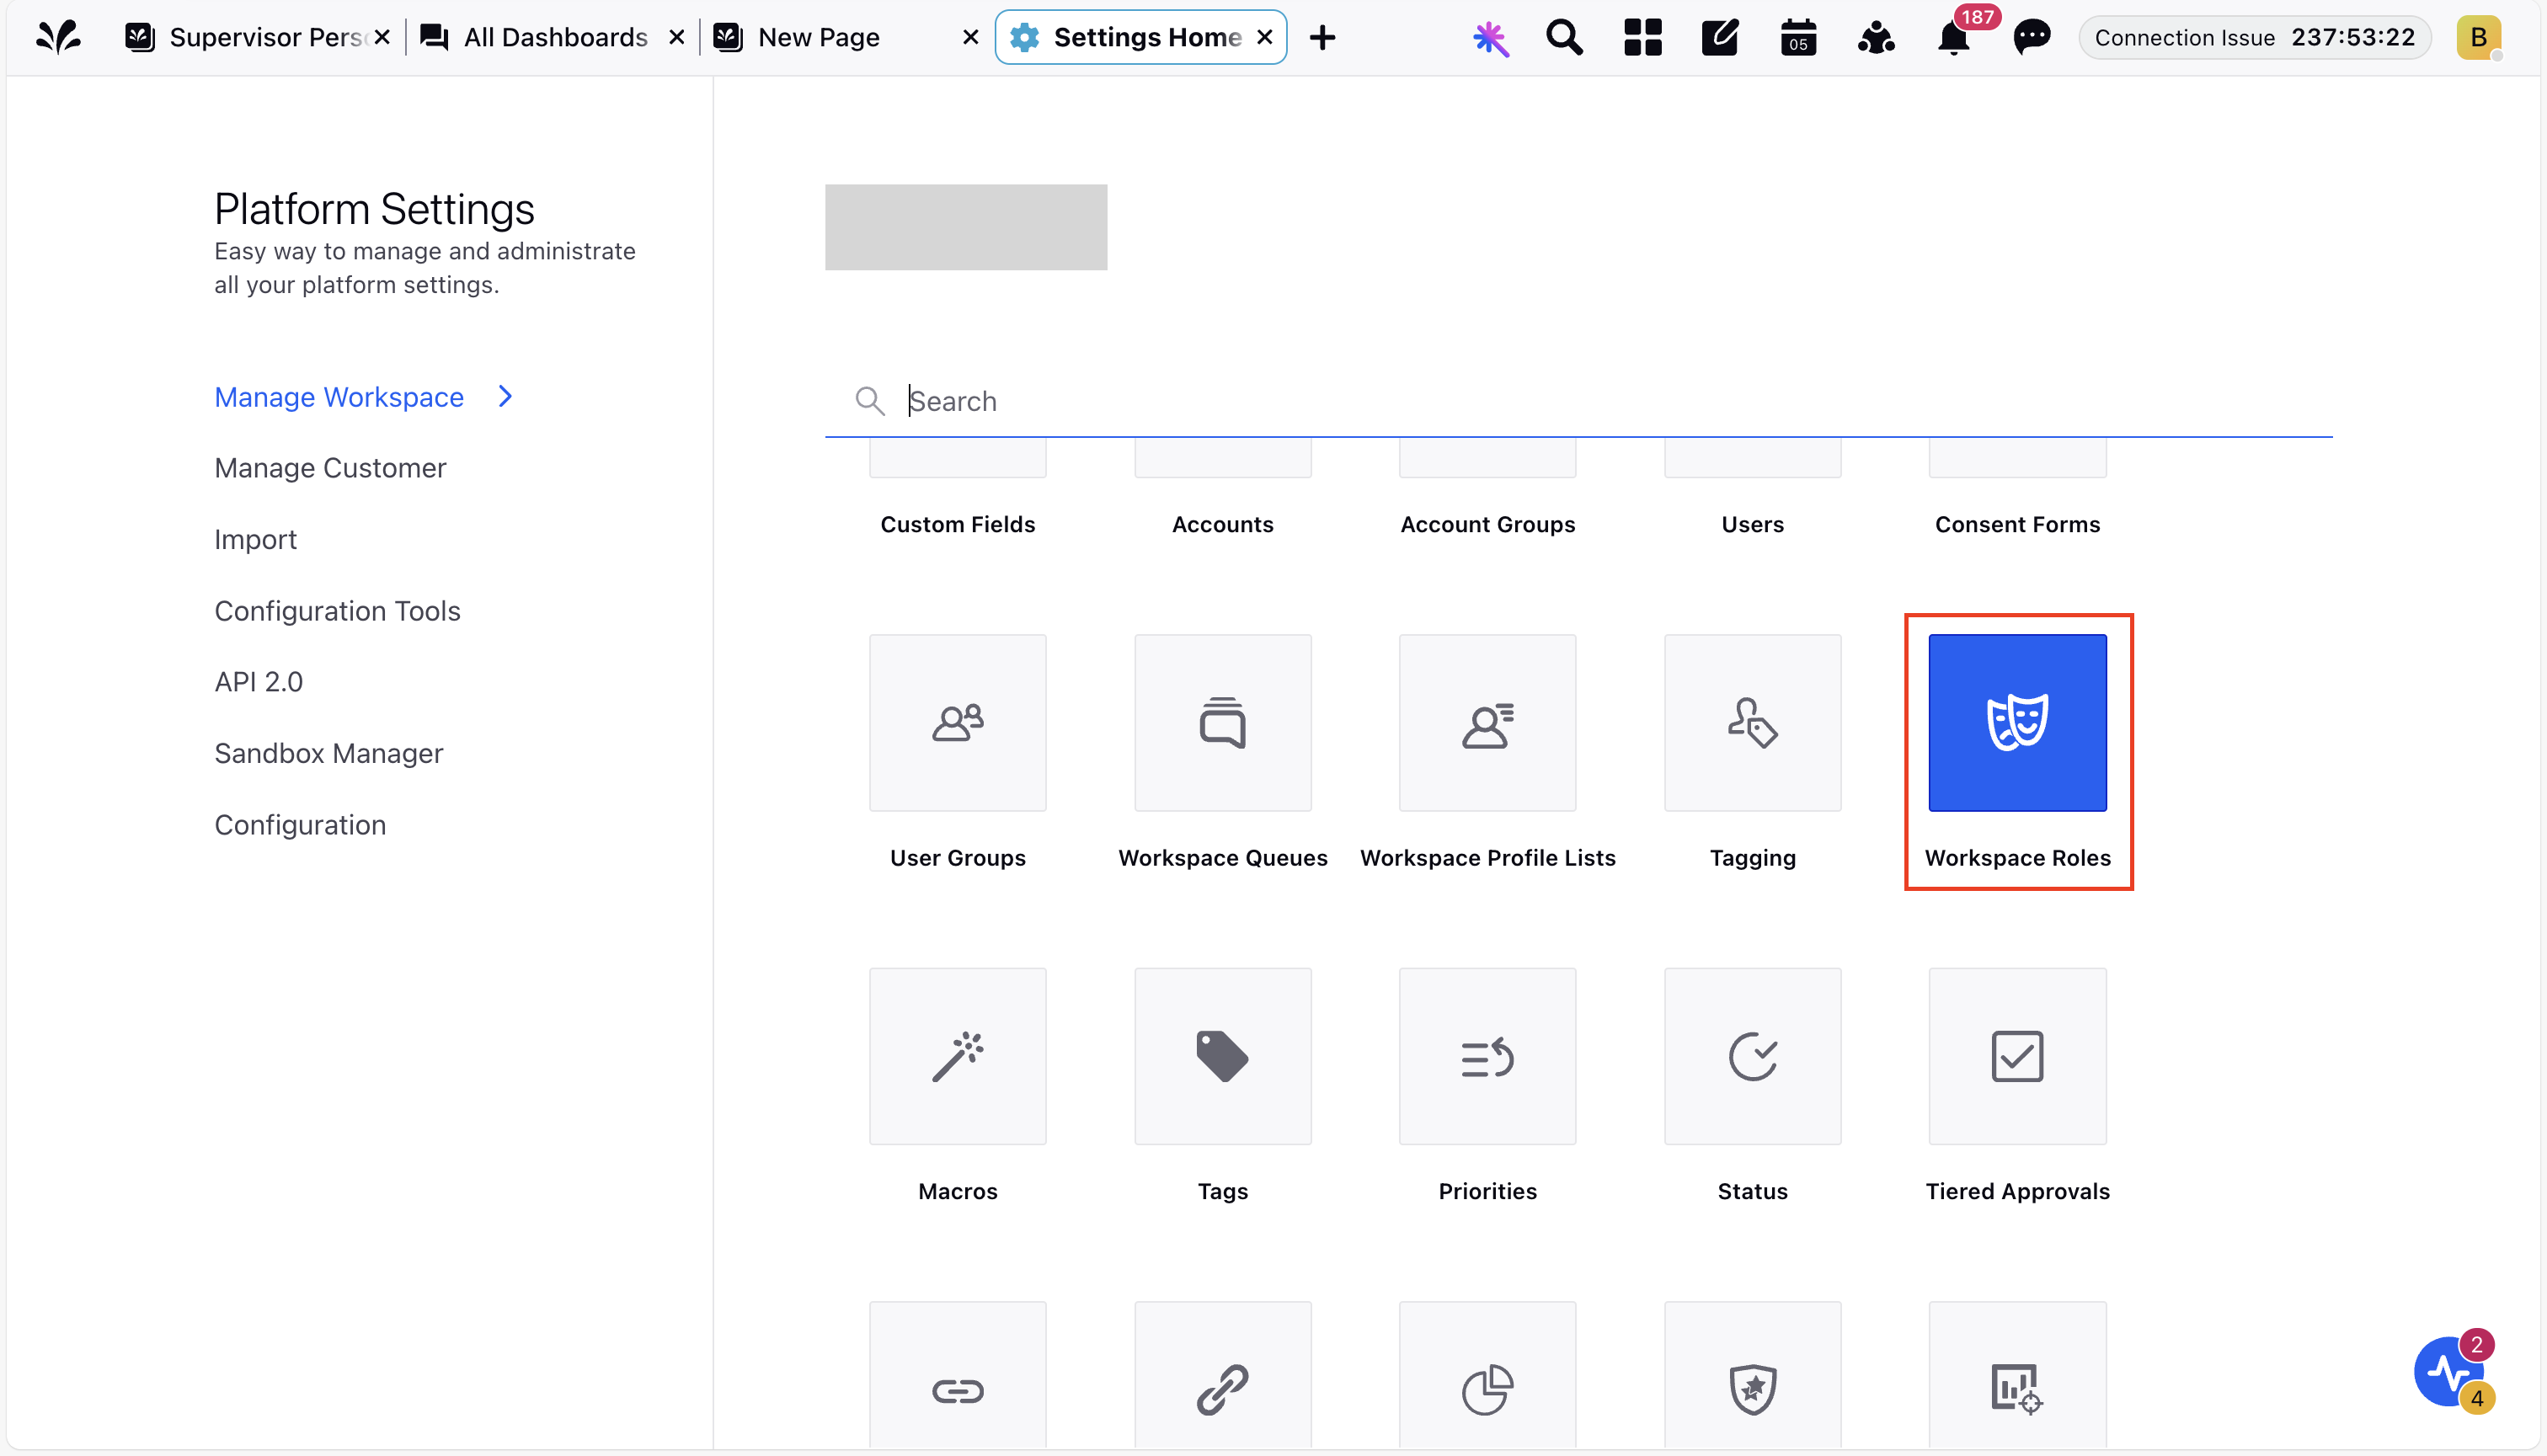
You can create a new workspace role or edit an existing workspace role. You can select the permissions assigned to a particular role and the users/user group to whom the role needs be assigned.

View Assigned Permissions
The permissions assigned to a supervisor can be viewed in the profile settings.
1. Open profile settings. There are two ways to open profile settings:
Click on the profile icon on the top right corner.
Click the New Page (+) icon or Launchpad (
 ). In All Settings, go to Manage Workspace > Users. Click the Details icon in the option menu next to the user name.
2. Go to the Permissions tab.
On the Permissions tab, you can view all the permissions assigned to that user in that workspace. For agents page permissions, navigate to Service Cloud > Supervisor Console.
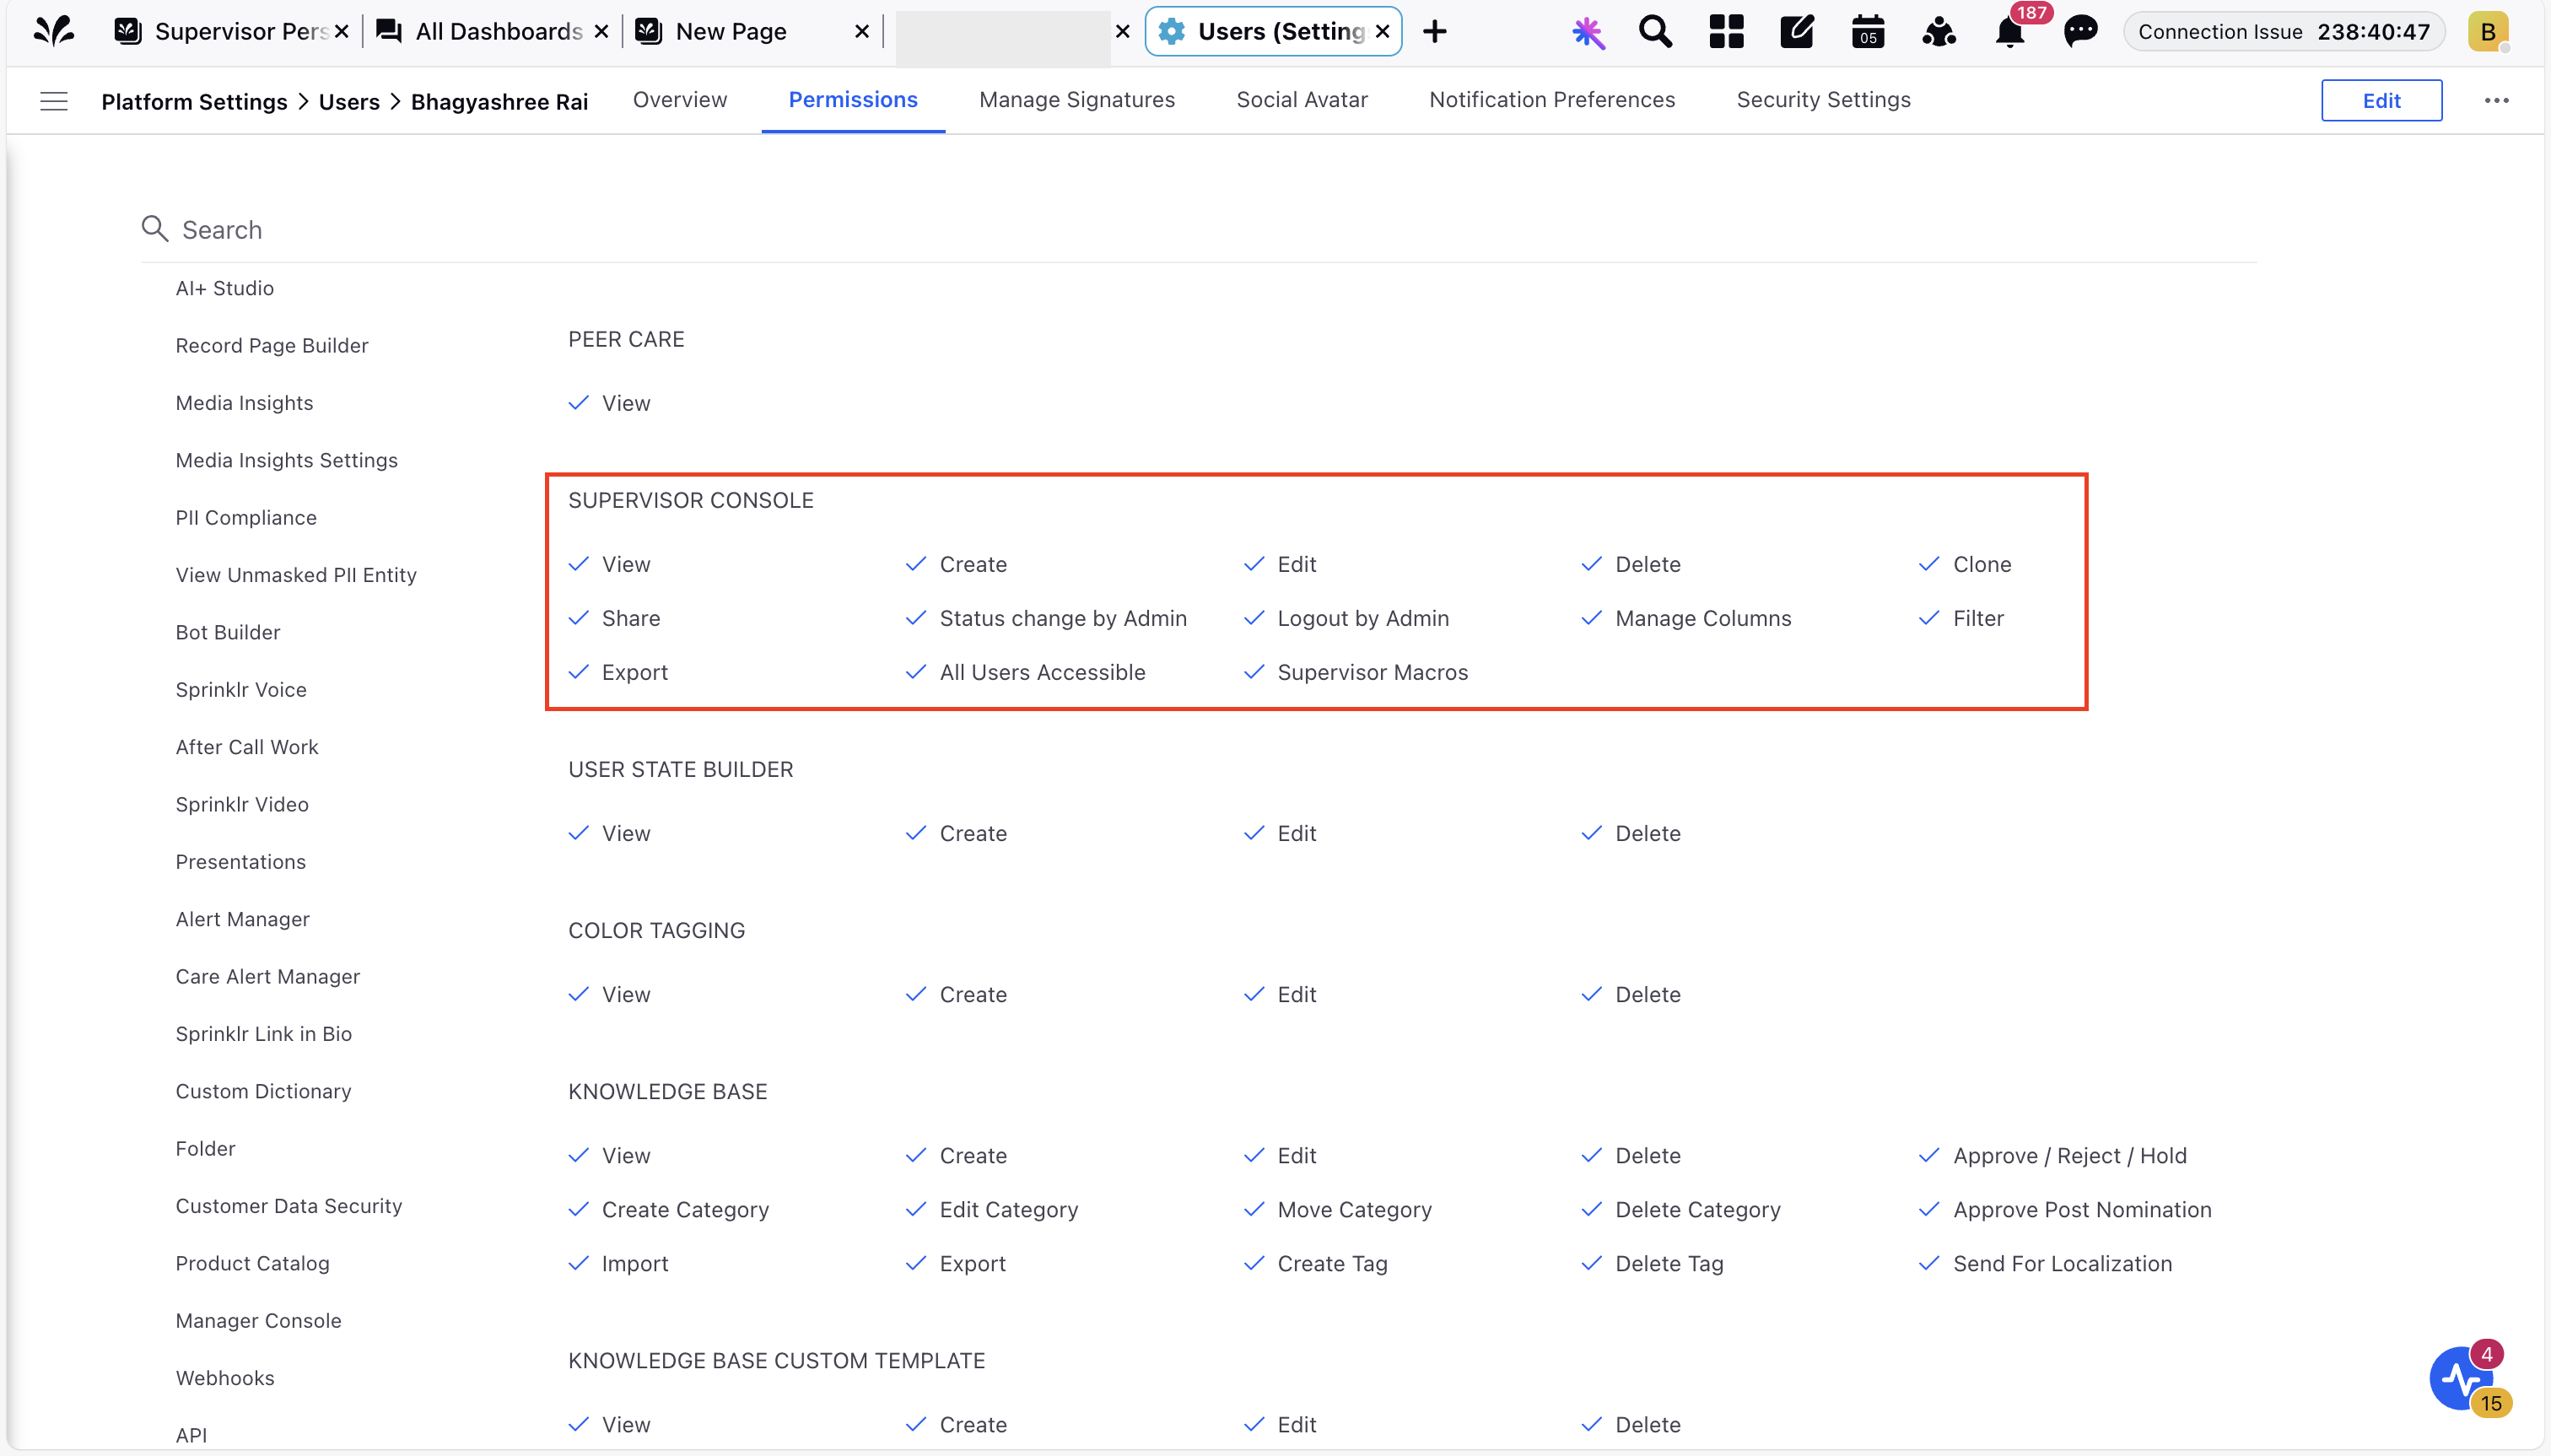
For more information, see Supervisor Console Permission.