Sprinklr - Salesforce Service Cloud (v2)
Updated
With Salesforce v2 integration, you can manage customer relationships and contacts in the same platform you use to interact with customers through engagement workflows. You can leverage unified profiles within Sprinklr, creating the opportunity to provide your customers with personalized and insightful interactions and stellar experiences with your brand.
| To learn more about getting this capability enabled in your environment, please work with your Success Manager. |
Before You Begin
Before you begin, please ensure that Sprinklr Service is enabled in your environment.
Salesforce Webhooks must be enabled and configured within the Sprinklr platform.
For Salesforce, you must have Service Cloud Unlimited and Enterprise Editions. Additionally, Group and Professional Editions are not supported.
You are also required to setup My Domain in Salesforce. If your Salesforce instance is shielded by a firewall, then you need to whitelist the IPs based on your hosted environment. Refer to this article for IP whitelisting details.
Use-Cases
Create Salesforce accounts and contacts from social profiles such as Facebook, Twitter, etc.
Create customer support cases in Salesforce from social posts and messages like Facebook, Twitter, etc.
Respond and engage with your customers on social and messaging channels natively in Salesforce.
View social details and activity history for accounts, contacts, and cases.
Automate account, contact and case creation with Sprinklr Automation Engine.
Ability to triage and collaborate with agents across Salesforce and Sprinklr using Sprinklr case notes and Salesforce case comments
View historical Salesforce cases in Sprinklr using the customer details like email ID, phone number etc.
To Install Salesforce Lightning Environment
Go to https://appexchange.salesforce.com/ and search for Sprinklr App in top search bar. Select the Sprinklr App from the results. Click More to proceed.
Click the Get It Now button on the top right corner.
On the Where do you want to install this package? pop-up window. Select the desired type of installation on the Salesforce Environment. The following are the type of installation:
Install in Production - For https://login.salesforce.com/ domain
Install in a Sandbox - For https://test.salesforce.com/ domain
After selecting the desired installation type, enter the Username and Password that you use to login to Salesforce. Click Log In.
On the Confirm Installation Details pop-up window, review application components and check the box in the bottom to agree with terms & conditions. Click Confirm and Install in the bottom right corner.
On the Install Sprinklr window, select the desired Install option and click Install in the centre right corner
Next, on the Approve Third-Party Access pop-up window, check the box and click Continue.
Depending on your Sprinklr environment, you will have to select the corresponding Sprinklr App. Look at the text before .sprinklr.com. For example, if the environment prod2 (prod2.sprinklr.com in the Address Field) in that case you would select the Sprinklr Prod2 app on Salesforce. If you wish to change the Sprinklr Environment in Salesforce, see To change the Sprinklr Environment in Salesforce.
Click More in the top right corner and select Setup from the drop-down. On the Setup window, search and select Auth. Providers.
Fill in the following details on the Auth. Providers window:
Provider Type = SprAuth
Name = Sprinklr
URL Suffix = Sprinklr
Redirect URI = https://{salesforce-domain}/services/authcallback/SprinklrWhile filling out the details on the Auth. Provider window. Make sure to replace {salesforce-domain} with the domain on the browser in the Redirect URI. If you wish to select/change the admin for the Salesforce, see To Set-up the Admin for the Salesforce App.
Click Save in the bottom of the Auth. Providers window. After saving the Auth. Providers, make sure that Redirect URI and Callback URL are same.
On the Setup window, search and select Named Credentials.
On the Name Credentials window, click Edit alongside to Spr_Auth.
Select Authentication Provider as Sprinklr and check the box alongside to Start Authentication Flow on Save.
Click Save in the bottom right corner of the Name Credentials window.
On the Welcome to Sprinklr! window, click Submit to proceed, Next, enter the Sprinklr Username and Password and click Login (if not already login). After login, select the desired Workspace and Customer you wish to connect. And click Submit to allow Salesforce App to access your Sprinklr account
After the authorization, you will taken back to the Salesforce Environment. On the Setup window, search for "case" and select Case within Object - Object Manager.
Click Lightning Record Pages from the left menu and select the desired Case Record Page you wish to edit. If you want you can create a new case record page, click New in the top right corner.
On the Case Record Page, click Edit under the Lightning Page Detail section. Click Sprinklr Case Detail under Custom Managed & drag and drop the Sprinklr Case Detail in the Layout.
Click Save in top right corner to finalize the authorize of the Salesforce App.
To Change the Sprinklr Environment in Salesforce
Select App Launcher in the top left corner.
On App Launcher window, search and select Sprinklr Configurations. Next on Sprinklr Configurations pop-up window, select appropriate Sprinklr Environment from the drop-down list.
By default, Space Domain is auto-filled based upon the Sprinklr Environment. To change the Space Domain, enter the dedicated URL (For Example: {brand}.sprinklr.com).
Click Save in the bottom right corner of the Sprinklr Configurations pop-up window.
To Set-up the Admin for the Salesforce App
Click on the Search icon alongside to Registration Handler.
On the Lookup window, search and select the Admin.
To Configure SFDC 2.0 Integration in Marketplace
For more information, see Configure Salesforce Integration in Marketplace.
To Create a Salesforce Case in Engagement Dashboard
Click the New Tab icon
. Under the Sprinklr Social, click Engagement Dashboards within Engage.
On the Engagement Dashboard window, select a message that you would like to create a Case for.
In the bottom-right corner of the Message in the column, hover over the Options icon
and select Salesforce from the drop-down list alongside Create Case.
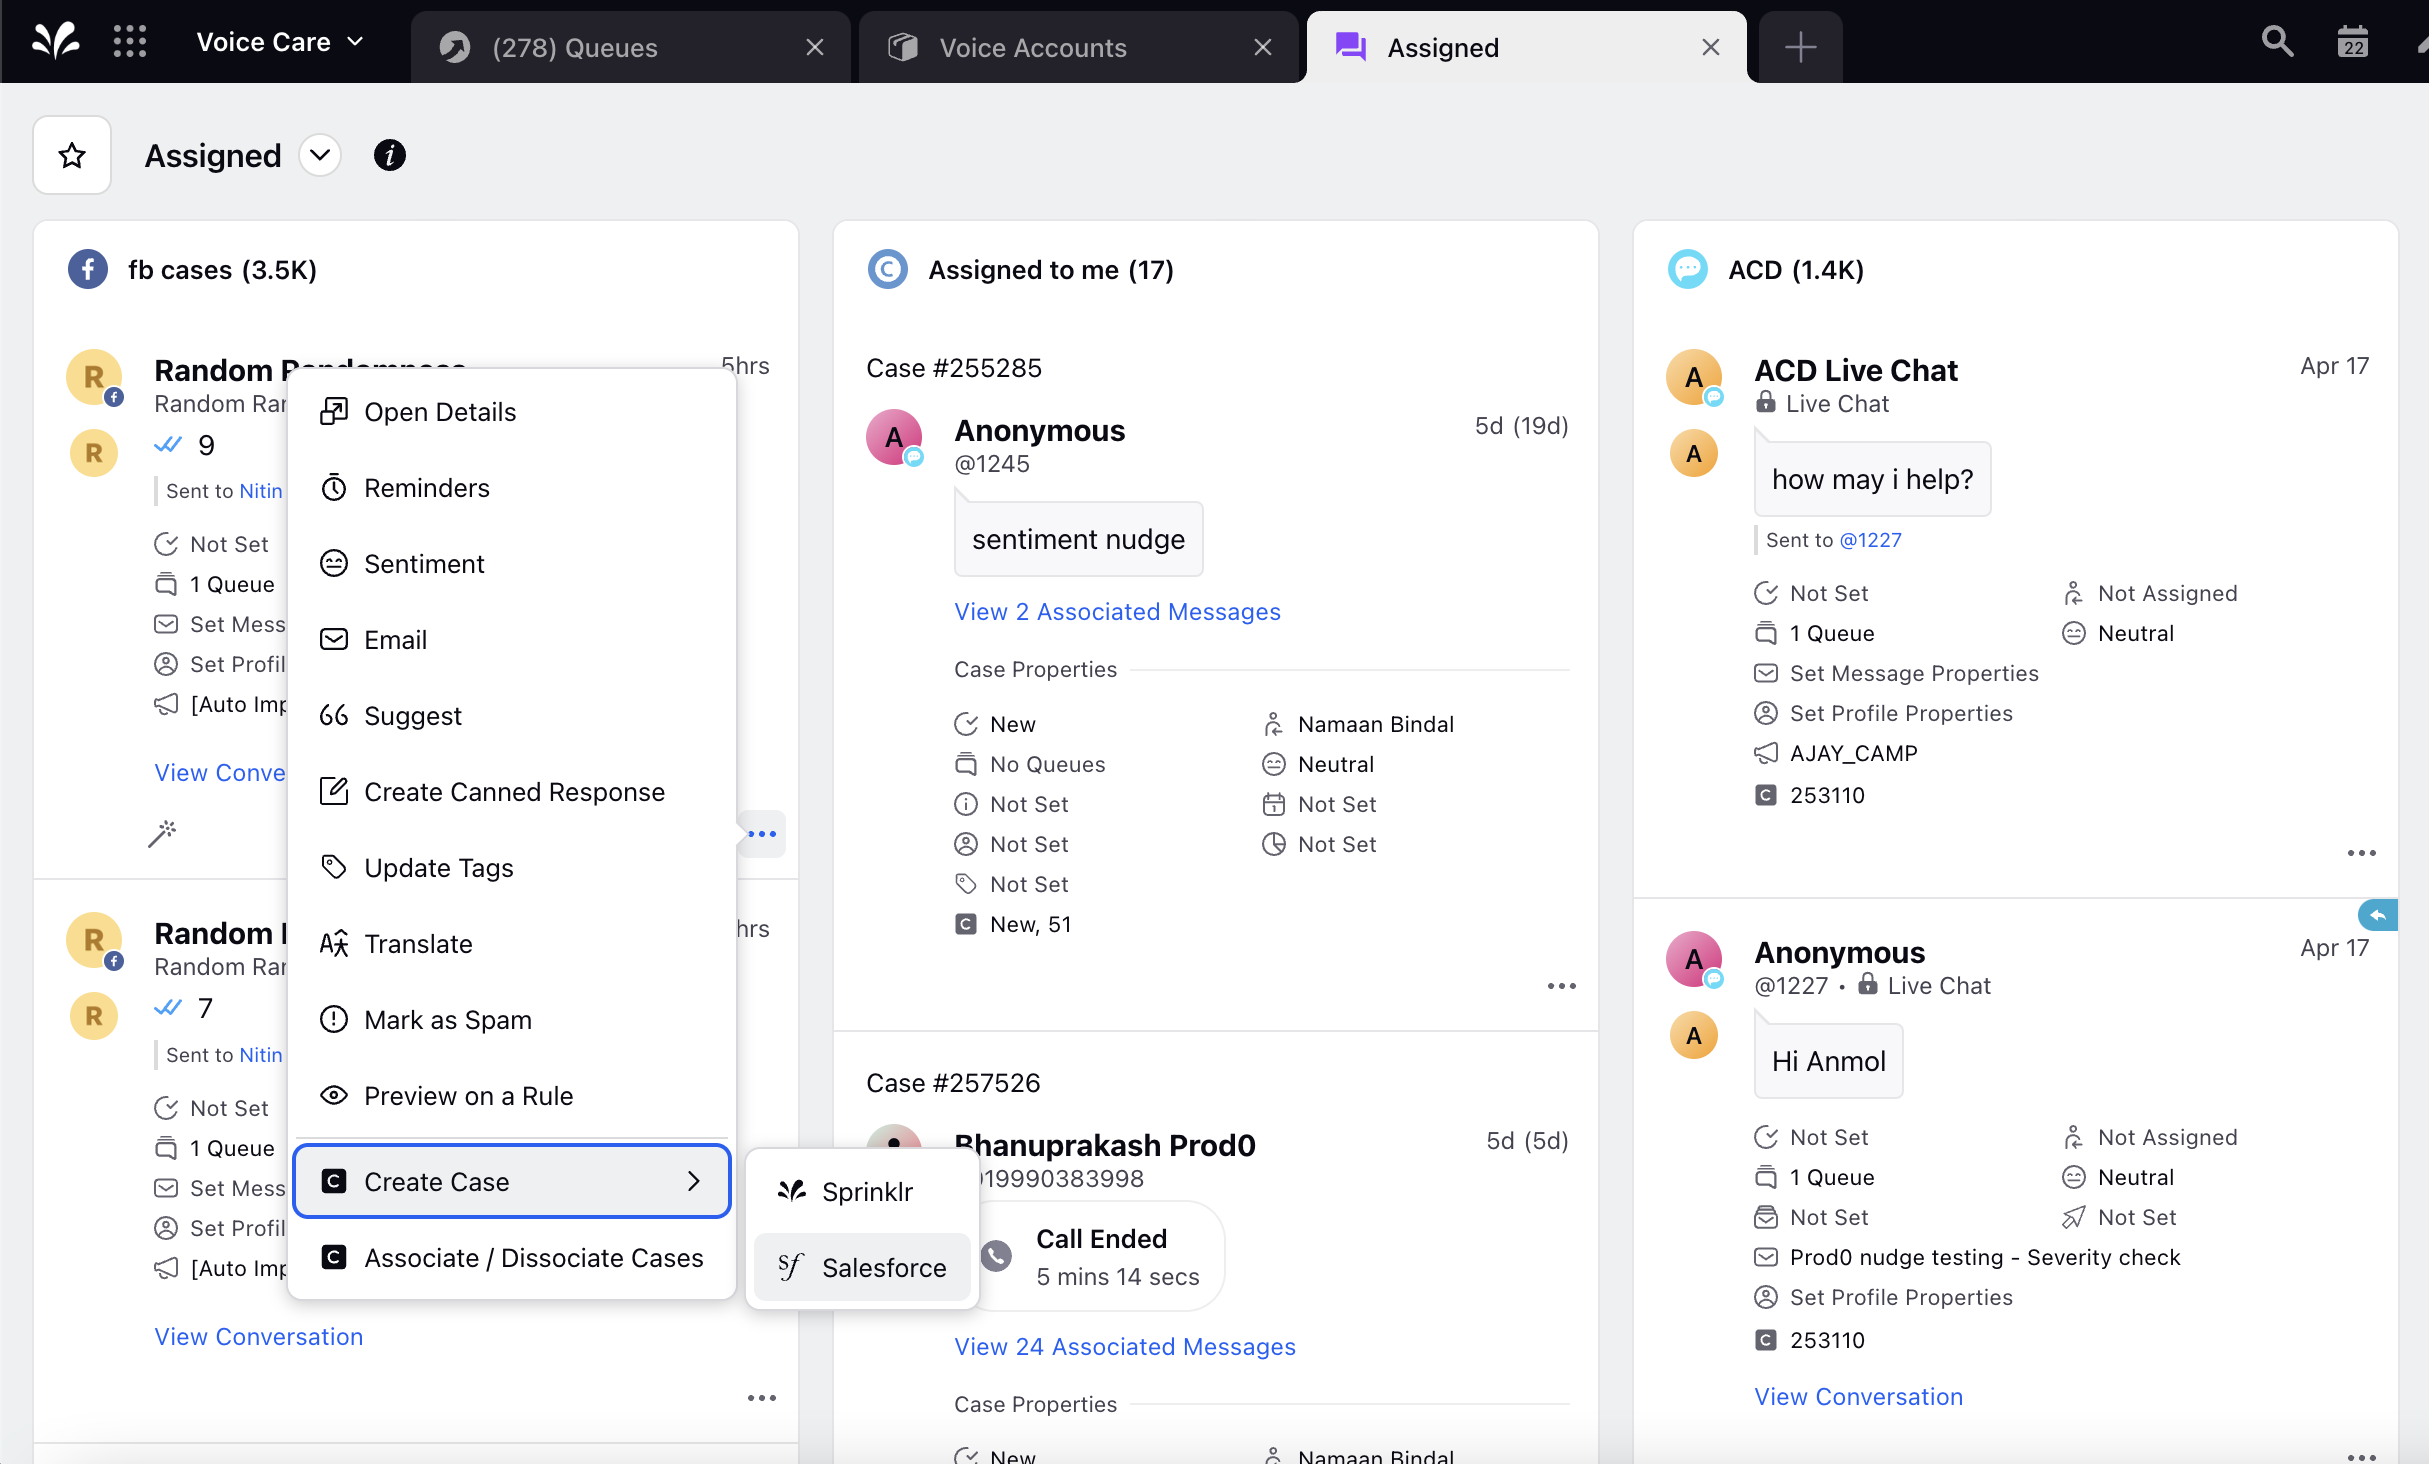
On the Create Case window, fill out the details as desired. Note that your preview of the social message on which the case will be created is on right side of the window. For more information, see Create Case — Field Descriptions.
Click Create Case in the bottom right corner to create a new case.
Create Case — Field Descriptions
Terms | Description |
Basic Information | |
Application | Select the desired Salesforce App from the drop-down list. |
Link Account and Contact | Click Link Account and Contact to add the customer type to the Application. |
Customer Type | Select the desired Customer (Object) Type from the drop-down list. |
Link Customer From | Select one of the following attributes:
|
Case Information | |
Status | Select the desired Status from the drop-down list. |
Priority | Select the desired Priority from the drop-down list. |
Contact ID | Search and select the desired Contact ID from the drop-down list. |
Case Origin | Select the desired Case Origin from the drop-down list. |
Account ID | Search and select the desired Account ID from the drop-down list. |
Case Type | Select the desired Case Type from the drop-down list. |
Case Reason | Select the desired Status from the drop-down list. |
Web Information | |
Email Address | Enter the desired Email Address. |
Company | Enter the desired Company. |
Name | Enter the desired Name. |
Phone | Enter the desired Phone number. |
Additional Information | |
Product | Select the Product from the drop-down list. |
Engineering Req Number | Enter the Engineering Req Number. |
Potential Liability | Select the Potential Liability from the drop-down list. |
SLA Violation | Select the SLA Violation from the drop-down list. |
Description Information | |
Subject | Enter the Subject name for the App. |
Description | Enter the Description for the App. |
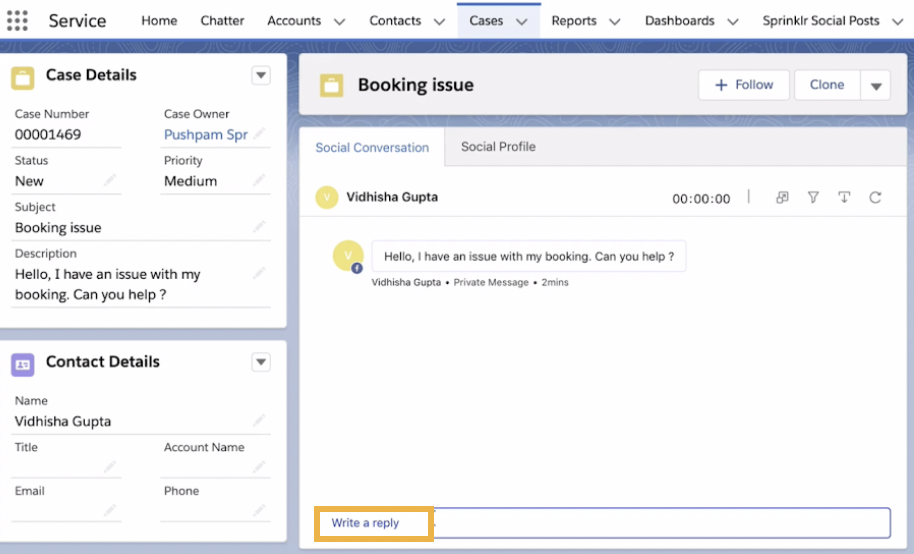
Salesforce Lightning Case Workflows
Click the New Tab icon
. Under the Sprinklr Social, click Engagement Dashboards within Engage.
On the Engagement Dashboard window, click the Salesforce Case Number to redirect to Salesforce Case.
On the Sprinklr Case window, select Write a reply to respond directly to the fan on the social network.
Note | |
An agent interacting with a customer will be able to view the history of the 10 most recent cases from Salesforce associated with the customer in Sprinklr. |