Configure Stage SLA Rules
Updated
Stage SLA is a feature that allows you to configure and measure the time it takes for an inbound message to travel through the various ‘stages’ of your workflow. Using Stage SLA, you can create custom stages and measure the time between them for more effective operational measurement and analysis.
Stages are captured in Reporting by first applying a "Capture State" in the Rule Engine. Capture States apply timestamps upon the completion of actions in your workflow, in order to indicate when a stage has been completed.
In Reporting Insights, there is a Stage SLA standard dashboard that provides reports on the various stages of message. These measurements are also custom configurable using SLA customization in Reporting.
Note:
|
Below, we've outlined the steps you'll take to configure and set up the Rules, Monitoring Dashboards, and Reporting metrics to begin measuring SLA:
Identify and Define Your Customer Service Workflow
Define the Stages in Your Workflow
Build Stage SLA Rules
Build Stage SLA metrics
Define Your Customer Service Workflow
Before getting started, it's important to first define the basics of your Customer Service workflow. Your workflow setup may involve dashboards and columns in the Monitoring Dashboards in which your agents view, act upon, and resolve messages using a guided workflow.
Monitoring Dashboards Here we've defined an example set-up of specific dashboards and columns that might be used in a Customer Service workflow | Custom Properties Your team might apply Custom Fields to messages to categorize messages for later Reporting. Below, you'll find some example Custom Fields useful to Customer Service teams | Status A message Status helps to identify the current stage of your workflow that a message is in. Resolution statuses can identify when a message no longer requires action. See example Statuses commonly used in CS workflows below. |
Customer Service Facebook
| Message Categorization (a basic field that can be used to make a quick identification of the message) | CS Escalated (for messages that have been escalated to the CS team for attention) |
Customer Service Facebook
| Date of Gear Purchase (if applicable, a purchase date can provide insight into buying patterns) | CS Needs Reply (for messages that will need a response) |
Customer Service Facebook
| Inbound Message Tag Categories (drop-down selections that can help measure the kinds of messages you receive from customers)
| CS No Response Required (to identify messages that can be closed without the need for response; this is a resolution status) |
| Profile Tag Category (a Custom Field that can be applied to a user's profile, to help later identify their history with your brand)
| CS Replied, Closed (to identify messages that have been addressed through a customer service response and closed; this is a resolution status) |
Define Stages
A stage is determined by a definitive action that has taken place that defines it as being in a specific stage on its way to resolution in your workflow. The first stage might be the period of time starting with when a message enters your inbox until it is assigned to a user. It's important to internally define the stages of the messages that you want to measure. For example, workflow stages may look something like the below example:
Stage Capture
Stage 1 - Message hits Global Inbox
Stage 2 - Message is assigned to user
Stage 3 - Escalated
Stage 4 - Replied/Closed or No Response Required
Configure Stage SLA Rules
To create a Stage SLA Rule, navigate to the Rule Engine and select Client or Partner as the level at which you'd like to create your Rule. Next, you'll select SLA as the Rule Type. Once you have established the CS workflow and defined the stage measurement, you can configure the State Captures in the Rule Engine to begin collecting data.
Click the New page icon. Under the Governance Console, click Rule Engine within Collaborate.
In the top right corner of the Rule Engine window, click Create New Rule. To learn more about how to create a rule, see Create a Rule.
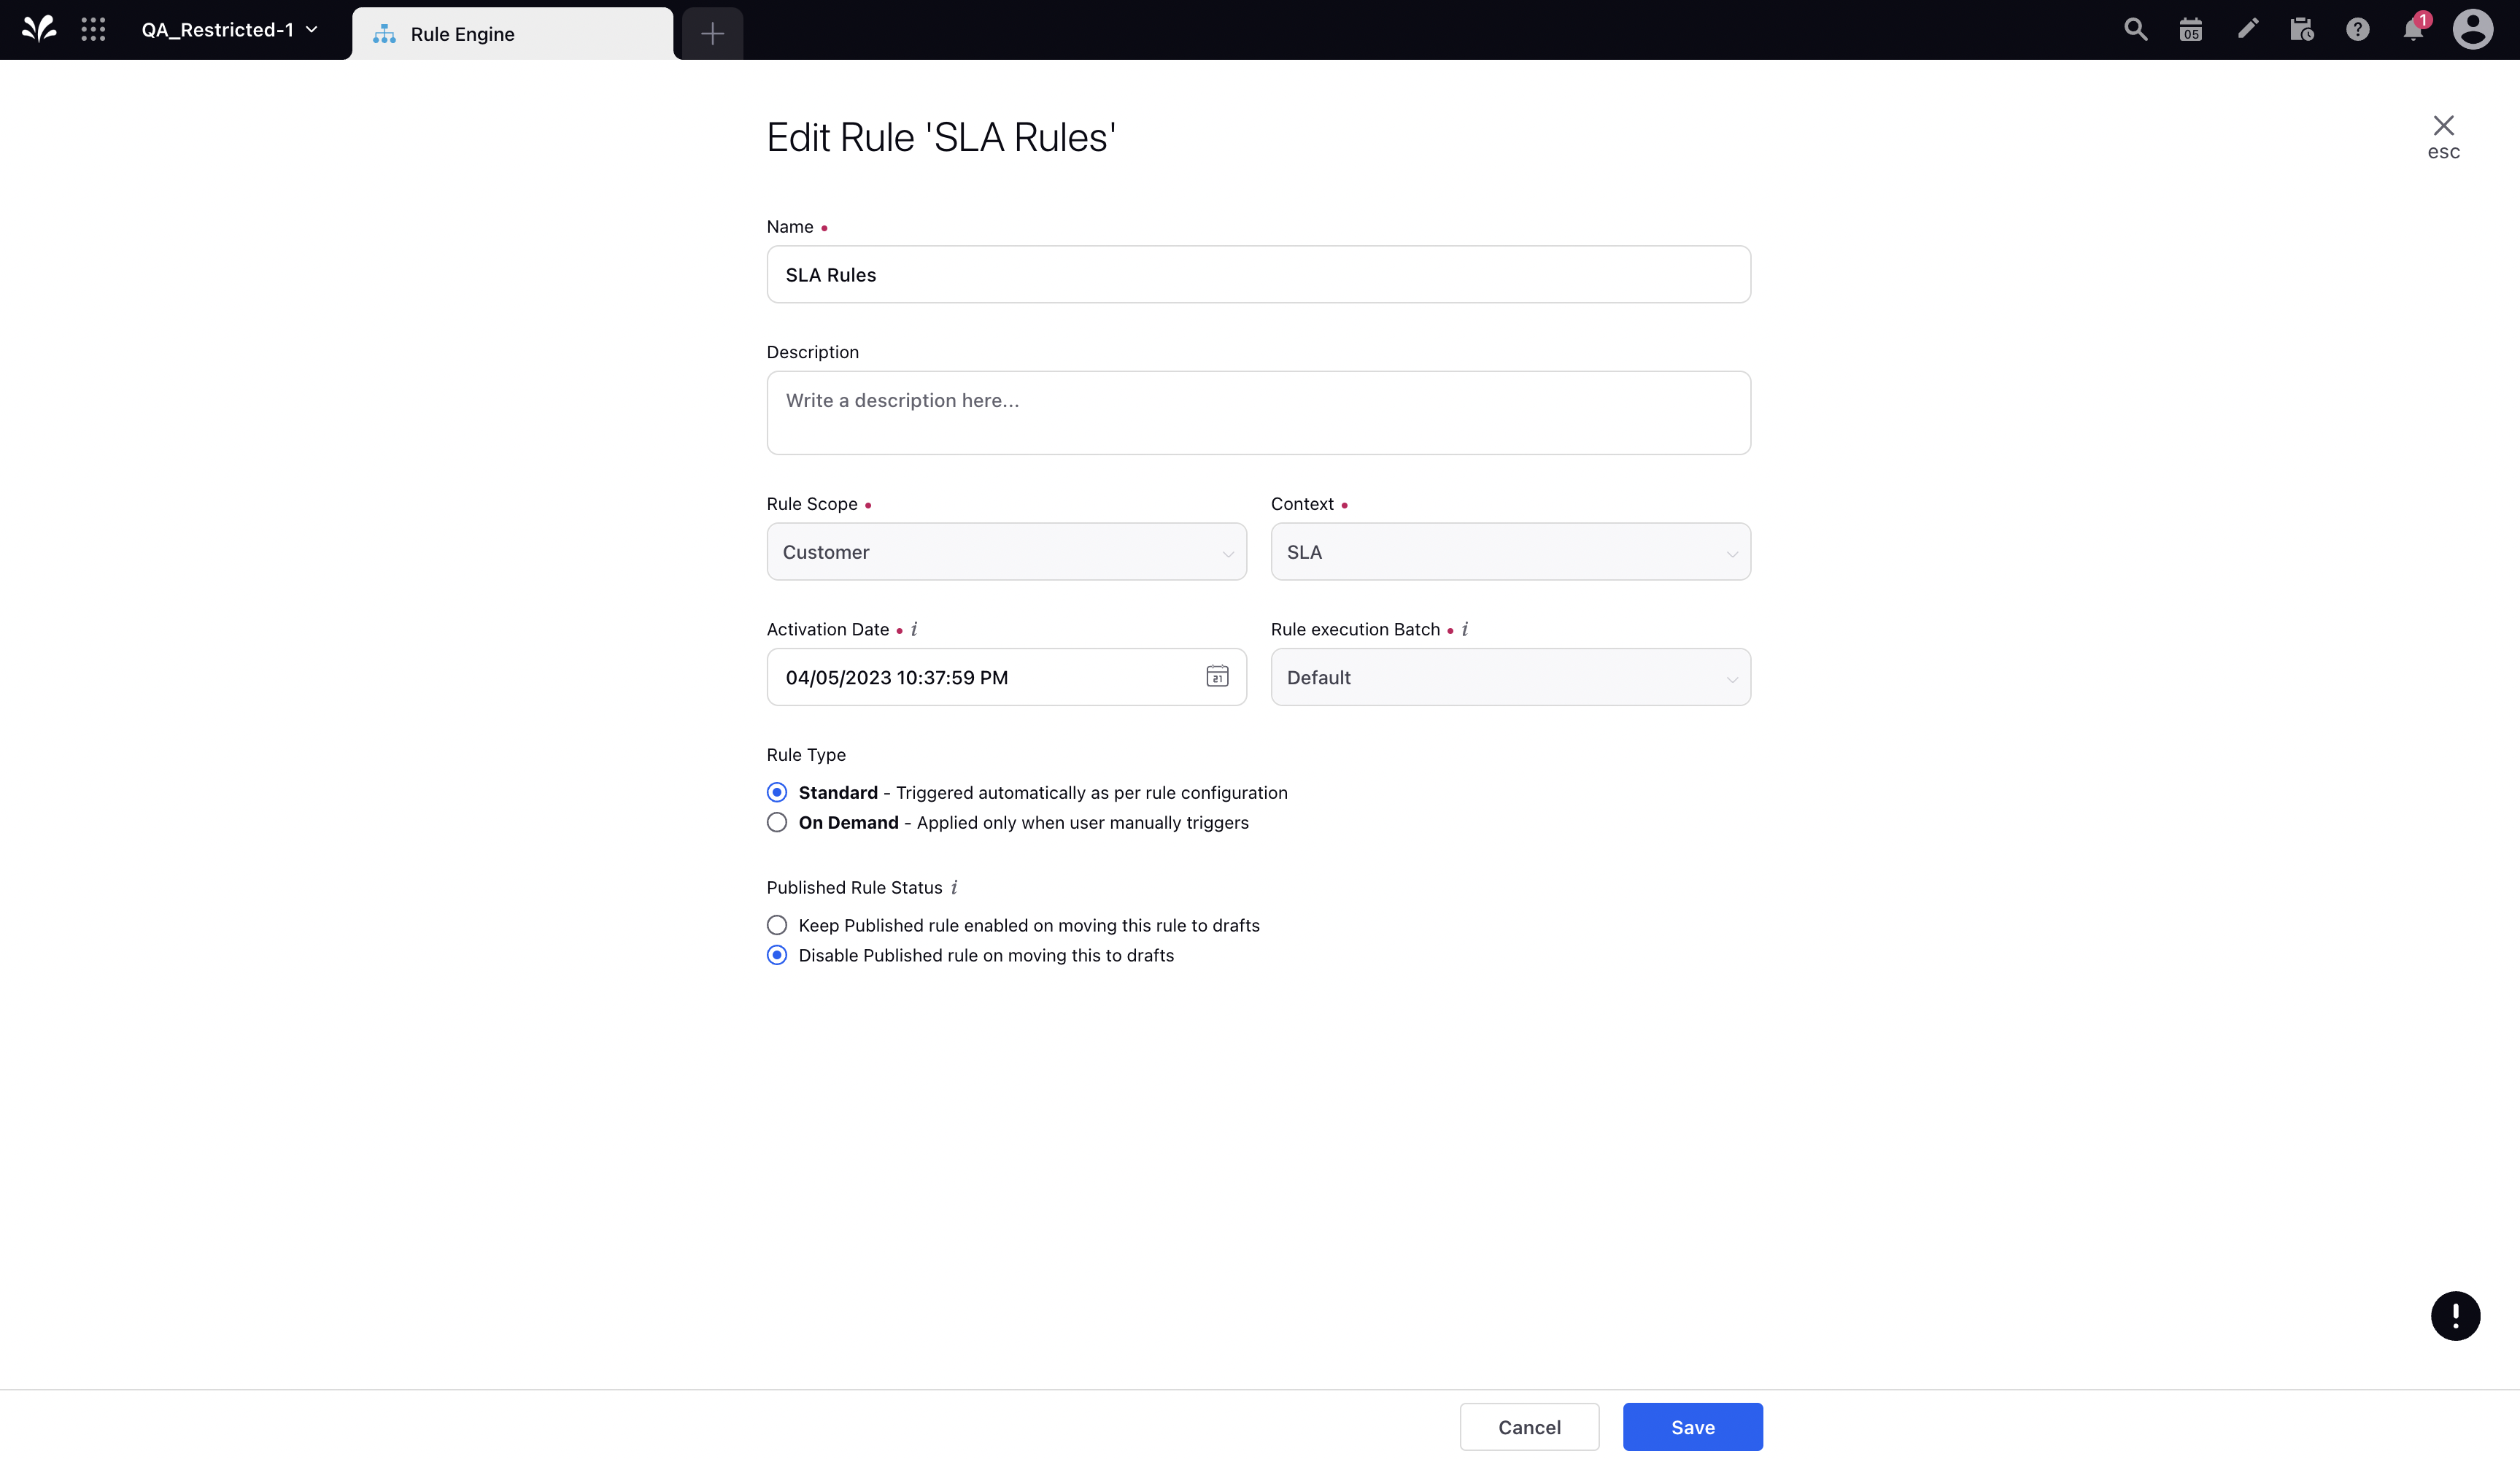
On the Create New Rule window, give your rule a name and an optional description. From the Context drop-down menu, select the rule context as SLA.

Depending upon requirements, modify the values for Activation Date, Rule Execution Batch, Rule Type, and Custom Fields. To proceed with the default values, click Next.
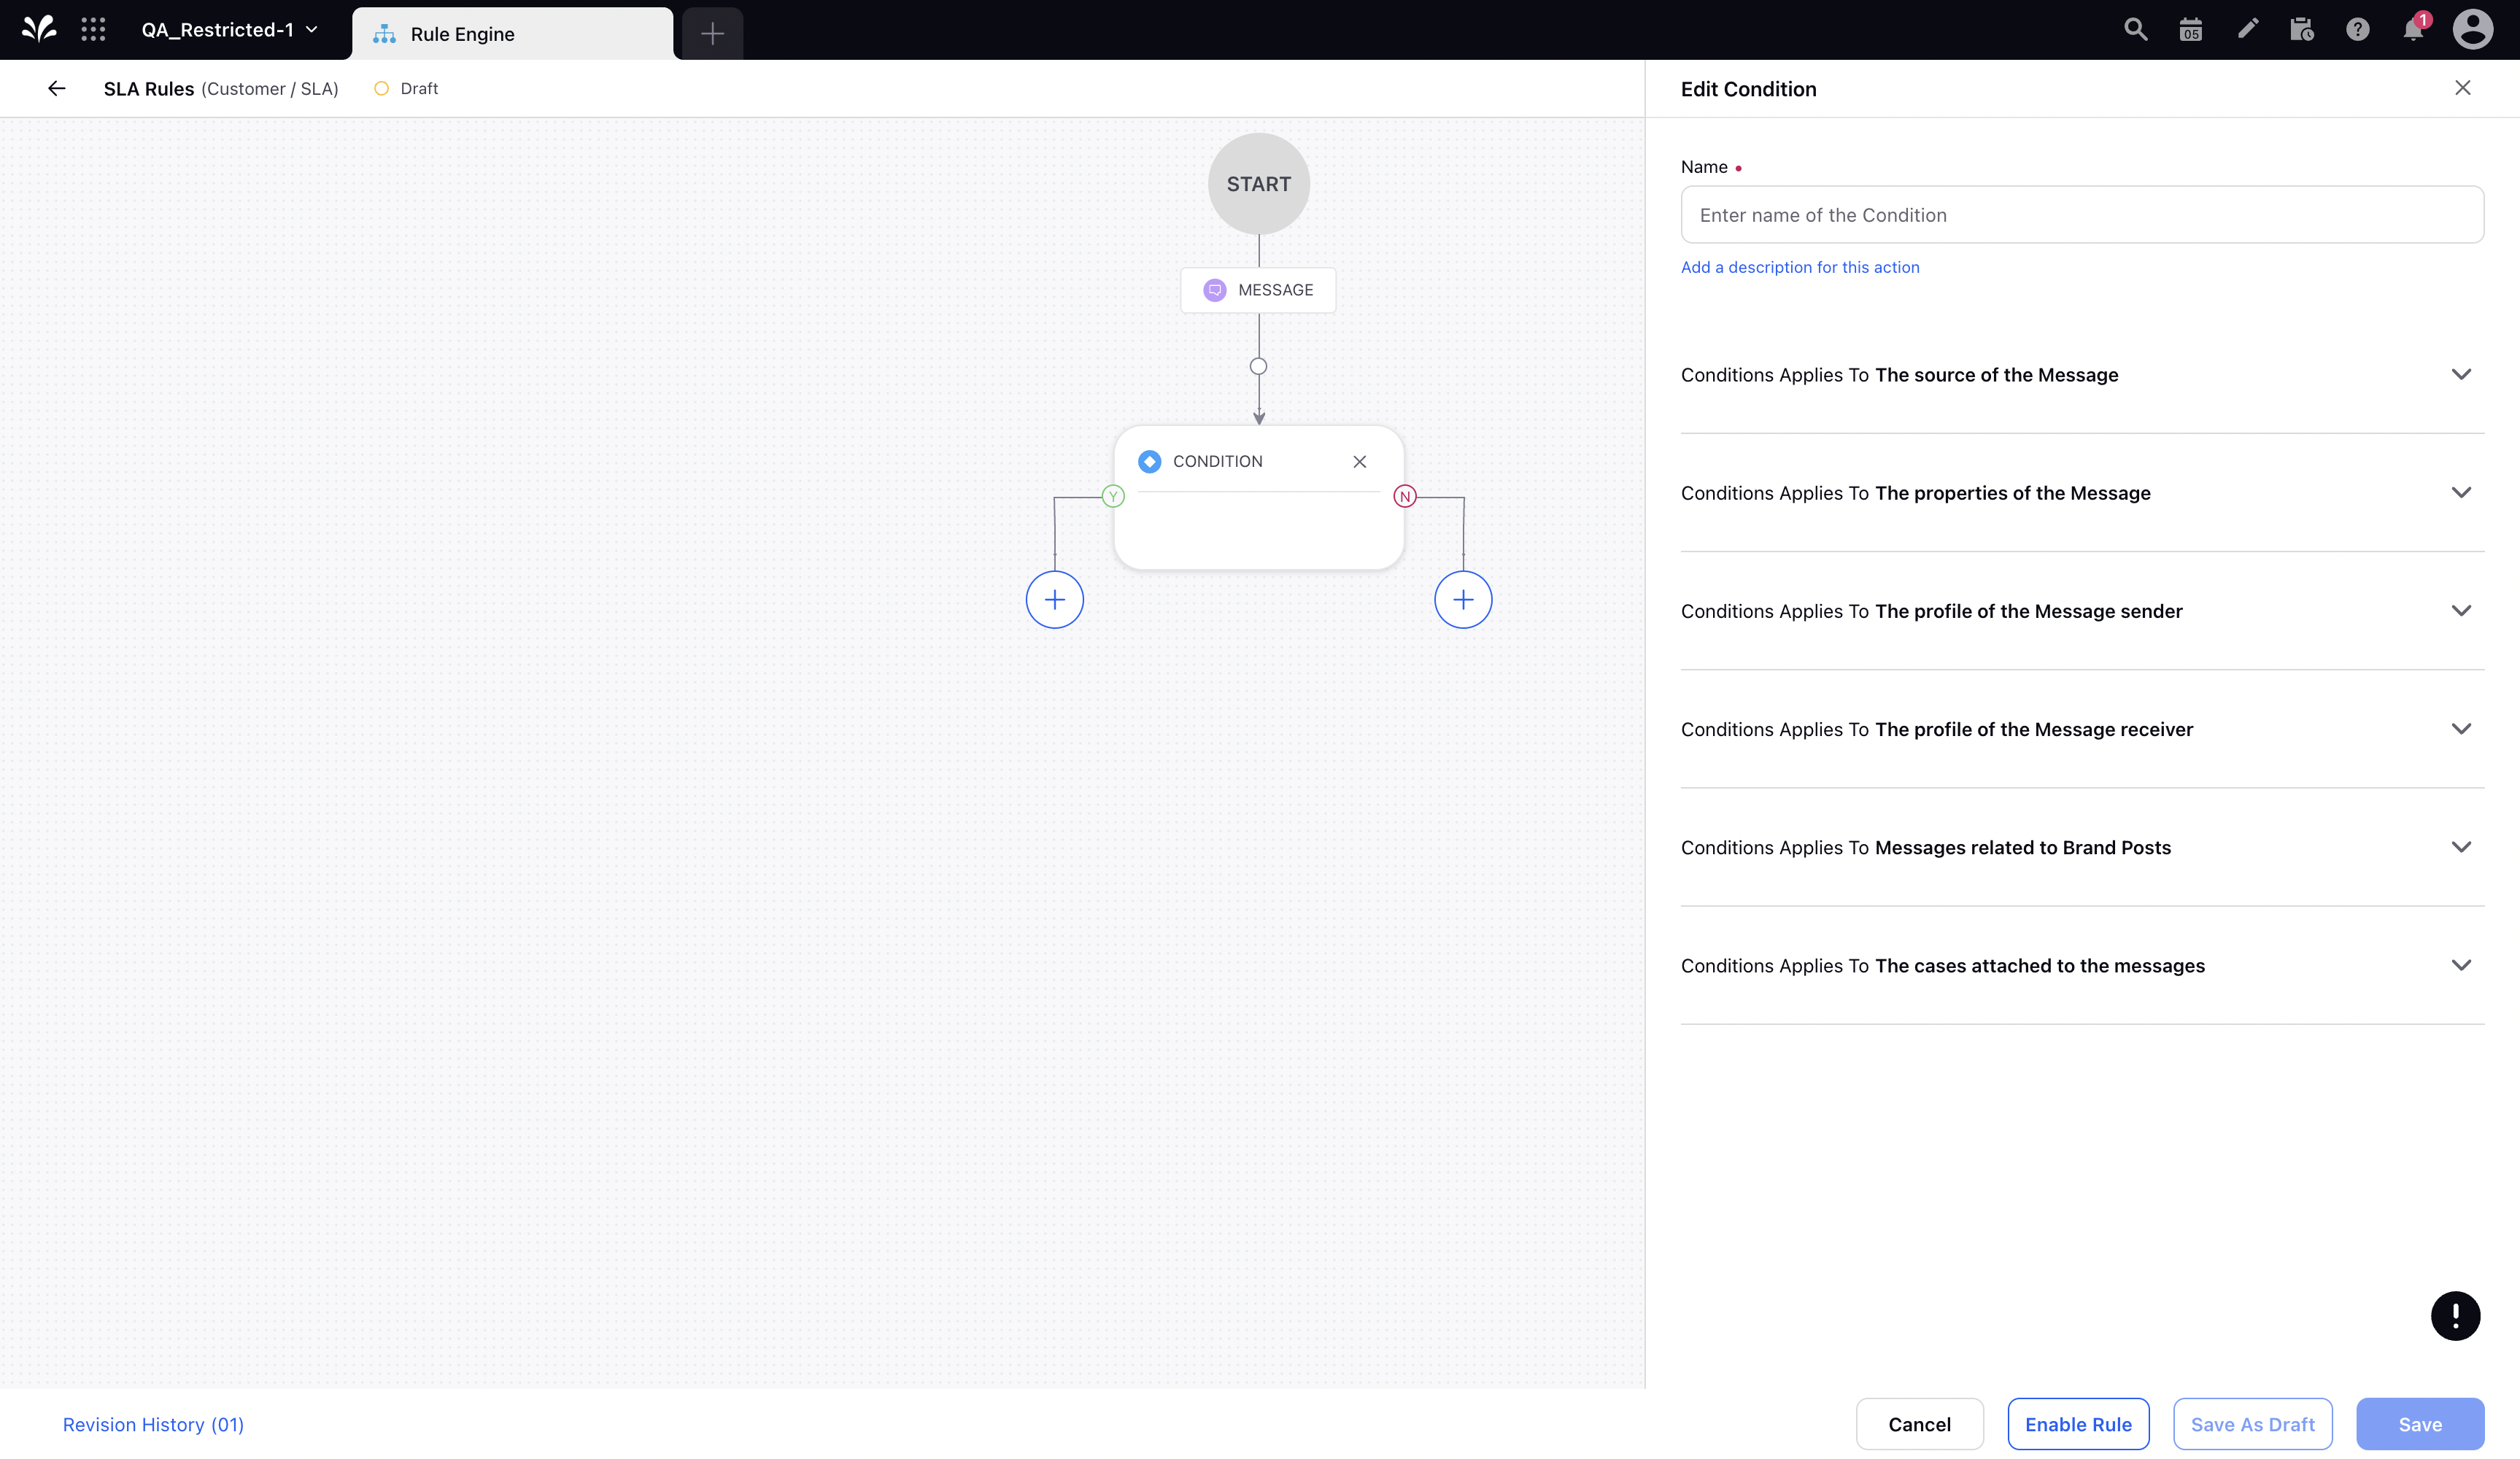
On the Rule Builder window, select Add Condition to set up specific publishing scenarios that must be met for subsequent actions to execute. You can also chain multiple conditions together to refine the scenarios.

To configure actions in a rule, select Add Action on a Yes or a No branch of a condition depending on when you want the action to be executed.

Click Save in the bottom right corner to finalize the creation of your new rule, or Save as Draft to create a draft version of your rule.