Publish to SlideShare
Updated
SlideShare is a platform that hosts professional content comprising of presentations, documents, infographics, etc. Using the social publishing tool of Sprinklr, you can easily schedule and publish presentations as well as set its privacy. You can also publish your presentations as downloadable files through Sprinklr.
To learn more about getting this feature enabled in your environment, please work with your Success Manager. |
To Publish on SlideShare
Click the Publish icon
in the top right corner of the top navigation bar and select Create Post.
From the Create Post window, select the SlideShare Account(s) to which you want to publish. You can also use Advanced Search to narrow your searches by a series of different filters.
Once you have selected the SlideShare account(s) you want to publish to, click Add Presentation to select or upload a presentation. You can upload the presentation from your system or select from Favourites, Add from SAM, or Add from URL.
 Note: For details on media recommendations, see SlideShare Media Recommendations.
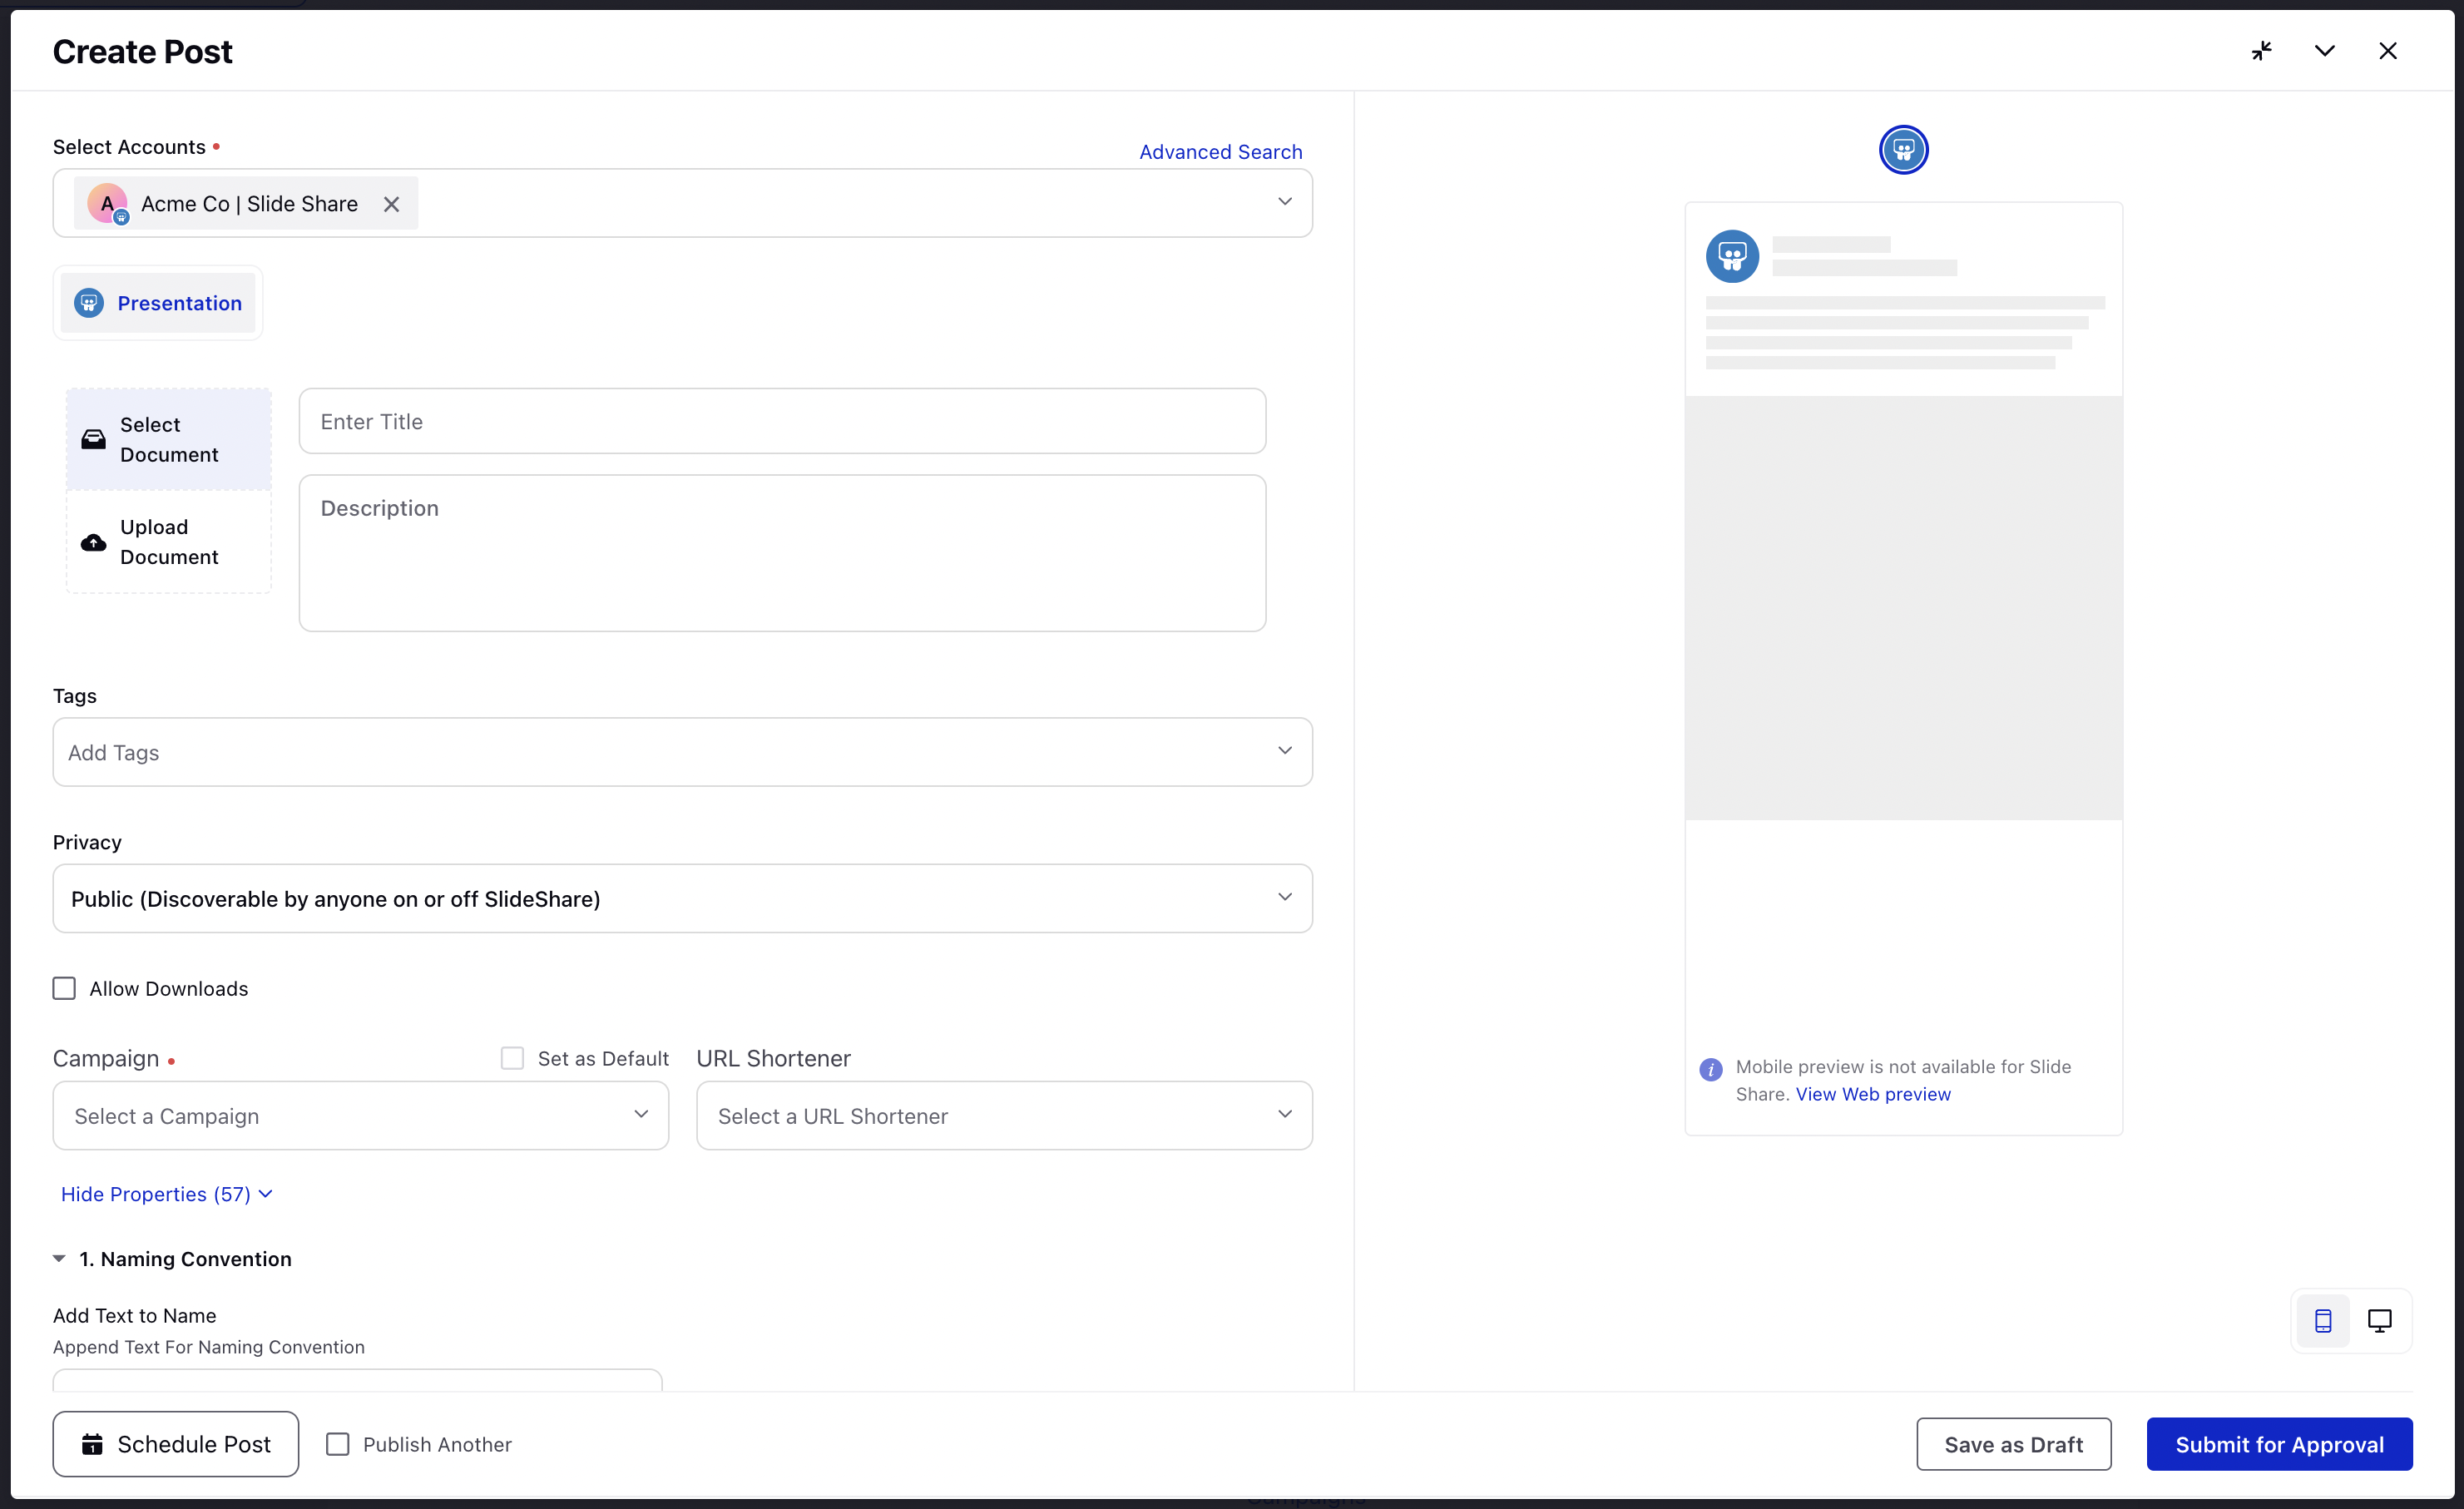
Enter the title and description of your presentation in the Enter Title and Description text boxes alongside.
Select tags from the Tags drop-down menu to add tags to your post.
Select a privacy option for your post from the Privacy drop-down menu. You can select from:
Public - Discoverable by anyone on or off SlideShare. You can check the box alongside Allow Downloads to allow users to download your presentation.
Limited - Discoverable by users with the link to the post. You can check the following boxes alongside:
Allow Downloads: Allow users to download your presentation
Share with Contacts: Share the post with your contacts
Generate Secret URL: Generate a secret URL link for your post
Allow Embeds: Allow users to copy the link of your post
Select a campaign from the Campaign drop-down menu to associate your post with. You can also set your campaign as default by clicking Set as Default.
You can select a URL Shortener to shorten the links in your post.
Apply Properties to the post.
Under Approval, set an Approval Type for your post. You can also add a note.
To review how your post will look, click the Preview icon
in the bottom left corner.
Click Post to publish your post on SlideShare. If you are not ready to publish and want to save your post as a draft, click Save as Draft.
You can also schedule your post for a future date and time by clicking Schedule icon
in the bottom left corner. Select the month, date, and time of publishing. It also gives you the option to repeat the post as many times as you like. Click Apply to save your changes.