How do I enable / disable Future tasks
Updated
In this article, you will learn how to enable or disable future tasks on a workflow.
To enable future tasks
Click the New Tab icon. Under Sprinklr Marketing → Marketing tab, click Workflow Engine within Produce.
In the top right corner of the Workflow Engine window, click Create New Workflow.
On the Create New Workflow pop-up window, fill in the required details.
Click the Show Future Tasks checkbox in the bottom left corner.
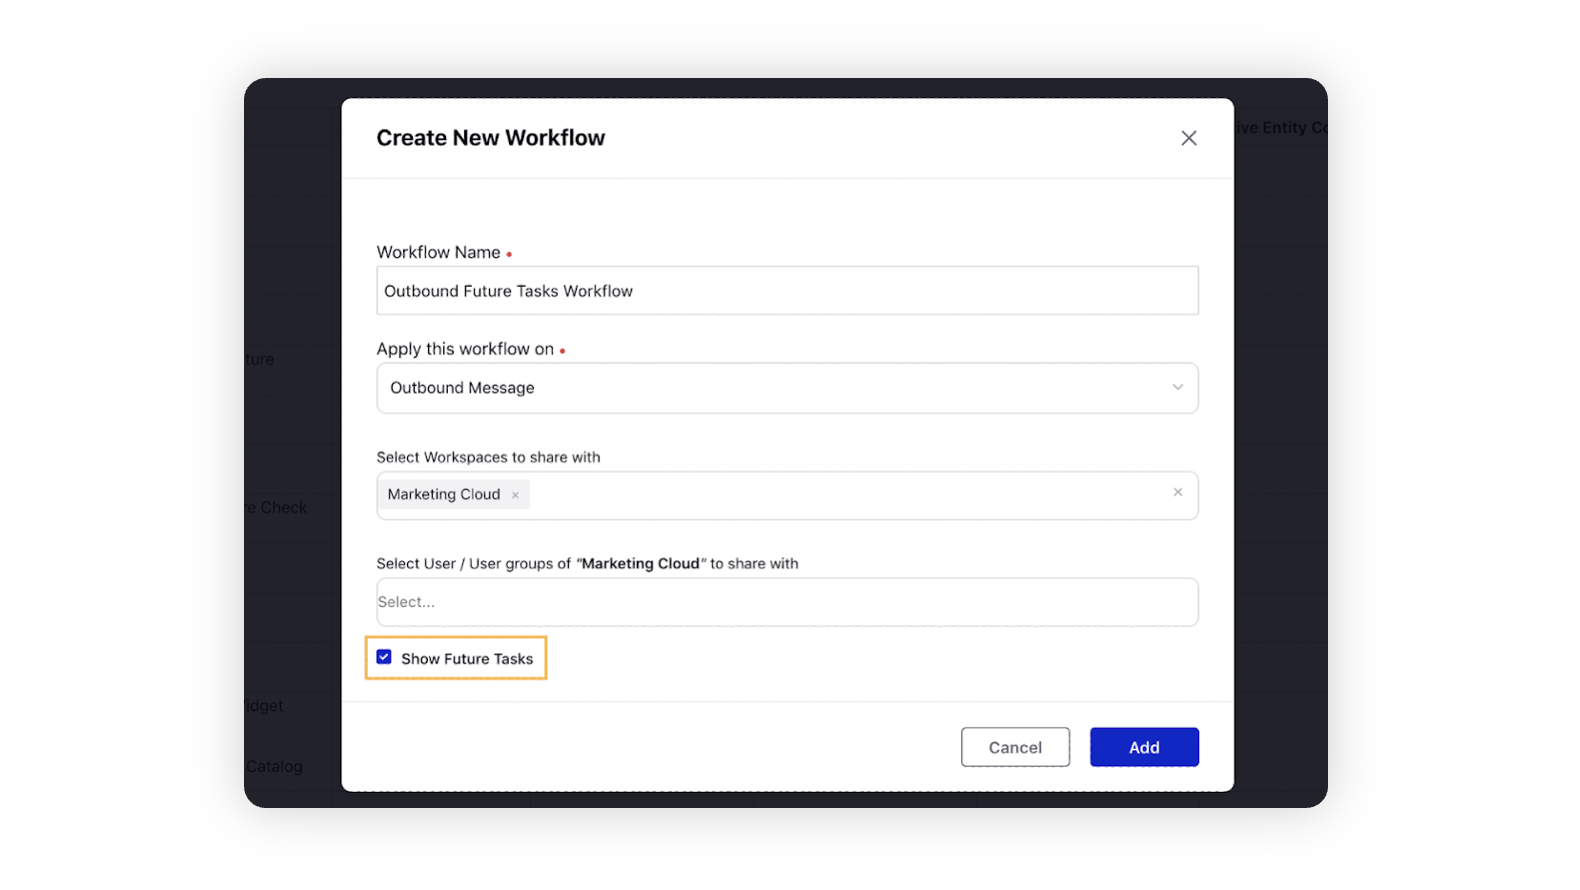
Click Add. You will be redirected to the Workflow Builder window.
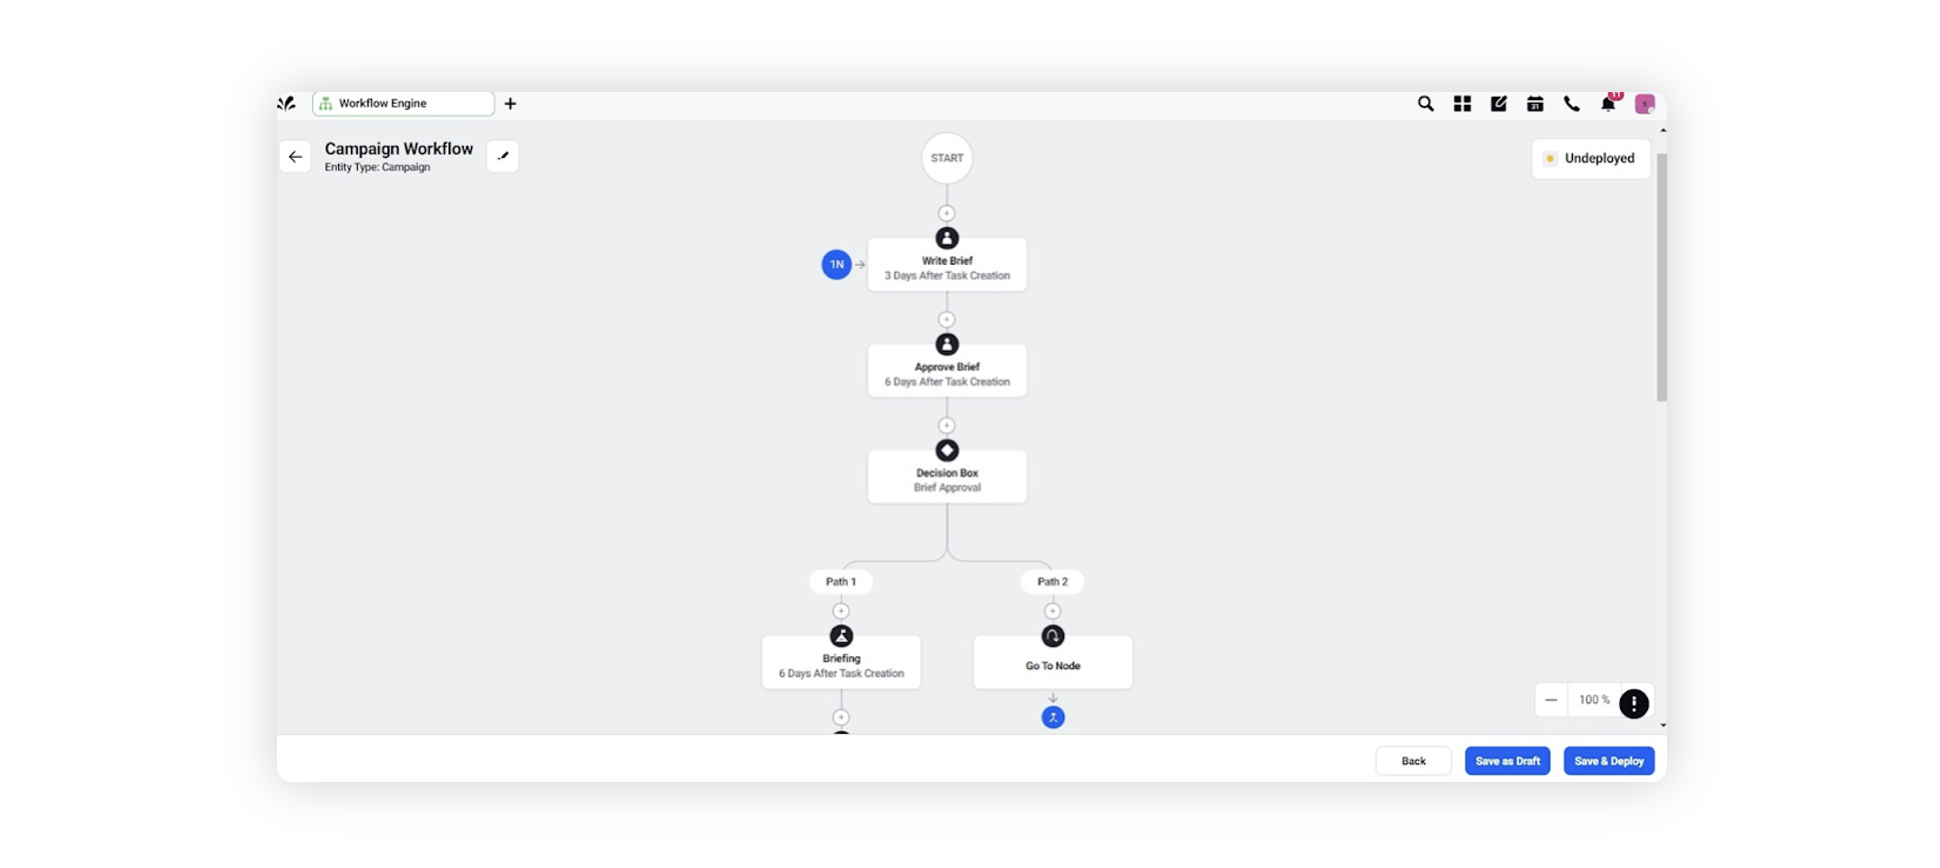
On the Workflow Builder window, click the Addition icon to select components for your workflow.
On completion of workflow creation, click Save & Deploy in the bottom right corner.
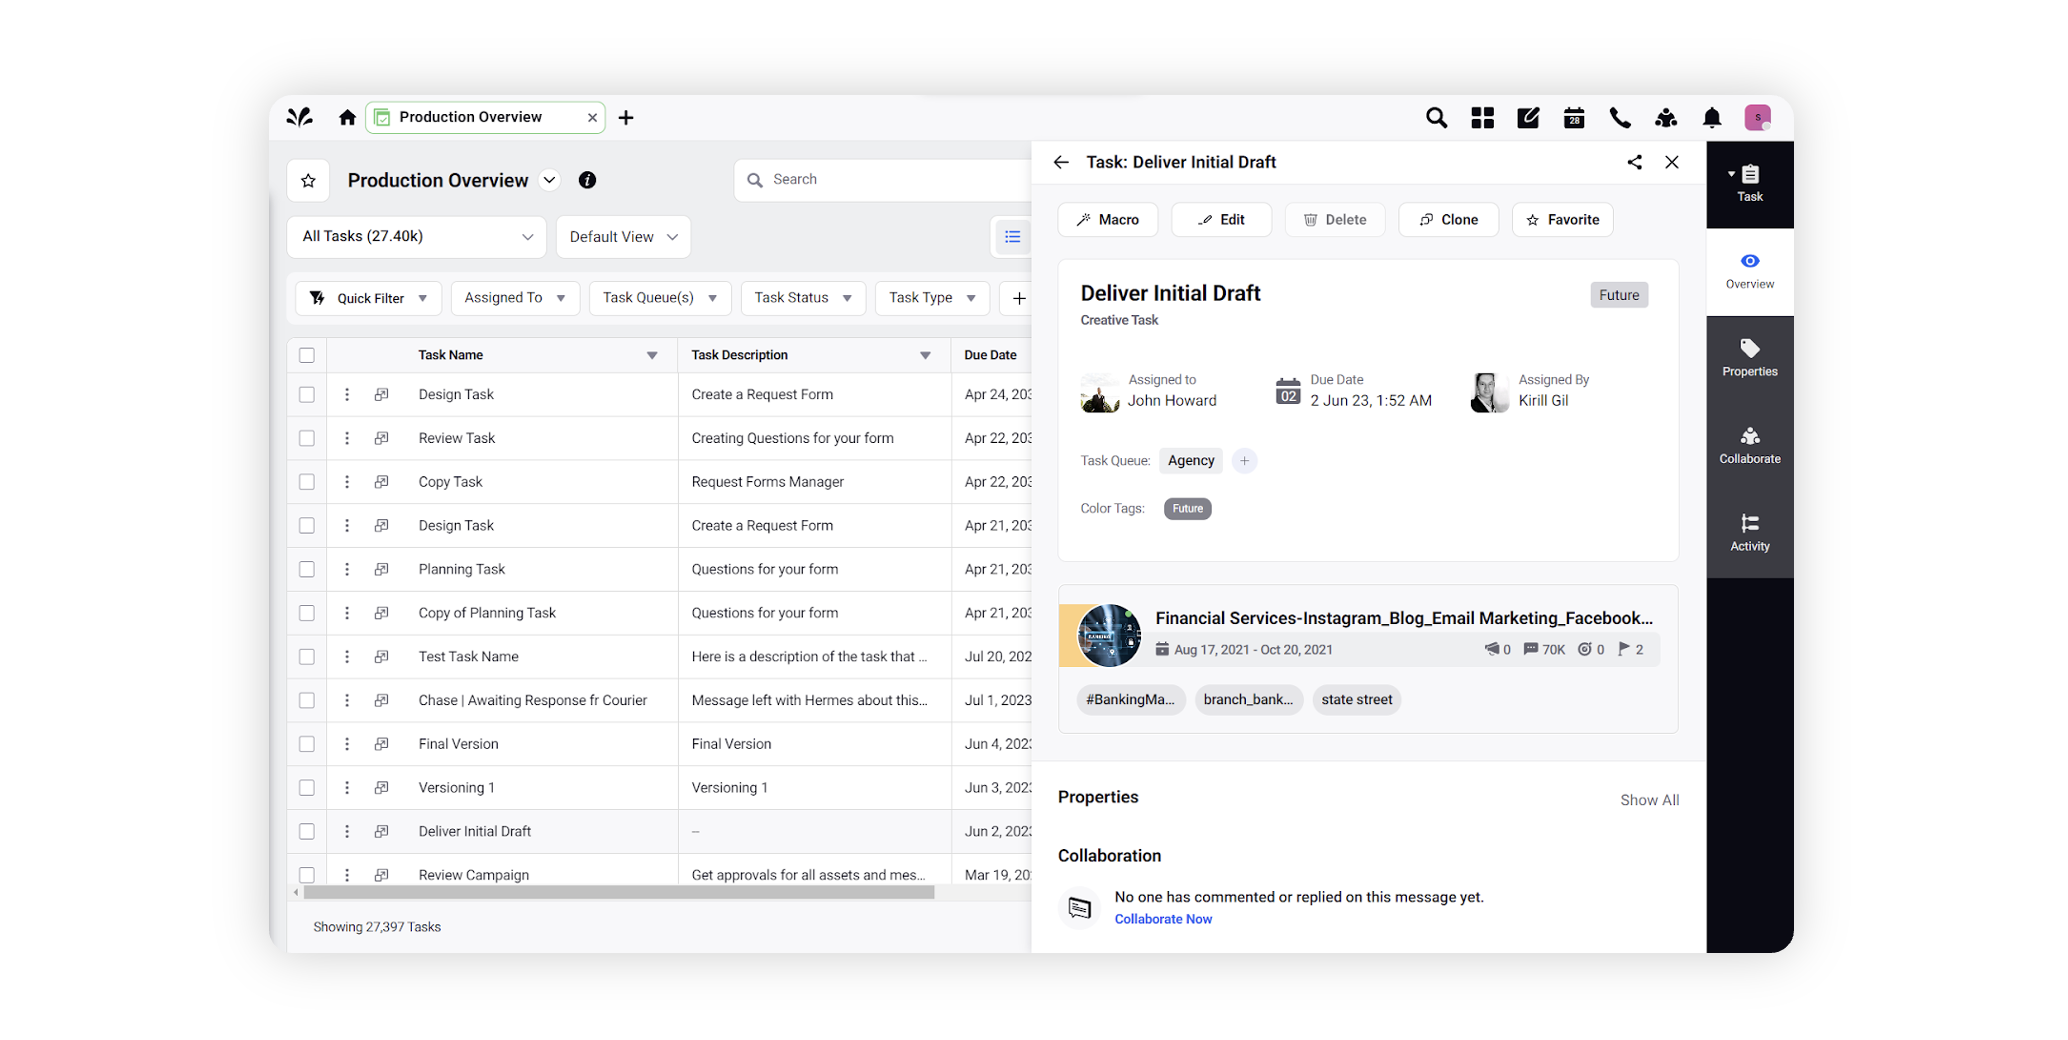
You can view future tasks on Campaigns, Messages, and Sub-Campaigns from the task tab of the third paneof these entities.
The entities can be accessed either via the production dashboard or the editorial calendar.