About Message Briefs
Updated
Provide ideas and information with enhanced collaboration to the creative team to develop concepts for content creation.
Briefs are used to help internal and creative teams develop concepts for Brands, Campaigns, Messages, and Personas. Brief Templates are created in the Brief Designer and are then attached to the corresponding entity (i.e., if you create a Message Brief Template in the Brief Designer, you can associate the Message Brief to the Message).
Message Briefs are attached a bit differently from Brand, Campaign, and Persona Briefs. You can add a Message Brief to a Campaign's Content Strategy Tab and tag the Message from the Message's Details section. In order to attach a Message Brief to a Message, you must first attach the Message Brief to the Campaign.
Create message Brief Templates
You can create Message Brief templates with the new enhanced modern editor. The templates created with the old editor will not be impacted by this change, however, all new brief templates will be created using the modern editor by default. This is consistent throughout the platform, thus the message briefs created from the Campaign and Sub-Campaigns will reflect the same behavior.
Note: The Brief Category Content Brief is renamed to Message Brief. |
Click the New Tab icon. Under the Sprinklr Marketing tab, click Brief Templates within Plan.
In the top right corner of the Brief Templates window, click New Brief Template.
On the Create New Brief Template window, fill in the required details. For more information, see Create a Brief Template.
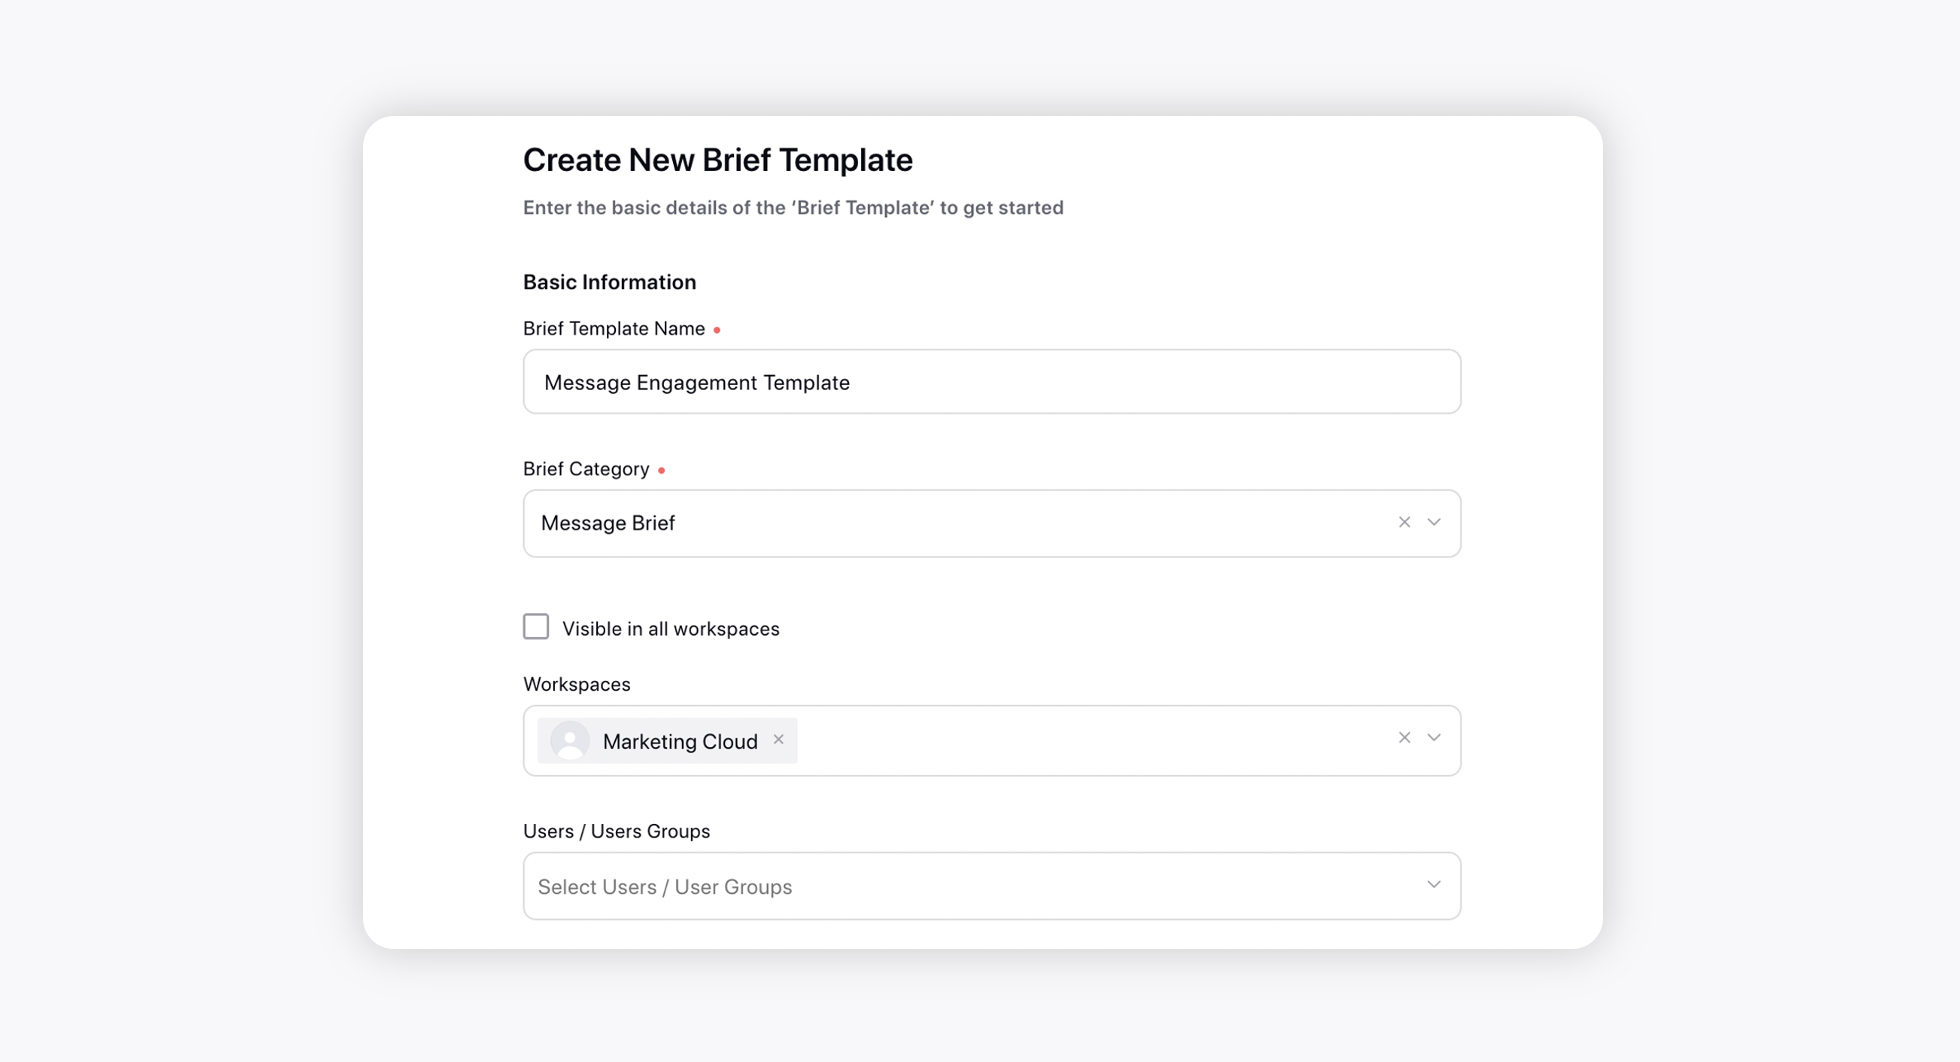
Click Save in the bottom right corner. You will be redirected to the Brief Builder.
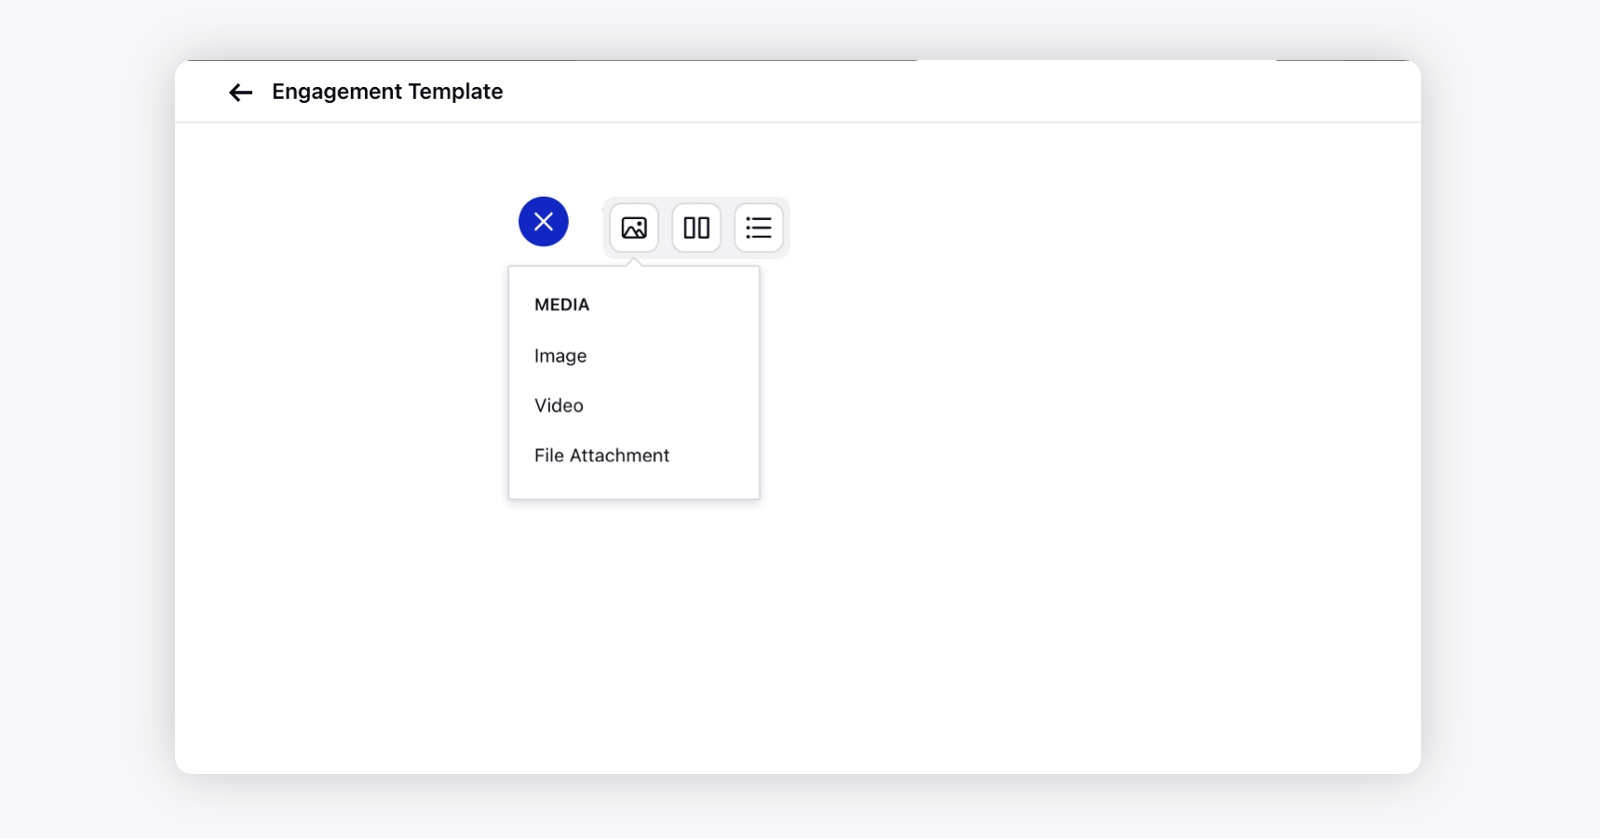
On the Brief Builder window, click the Addition icon to search and select the desired Components from Media, Sections, and Lists.
Media - Click to add Image, Video, and File Attachment in your template.
Sections - Click to add Sections from the available dropdown.
Lists - Click to add Bullet List, Number List, and Check List in your template.
Select the desired content to perform rich text editing such as Bold, Italic, Underline, Strikethrough, etc. You can also change the text's Font, Color, Size, and add Hyperlink as well.
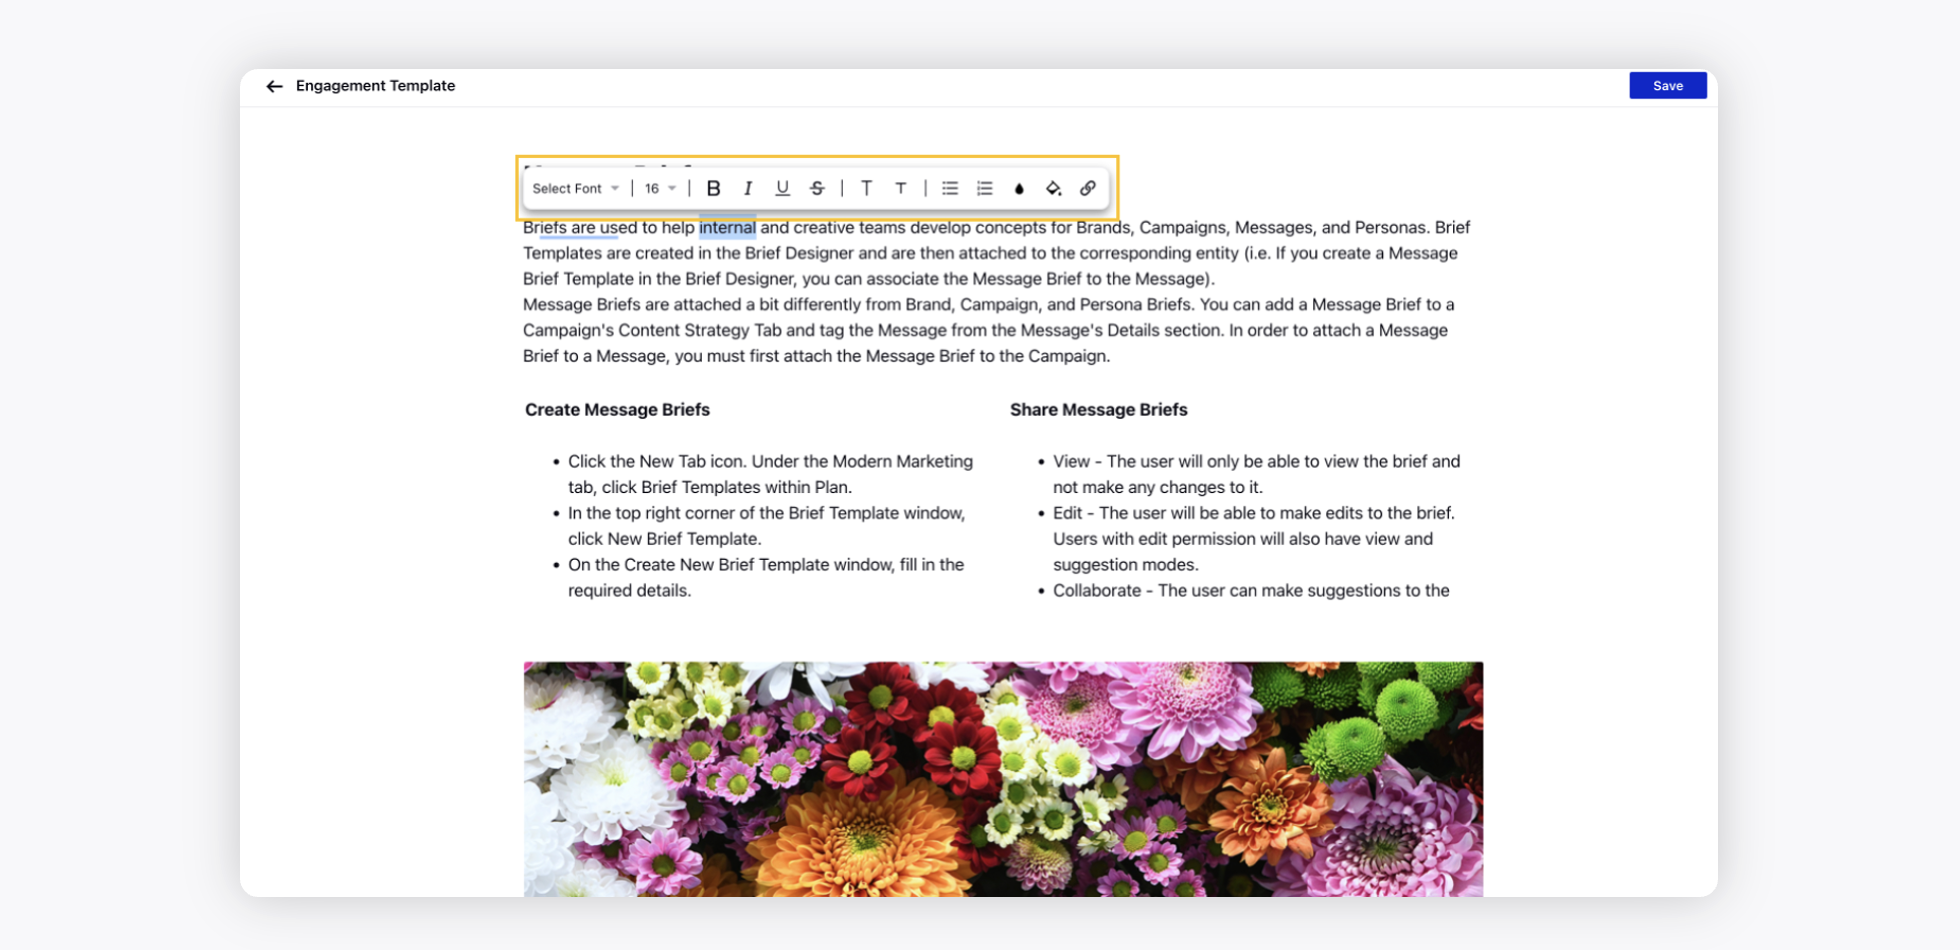
Click Save in the top right corner. You will receive a notification once your template is created and ready for use.
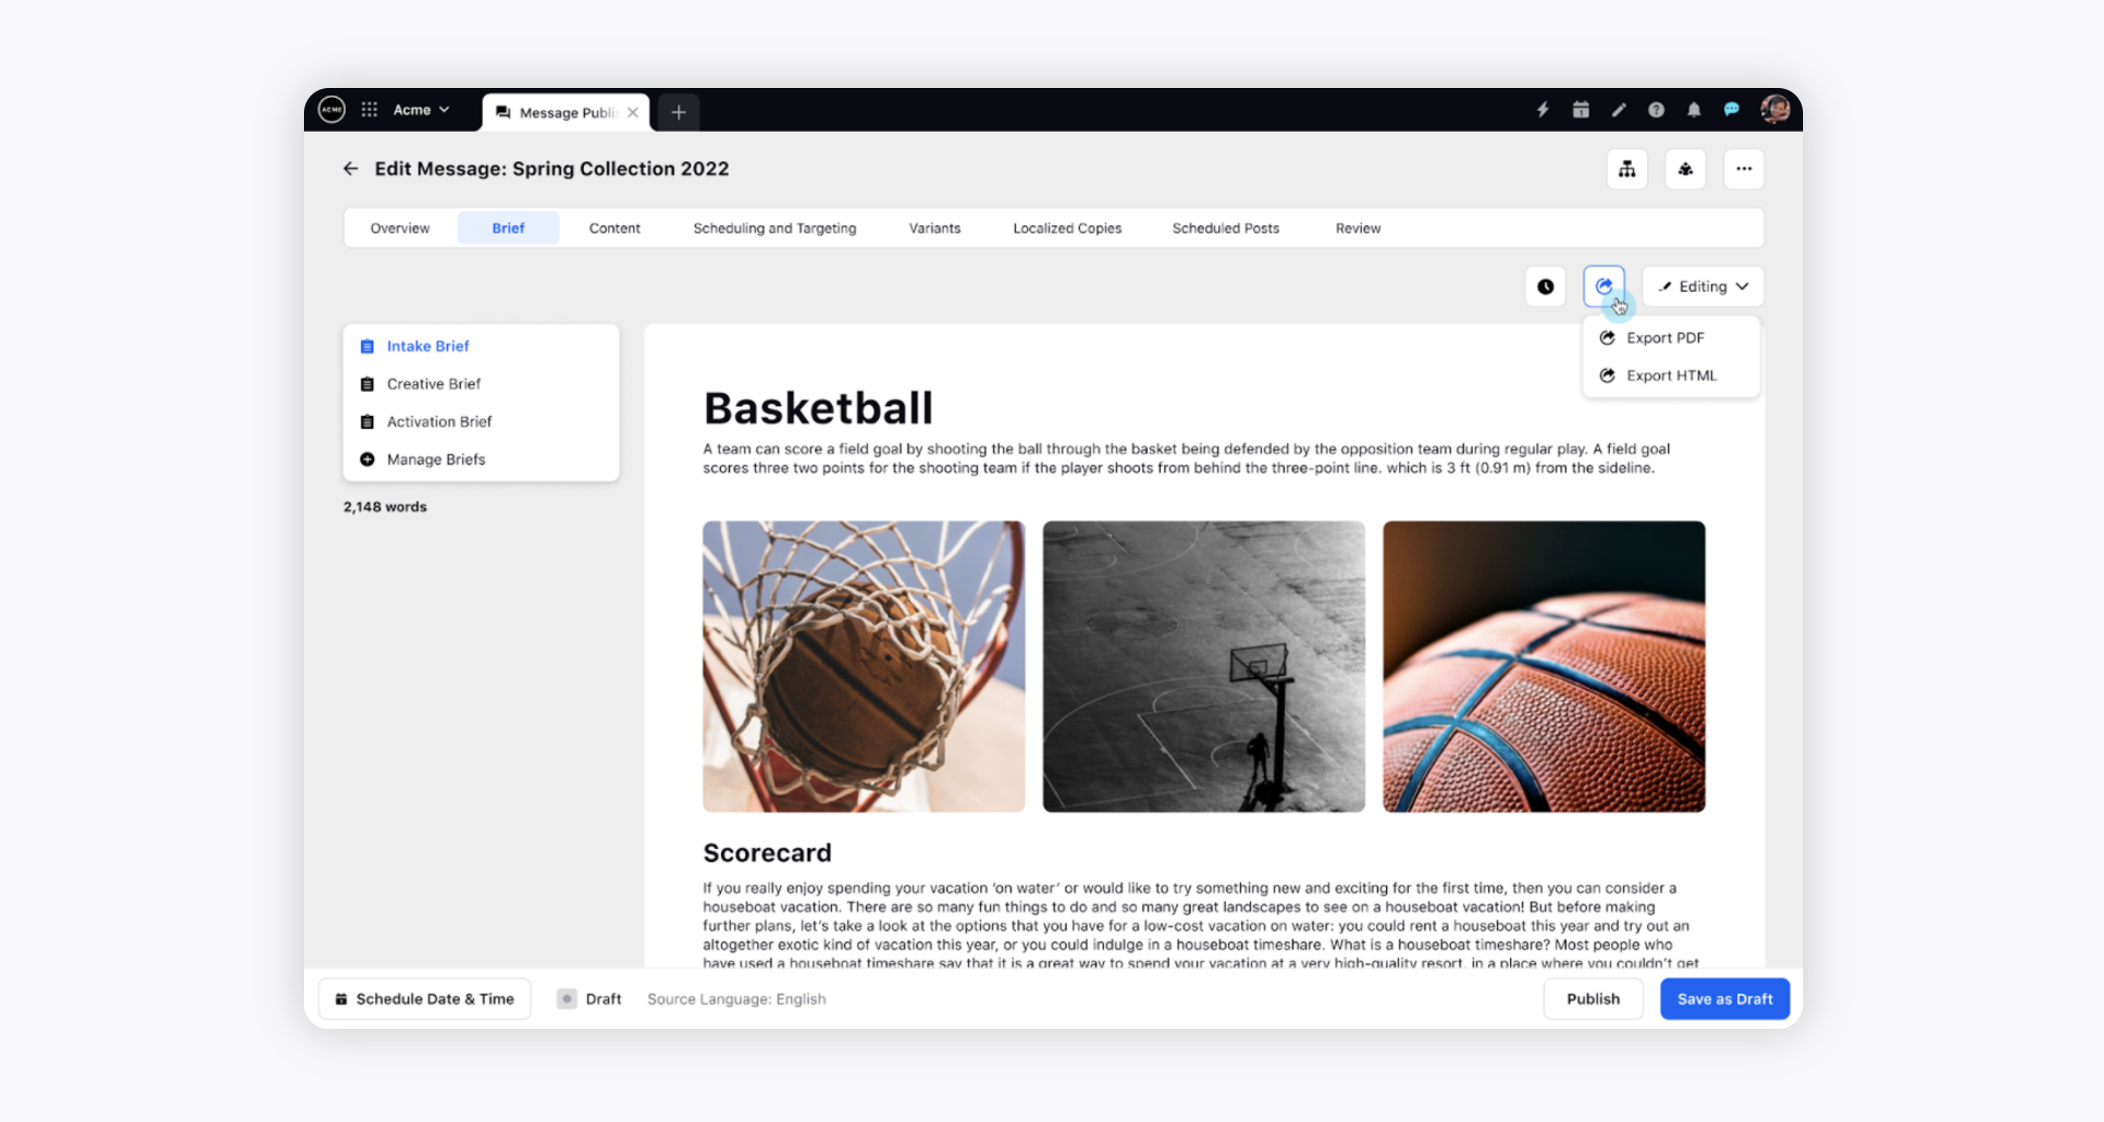
Brief tab in the Advanced Publisher
While creating a message within the Advanced Publisher, you can view and manage message briefs from the Brief tab. This enables you to take control of your message briefs and how different teams, functions, and agencies access them. You can lock your briefs to:
Avoid editing after finalization.
Restrict permissions to manage briefs for your message.
Share view, collaborate, and edit access levels with different users and teams.
Note: The Brief Tab will appear after you have saved the message as a draft. |

You can also view the Word Count and export the brief in HTML or PDF format.
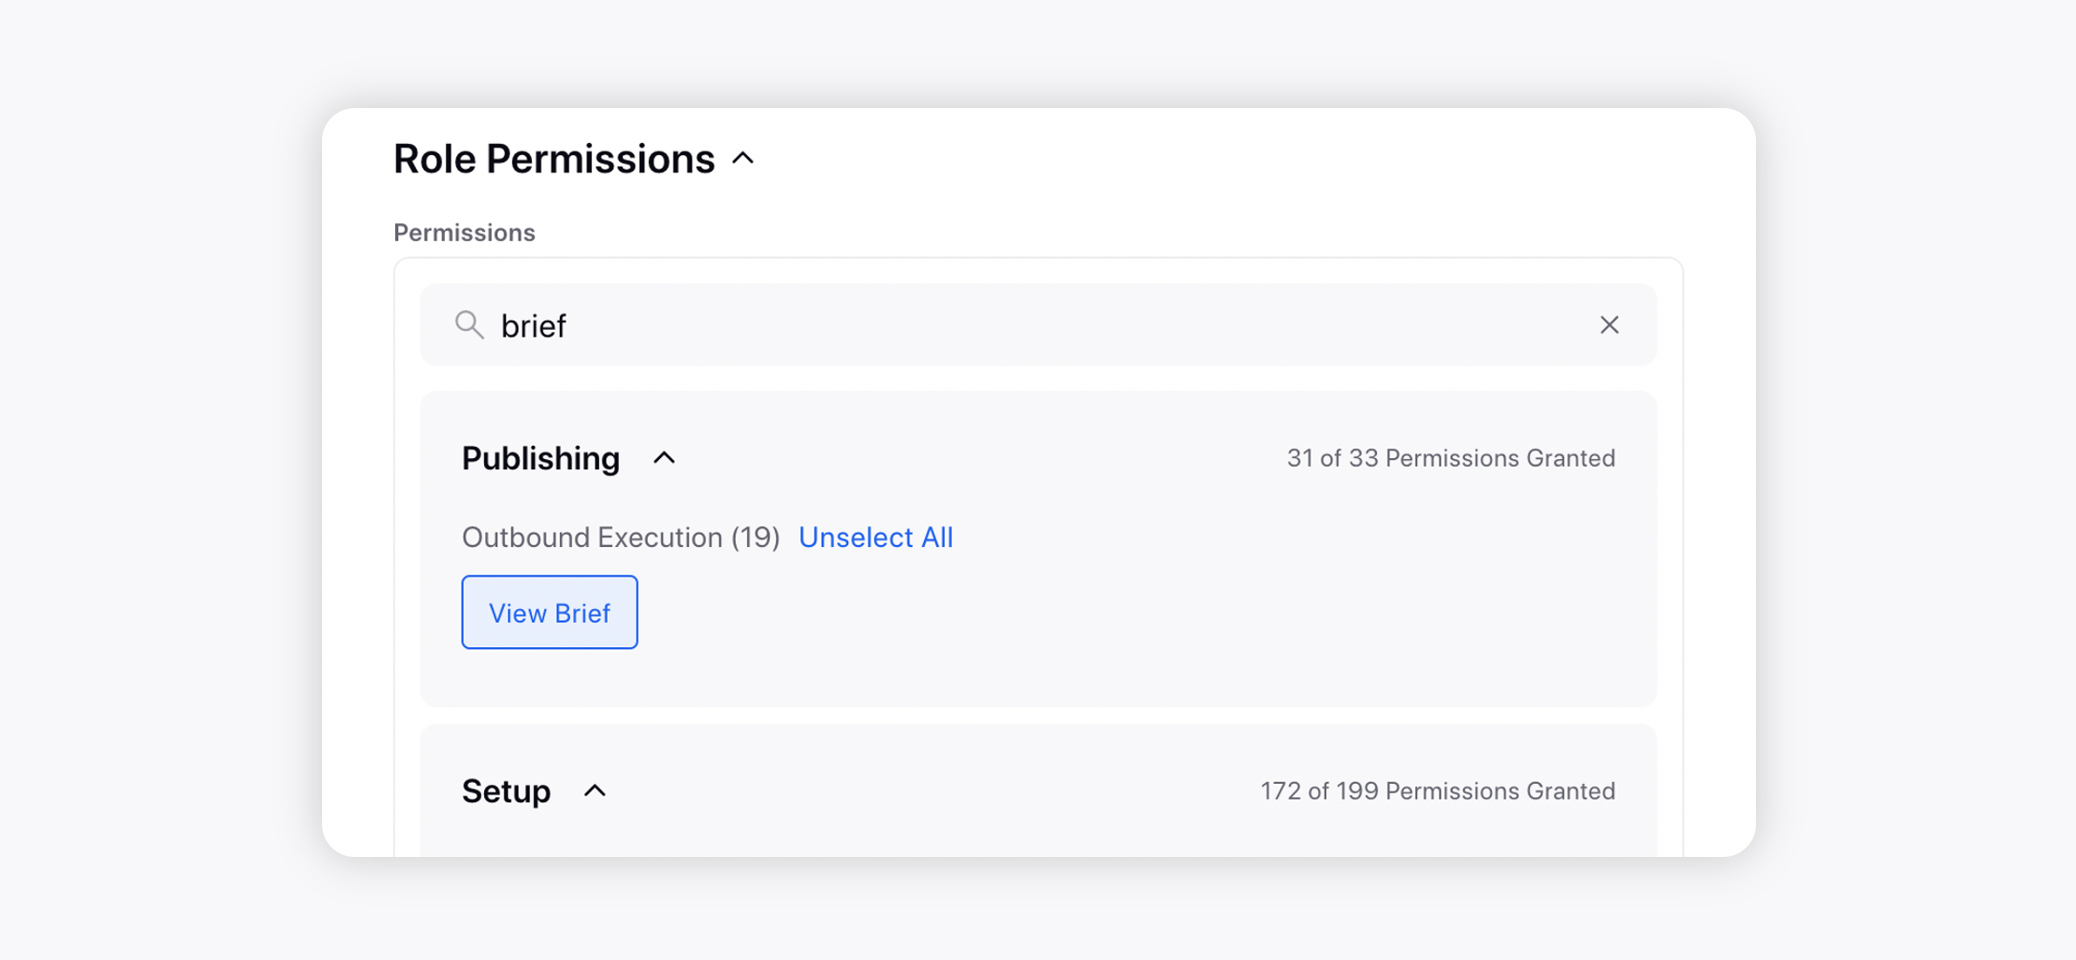
You can choose to View or Hide the brief tab within the Advanced Publisher. This is controlled by View Brief (accessible by default) permission under the Outbound Message category.
To share a message brief
While sharing a message with other users, you can restrict the visibility of the Brief Templates. Only users you share the brief template with can view it when added to a message. The users you share the brief template with can View, Edit, and Collaborate on the brief once it is added to a message.
The Share action available on a Brief Template added to a message helps you define View, Edit, and Collaborate permissions for different users and user groups. These permissions function as described below:
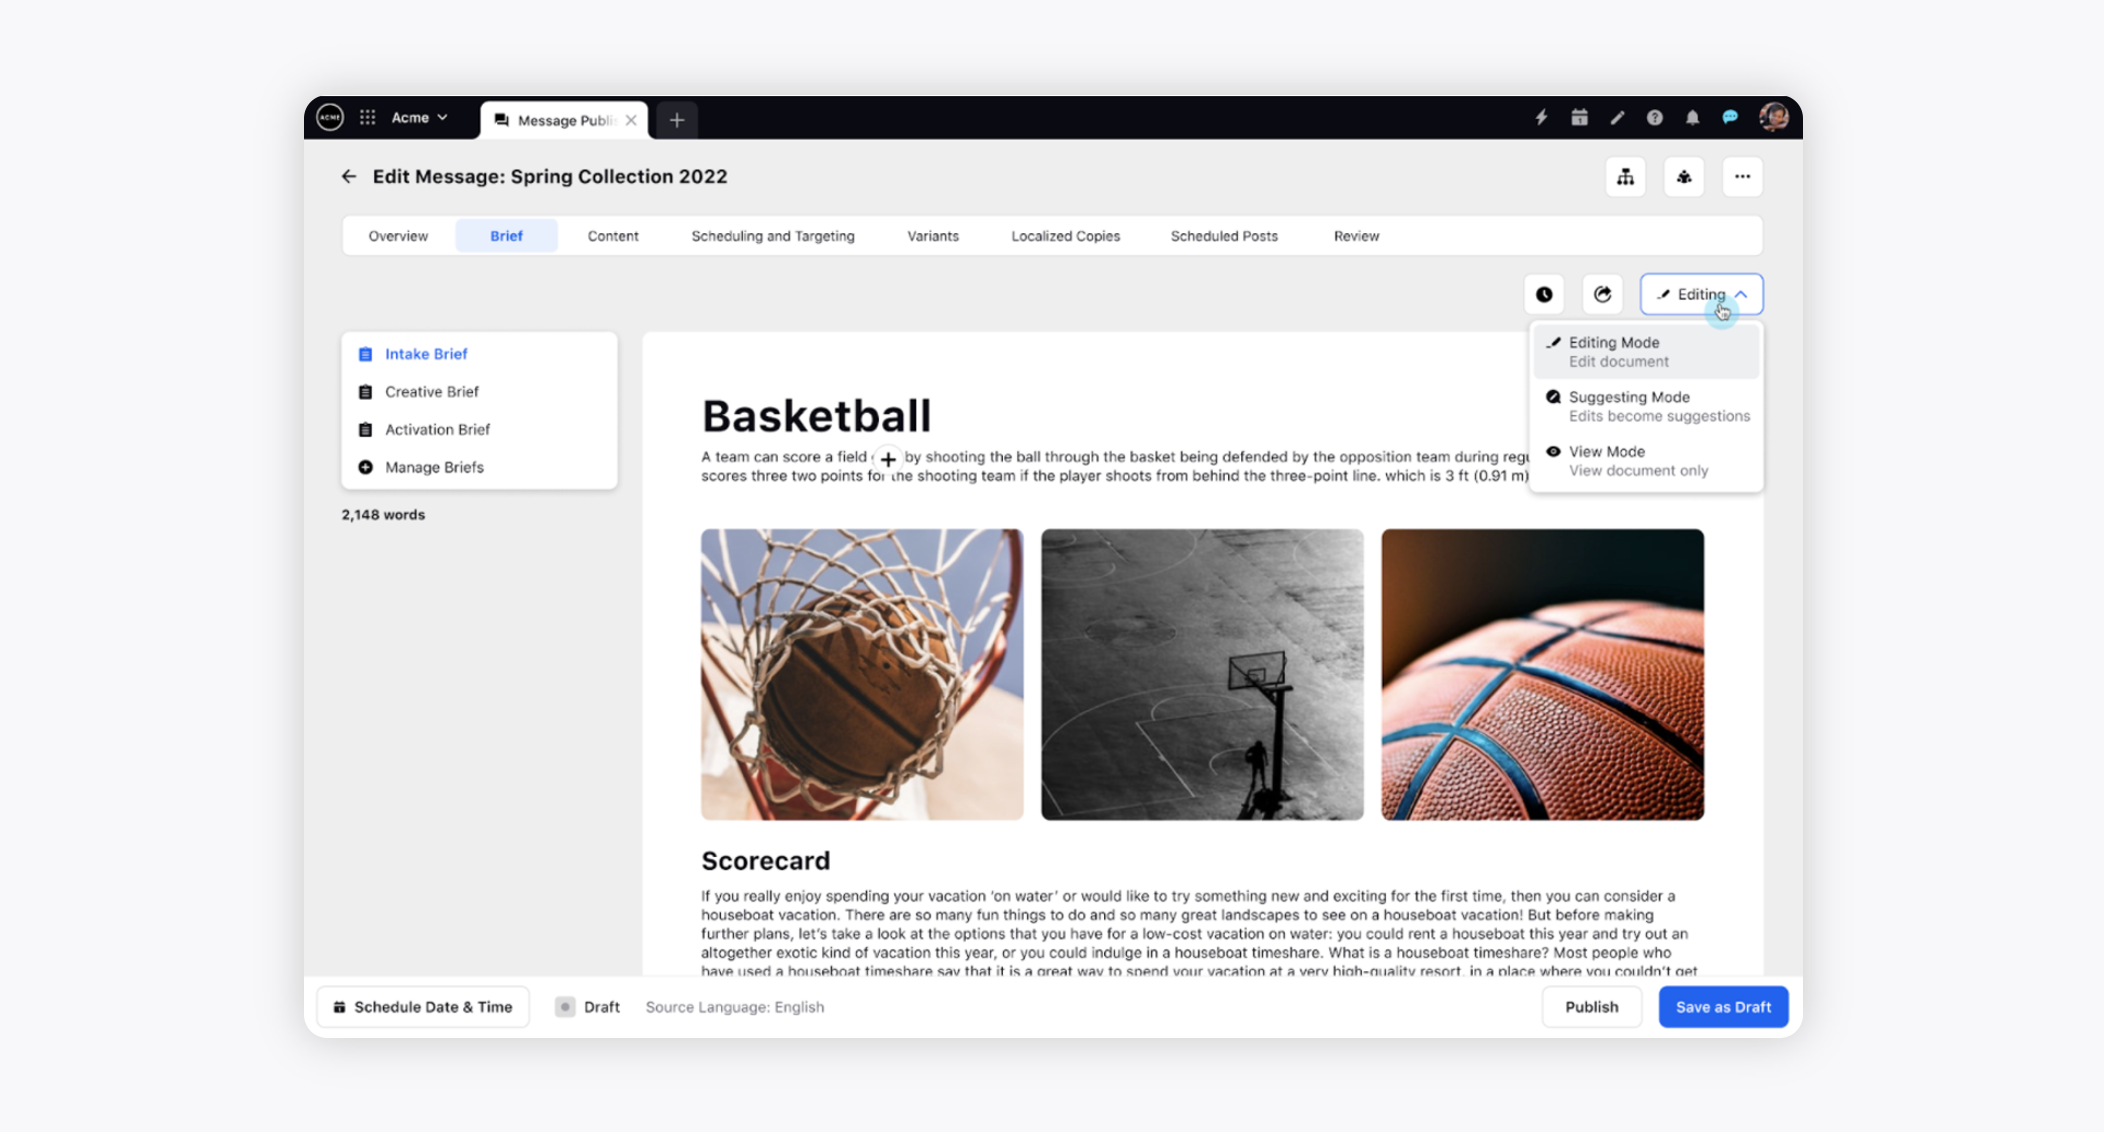
View - The user can only view the brief and not make any changes to it.
Edit - The user can make edits to the brief. Users with edit permission will also have view and suggestion modes.
Collaborate - The user can make suggestions to the brief without overwriting any content. Users with the collaborate permission will have the Suggestion Mode as default and view mode.
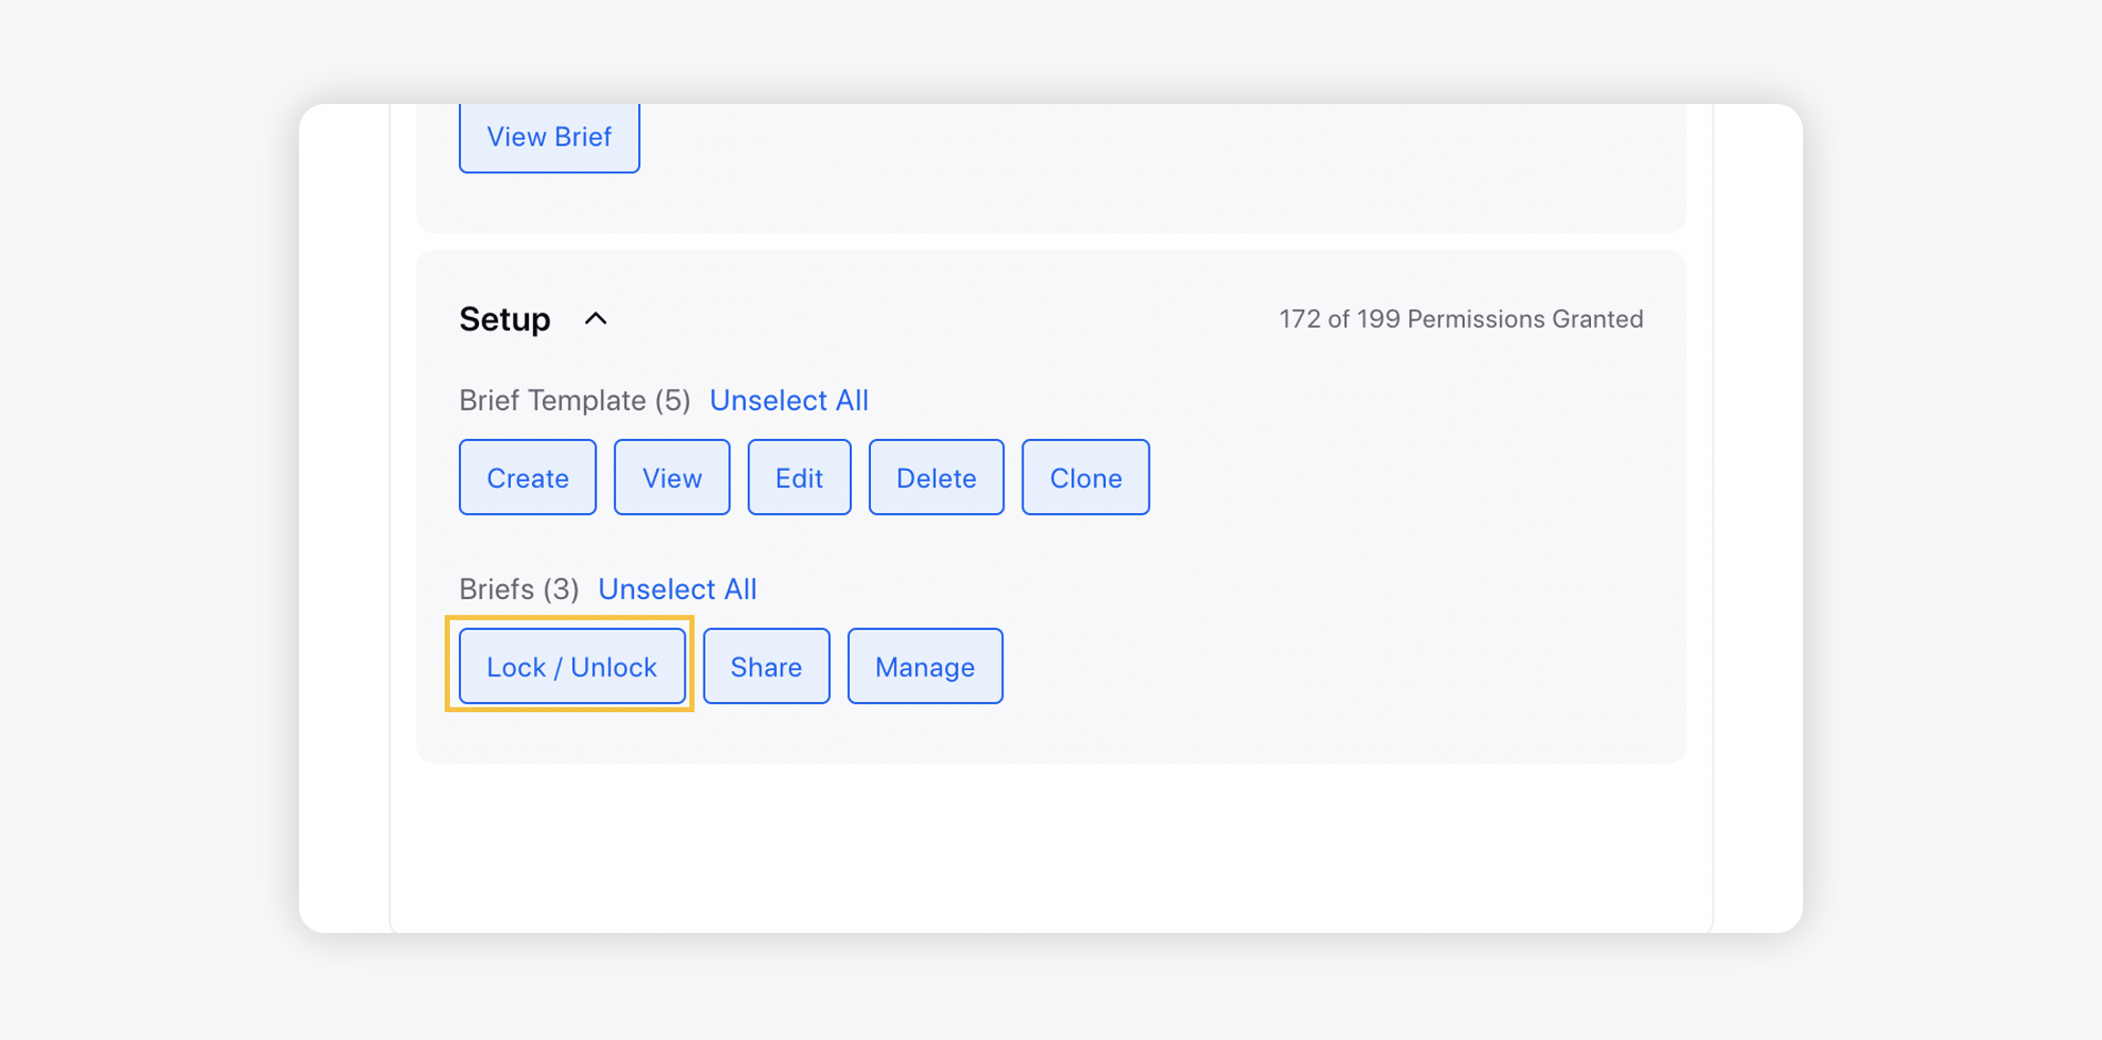
To lock/unlock a brief
You can Lock and Unlock brief templates so that only users or user groups who have the Lock/Unlock Permissions (under the Briefs category) will be able to manage the brief templates. Note that this enables you to prevent unauthorized users from making changes to the brief template.
For more information, see Lock or Unlock Brief Templates.
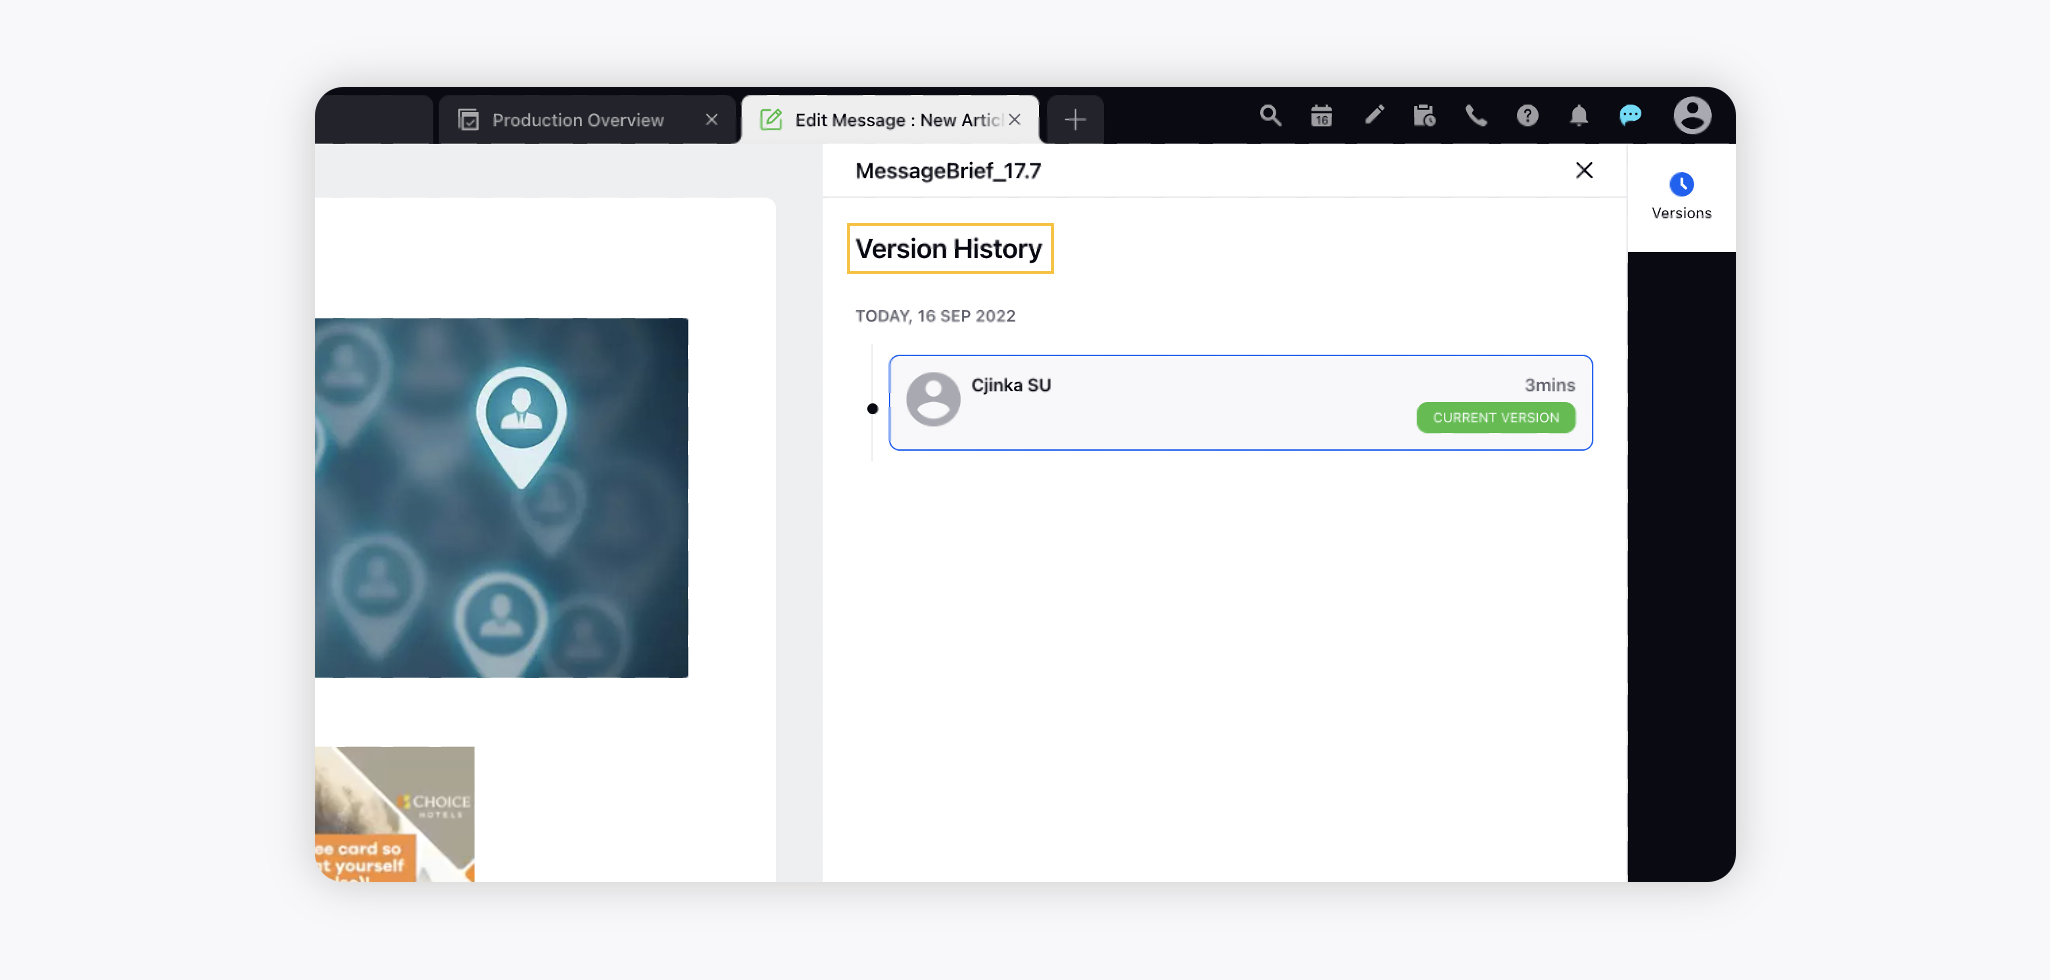
Support for version history
You can view the Version History for every brief added to a message. Within the version history, you can view who made changes in the current version and when i.e., the user name along with the timestamp.
On clicking the version you can view the following changes made
Adding and removing text content from brief
Adding and removing sections from brief
Adding and removing attachments, images, and videos.
For more information, see View Version History of Briefs.
Note: If there are more than 24 hours between the last change and the new change a separate version will be created. |
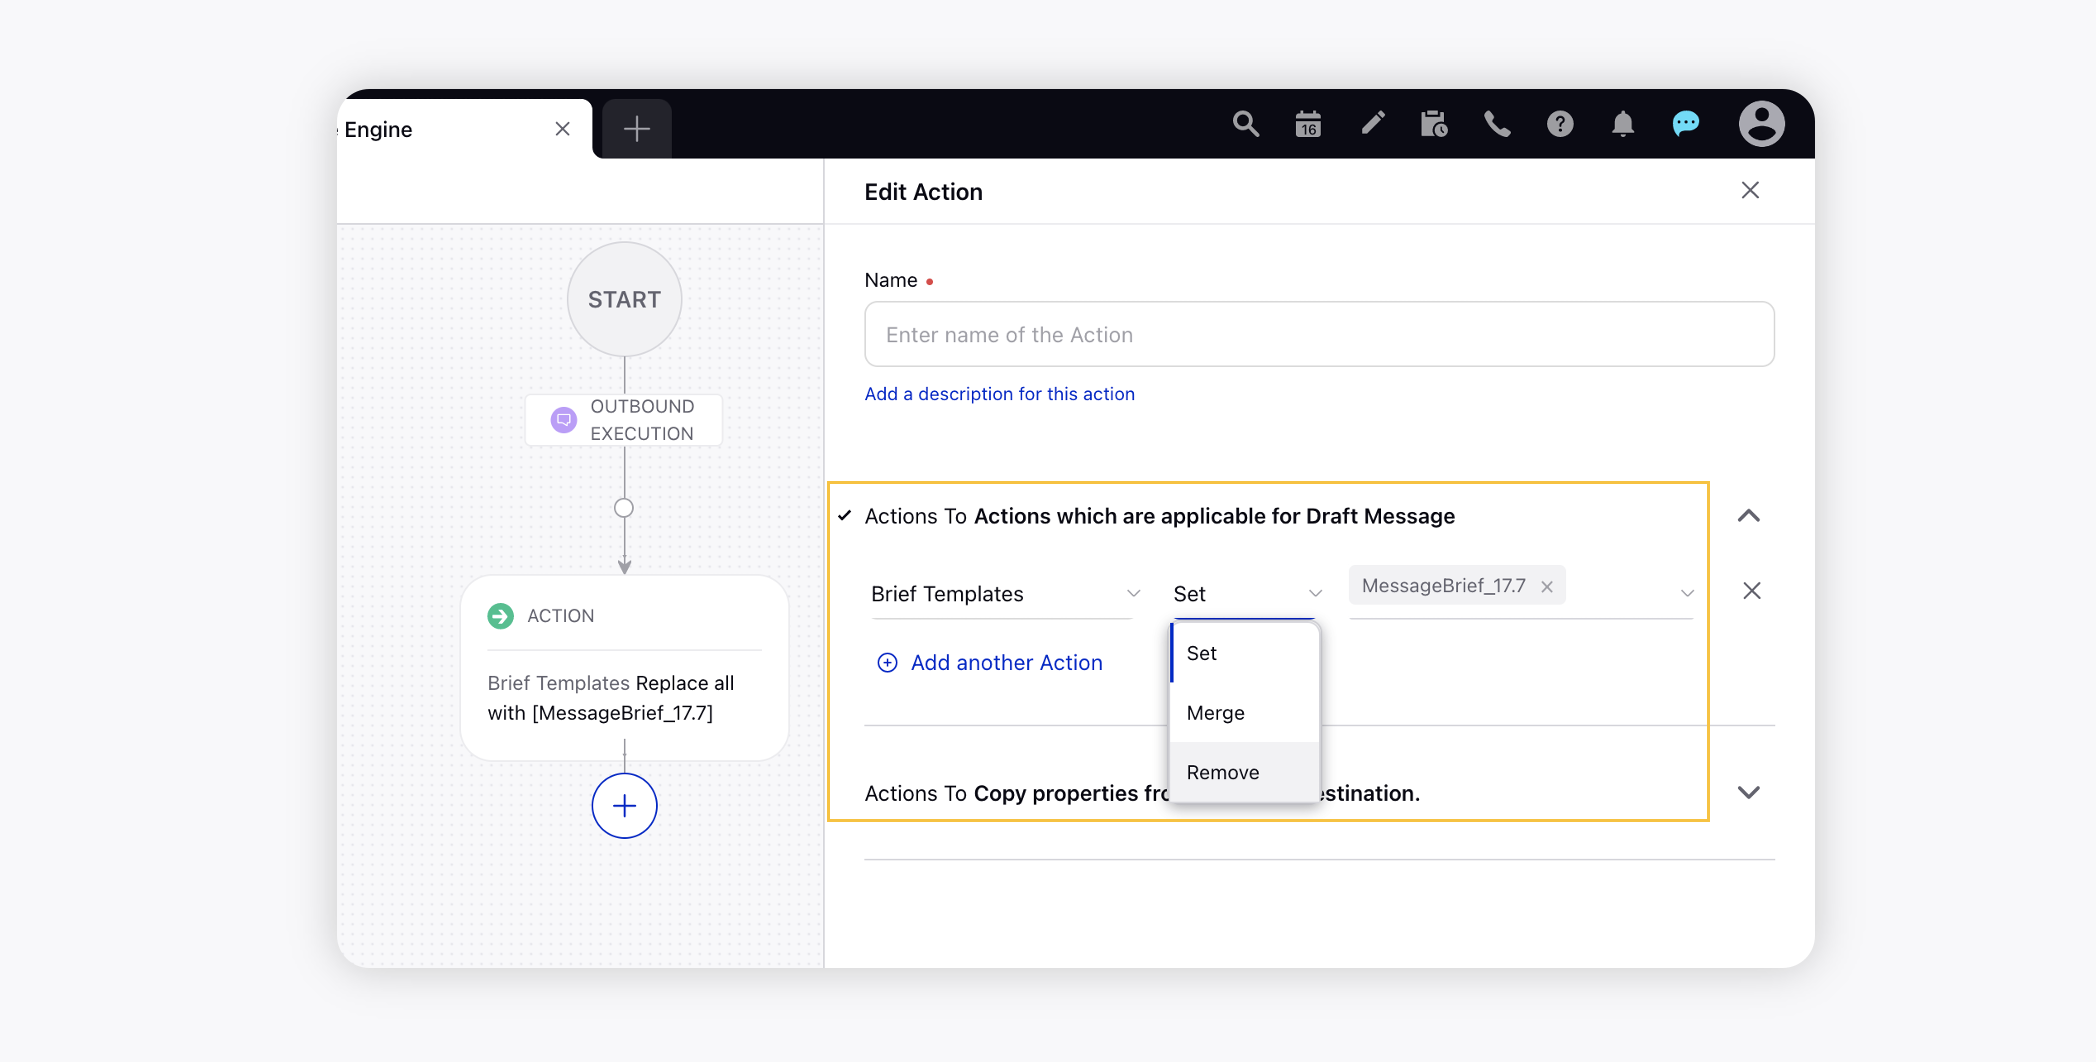
Draft and Draft Update rule enhancements
Add Sub-Actions to the Brief Templates action which allows you to set Edit, View, and Collaborate permissions for users/user groups while creating the Draft, and Draft Update rules. This enables you to set, merge, and remove Brief Templates from the messages that are not yet published.