DVT Part 3: How to Use Dynamic Video Templates to Create Videos in Bulk
Updated
Leverage dynamic video templates in Sprinklr's Asset Manager to create bulk videos
Once a video template is created in Sprinklr, you can use it for creating bulk video variations. Bulk video creative production is Sprinklr’s ability to take customized videos to a new level. Using a catalog or data feed, you can make thousands of videos that are customized to your target audience with the right messages for each one of them.
Step 1: Select Template
Click the New Tab icon. Under the Sprinklr Marketing (Ads) tab, click Creative Library within Plan.
You will be redirected to the Digital Asset Manager (DAM) with Ad Creatives selected by default.
In the top right corner of the DAM window, click on Create Asset and select Video.
Click the tab Video Templates and check Multiple Video.
Select the template you want to use and click Next.

Step 2: Upload feed / provide feed link
Understanding Data Feeds
Sprinklr’s Bulk video production uses a data feed (.csv file) to power the variation. A data feed file has to be in CSV (Comma Separated Values) format. You can either:
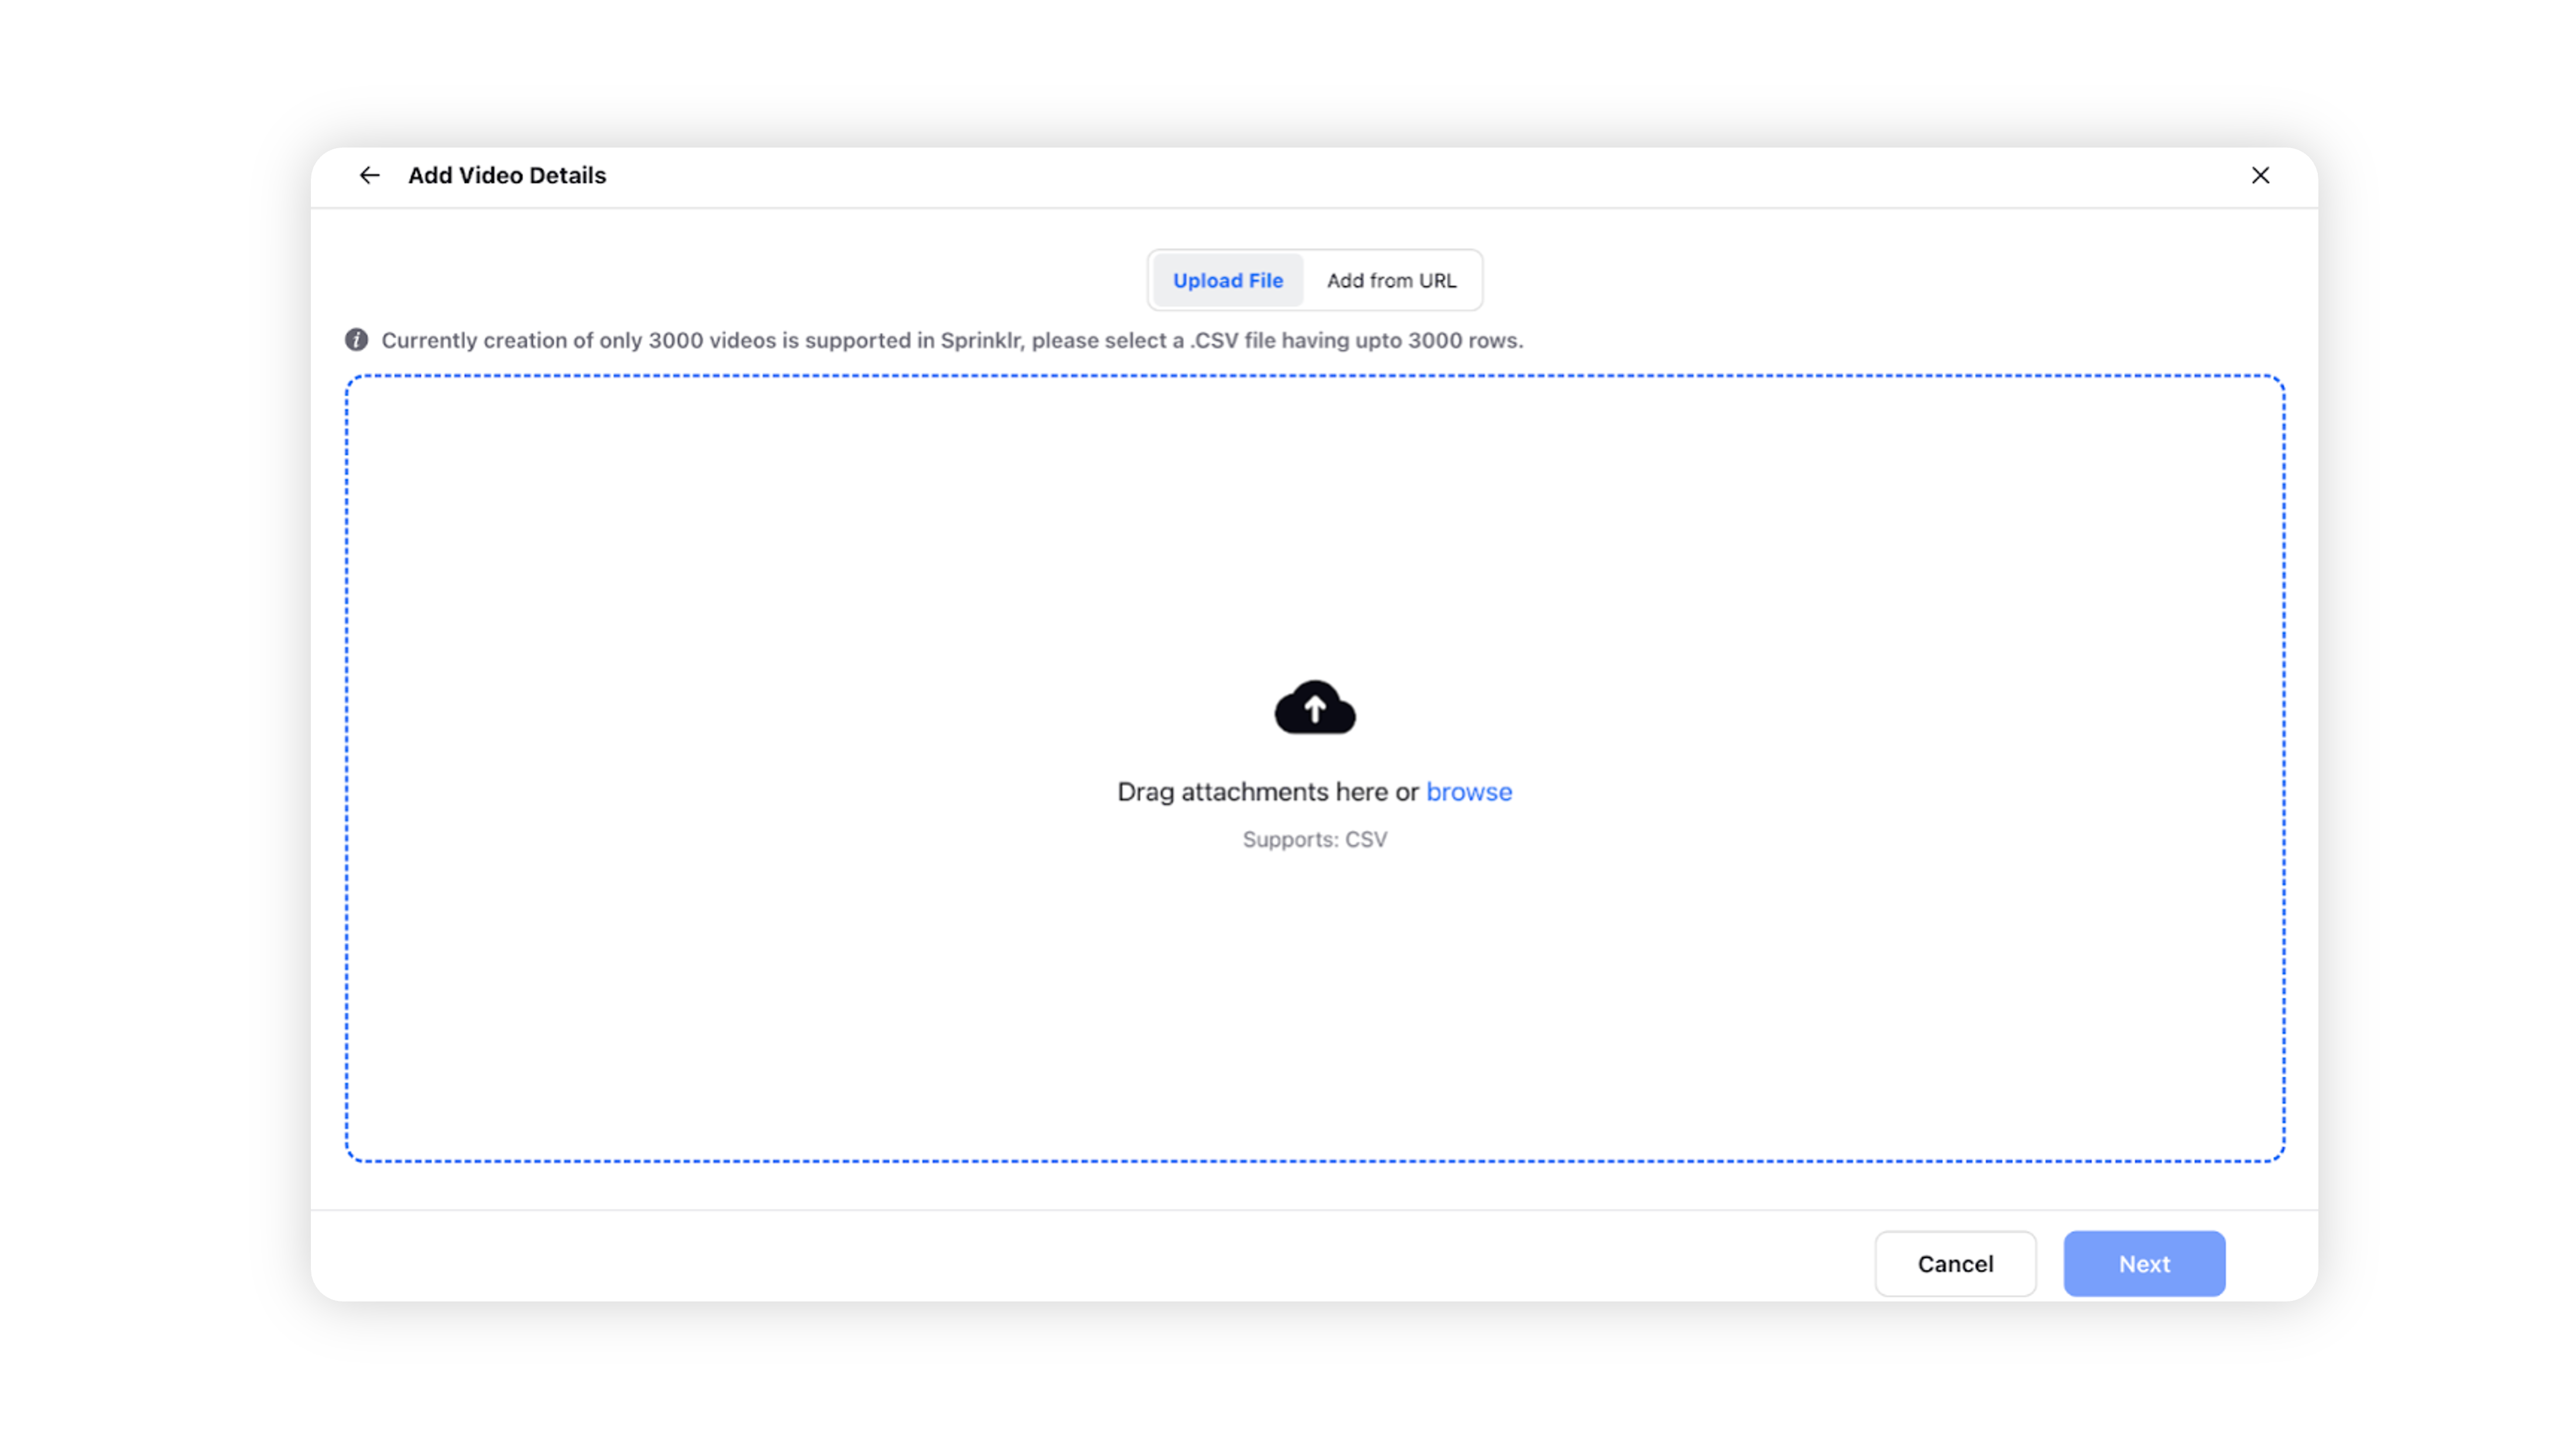
Upload the CSV file
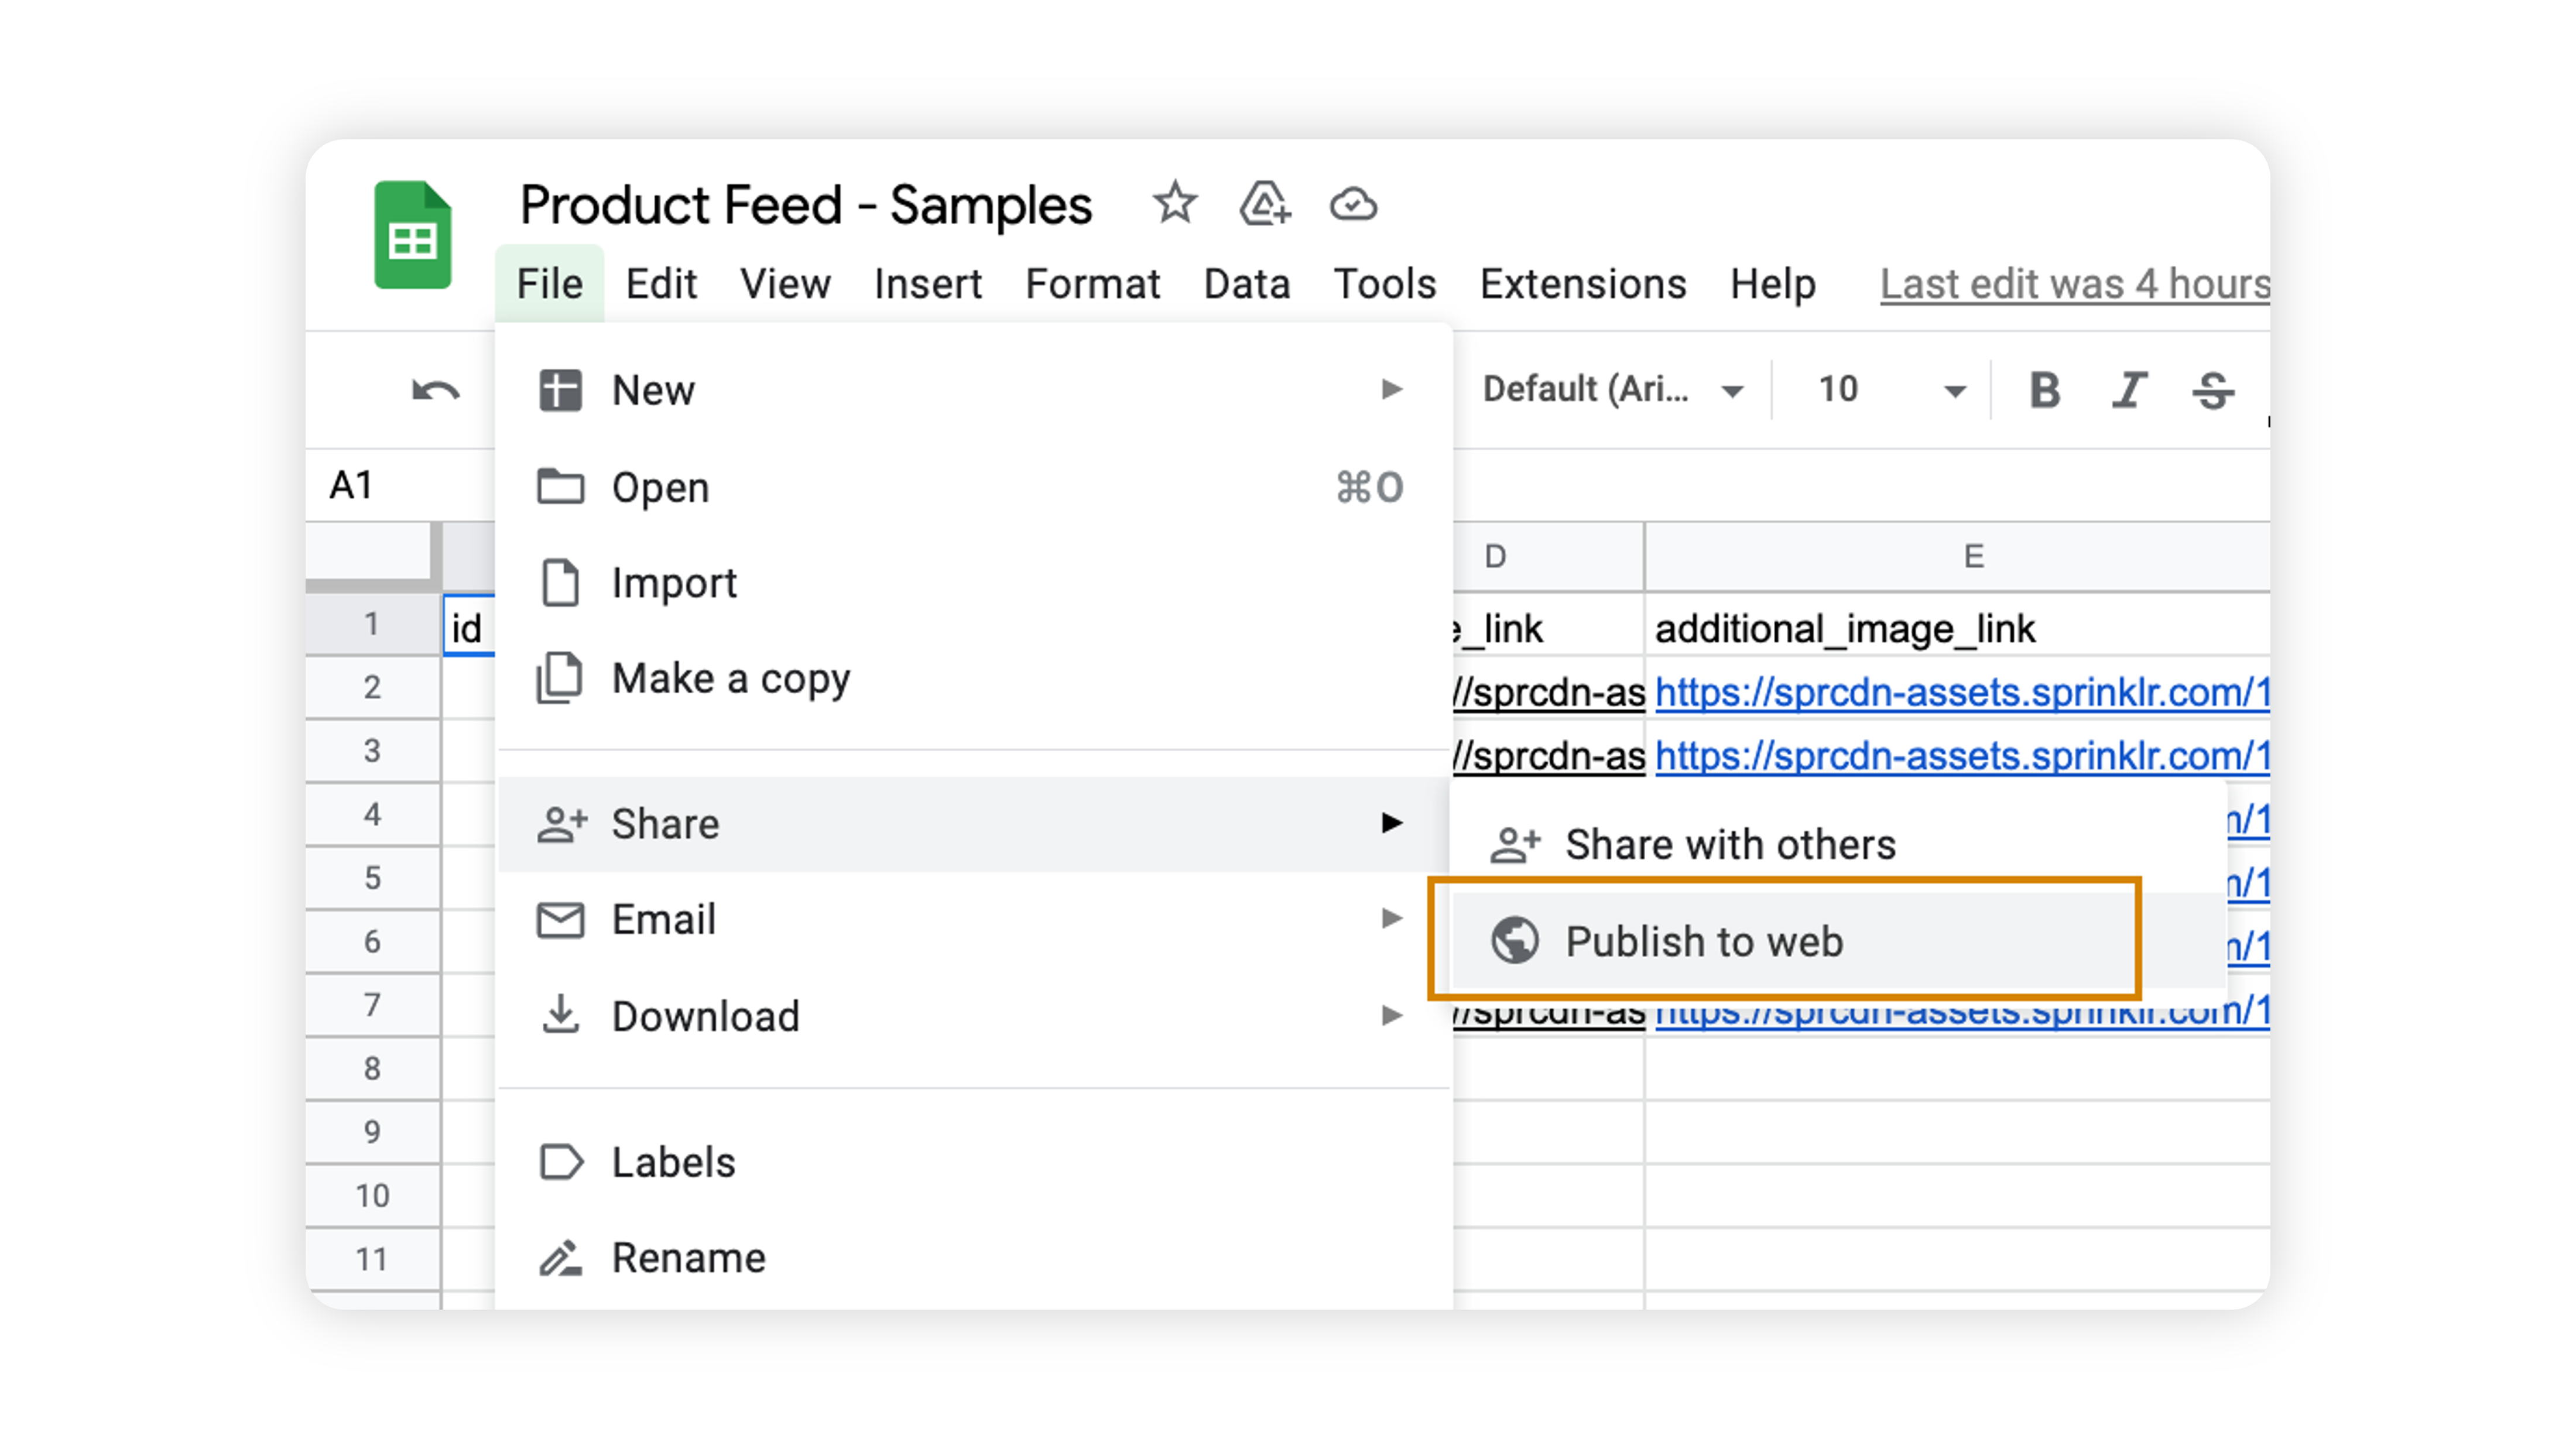
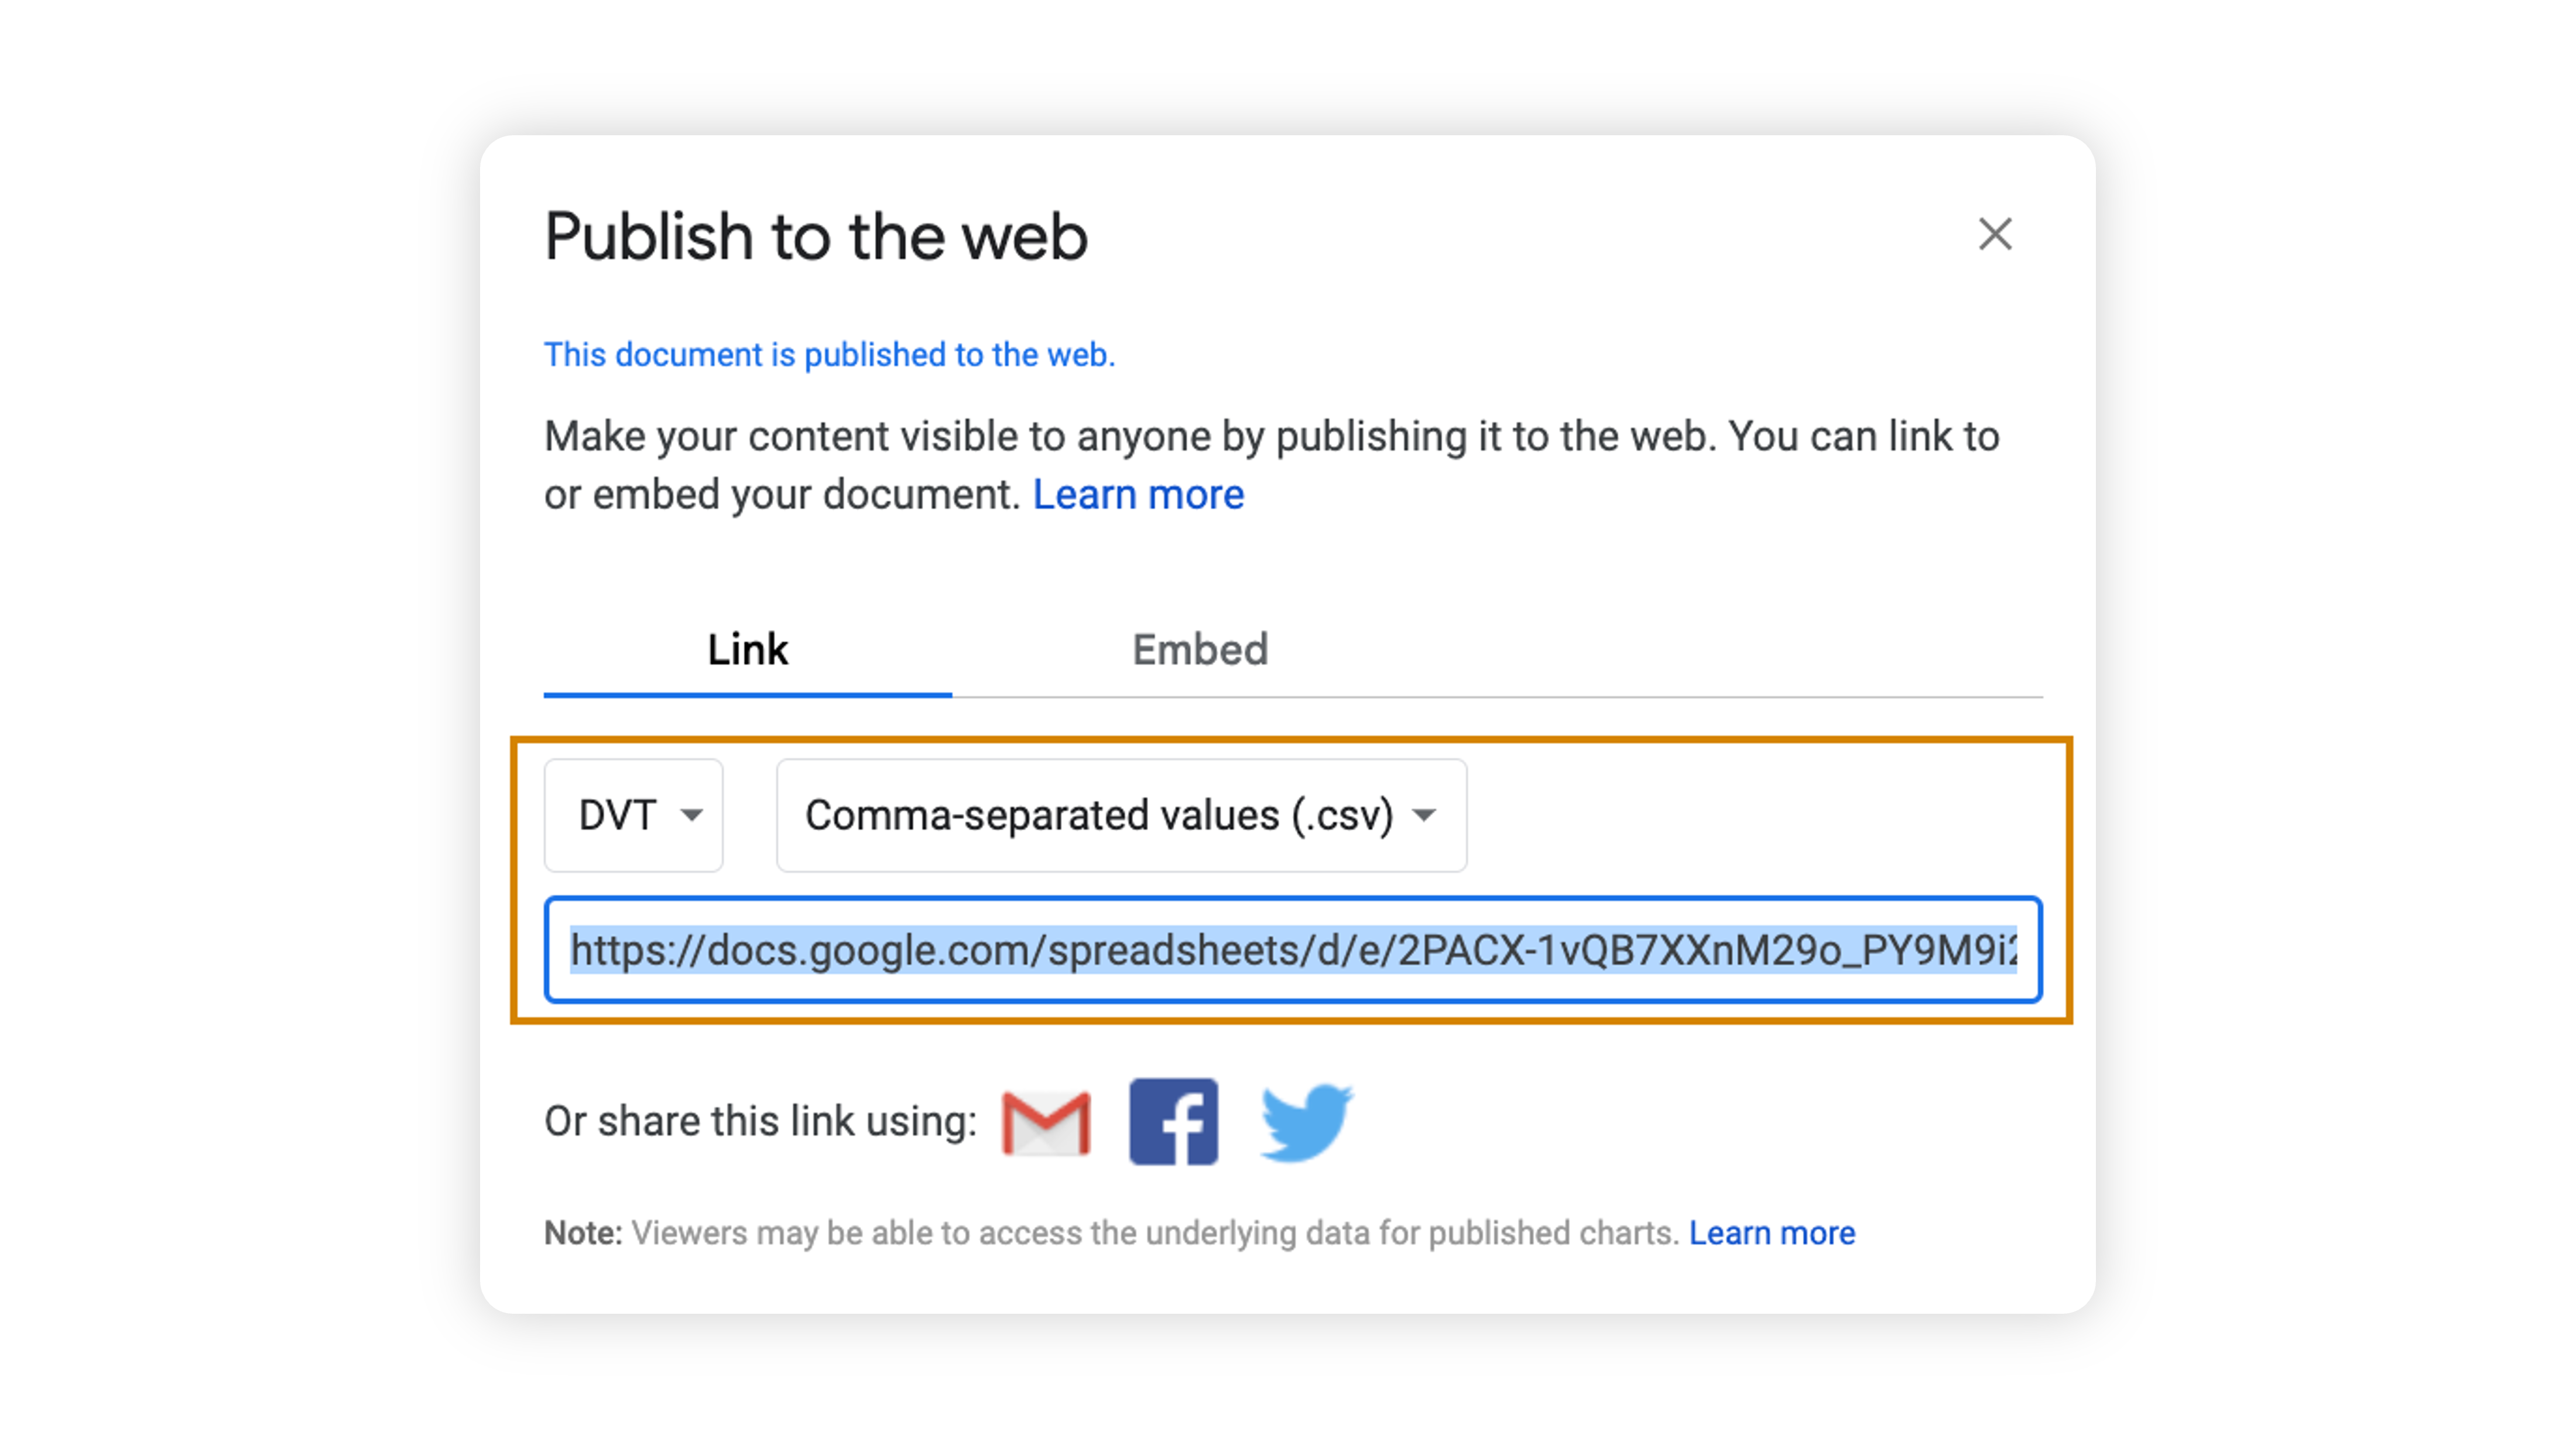
Input CSV feed link, hosted/published online and accessible to all.

Step 3: Apply Filters
Incase the user selects "Apply to Filtered Rows" instead of "Apply to Entire Feed" then the user can further refine the rows of the feed file that are used to create assets using conditional filters.

Step 4: Editing Video
Once you click next after providing the feed you will see that the bulk video editor will open. Now similar to the single video creation flow you will see all the available scenes in the video editor.
Inputting texts
Click on a Text Editable to edit the text in the area. Text editable slots are indicated with a T icon.
You can input the text you want on the main text box. You can either select a variable that you want to use so that every video has different text according to data feed, or type in the text you want to use for all of the videos.
Finally, you can also combine the two, meaning you can set some part of text as static and the other to change according to the data feed. It is also possible to disable the whole text box by turning off the toggle on top right. Then, the text area will render empty in the final video.
With some creative templates, there may be a character limit to the text box. While it is possible to go over the character limit, the result text may not fit in the text box boundary. If that is the case, you can go back to the editor by clicking on Go Back and Edit.
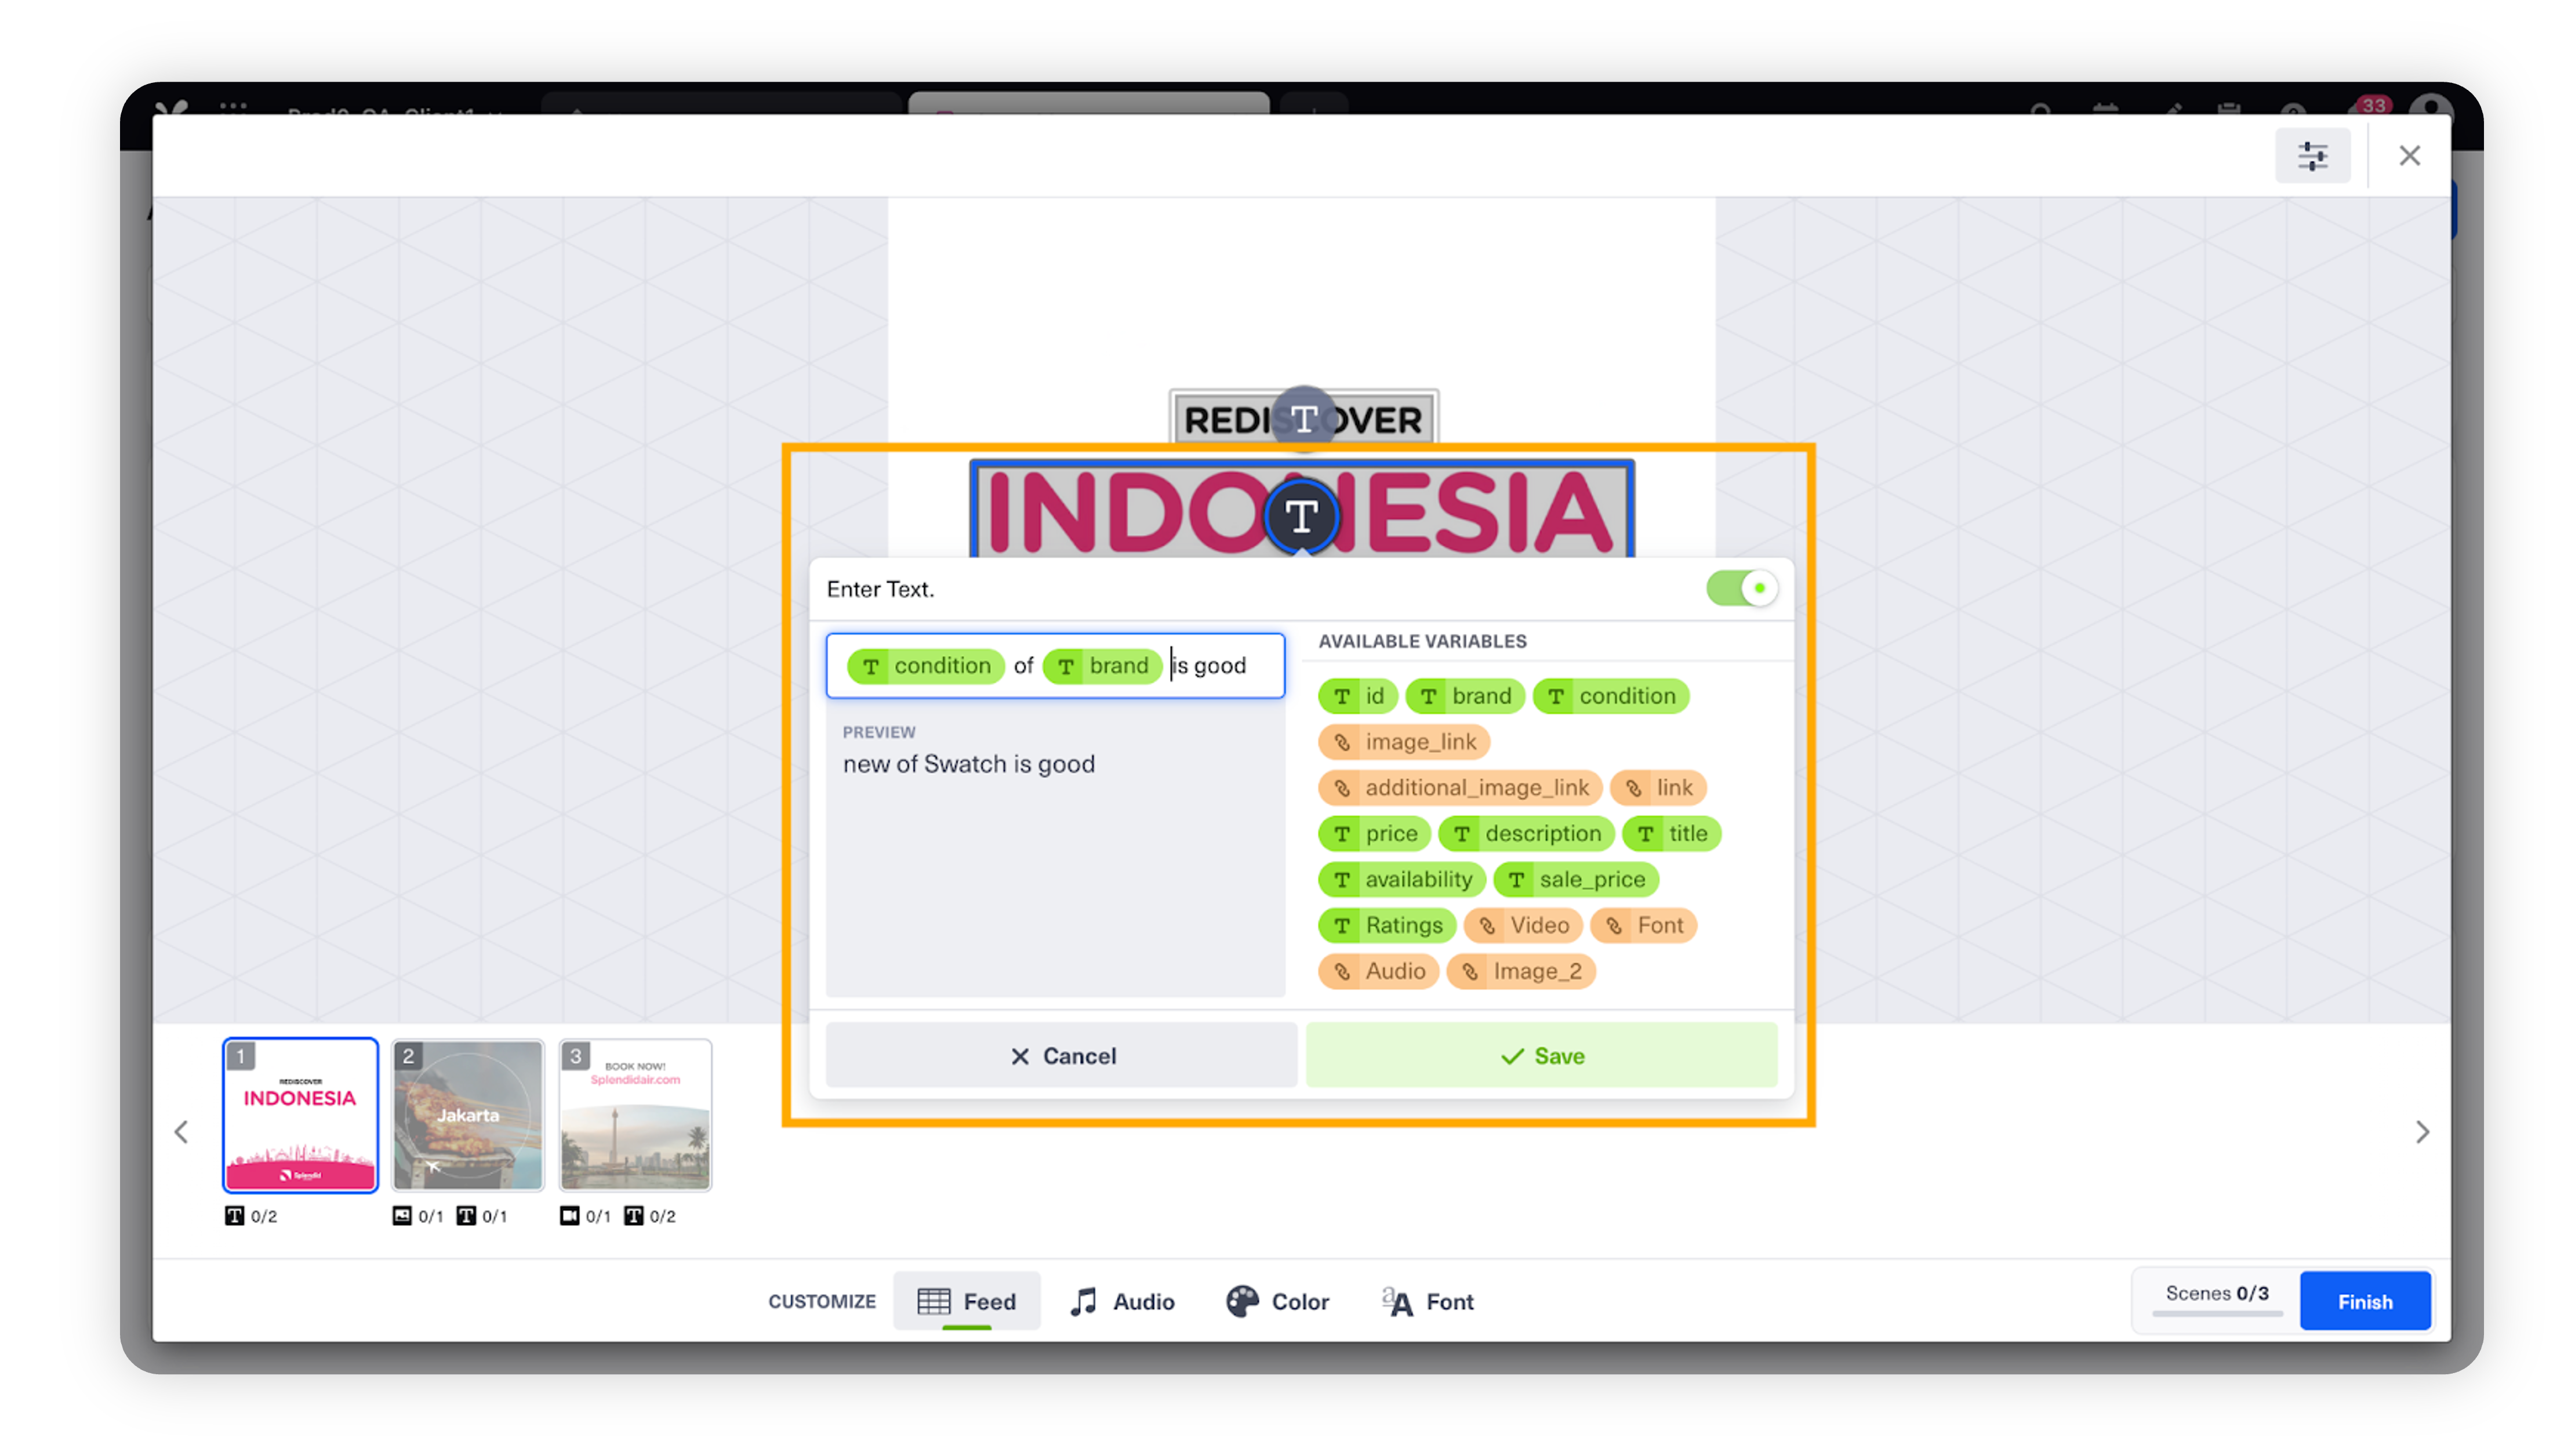
You can manually input or map a text variable from the data feed.
Uploading Media Files (Images and Videos)
Self-hosted media files can be used as a variable in data feed. There are few factors to be aware of:
When you use an image editable, it is possible for you to set the crop factor to either fitting to width or height. If this is not set, the Editor will try to fill the editable with the image.
When using video clips as a variable, the video will default to trimming from the beginning of the clips.
Using images in a video editable slot is only supported when inserting static media. This feature is not supported when you try to map image variables (self-hosted URL) from your data feed to the video editable slot.
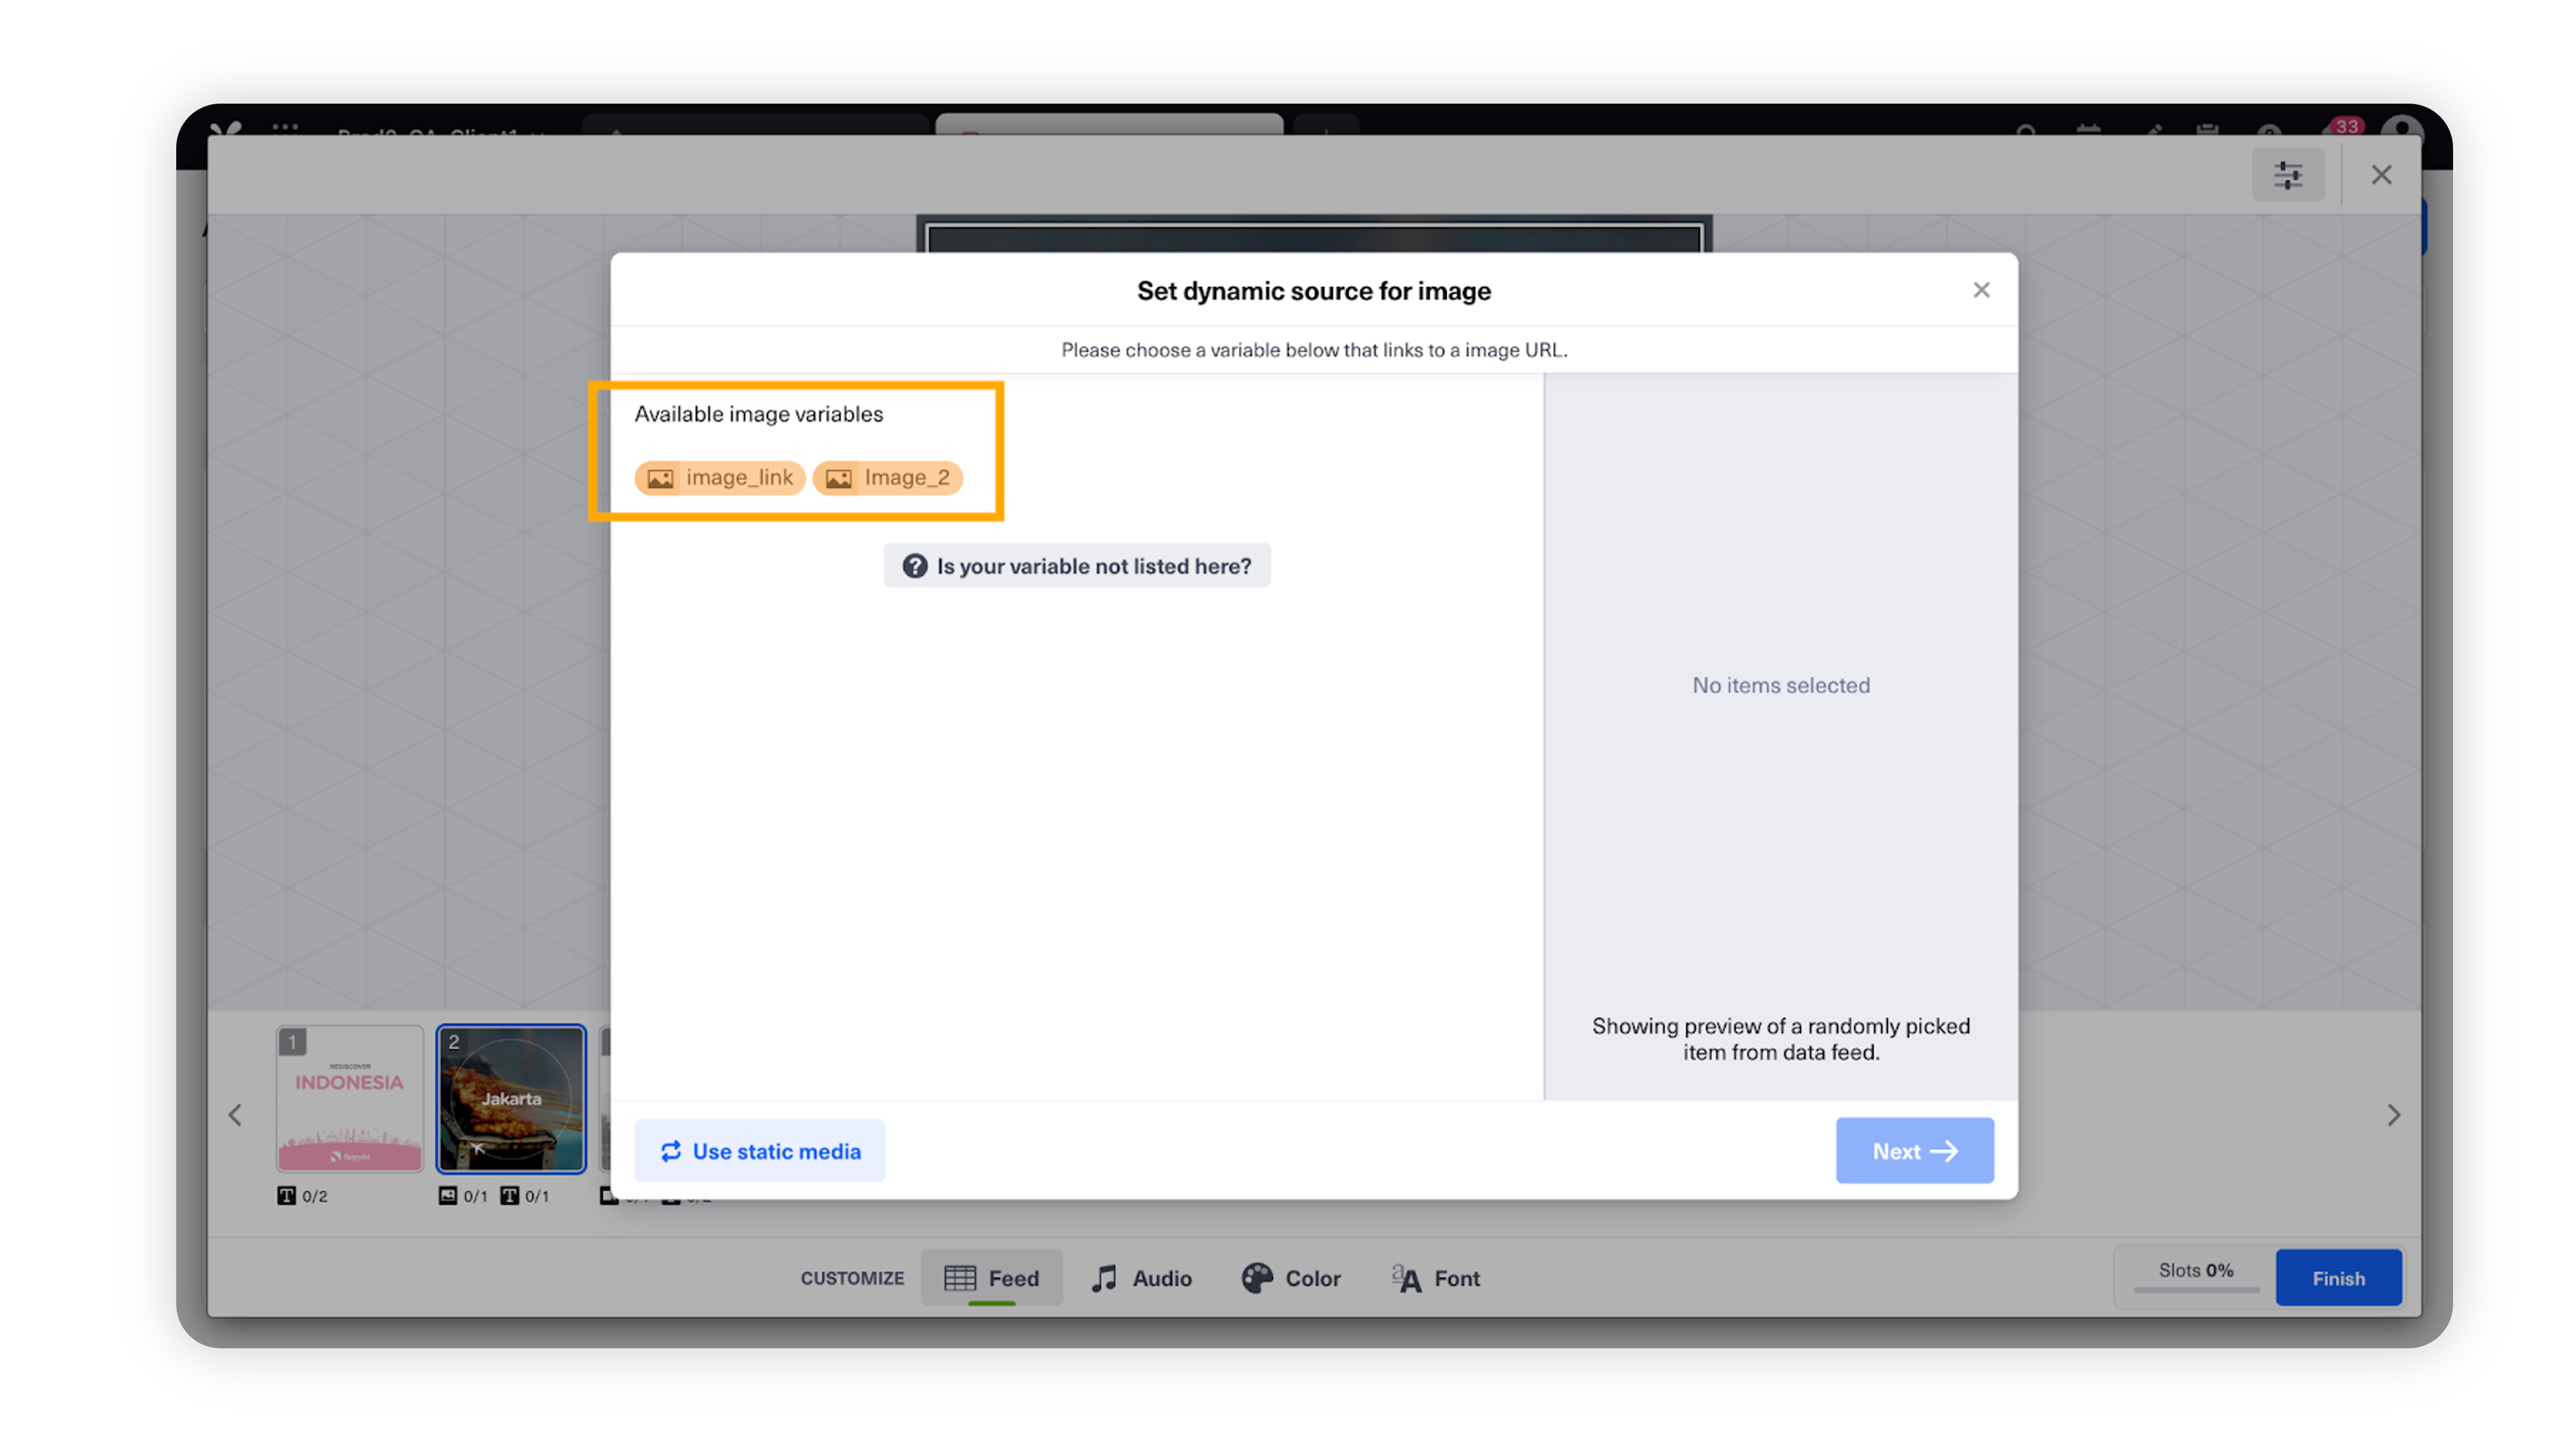
Preview and map self-hosted image link that is contained in the data feed.
Apart from mapping your data feeds, you can also have one media to be present in all videos as a static media by using some existing asset manager file or uploading a new file from your computer’s File Explorer / Finder.
Customizing Fonts
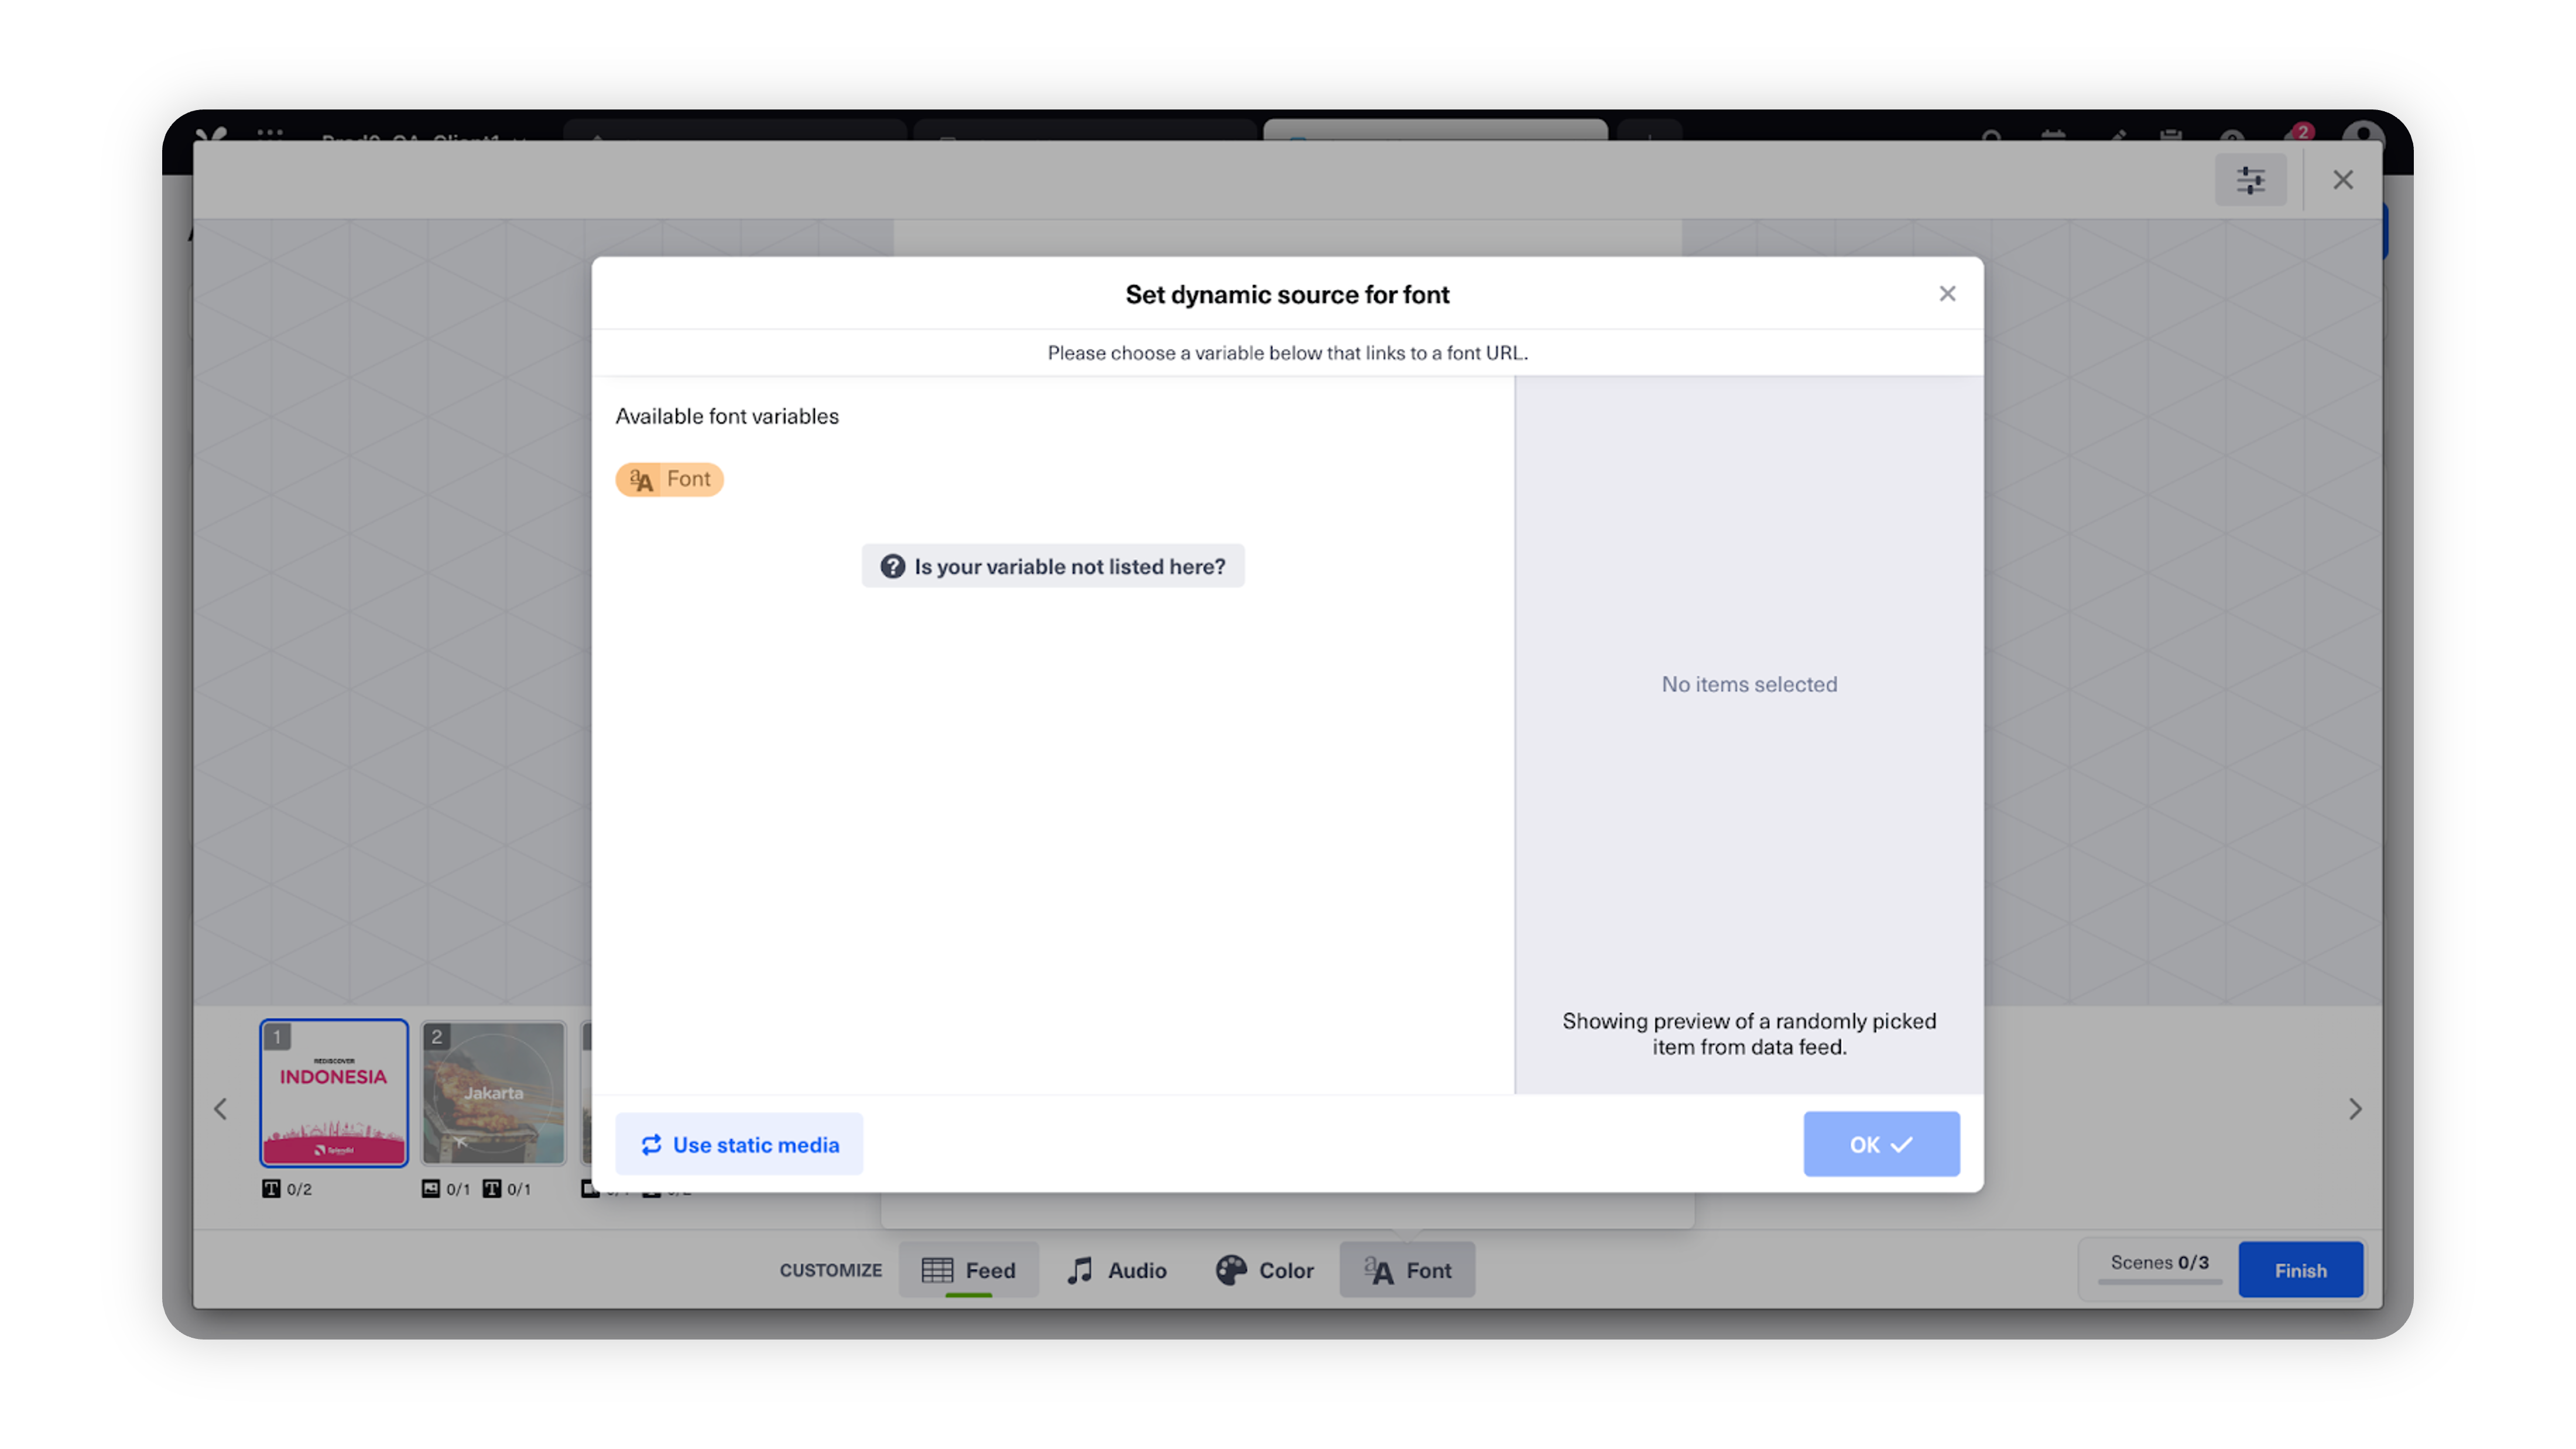
Self-hosted font files can be used as a variable in data feed. You can map feed variables to your font and customize font for every video. Or you can also have one font to be used for all videos as a static font by using any available font in Sprinklr’s asset manager.
Please make sure that that variable contains the font link which is published online and accessible to all just like other media in the feed.
Customizing Audio
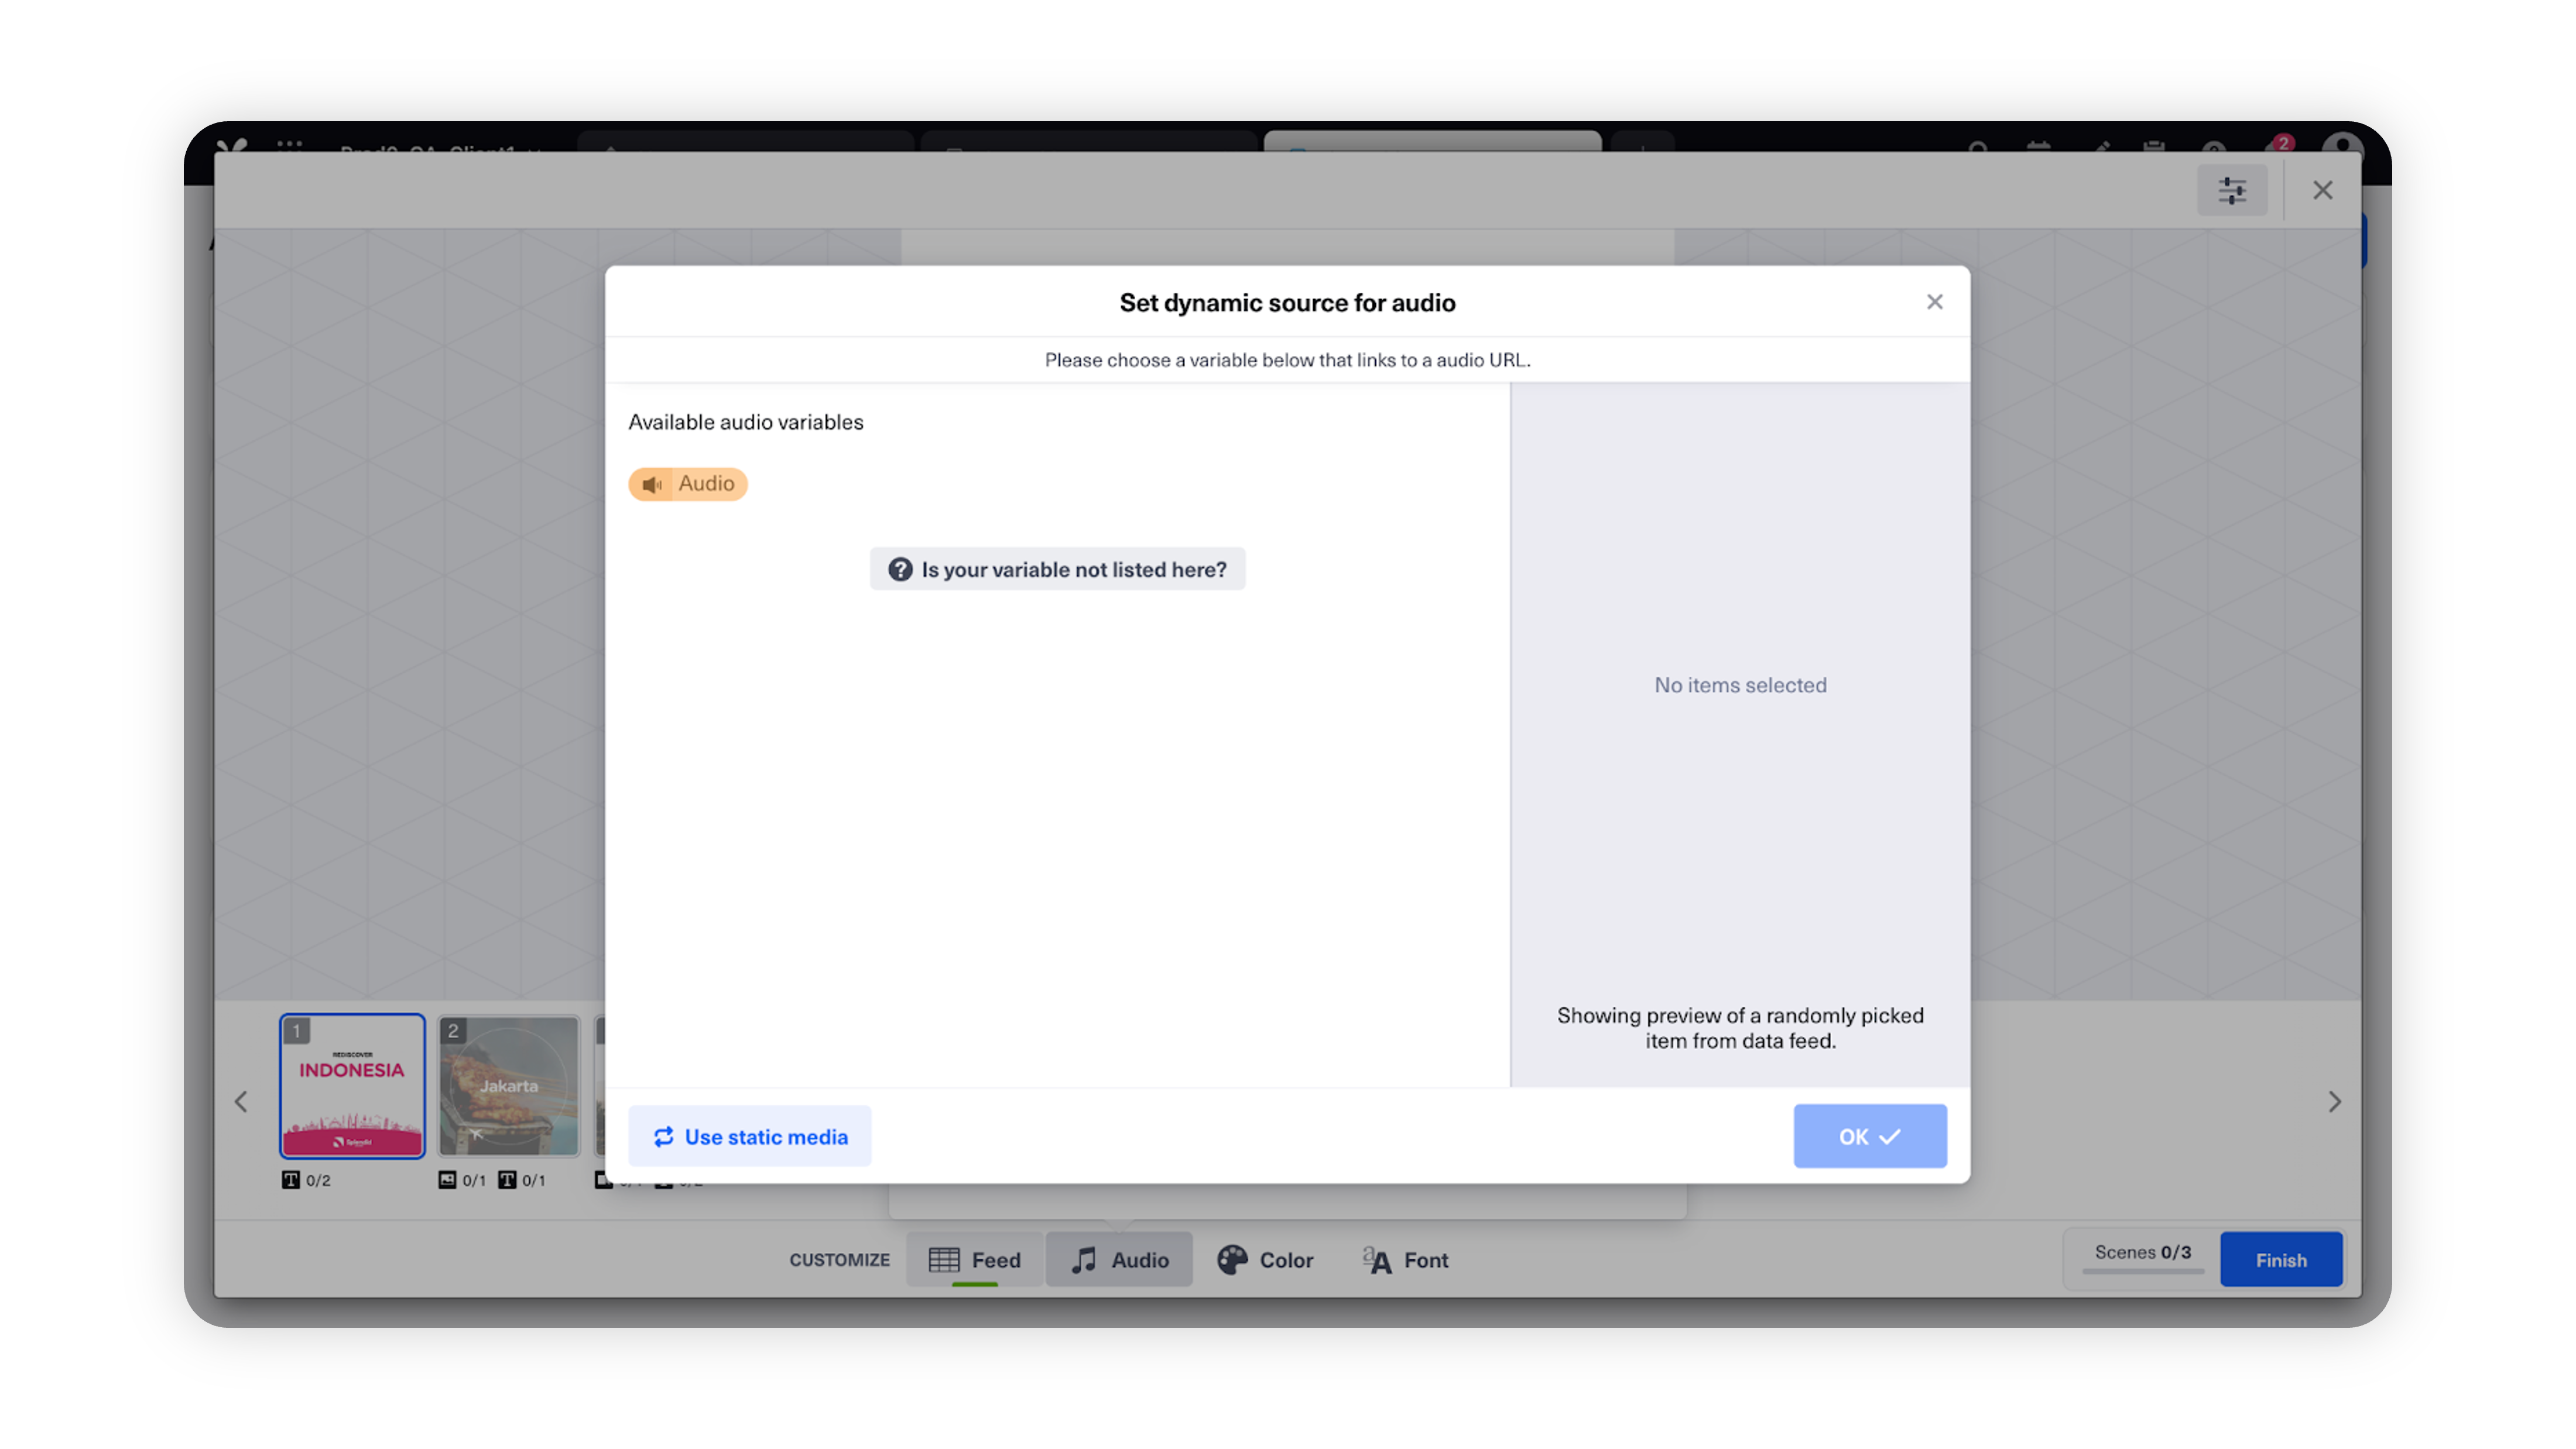
Self-hosted audio files can be used as a variable in data feed. You can map a feed variables to the audio in the video editor. Or you can also upload audio file and use one audio for all the videos.
Please make sure that that variable contains the audio link which is is published online and accessible to all just like other media in the feed.
When you add a custom audio file, it should be at least 1~2 second longer than the template length as the system requires a “bumper” to avoid any kind of rendering issues.
Customizing Color
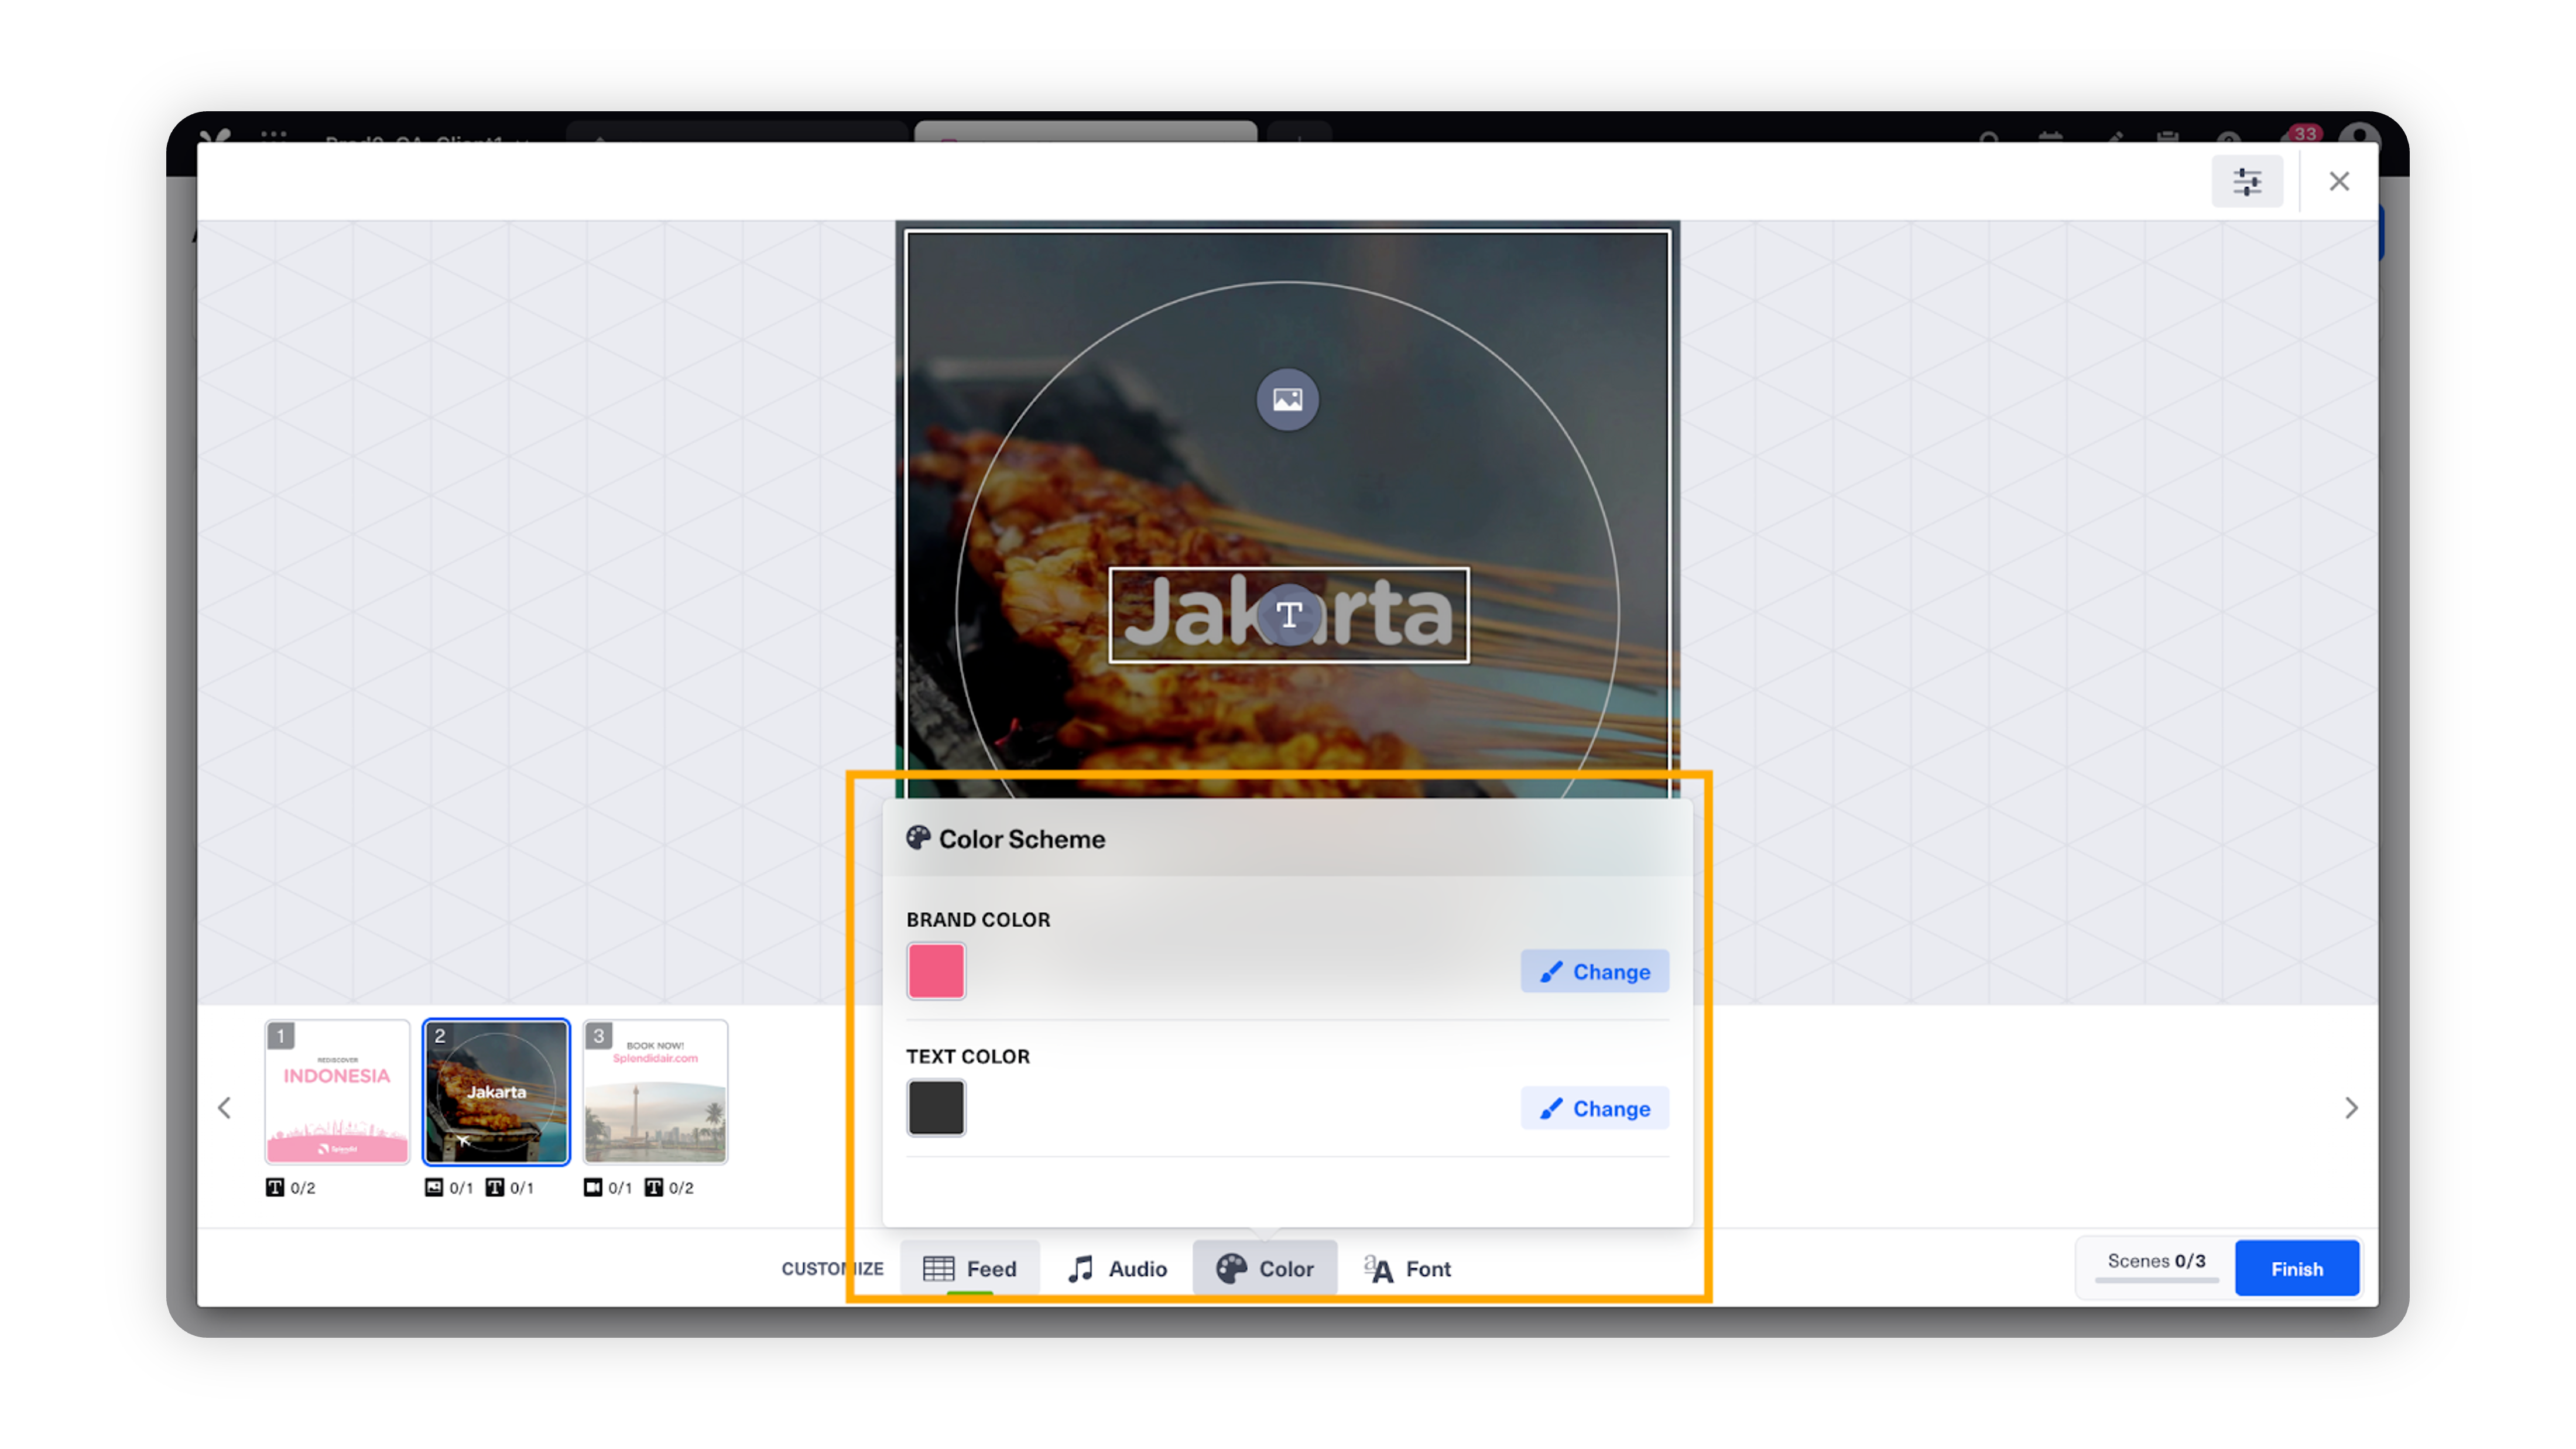
The Customize Color button can be found at the bottom of the Video Editor.
Note:
Color can only be customized for the entire bulk. To customize the the colors for the entire you will need to set the After Effects color layer as the dynamic text layer and then while using the templates map the feed variable having color codes to the respective text editable slot.
Enablement note: Please reach out to your product specialist team or product team for more information.
|
Step 4: Review & Save
Revisit each scene to review if all slots have been filled properly and finish. Once you click Finish the editor window will be closed and all the videos will start rendering at the backend.
After all the videos are rendered you will be notified to preview the videos generated via platform notifications and email notifications.
On clicking the preview link mentioned in the notification, you will be able to see the preview of 20 videos for you to make sure that the videos are edited based on your expectations. If you want to change some settings you can always Go Back and Edit and generate new videos right from there.
If you want to update some feed values, you can do that as well but make sure to hit the Go Back and Edit button only after you made all the edits in the feed.

Note: Editing feed values is only supported for feed link based bulk creation process.
|