DVT Part 1: Create Dynamic Video Templates
Updated
Video templates have become one of the most vital marketing tools today, saving time and helping create attractive video ads. Our renderer smoothens and accelerates the video creation process, ensuring a better experience for you.
Create video templates in Sprinklr's asset manager by importing the After Effects files. These video templates can be easily created by converting an After Effects project file into a Creative Template that can be used to create videos later. Learn how to prepare a template file (.zip) for a Dynamic Video Template.
Sample .zip file: Download our sample video template for your exploration from below:
DVT Sample Template.zip
4.82 MB
Follow these steps to navigate to the Create New Dynamic Video Template Asset page:
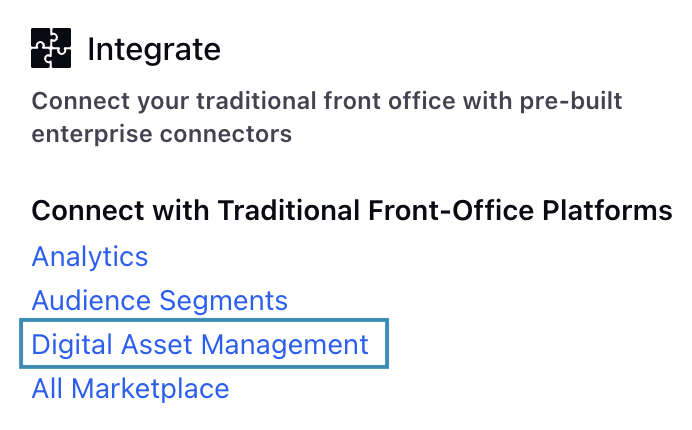
Go to Digital Asset Management in the Integrate column on the Launchpad under the Sprinklr Marketing (Advertising) tab. This will open the assets management page.
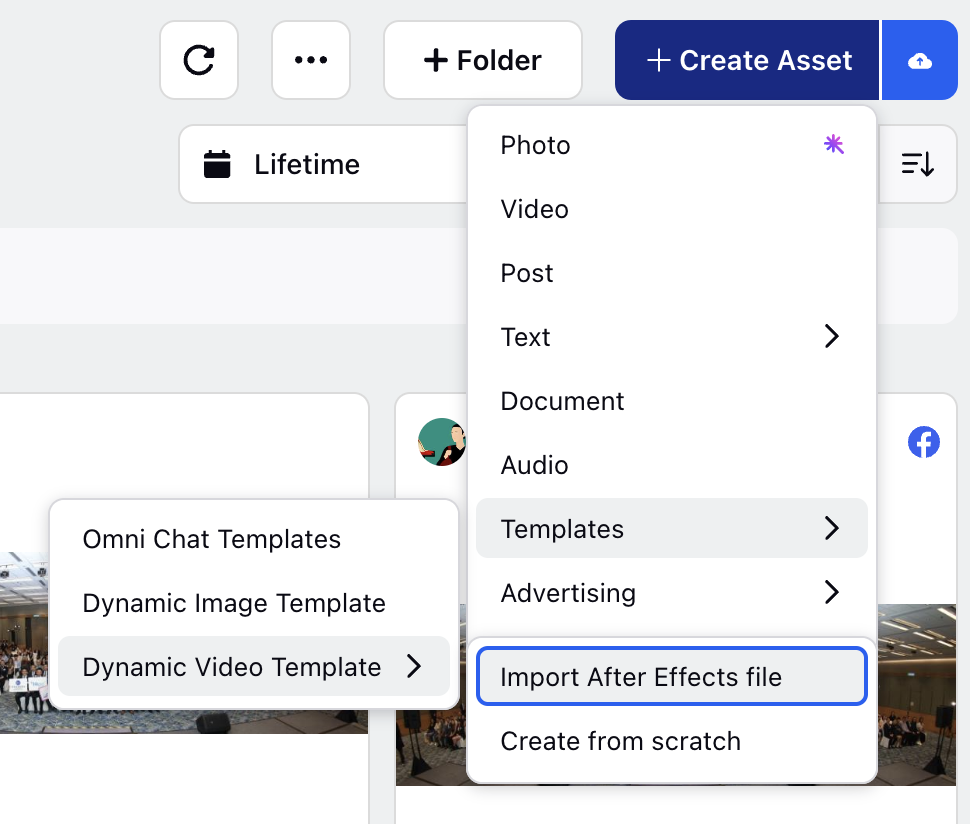
Click the ‘Create Asset’ button at the top right of the page to show a list of options.
Hover over the ‘Templates’ option to open a sub-menu. Hover over the ‘Digital Video Template’ option to open another sub-menu and select the ‘Import After Effects file’ option. This will open the Create New Dynamic Video Template Asset page.
Upload Template (.zip) File
On the Create New Dynamic Video Template Asset page, you can upload the video template (.zip) file and configure other parameters such as status, expiry date, brand, and more. For more details, refer to the prepare DVT sample template file page. Fill in the required fields on the Create New Dynamic Video Template Asset page. Below are the descriptions of some of the major fields on this page:
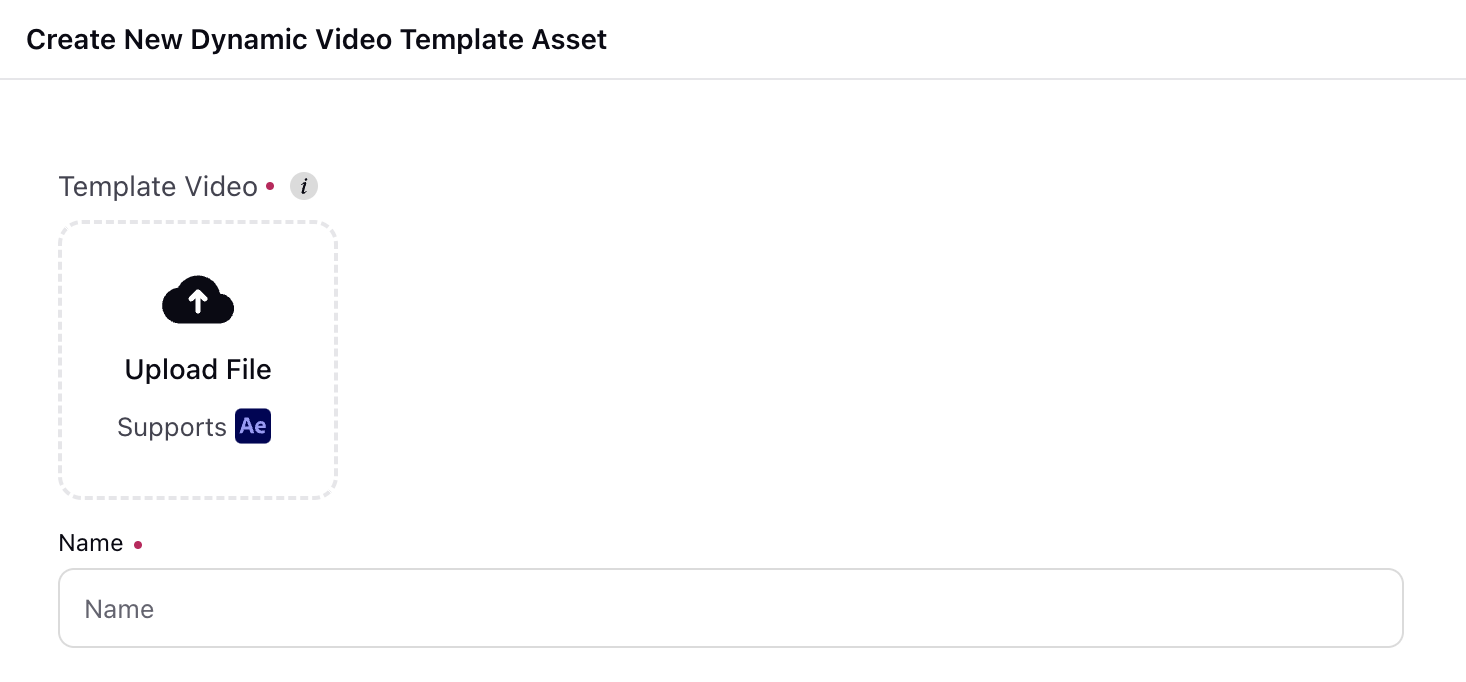
Template Video: Click the Upload File icon to open your local file explorer and select the video template (.zip) file to upload. After successful processing, the ‘Setup Template’ option will be visible under the Template Preview section. Refer to the Setup Template section below to configure the DVT. (Required)
Note: After the file is uploaded, it will be in the processing state for some time.
Enter Template Details
After successfully uploading the template (.zip) file, proceed with configuring template details such as Name, Description, and more. Following are the fields and their descriptions:
Name: Enter the name of the DVT. (Required)
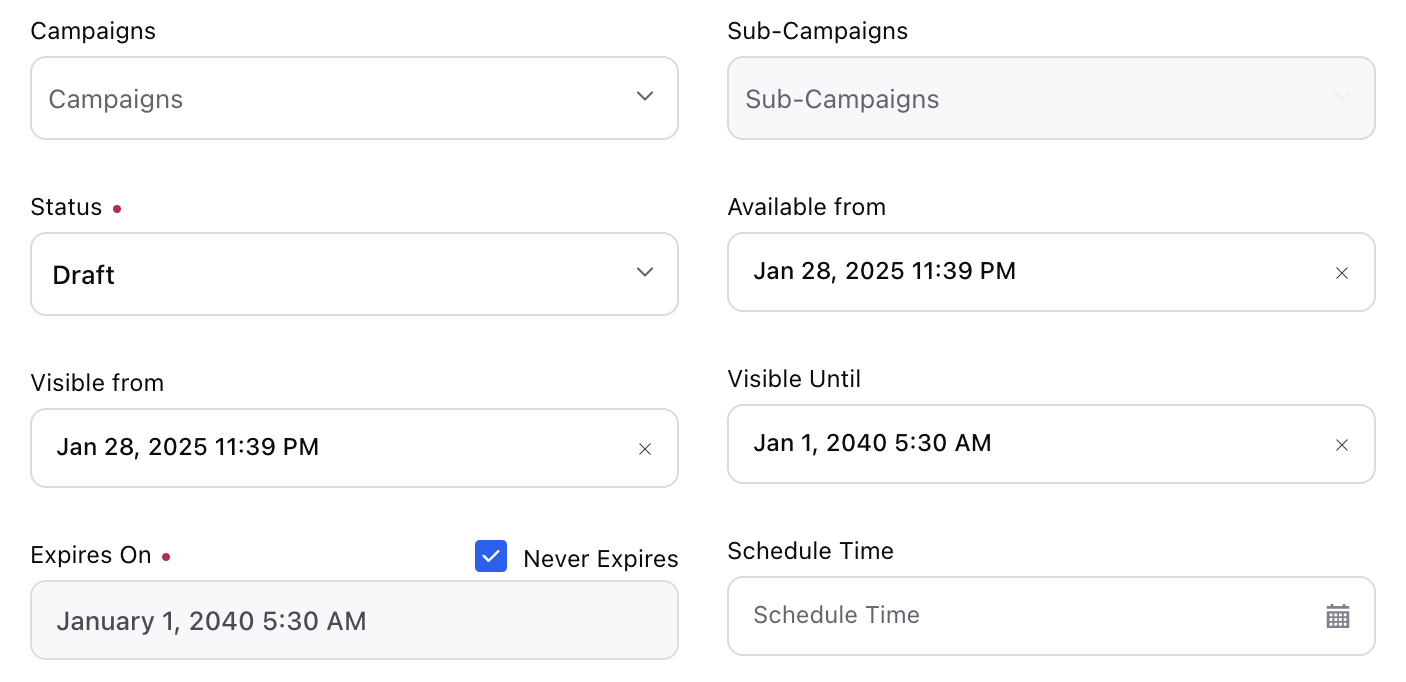
Description: Briefly describe the DVT for easy identification.
Campaigns: Select the campaigns for which the DVT can be used. Multiple campaigns can be selected simultaneously.
Status: Select the status of the DVT from the Draft, Approved, and Expired options. This field will have Draft selected by default. (Required)
Enter the information in the remaining fields on the Create New Dynamic Video Template Asset page as per your requirements.
Setup Template
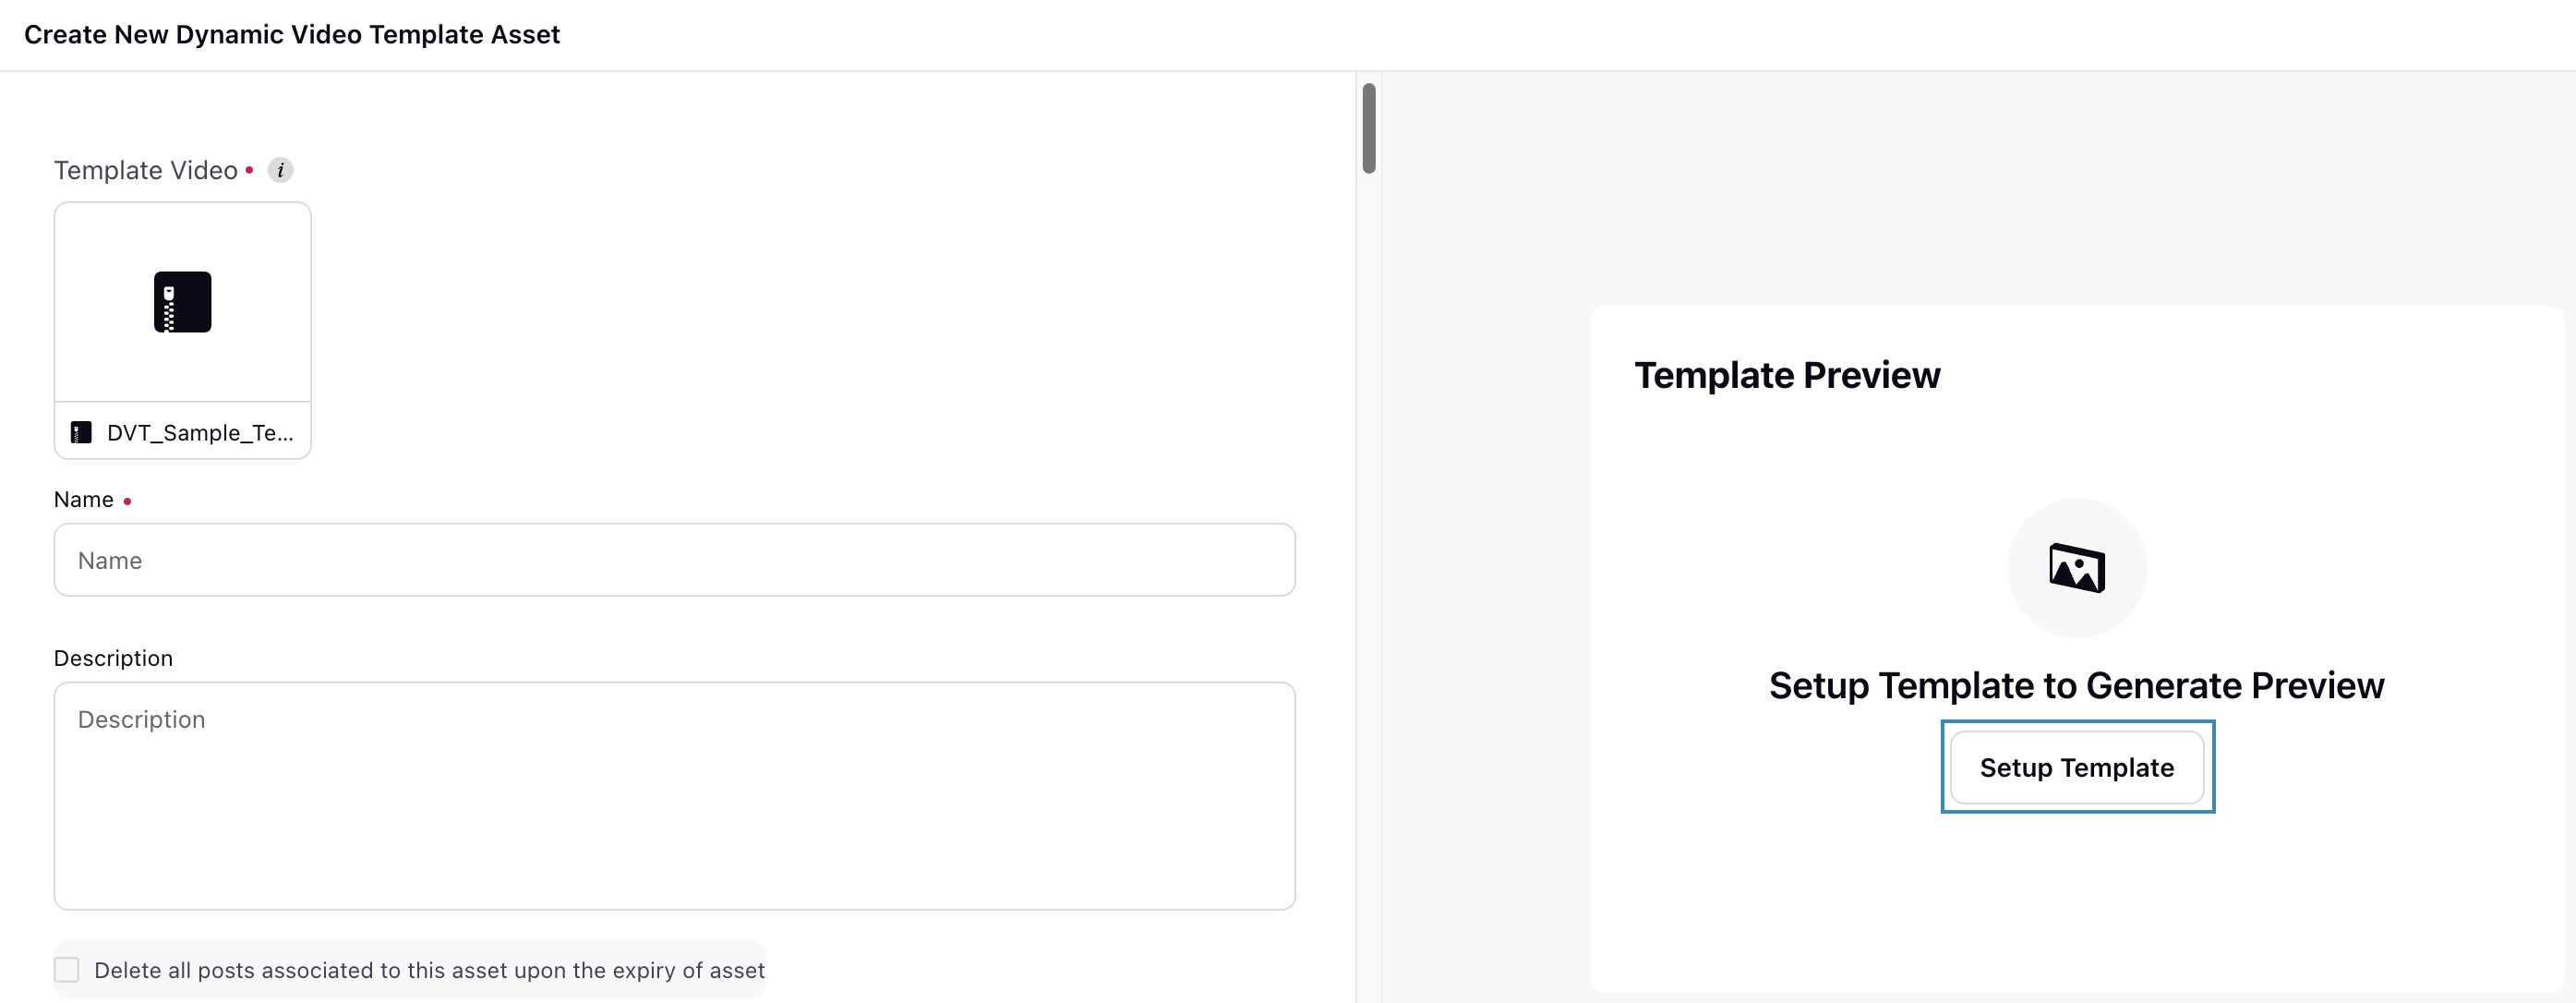
Click the ‘Setup Template’ button to open the Dynamic Video Template Configuration window. This window shows the template details, such as Rendering Composition, Dynamic Layers, and Thumbnails.

Select any available composition in the Rendering Composition section to display a tabular list of all layers in your file. You can then make any layer dynamic and specify instances for thumbnail screenshots.
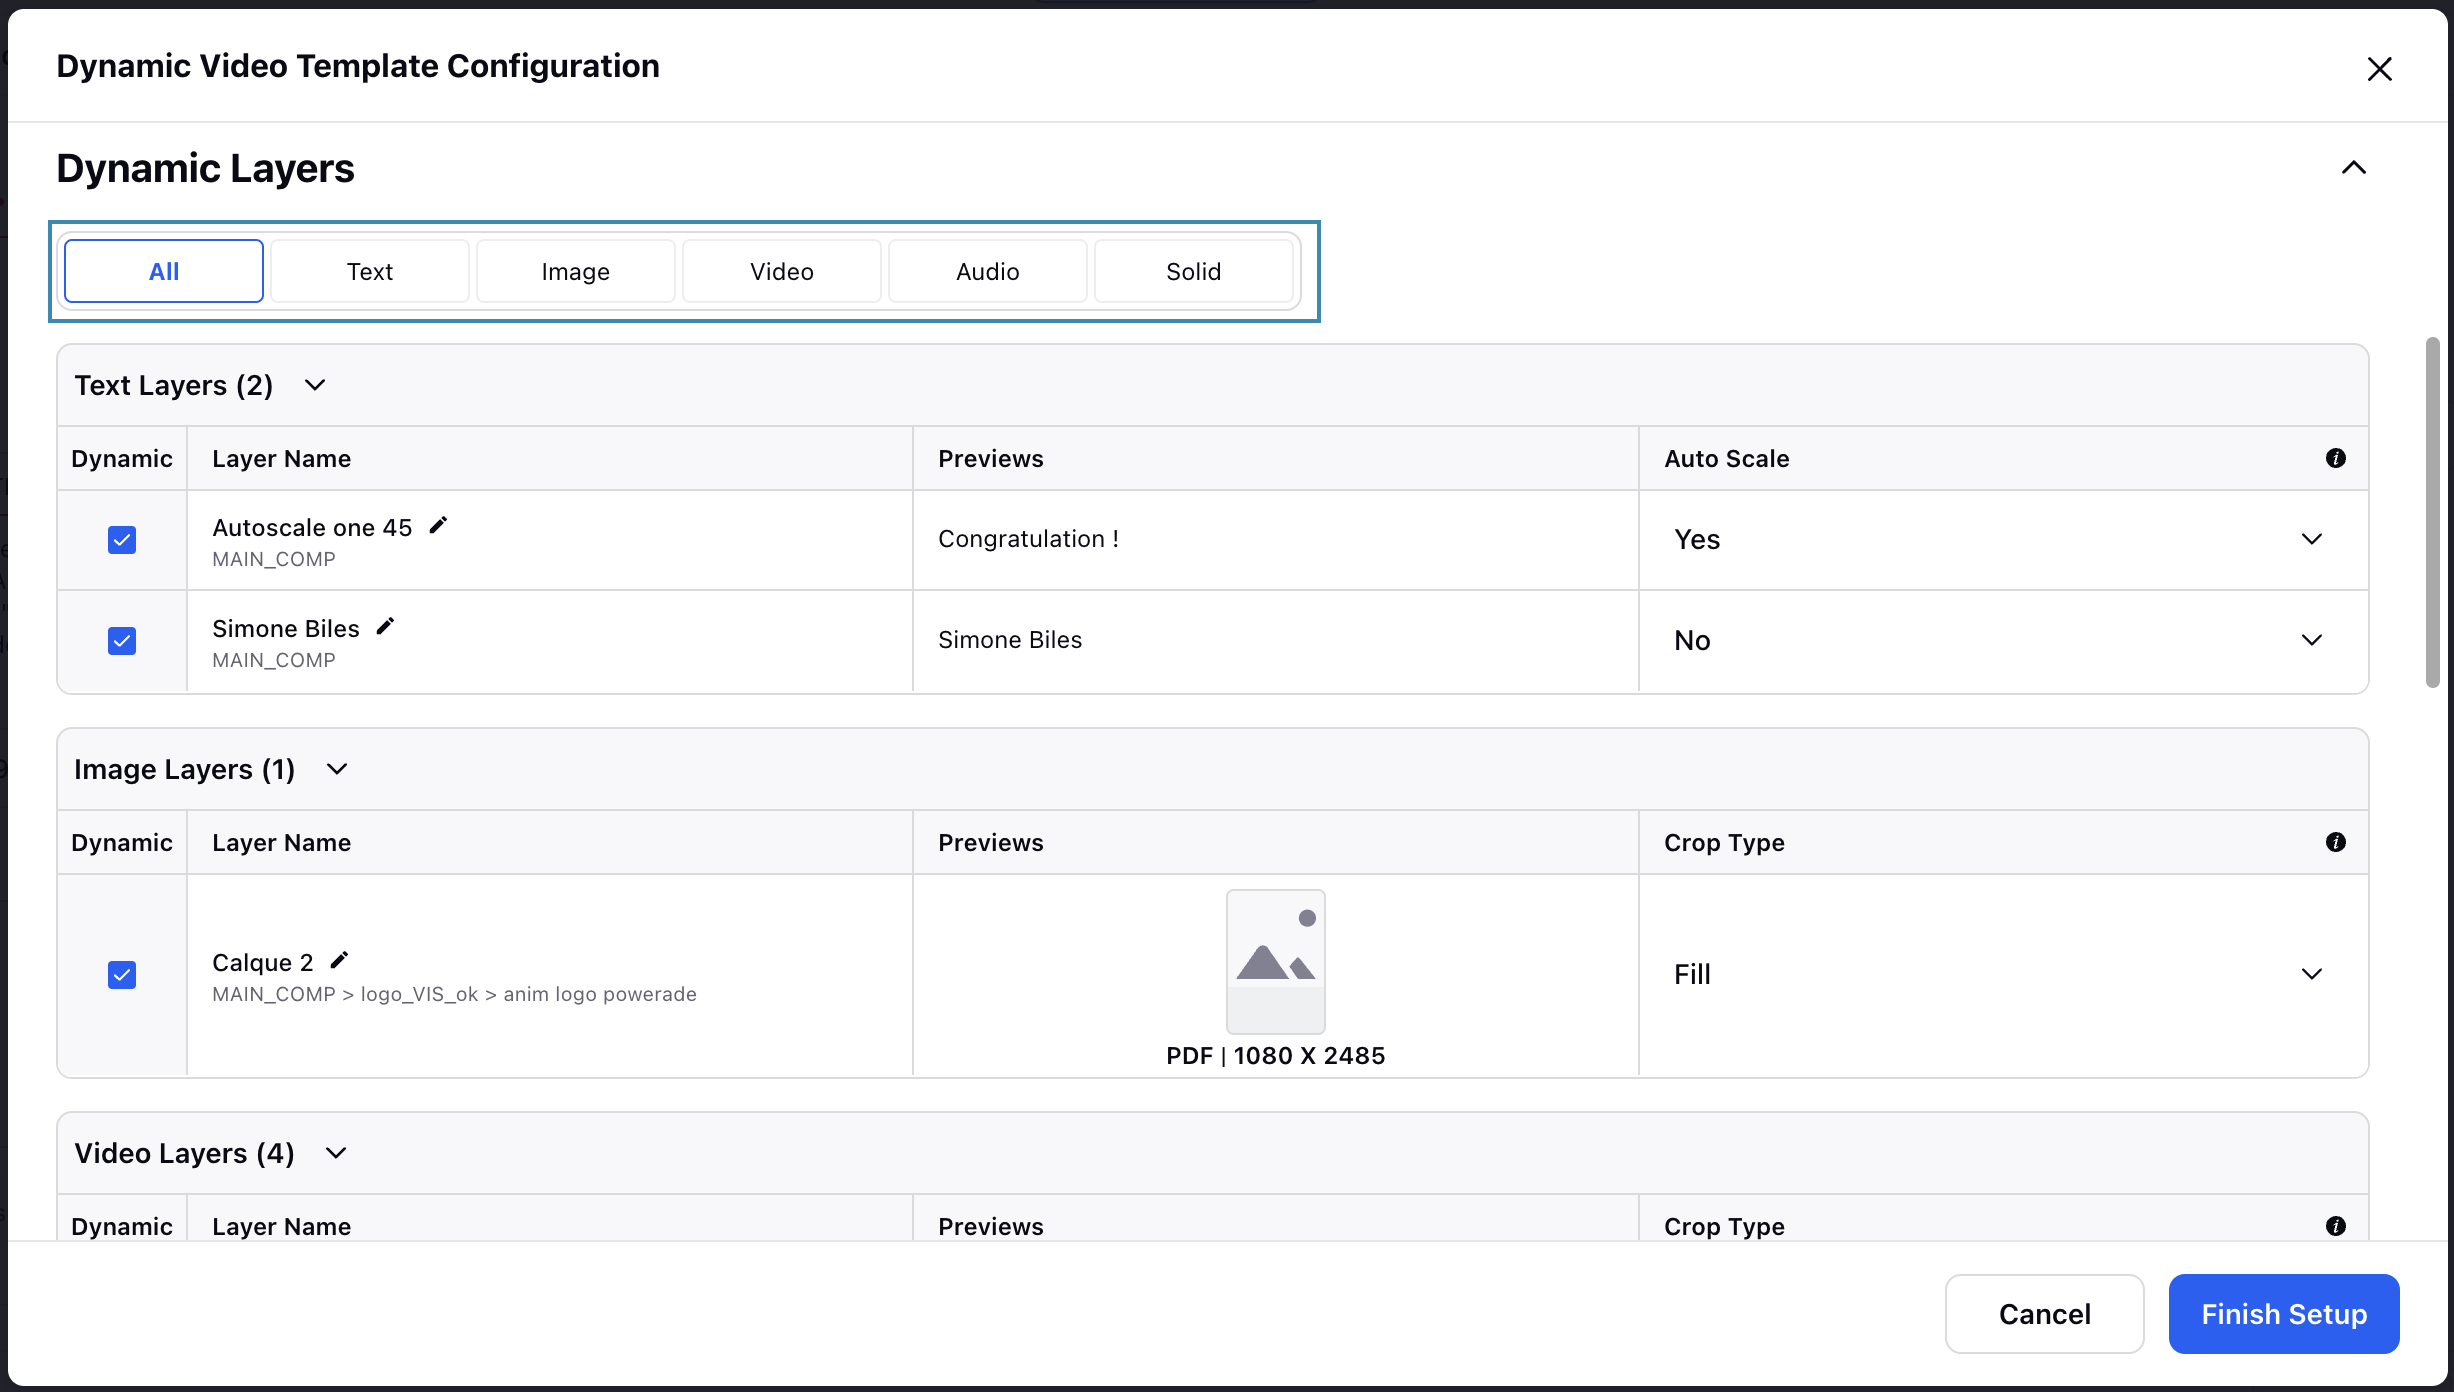
The Dynamic Layers section shows the layers in your file. It consists of the following columns:
Column Name | Description |
Dynamic | This column indicates whether a layer is dynamic. Selecting the checkbox for layers in this column makes them dynamic. |
Layer Name | This column shows the name of the layers. You can rename layers by clicking the “Edit layer name” button next to the layer’s name. If you remove all letters in the name field while renaming a layer, the original name of the file will be displayed in gray.
|
Previews | This column shows the preview of the layers. Depending on the type of layer, it will also show the file format and the resolution of each layer. |
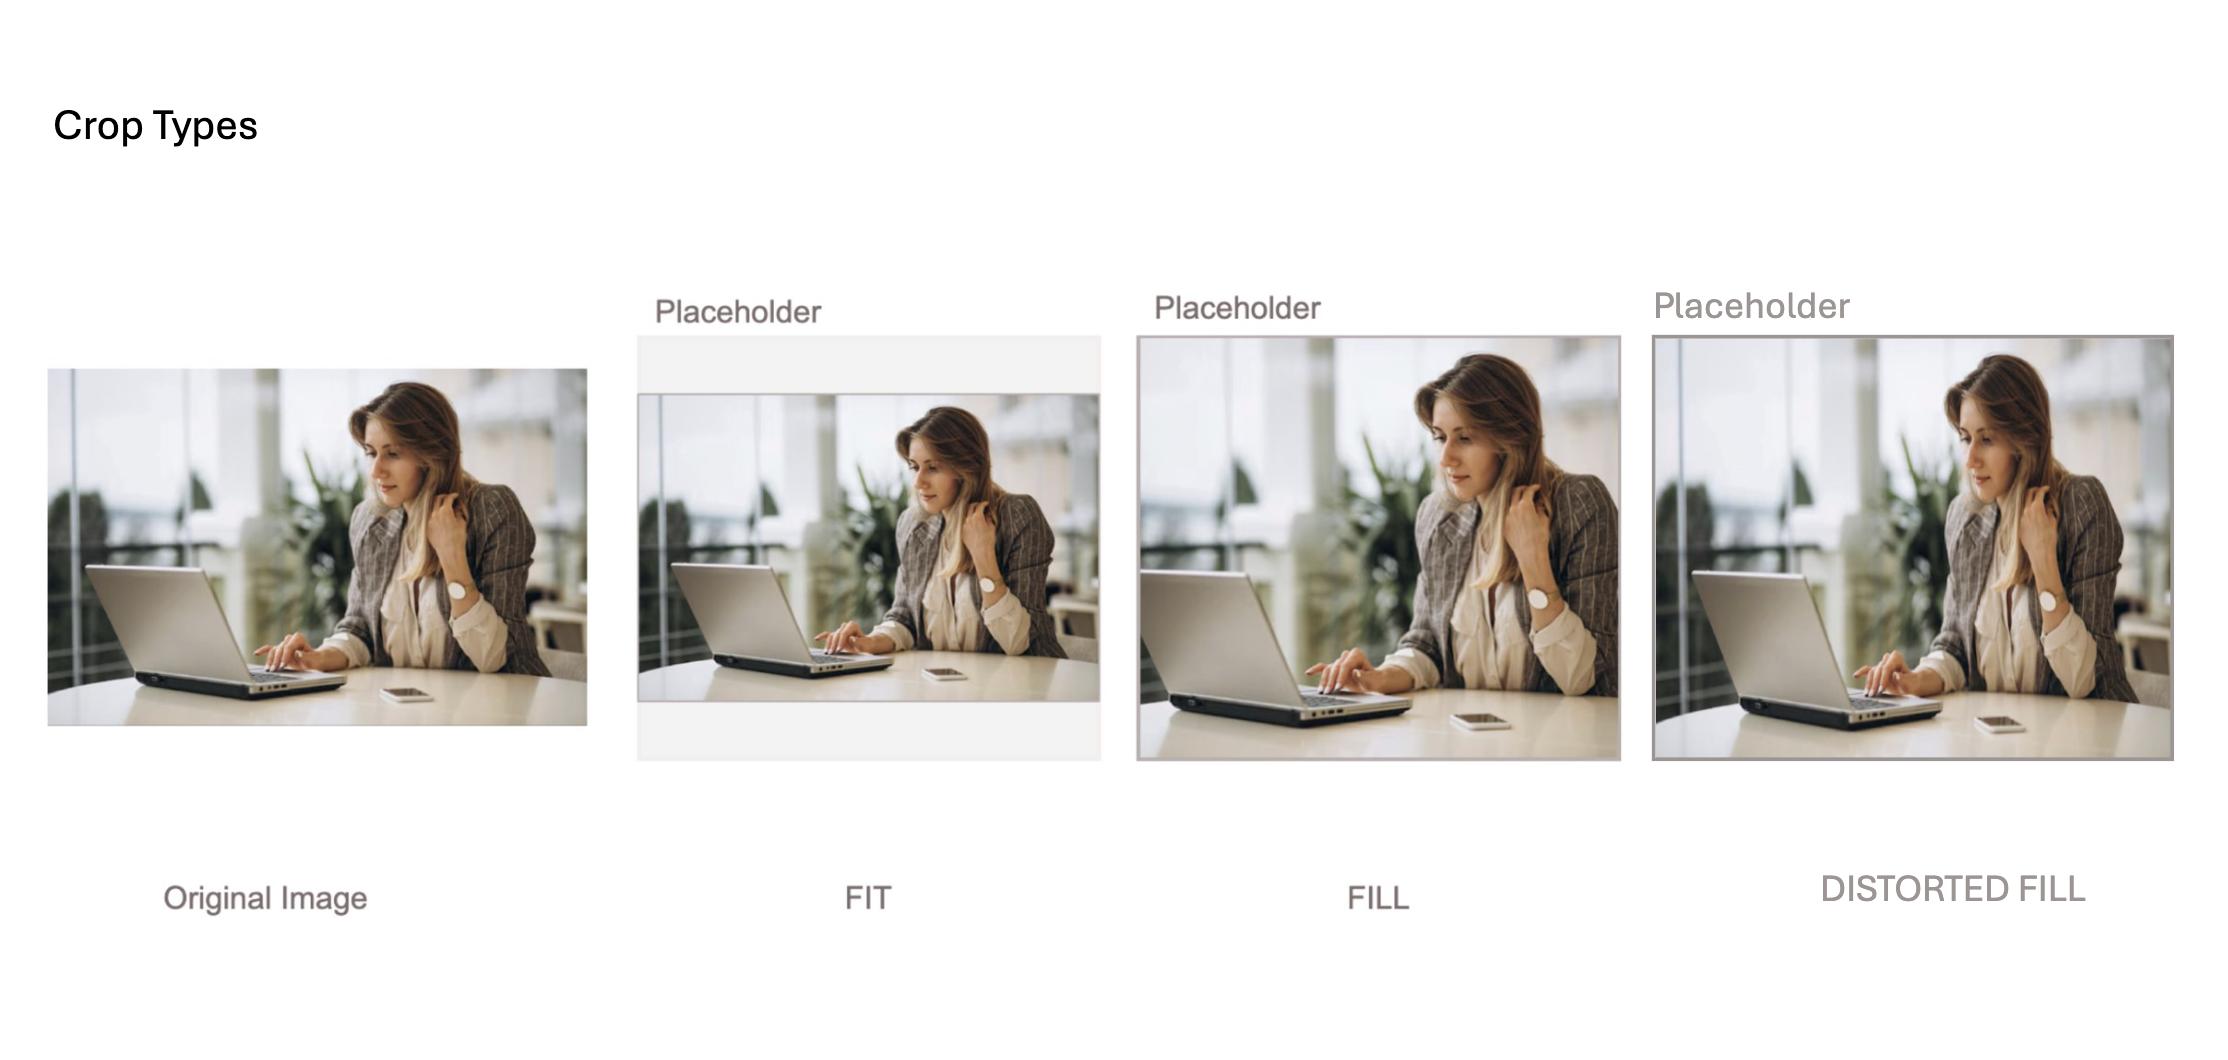
Auto Scale | Select if the layer is auto-scale enabled or not. For longer text, this will automatically adjust the font size to make sure your text fits in the given placeholder. For media files (images and videos), the available options are Fit, Fill, and Distorted Fill.
|
By default, the Dynamic Layers section shows all available template layers, but you can also select which layers to display. The layers are divided into the following categories:
Text Layer: It shows the text elements within the template.
Image Layer: It shows static images in the template.
Video Layer: It show video clips in the template.
Audio Layer: It shows audio elements such as background music, voiceovers, and sound effects in the template.
Solid Layer: It shows solid color or gradient background.
Note: Marking solid layers as dyanmic allows you to change the color of the solid layer while applying them.
In the Thumbnails section, you can specify the instances for thumbnail screenshots. When you render the video, it will also export images at defined thumbnails, which can be used for publishing. These images will be downloaded to the DAM during video creation and will also appear in Automated feeds if you use this template. This is used in situations such as creating carousel image posts from a video template.

Frequency Seconds: Frequency in seconds to export a frame. For example, a value of 5 and a video lasting 15 seconds would create 3 thumbnail images.
At seconds: Export frames as images based on specified timestamps in seconds. Separate them by comma.
Click the Finish Setup button at the bottom right of the window after configuring the template.
Finishing Setup
After clicking the Finish Setup button, the system will render your video. This process may take a few seconds or minutes, depending on the video's duration and layers. During rendering, the Template Preview section will display a 'Video Rendering may take some time' notification.
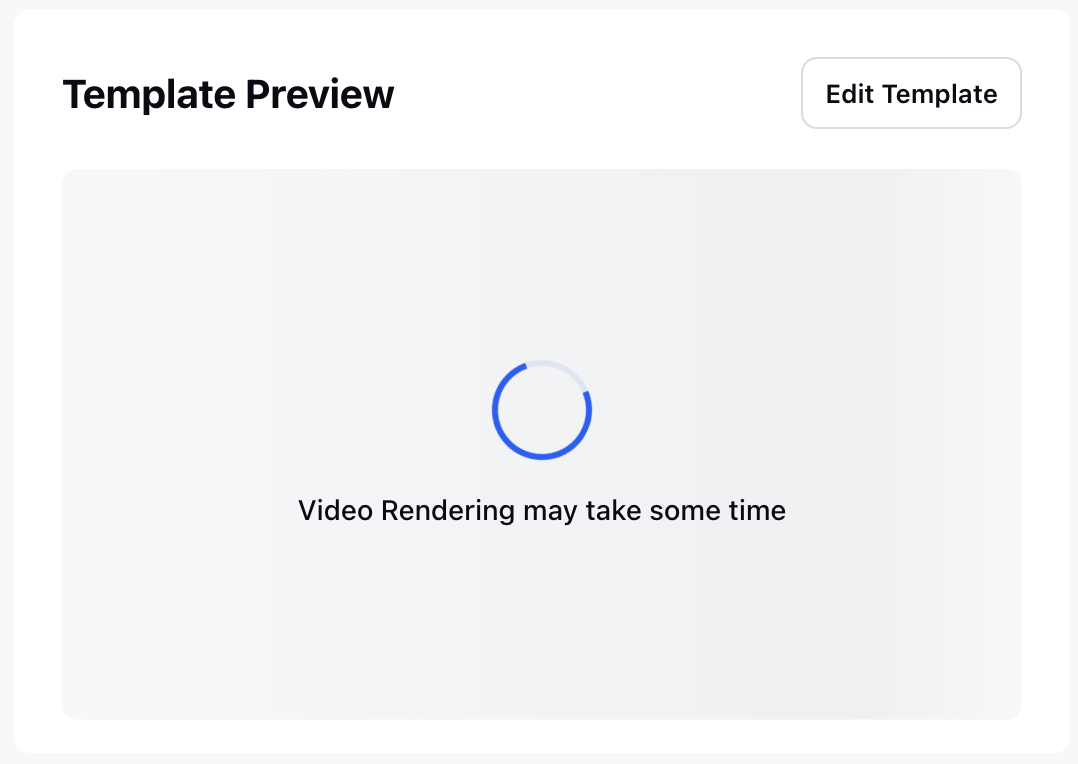
Once rendering is complete, the Template Preview section will show your video. Click the Save button at the bottom right to proceed to the save the DVT.

