How to Build Dynamic Video Templates from Scratch
Updated
Sprinklr's video editing tool empowers users to craft bespoke video templates from ground up, facilitating the generation of singular or bulk assets. These assets seamlessly integrate into automated campaigns, facilitating direct utilization of these creatives within advertisements.
The Template Builder
Follow these steps to reach to Sprinklr's Template Builder
In the Advertising section of Sprinklr Marketing, click on creative library.
Click on the create asset button on the top right corner.
Go to dynamic video templates.
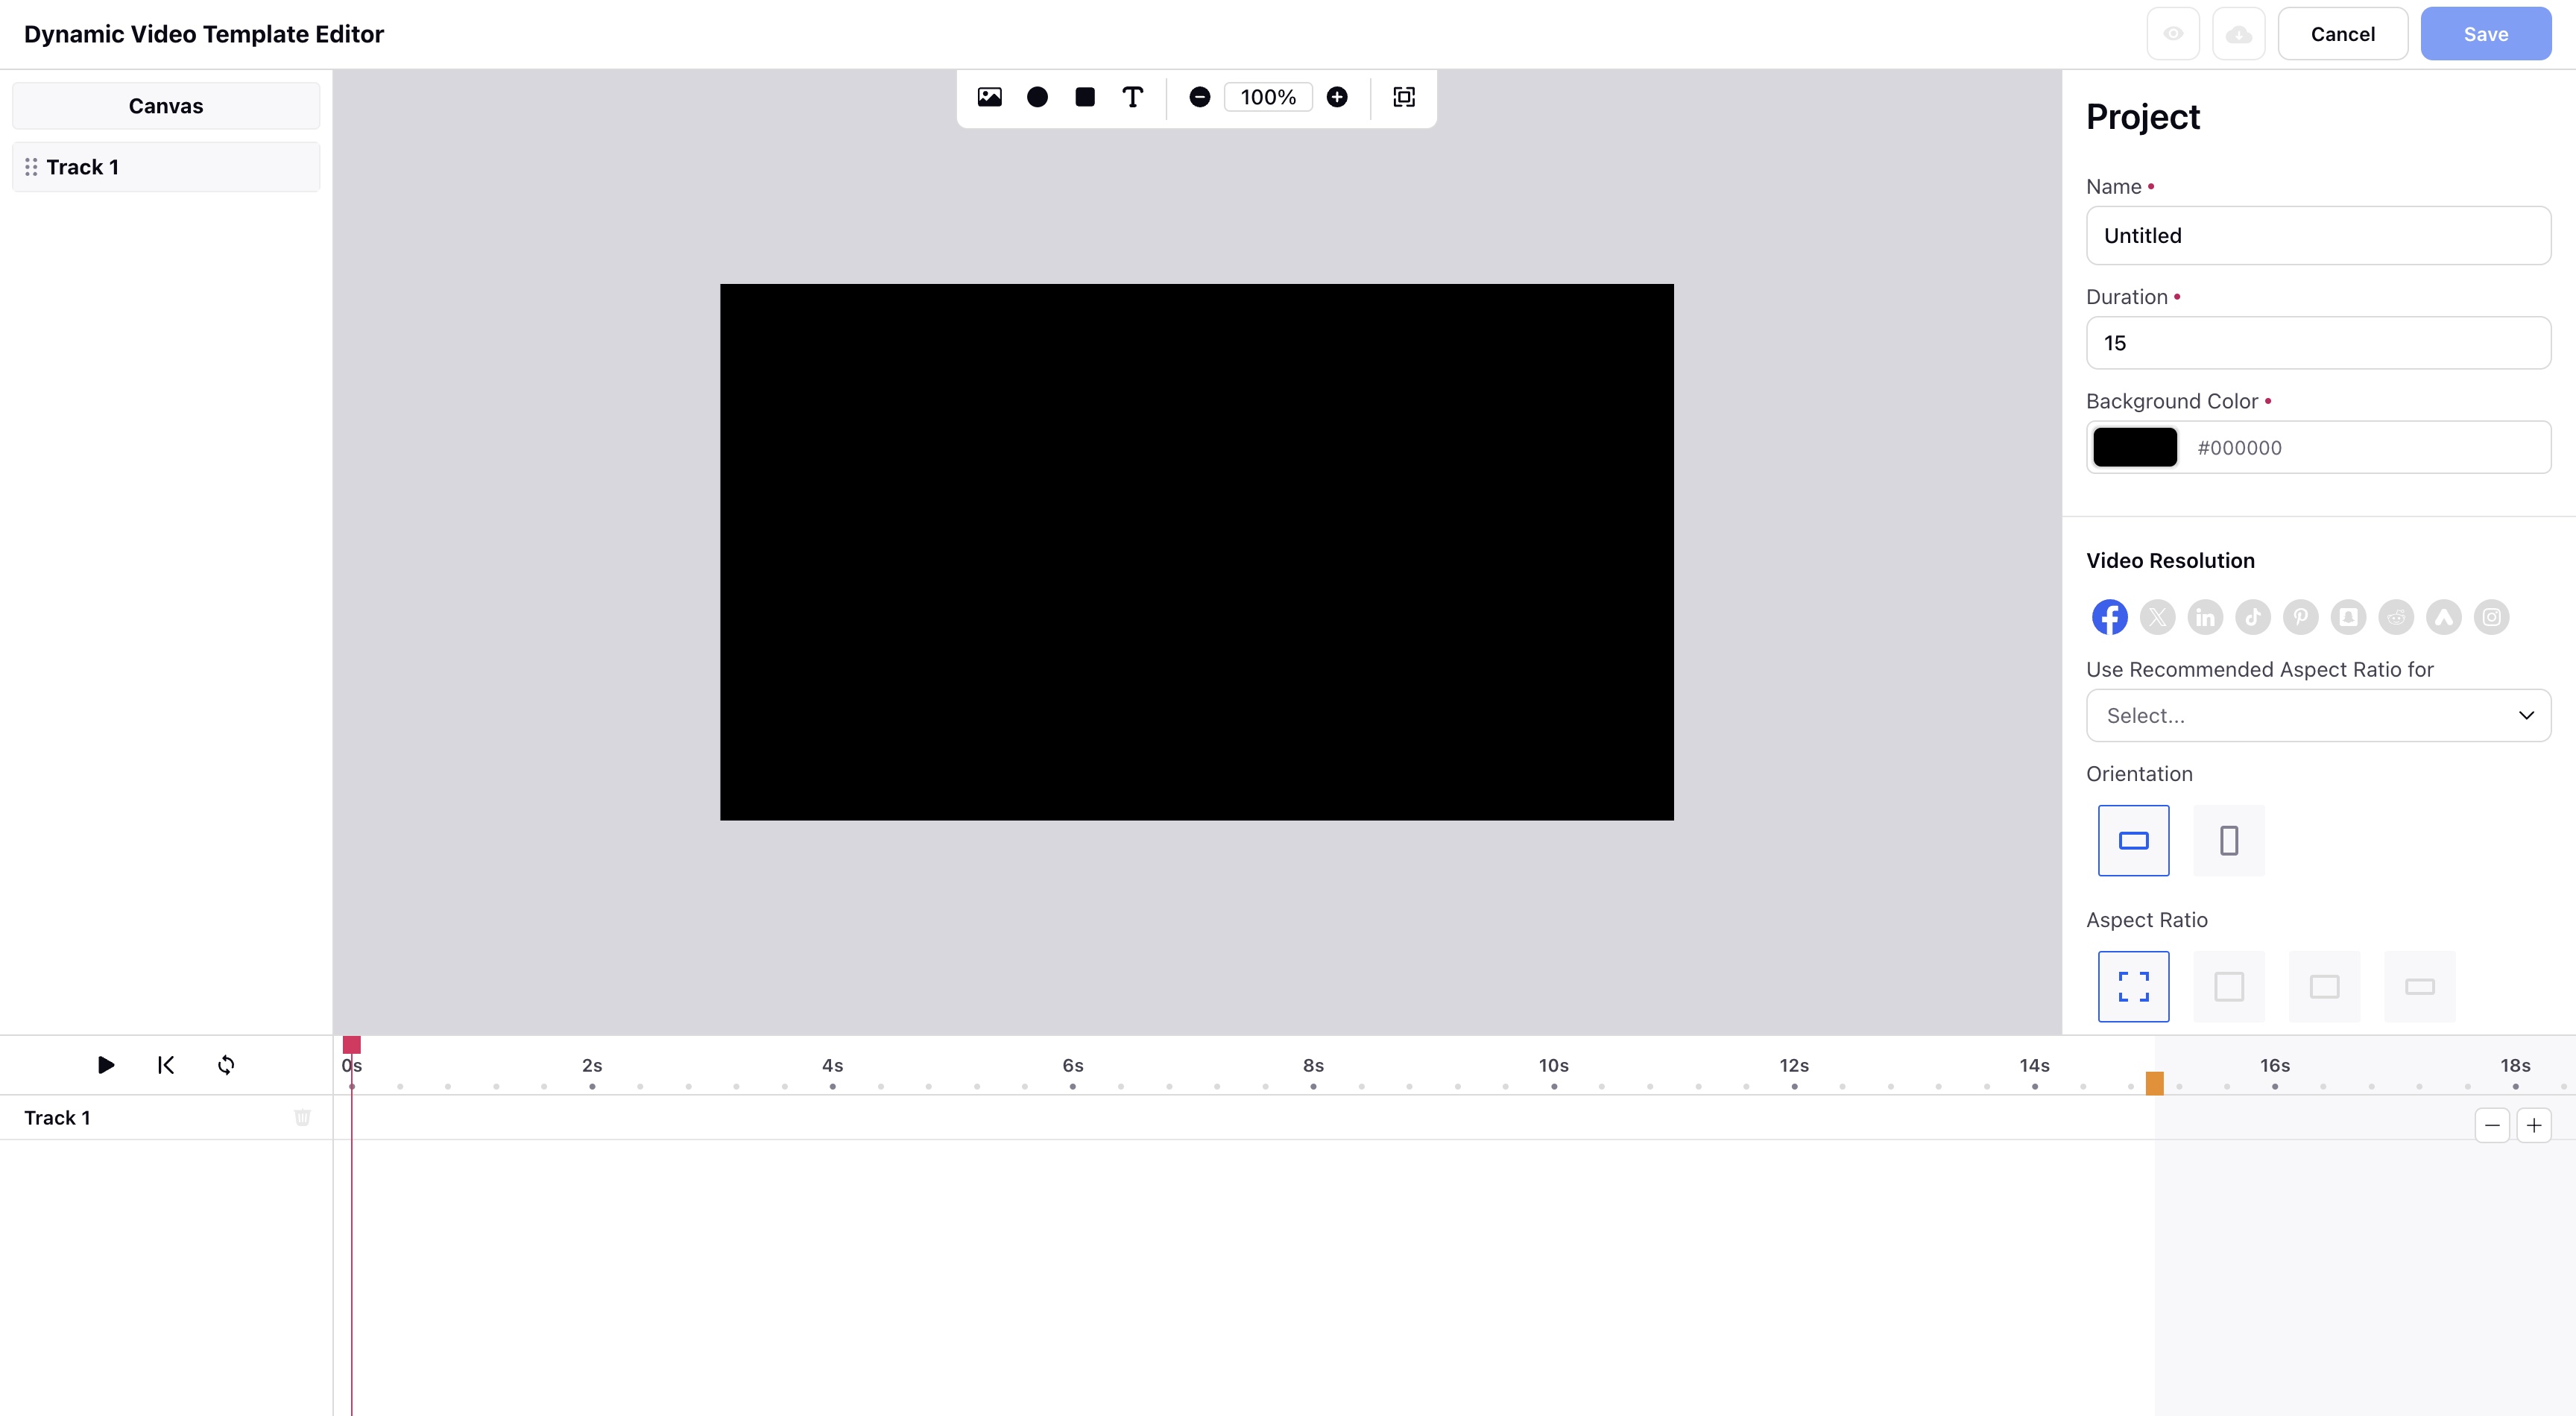
This opens the video template editor.

How to build a template?
A. Adding different type of clips to timeline
In the tool bar click on media icon.
This will open Sprinklr media uploader
Select clip you want to import into your project and click on add button
This will add the media clip to your timeline
After adding all the clips arrange them in an order you want your final video to be.
Note: Clips that are above in timeline will be visible, clips beneath won’t be visible. For example, clips 2 and 3 in the image below will not be visible in preview till 0-2 sec since they are beneath clip 1 for 0-2 sec.
B. Changing clip properties
Click on the clip to see its properties in right hand section
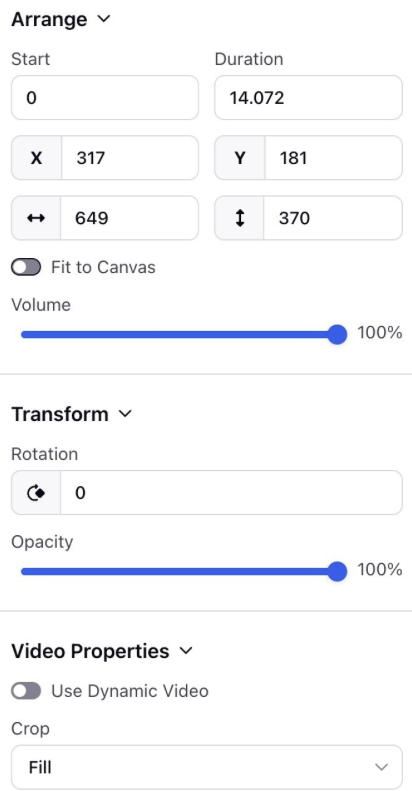
Use properties section to change/edit the values of any particular property associated with the clip. Currently we support editing the following properties in editor -
Start time, End time
Height, Width
X, Y Coordinates
Opacity
Rotation
Crop
Note: Turn on the Dynamic toggle to make any clip dynamic.

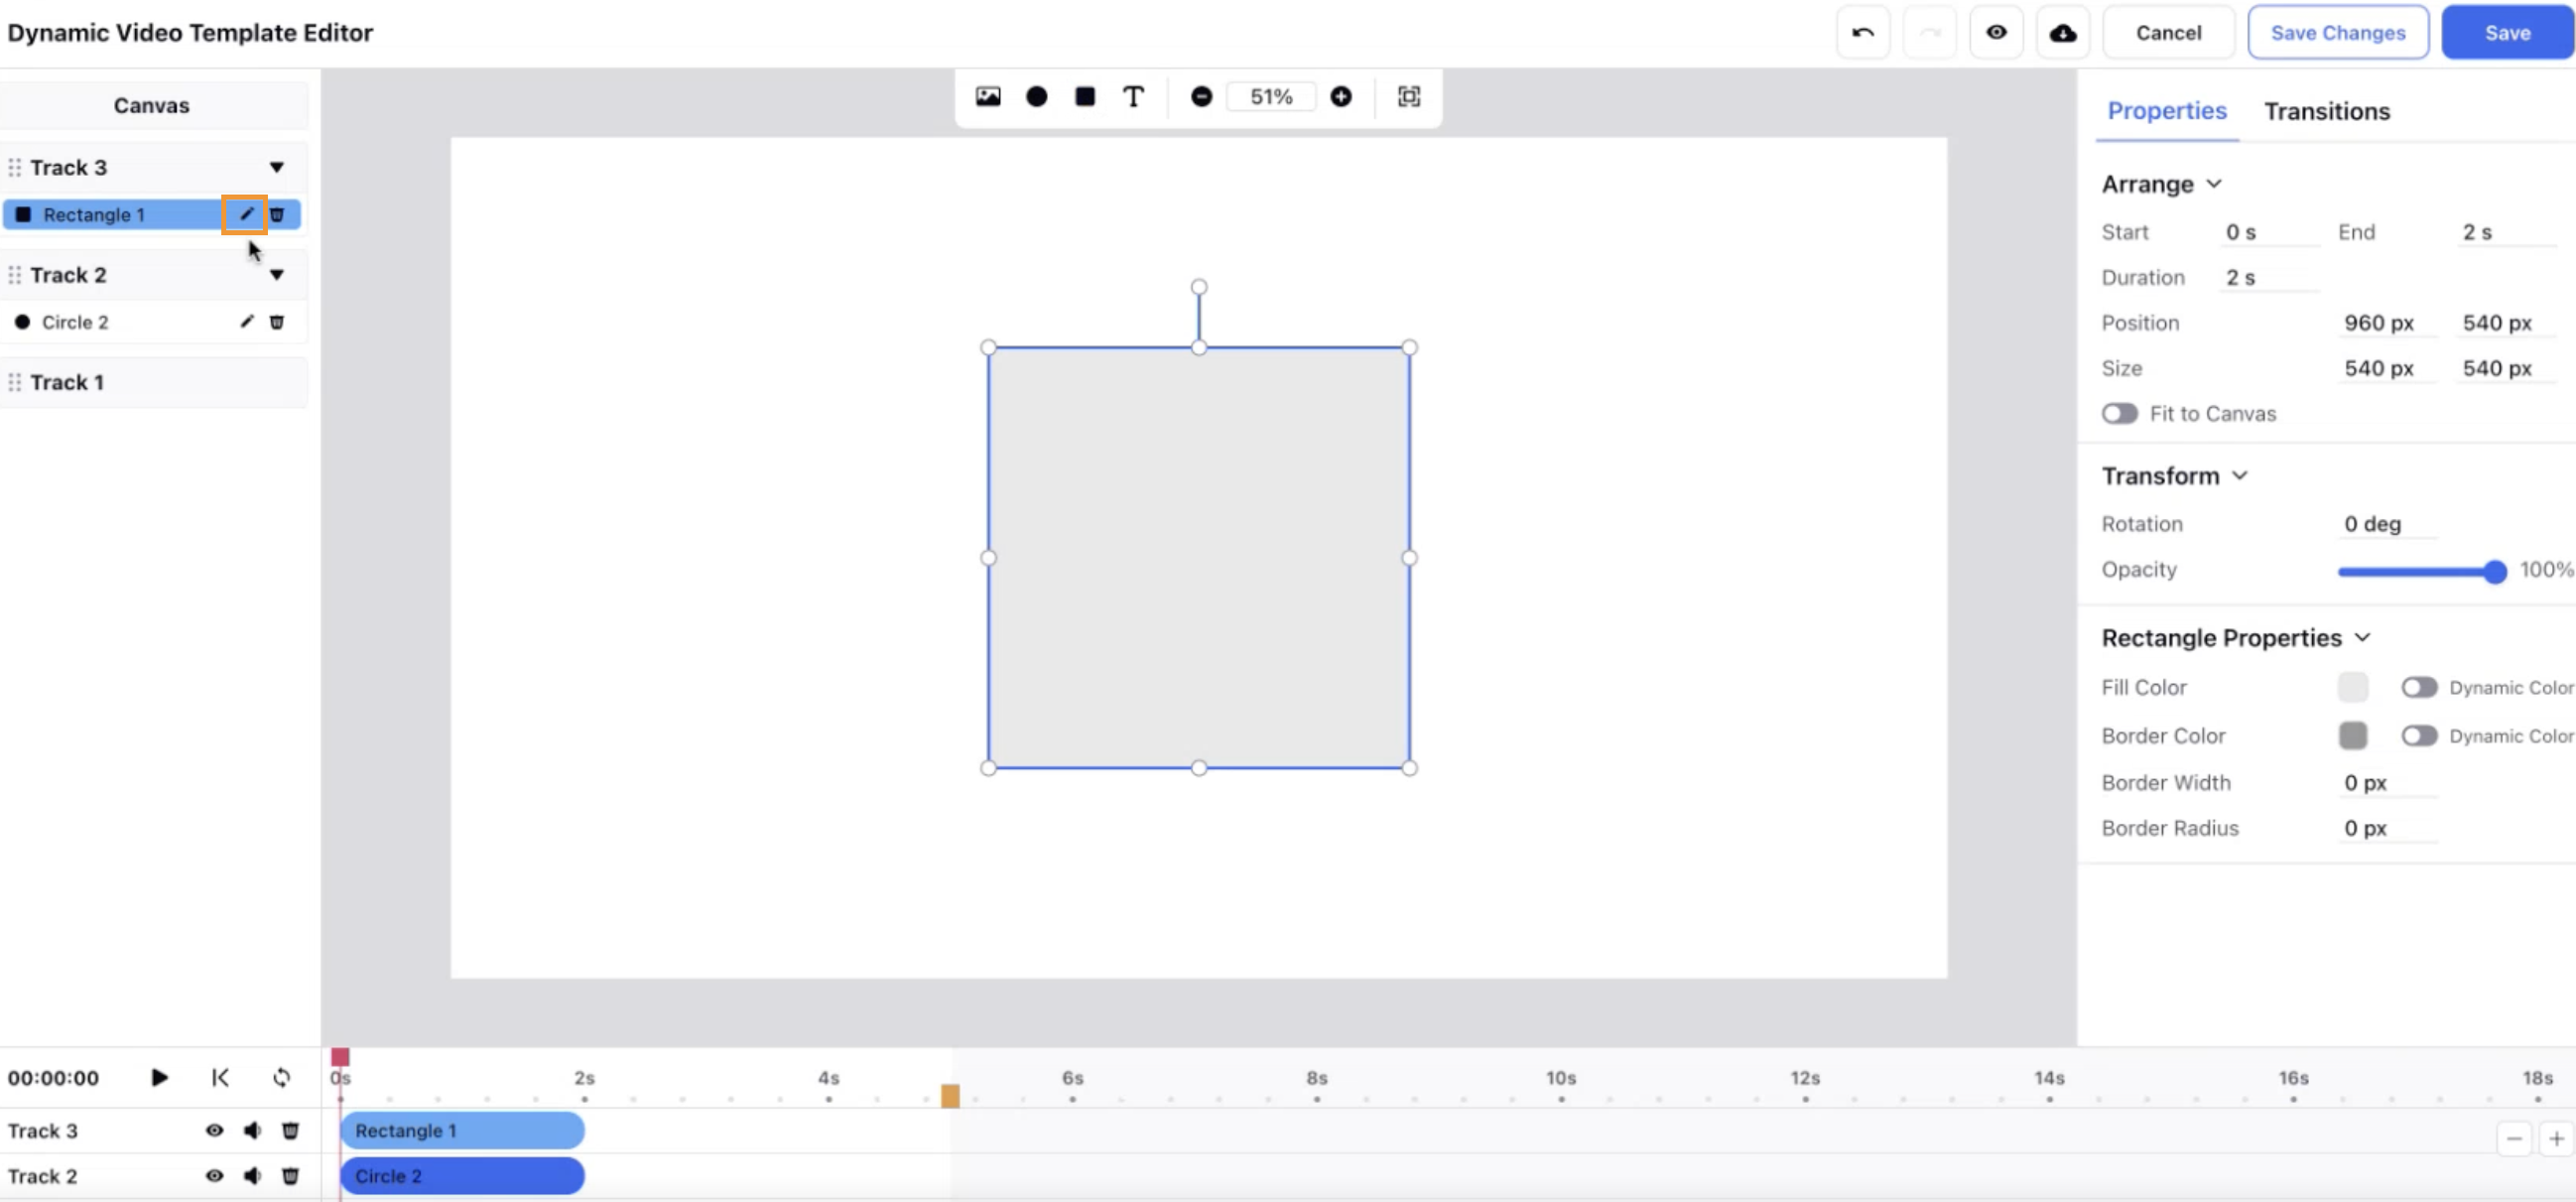
Click on the edit icon next to the clip name to rename the clip. These changes will be reflected in the timeline pane as well.

Note: Click Save Changes in the top right corner to save any edits made to the video and avoid losing any updates. You can also save the changes by using keyboard shortcuts - command + S(mac) and ctrl + S (windows)
C. Checking the preview
Click on the eye icon present in top right of the editor.
This opens a preview form.
Add in all the dynamic values and hit generate preview.
Click on the play button to see the final video.
Once all the changes are done click on save button on the top right corner to save the template for asset creation use.