Save Customised Views
Updated
In this article, you will learn how users can save new views in the same production dashboard after making changes to them to get easy and quick access to the customized view.
How it works
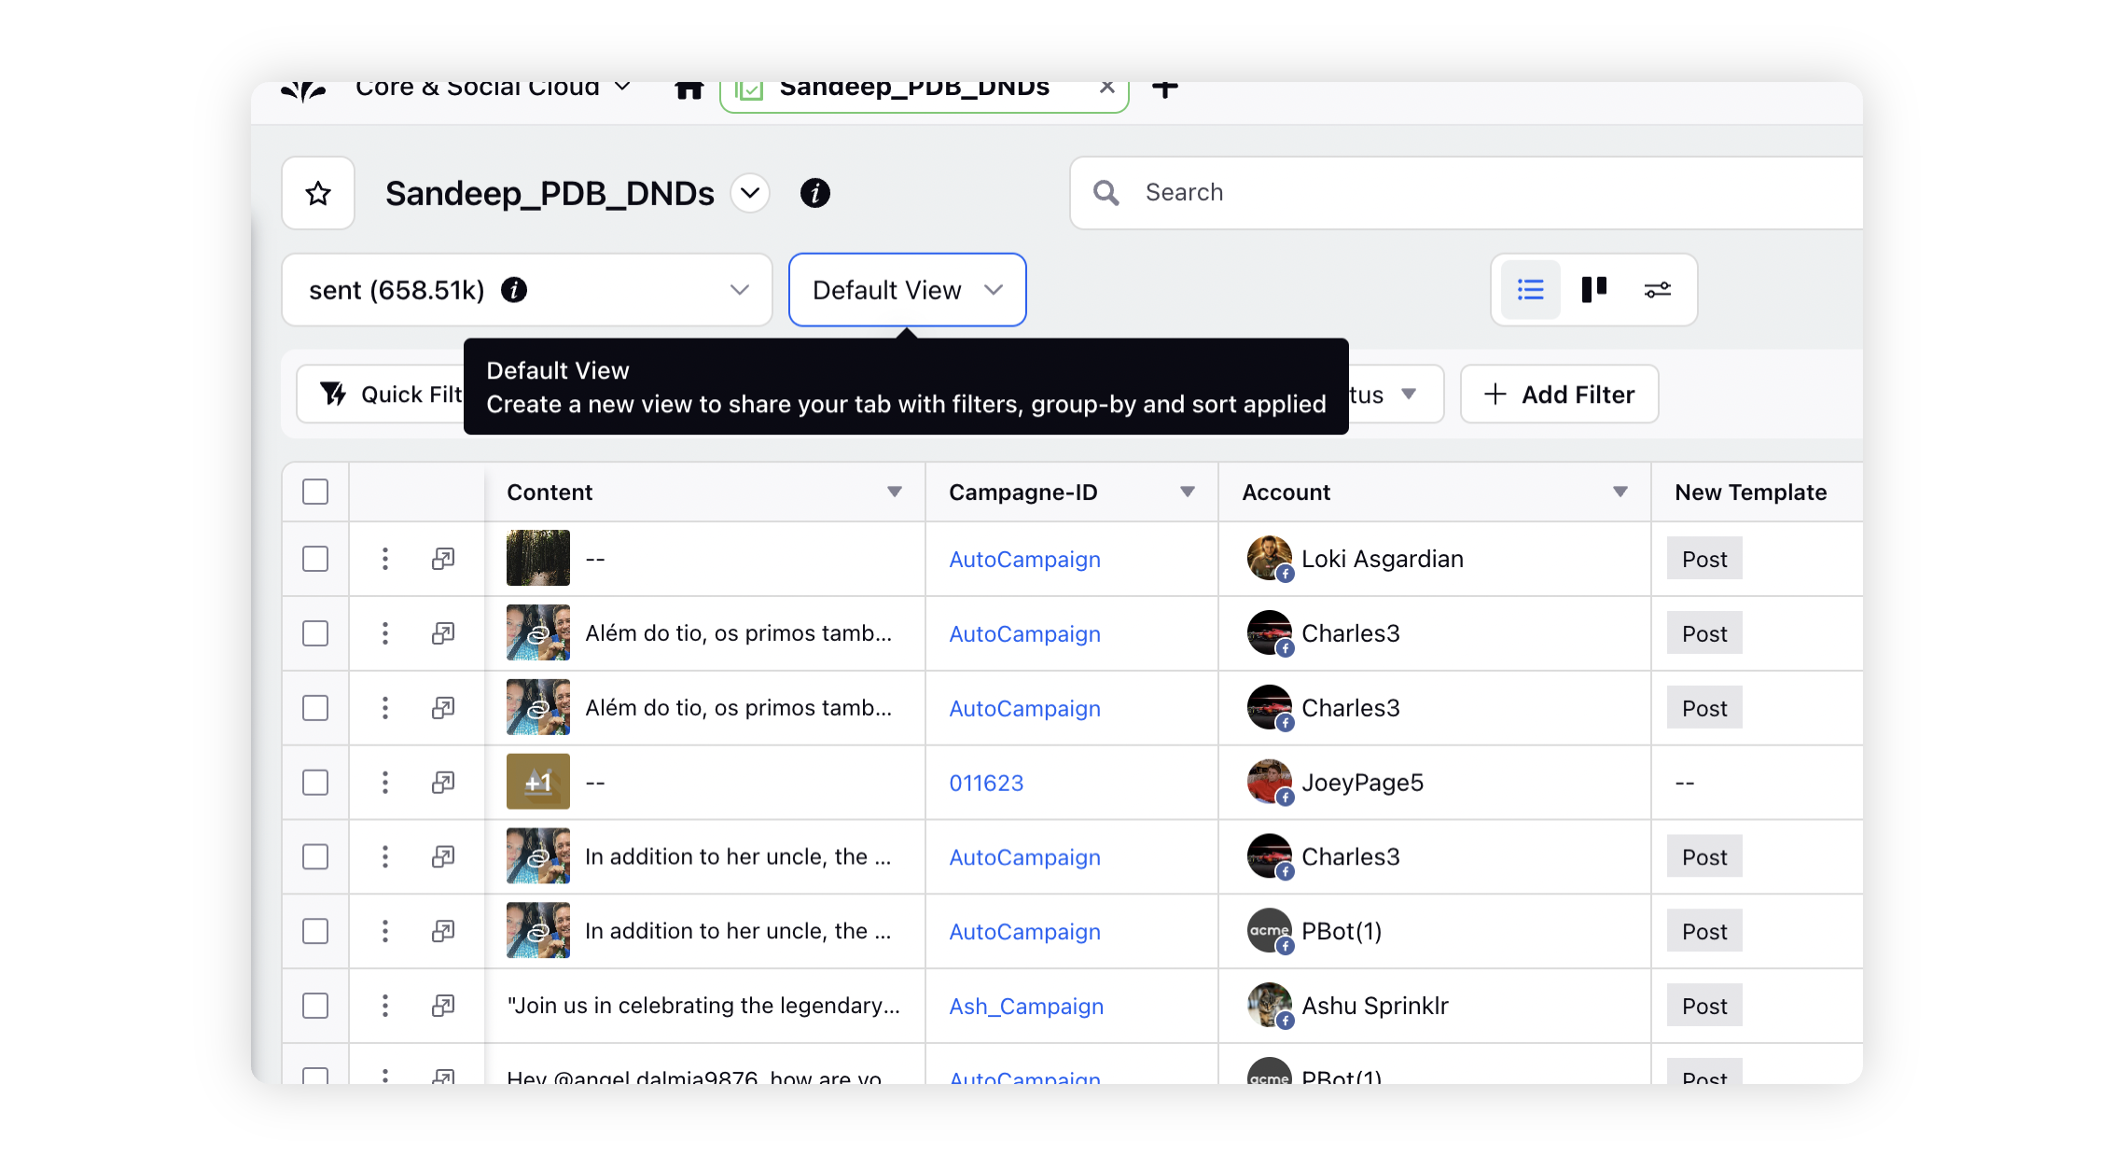
On the Production Dashboards window, click Default View from the Section Bar to create a new view for sharing.
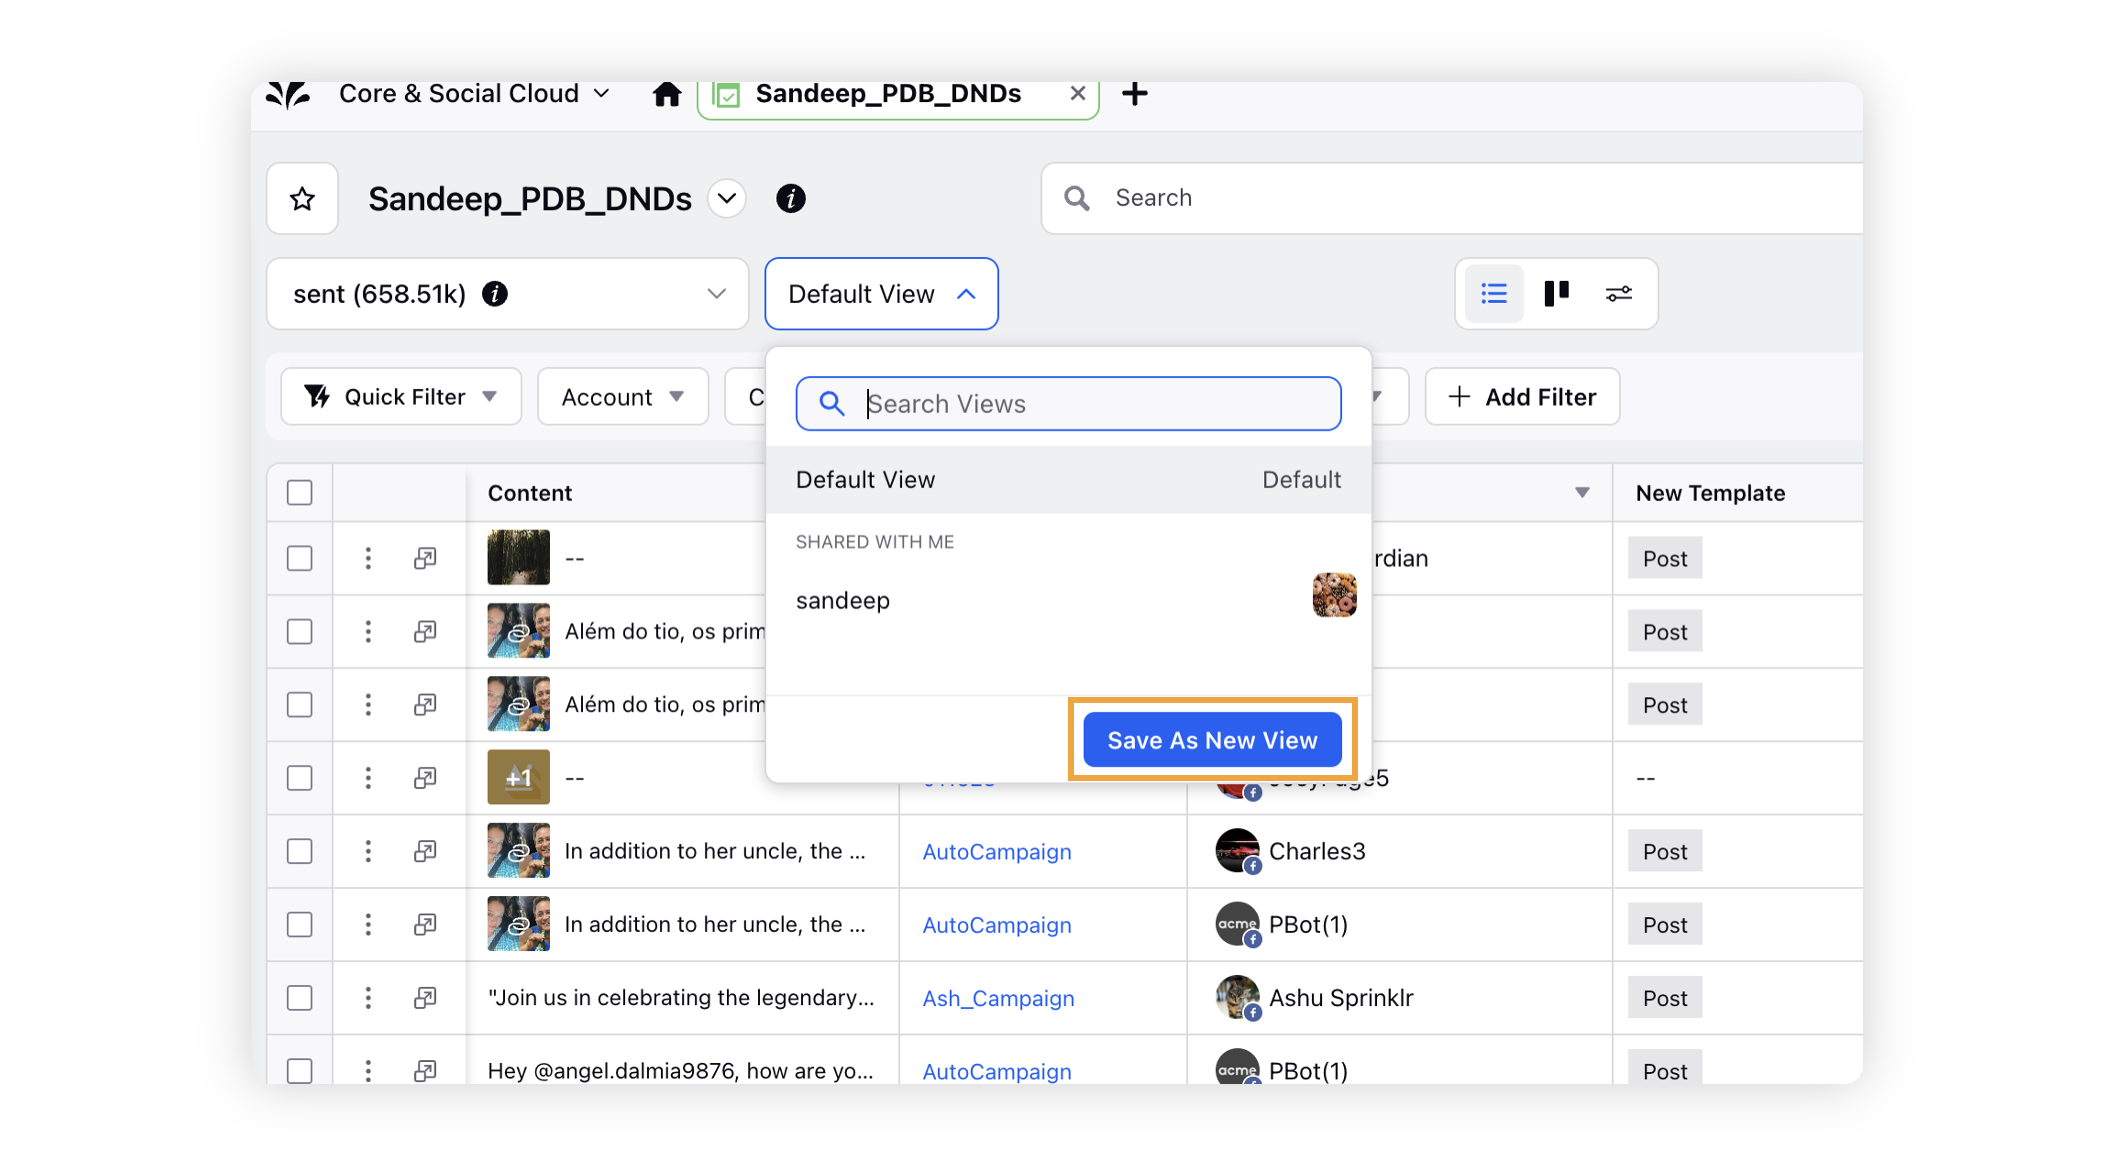
On the Default View pop-up window, click Save As New View in the bottom right corner to create a new view. A saved default view will act as your personal view.
On the Create View window, fill in the required details. For more information, see Create View — Field Descriptions.
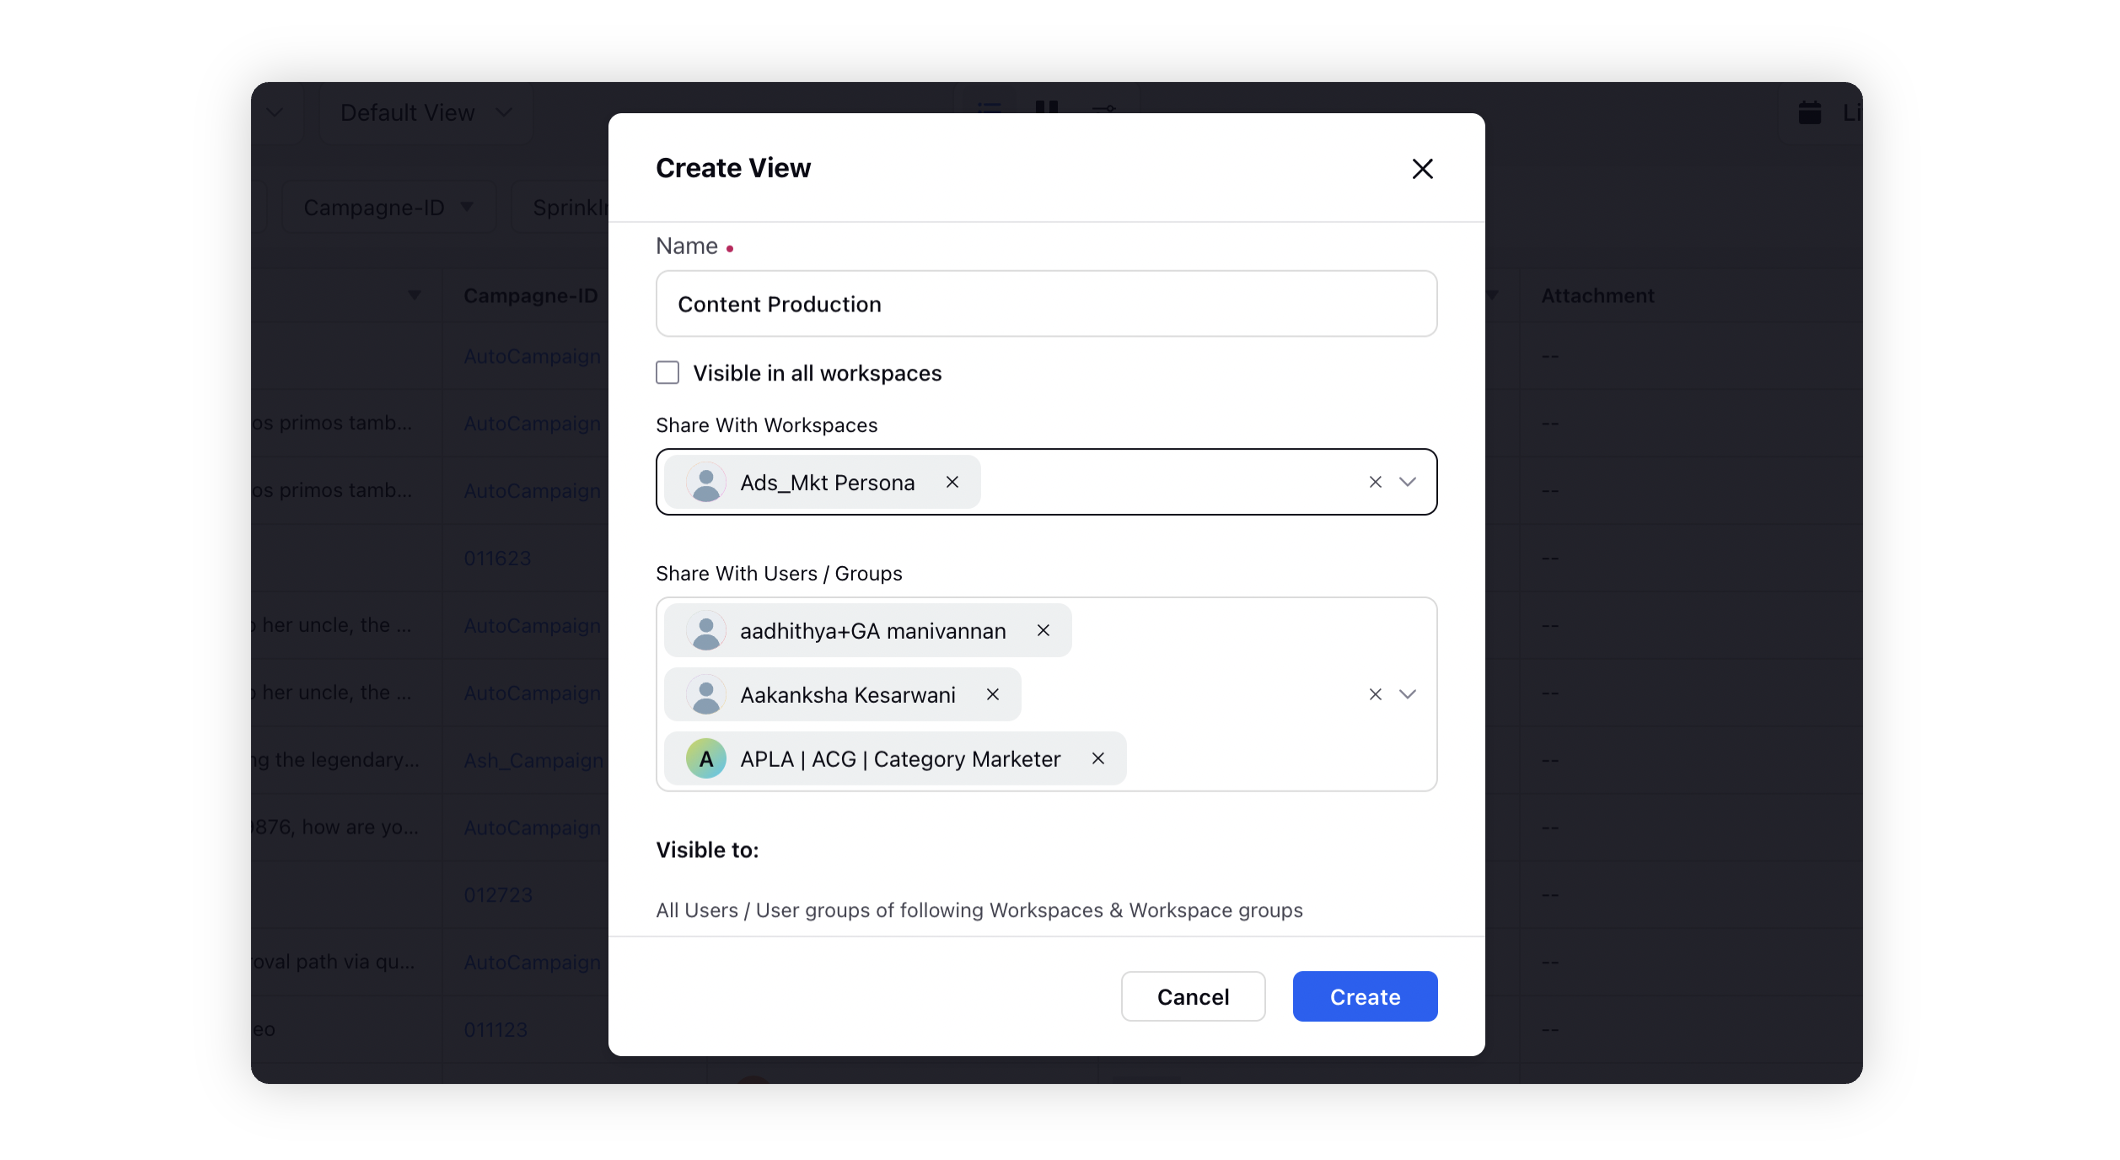
Click Create in the bottom right corner.
Create View — Field Descriptions
Term | Description |
Name | Provide a name for your view. |
Visible in all workspaces | Select the checkbox to make your view visible in all workspaces. |
Share With Workspaces | Select the desired workspace(s) from the dropdown to share your view with. |
Share With Users/User Groups | Select the desired users/user groups from the dropdown to share your view with. |
Visible To | View the workspace(s), users/user groups you have shared your view with. Note: If you do not select Visible in All Workspaces,Workspaces, or Users/User Groups to define the visibility of your view, then your own user name will appear in the Visible To field |