Guided Workflows
Updated
Introduction
A Guided Workflow is a business process automation tool that collects inputs and performs actions as per the pre-defined business flow. It can be used by customer care agents to assist customers in a streamlined manner while reducing resolution time. It can also be deployed in an external platform for self-serve use cases, reducing volumes and improving customer satisfaction at the same time.
Guided Workflows provide agents with relevant questions to ask customers, take inputs from them and navigate them to the next action to be performed accordingly. These are easy to configure and save significant agent training and retraining time as well as cost. Guided Workflows can be updated and deployed quickly as per requirement.
Getting Started
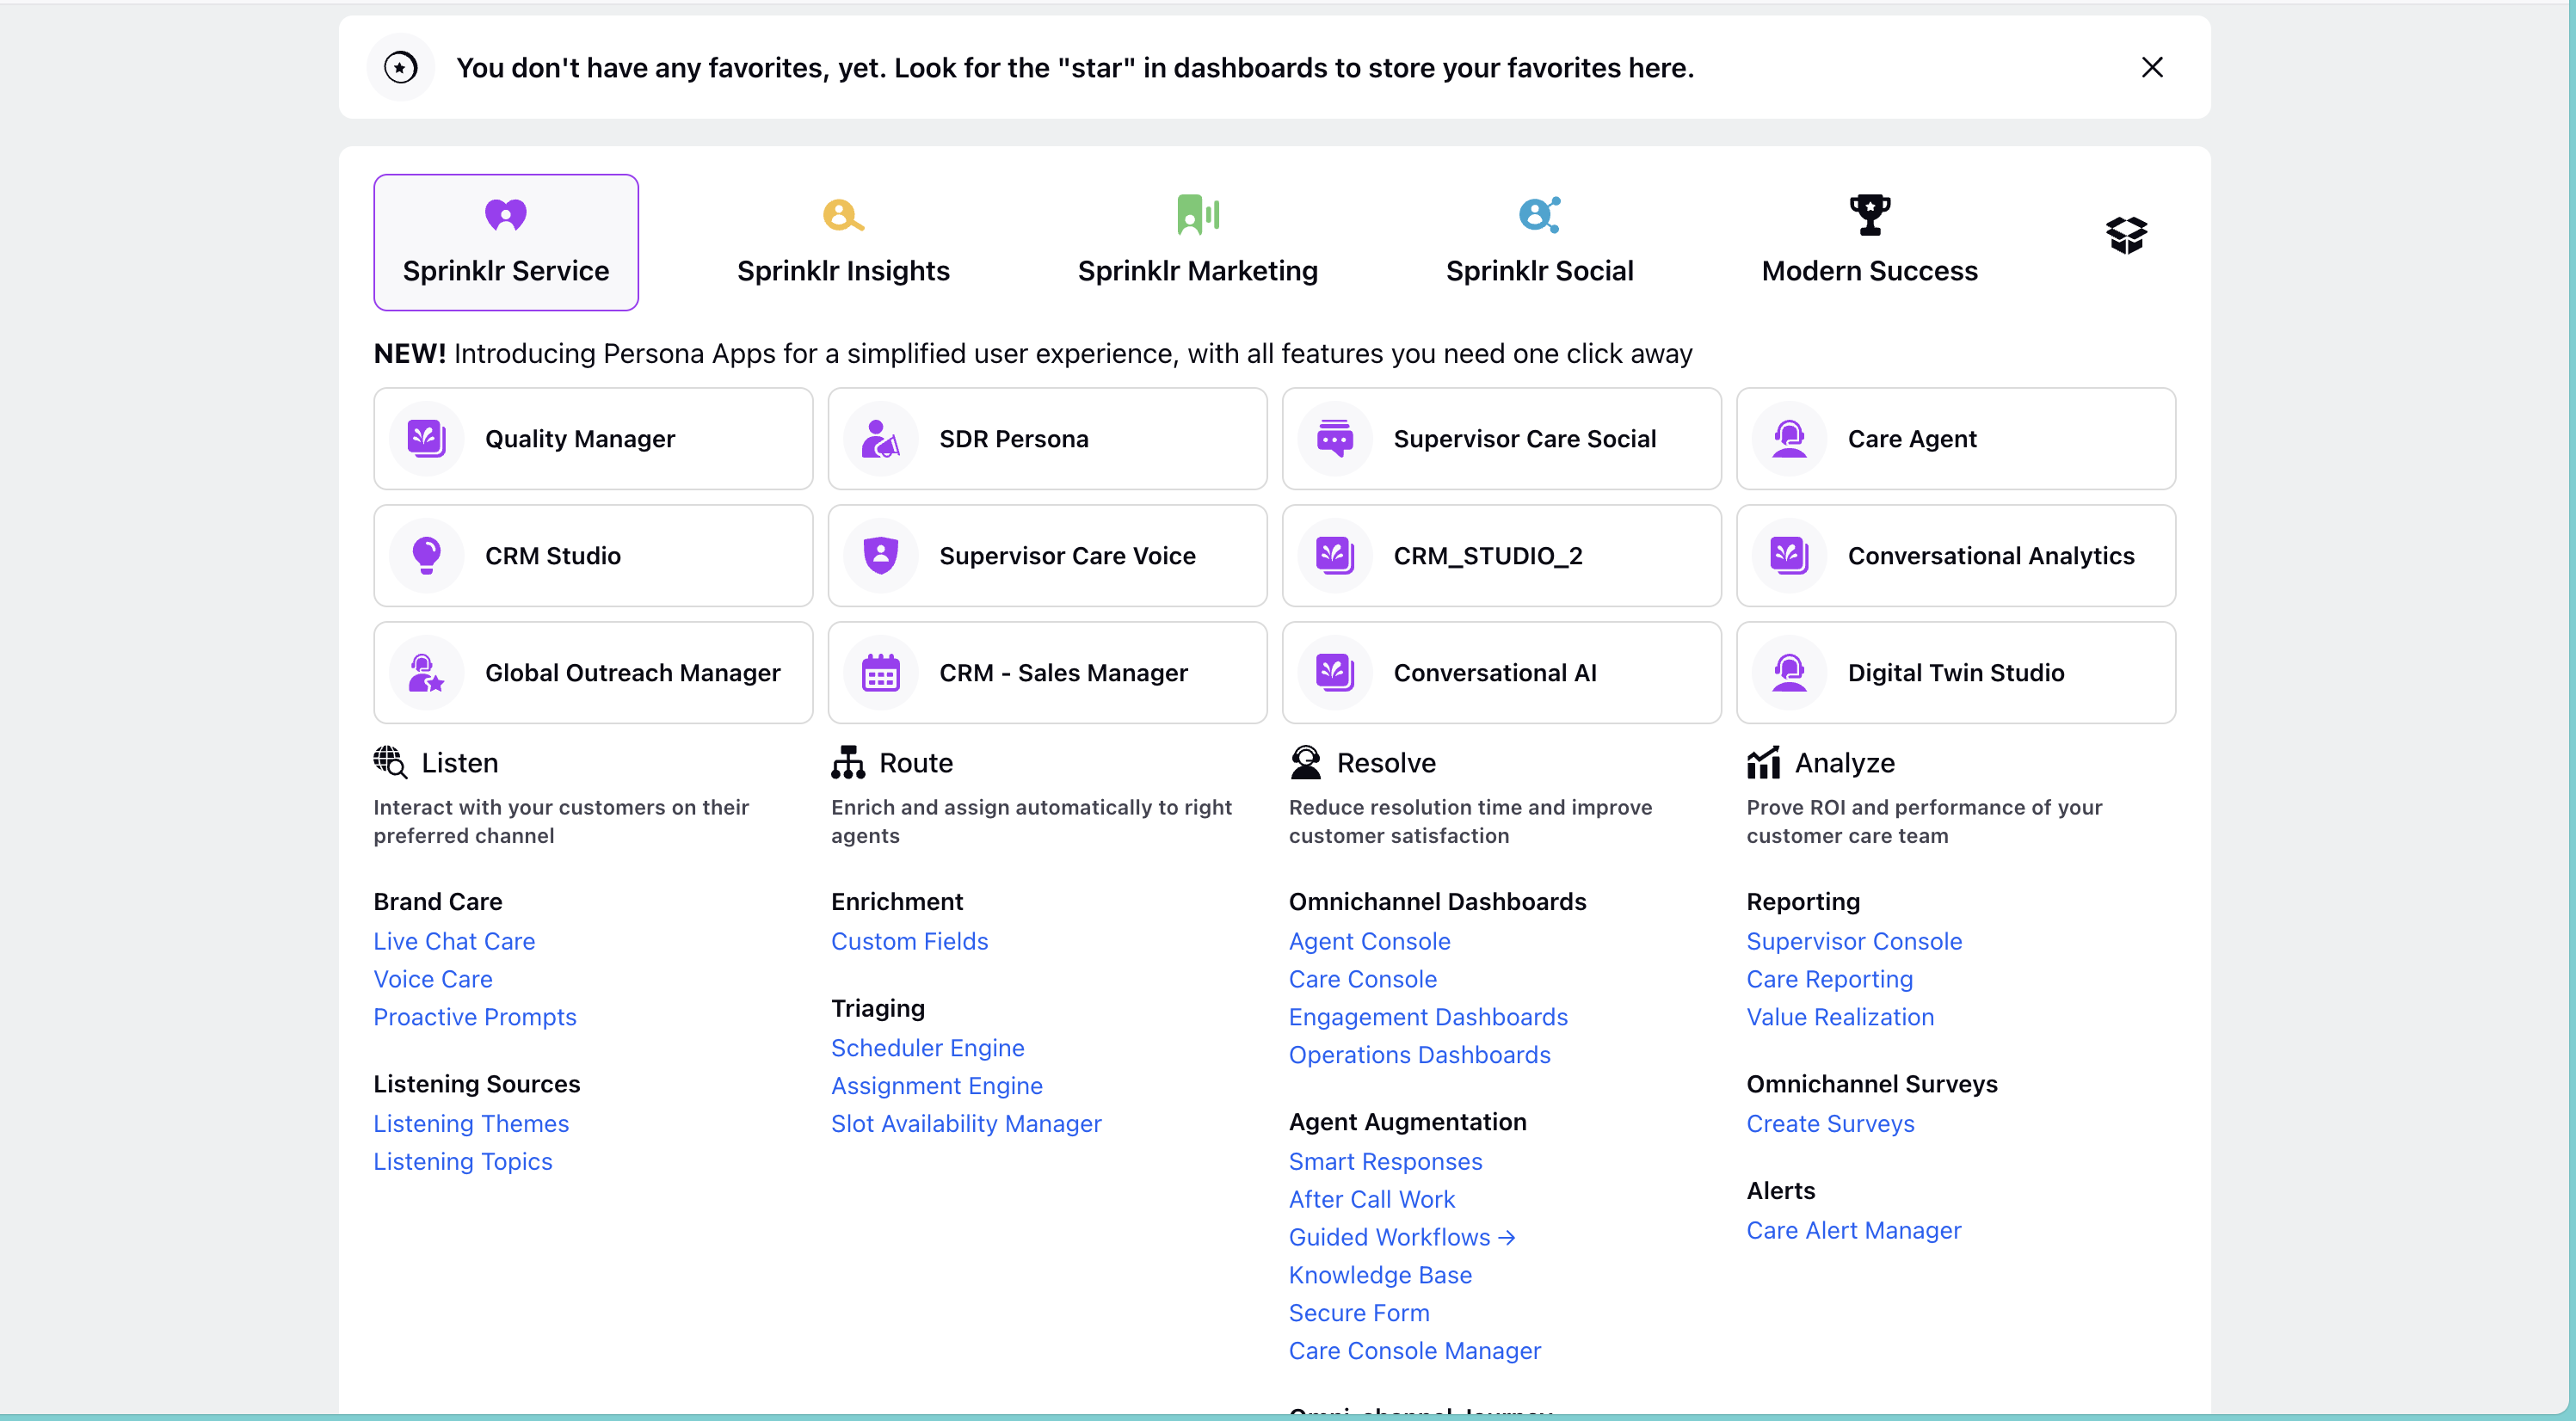
To get started, navigate to Guided Workflows within Resolve under Agent Augmentation as shown below -

Creating Guided Workflows and Folders
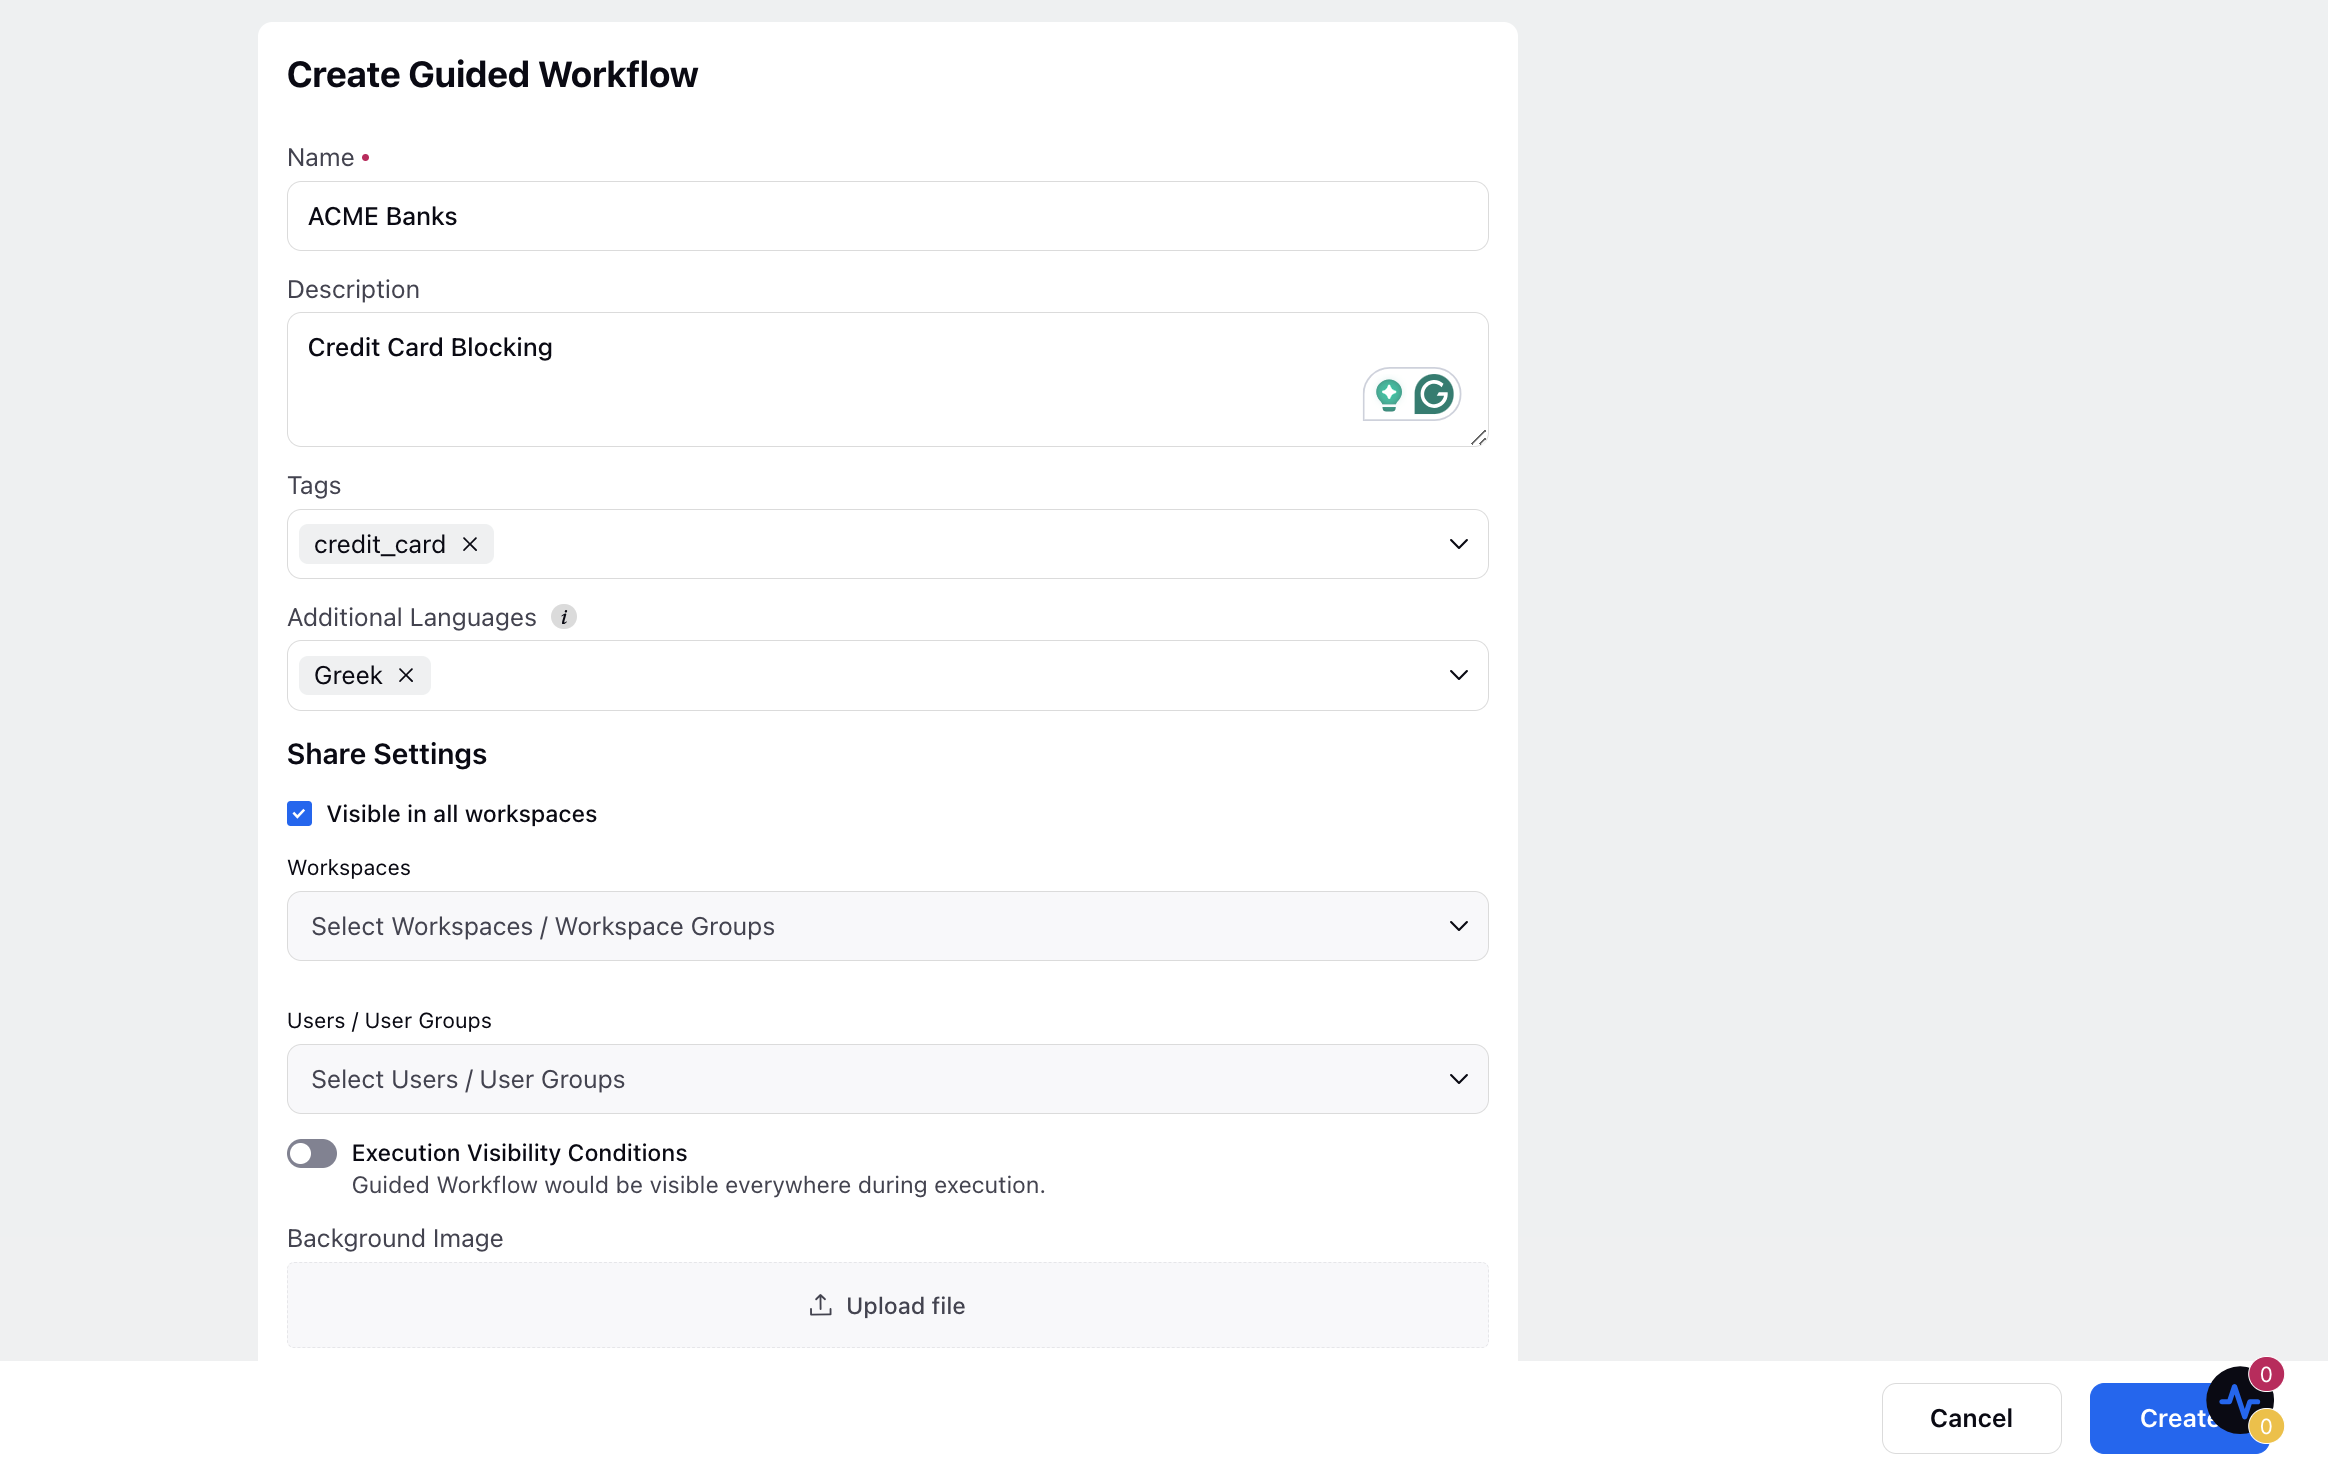
You will land on the “Guided Workflow Manager” screen where you can create new Guided Workflows and New Folders for Guided Workflows.
Create New Guided Workflow - Description provided in the settings makes searching for a Guided Workflow easier.

Guided Workflow Builder
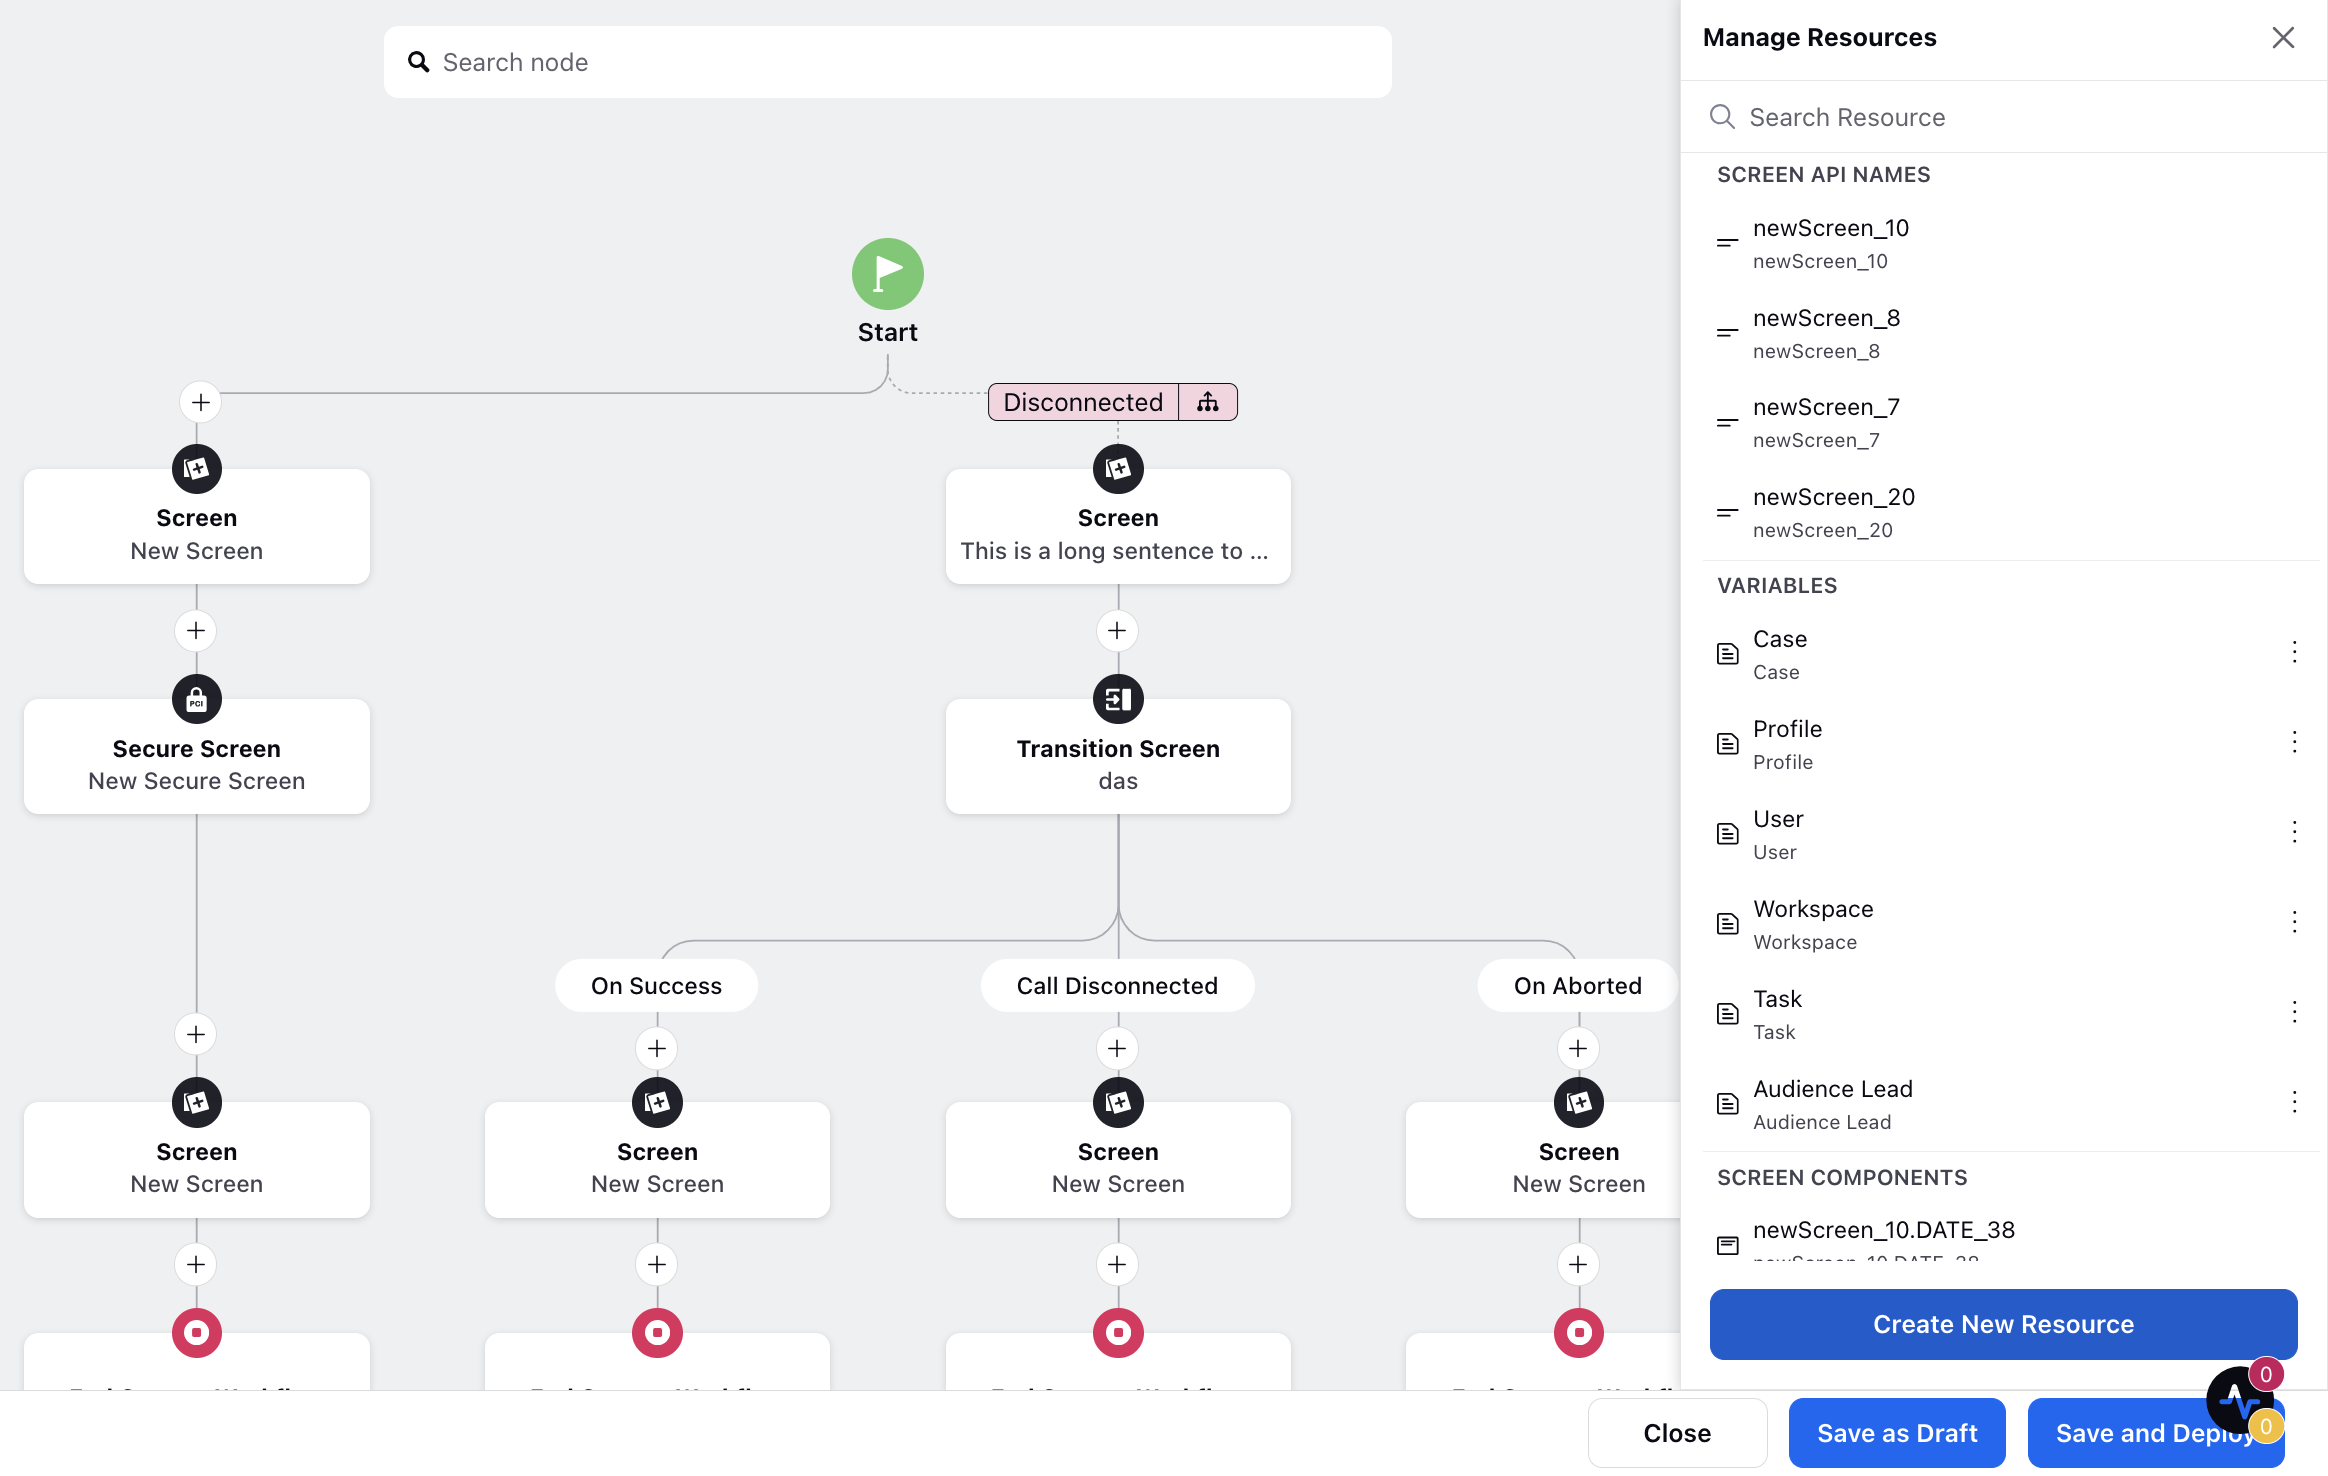
Canvas - The canvas is the working area of the builder, where you build a Guided Workflow by adding nodes to perform actions. As you add various nodes to the canvas and connect them together, you see a visual diagram of your Guided Workflow.
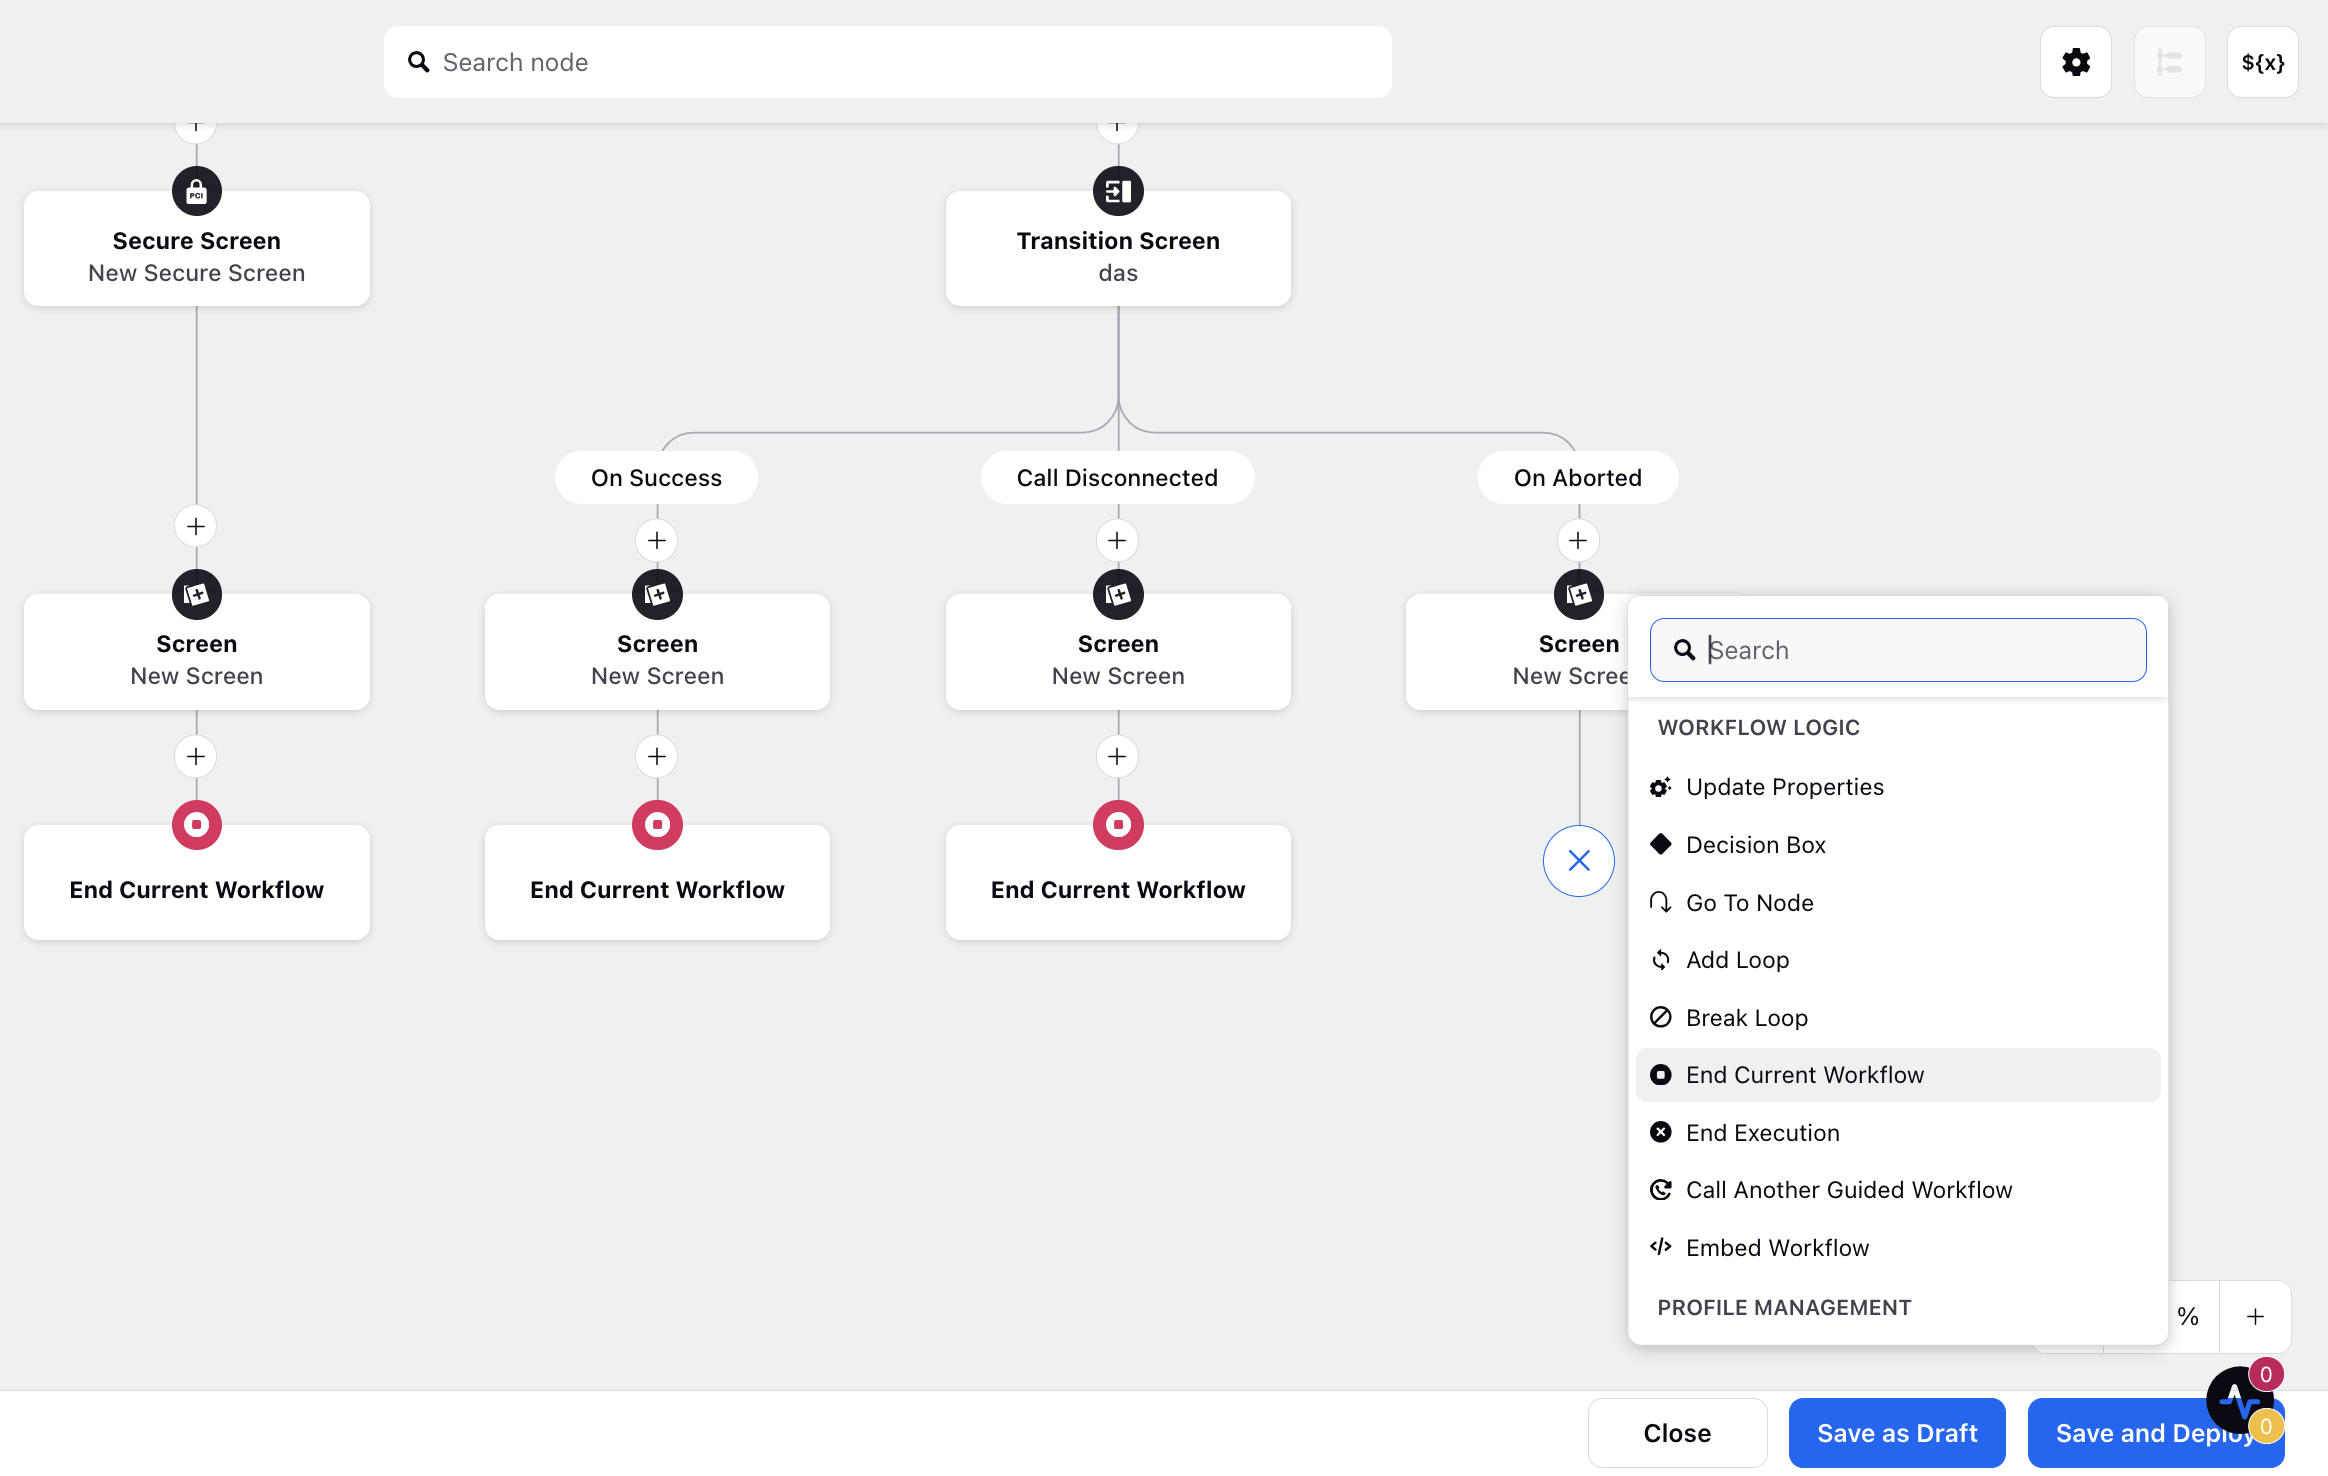
Add New Node- By clicking on the plus sign you can get a list of actions that can be performed by adding nodes.
Manage Resources - Manage Resources is used to view various resources you’ve created so far inside the Guided Workflow Screen and to create and edit variables

Add New Node
Various actions can be performed in a Guided Workflow such as reading or writing customer data, displaying information and collecting data from users, executing business logic, or manipulating data.
By clicking on the plus sign, a desired node action can be selected.
Section Name | Node Name |
User Communication Section |
|
System Actions |
|
Data Management |
|
Workflowflow logic |
|
Profile Management |
|
Other Actions |
|

Manage Resources
A resource represents a value that can be referenced throughout a Guided Workflow. It can be handy for use in conditions, as well as to display user specific information on screens.
RESOURCE | DESCRIPTION |
Picklist Choice Set | Generate a set of choices by using the values of a picklist field. |
Picklist Values | System-provided values for picklist fields in record variables and record collection variables. |
Screen Component | Any screen component that you add to a Guided Workflow is available as a resource. The resource value depends on the type of screen component. The value for a Text component is what the user enters. The value for a Picklist component is the stored value of the choice that the user selects. |
Variable | Store a value that can be changed throughout the Guided Workflow. Variables can be created in the Manage Resources section. |

Deploy And Run Guided Workflows
The “Save as a Draft” option in the Guided Workflow Builder saves the configuration changes without deploying the latest version of the Guided Workflow. Whereas the “Save and Deploy” button deploys the Guided Workflow and it can then be executed in the Guided Workflow Manager, Agent Console, Care Console and external platforms on which it may have been deployed.