Adding a Wordpress account
Updated
Before you begin, please ensure that you have all the access tokens related to your WordPress Account. You will get all the information related to the access tokens from WordPress.
To add a WordPress account
Click the New Tab icon
. Under the Sprinklr Social tab, click Owned Social Accounts within Listen.
On the Accounts (Settings) window, click Add Account in the top right corner.
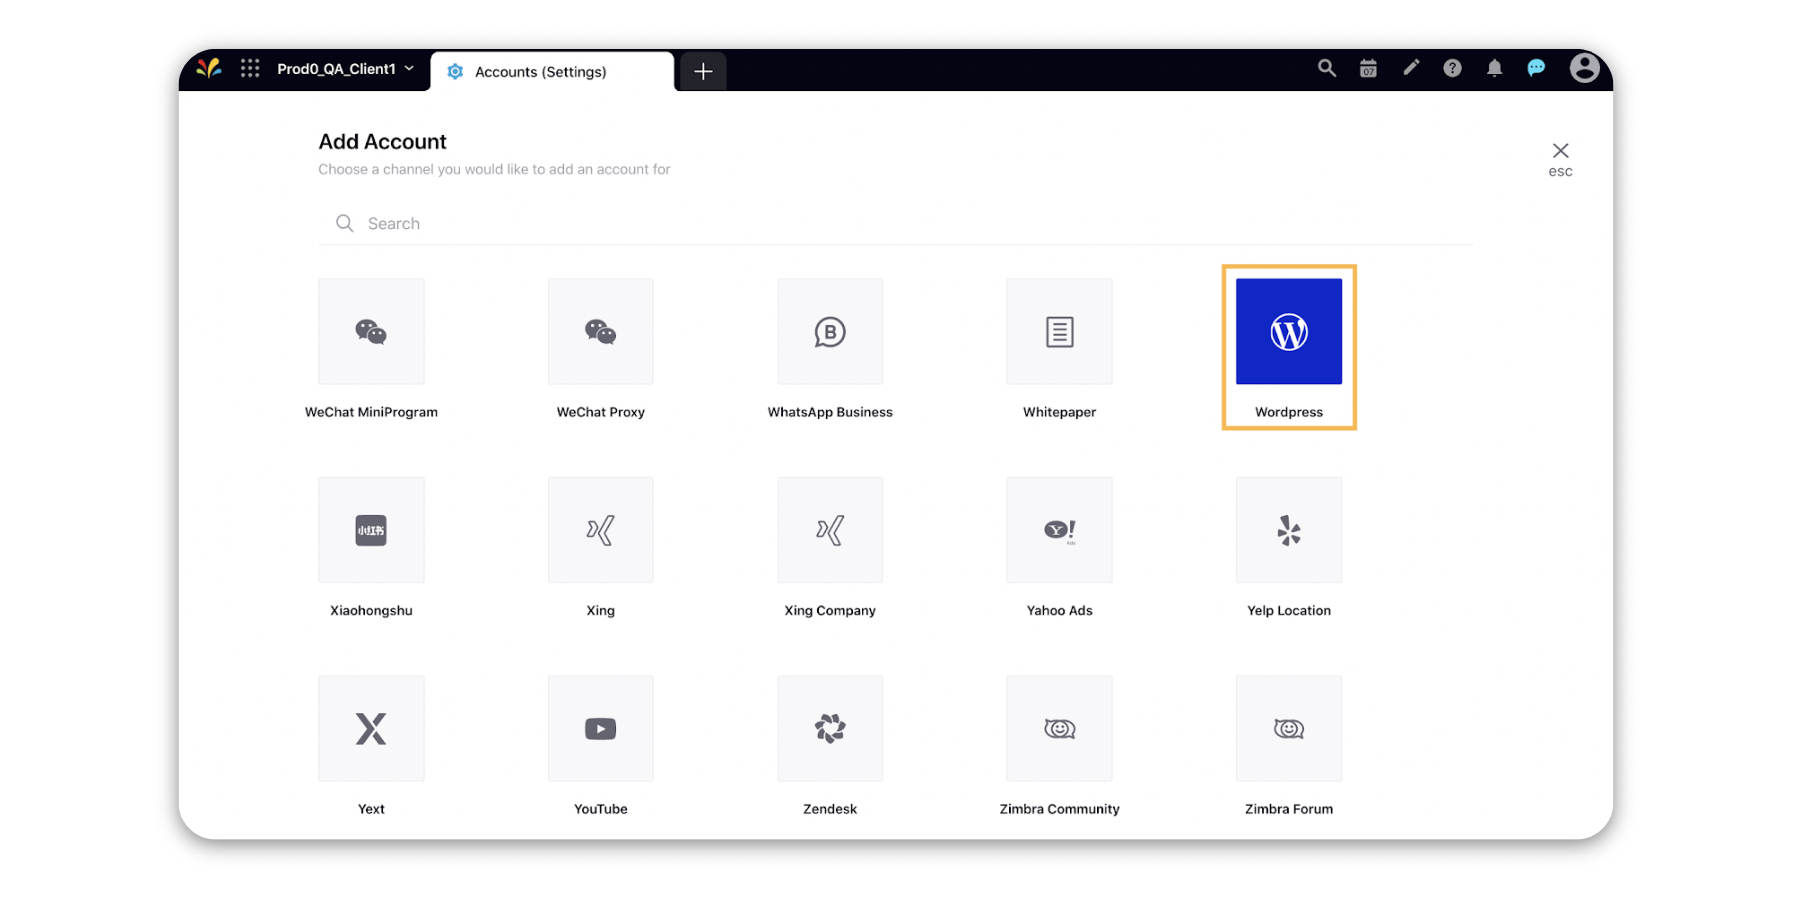
On the Add Account window, search and select WordPress from the list of channels.
On the Add WordPress account window, enter the details for your new account.

Click Save in the bottom right corner to add the account details. Next, you'll be able to edit your account details and permission the account.
On the Update Account window,
Edit basic details of your account in Account Details, including changing the name of the account as it appears in Sprinklr, changing the Sprinklr User who is the owner of the account, creating a custom character count (which will apply to replies sent in Sprinklr), a default URL shortener, and an auto-populated signature to appear in replies sent from Sprinklr.
You can publish content on WordPress as a draft so that you can make the final changes on WordPress and publish the content. While adding the WordPress account within Sprinklr, check the box alongside Publish post as draft for publishing posts as a draft from that account. For an existing account, select Edit and make the changes as required.
You can also differentiate between posts whether they are published from Sprinklr or WordPress. Status of a post which is published from Sprinklr to WordPress as a draft will have Draft status in WordPress and Sent status in Sprinklr.Note:
You cannot edit a post in Sprinklr that is sent as a draft to WordPress.
Under Groups to include Account in, select if you would like to add the WordPress account to any Account Groups.
Under Permissions, permission channel actions to Users and User Groups who should have access to the account. Learn more in Account Permissions.
Under Share this Account Across Spaces, choose the Workspaces that you would like the account to be visible in or share across all Workspaces to make the account visible globally within your Customer environment.
Under Subscribers, select Users/User Groups to subscribe them to receive account notifications.
Under Timezone, select a country and time zone to associate with the account if desired.
Under Properties, set any account properties as needed.
Click Save in the bottom right corner.
WordPress Account — Field Descriptions
Term | Description |
Wordpress Domain Url | Enter your WordPress domain URL. |
Display Name | Enter a name for your WordPress account. It's a reference field for the identification of WordPress account in Sprinklr. |
Authorization Url | Enter the authorization URL for your WordPress account. |
Client Id | Enter the Client ID for your WordPress account. |
Client Secret | Enter the Client Secret Key for your WordPress account. |
API Identifier | Enter the API Identifiers for your WordPress account. |