Publish with content placeholders
Updated
Publishing with Content Placeholders allows you to publish content that is dynamic and will update based on the account your content is published from. For example, if a User wants to publish an update to Facebook with your holiday hours for Christmas Eve from two different store accounts, but user holiday hours differ from store to store, then they can create content placeholders for each store's account, then create a single post using content placeholders, rather than publish individual messages from each store's account.
Steps To Create an Account Custom Field
Before content placeholders can be applied to accounts, first a Custom Field must be created for this content. Content placeholders draw from Account Properties, which are applied using Account Custom Fields. The ability to create and edit Custom Fields is restricted by permission and may need to be performed by your System Admin. To create an Account Custom Field, follow the steps below.
Click the New Tab icon
. Under Platform Modules, click All Settings within Listen.
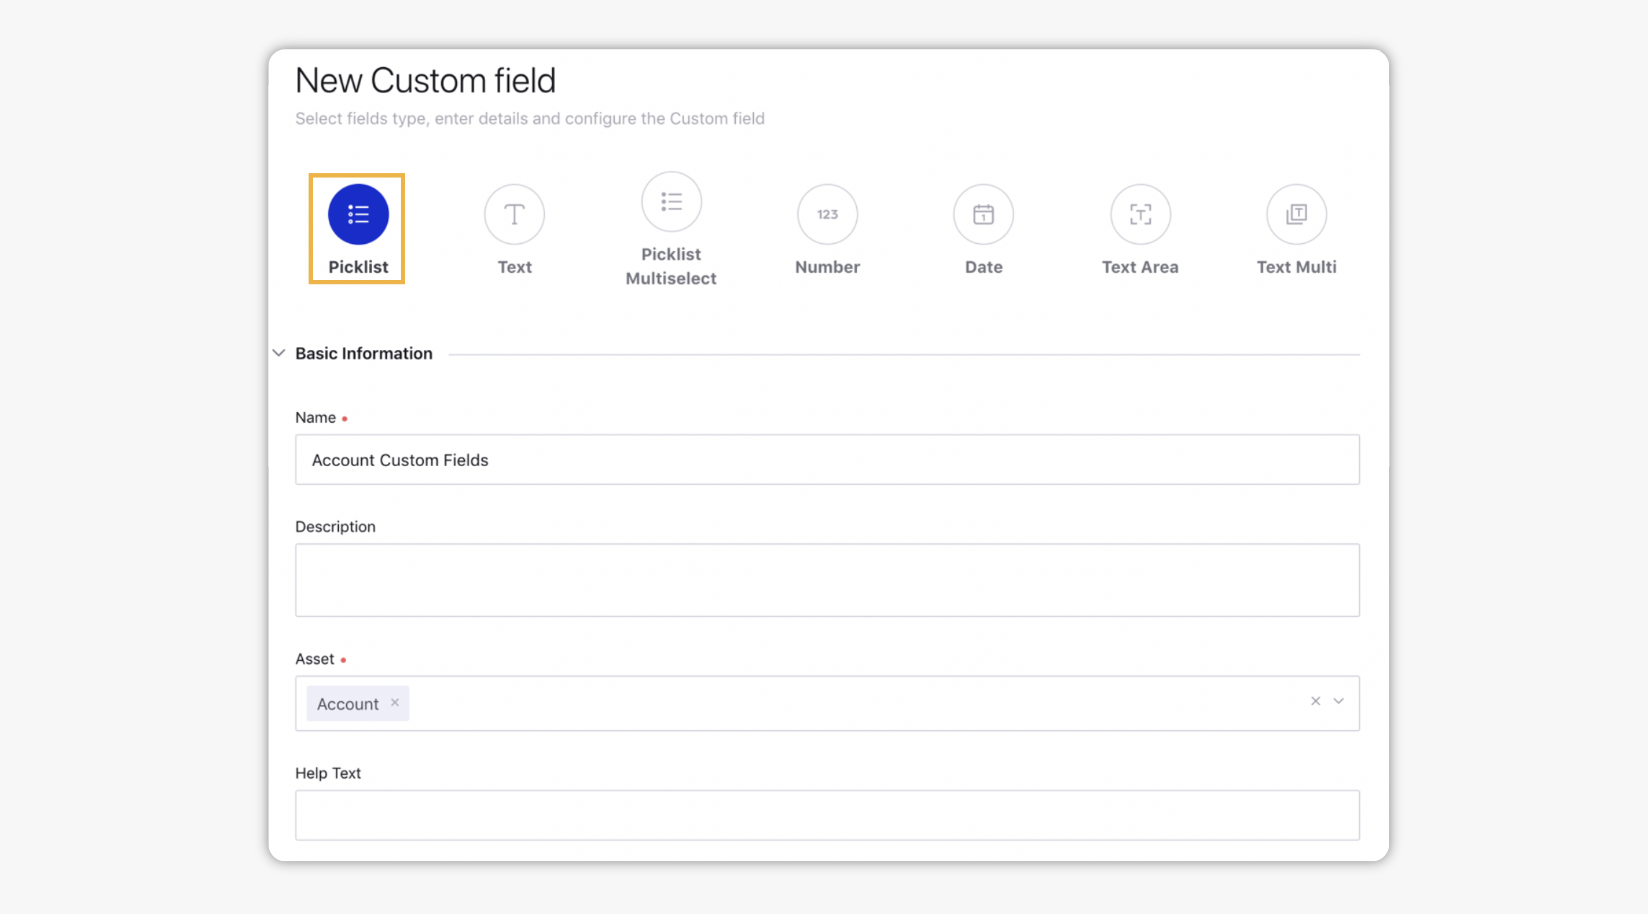
On the Custom Fields window, click Add Custom Field in the top right corner.
Enter the basic details for your new Custom Field. For use as a content placeholder, you'll want to set Pick-list as the Custom Field selection type and Account as the asset on which the Custom Field can be applied. Enter other basic details as desired.
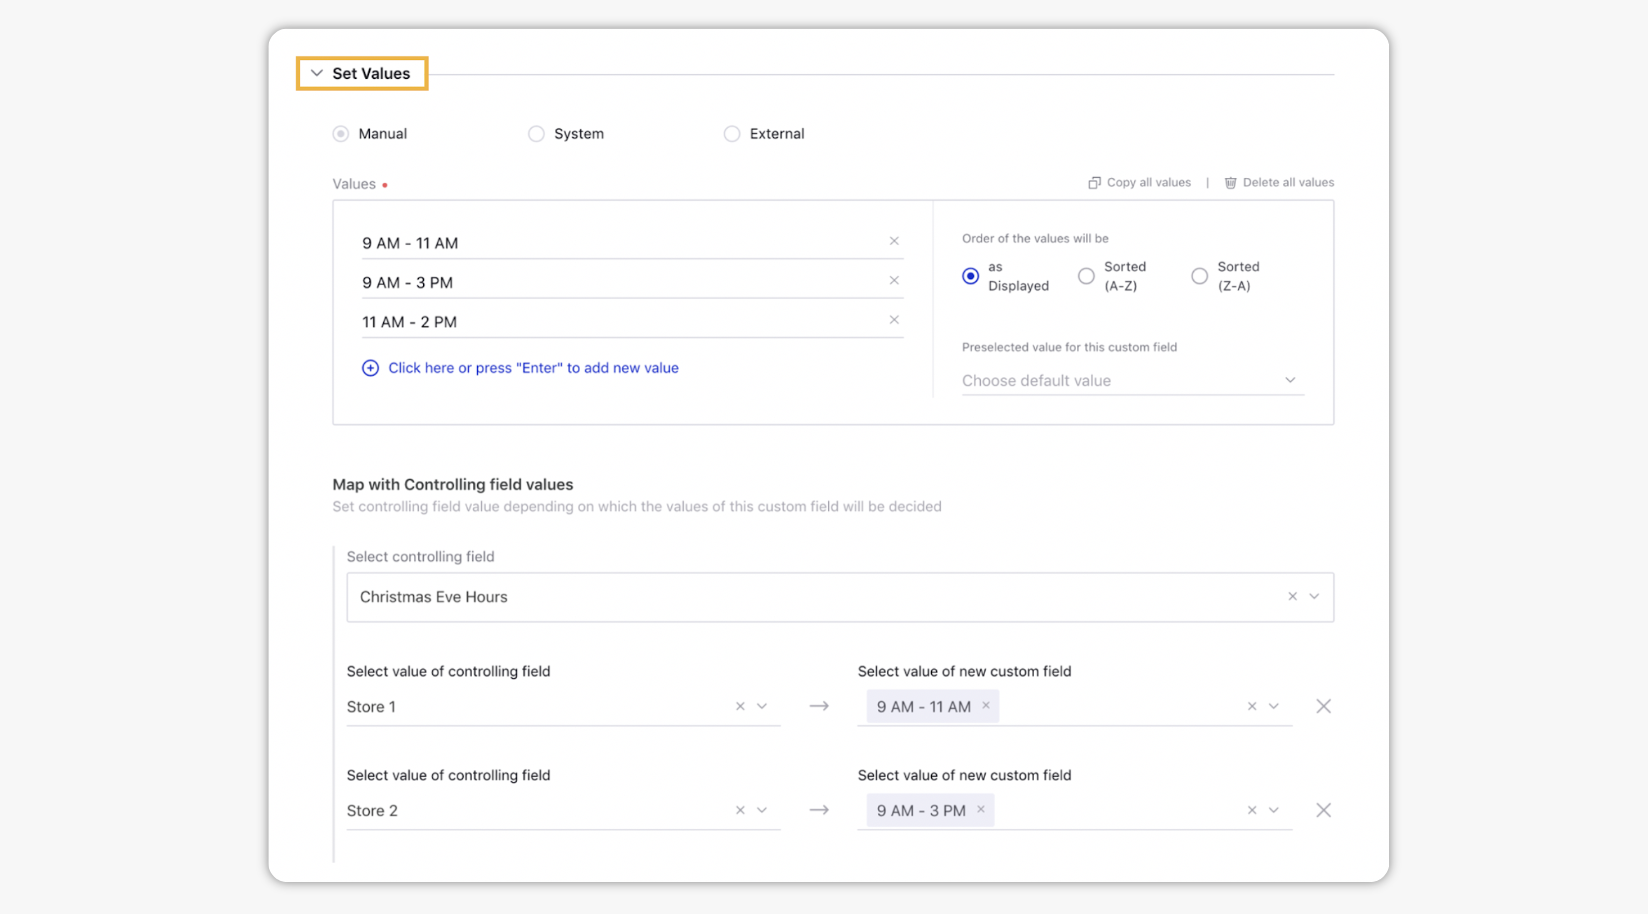
Under Set Values, select Manual to enter the values for your Account Custom Field. These values will be what appears when publishing using content placeholders.
Note:
As a best practice, it's a good idea to set a default value for Account Custom Fields that will be used as placeholders. Using a non-specific value, like a link to your website where users can find more information, you can apply this general value to accounts that might not have a specific entry.
Applying the default value to all accounts can ensure that you are able to publish using content placeholders, even when publishing from accounts that have not been set with a more specific placeholder value.
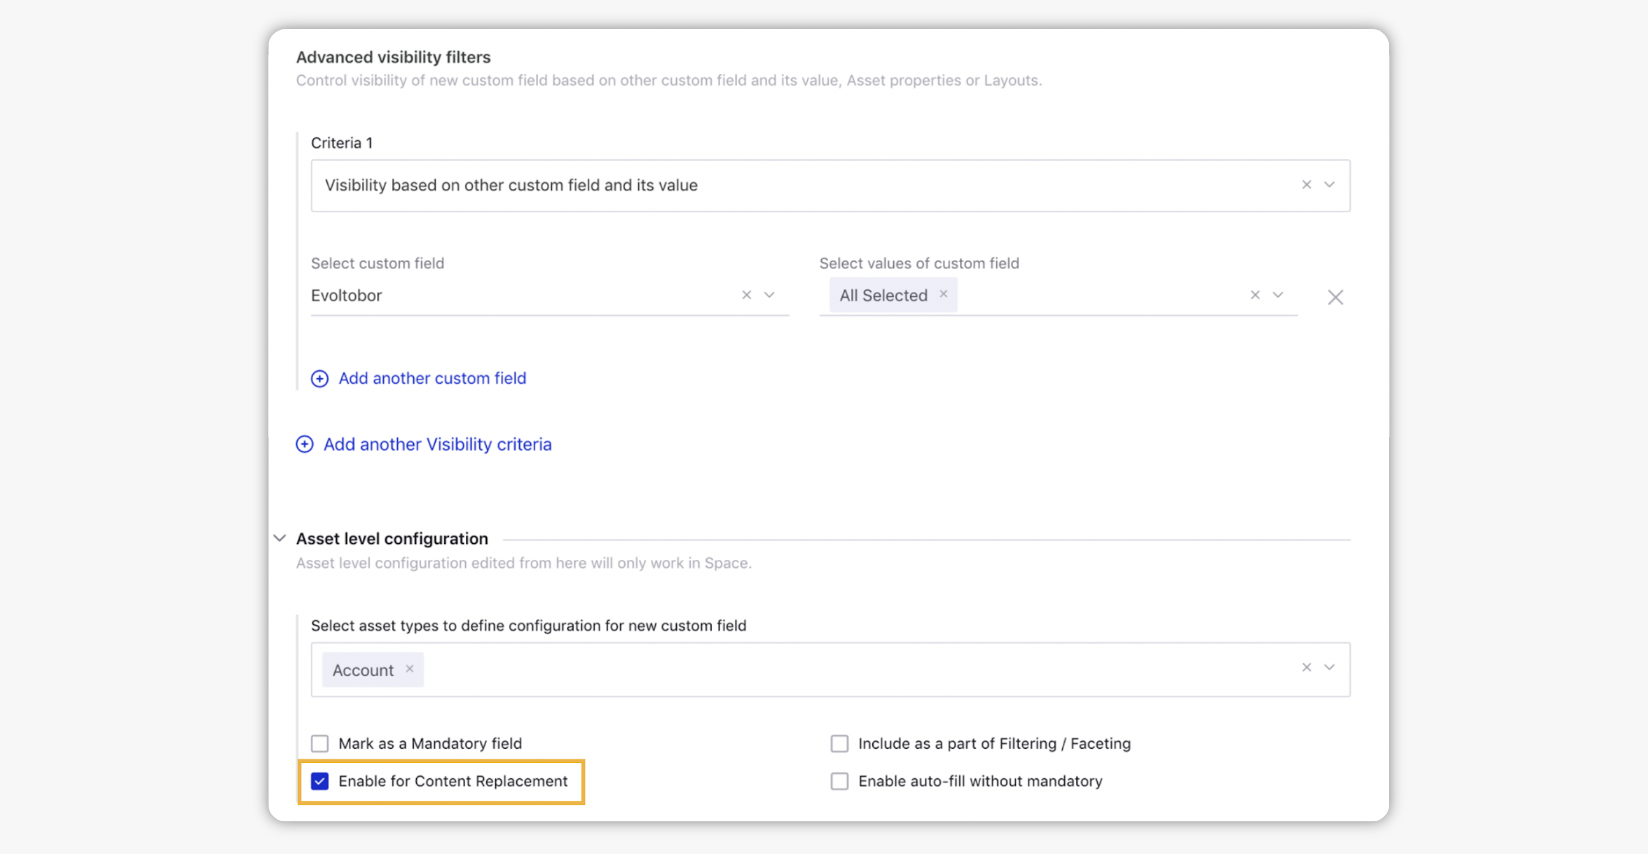
Ensure that Enable for Content Replacement is checked under Custom Field settings.
Enter any additional details for your Account Custom Field.
Click Save in the bottom right corner.
Steps to apply the Created Custom Fields to an Account
Click the New Tab icon
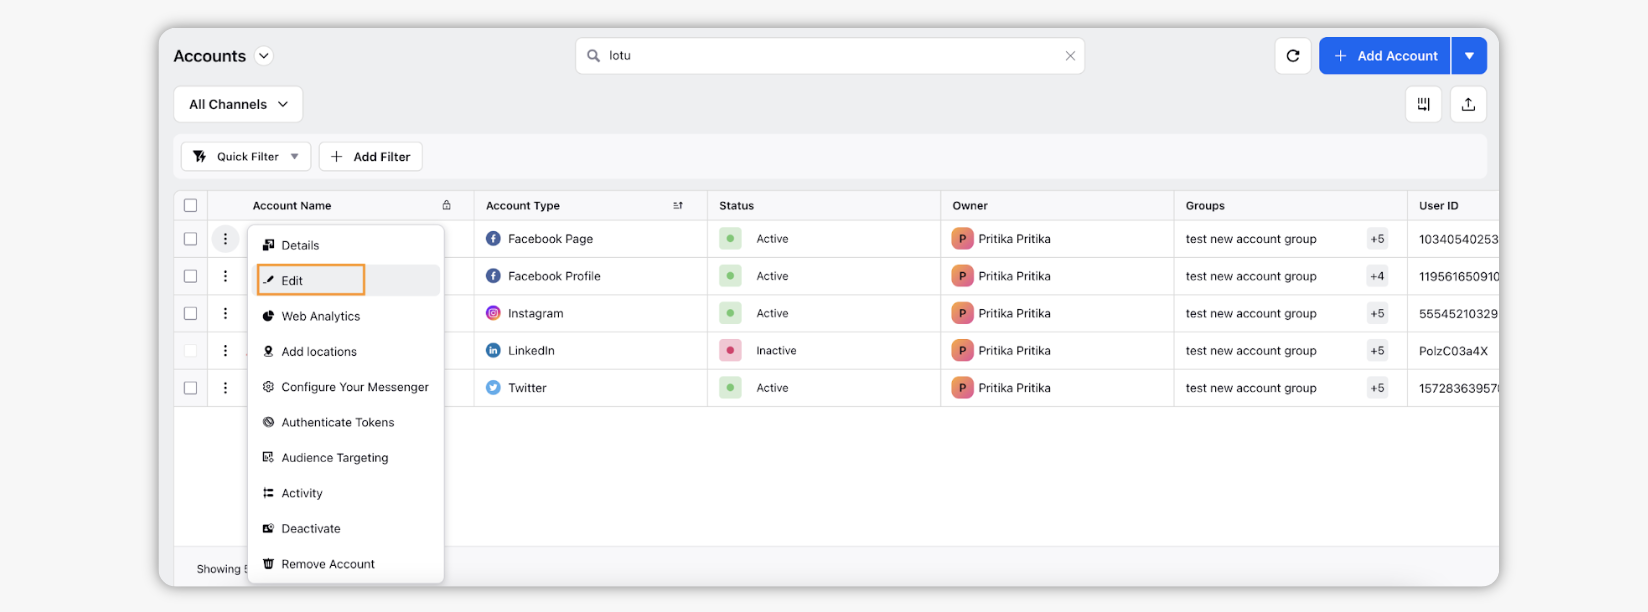
Choose the Account for which you'd like to set your new Custom Field value, hover over the account's Options icon and select Edit.
Apply the Custom Field value as desired.
Click Save in the bottom right corner.
Steps to publish with Content Placeholders
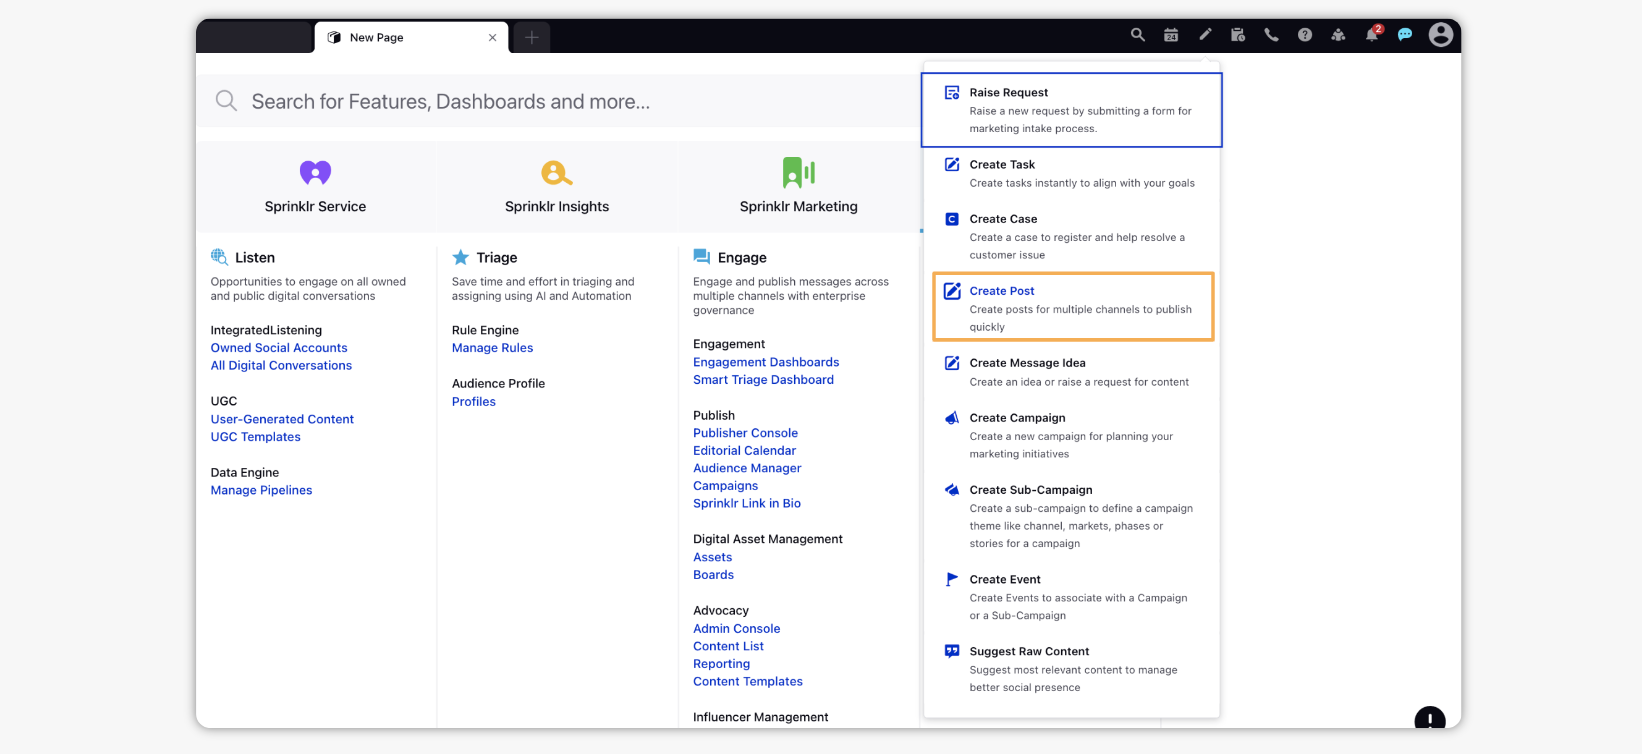
Click the New Tab icon
in the top right corner of the top navigation bar and select Create Post.
On the Create Post window, select your desired accounts where you want to publish. You can also use Advanced Search to narrow your searches by a series of different filters.
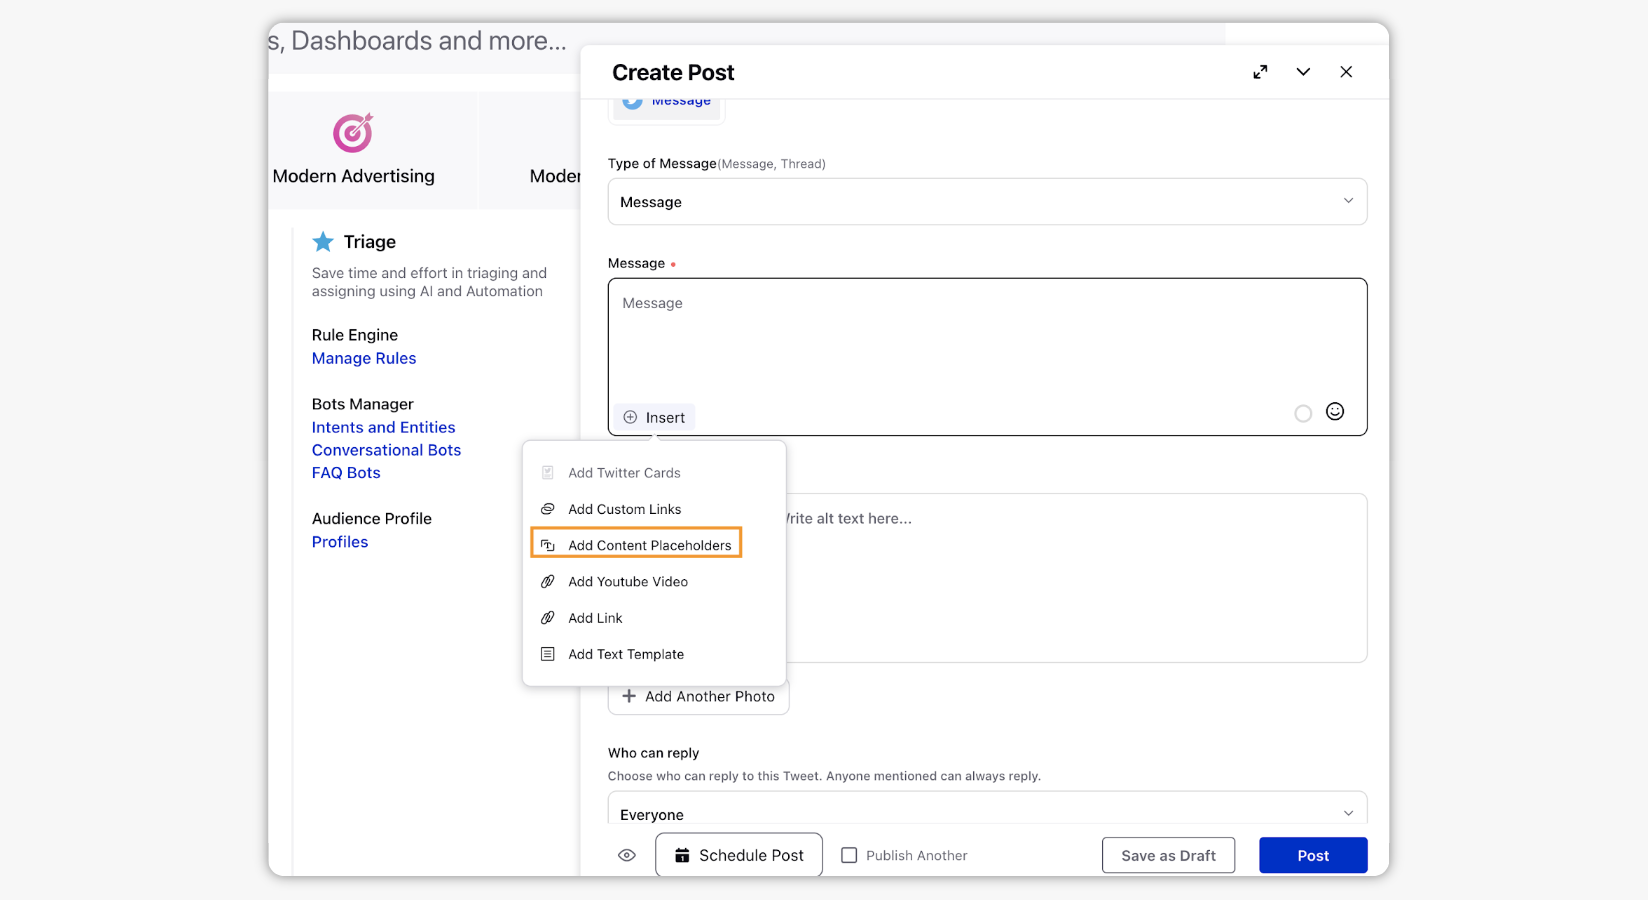
Once you have selected the account you would like to publish to, enter the content for the post in the Message box.
To add a content placeholder, click the Insert icon➕ in the bottom left corner of the Message box. Select Content Placeholder from the drop-down menu. Next, select the placeholder that the user would like to use and note that the name of the content placeholder will match the name of the Custom Field created.
Enter additional details for your post and click Post to publish.