Overview of Advocate State Transitions & Workflows
Updated
Advocate State Transitions and Workflow in an advocacy program refer to the various stages and actions that advocates go through after onboarding the platform and during their engagement with the program.
Importance:
These state transitions and workflow help program administrators track and manage the status of advocates, ensuring that they are appropriately recognized, engaged, and aligned with the goals of the advocacy program.
By tracking advocate states, admins can identify trends, measure participation levels, and make informed decisions to optimize the program's performance and impact.
What are the different Advocate States?
These states include the following and are governed by status field:
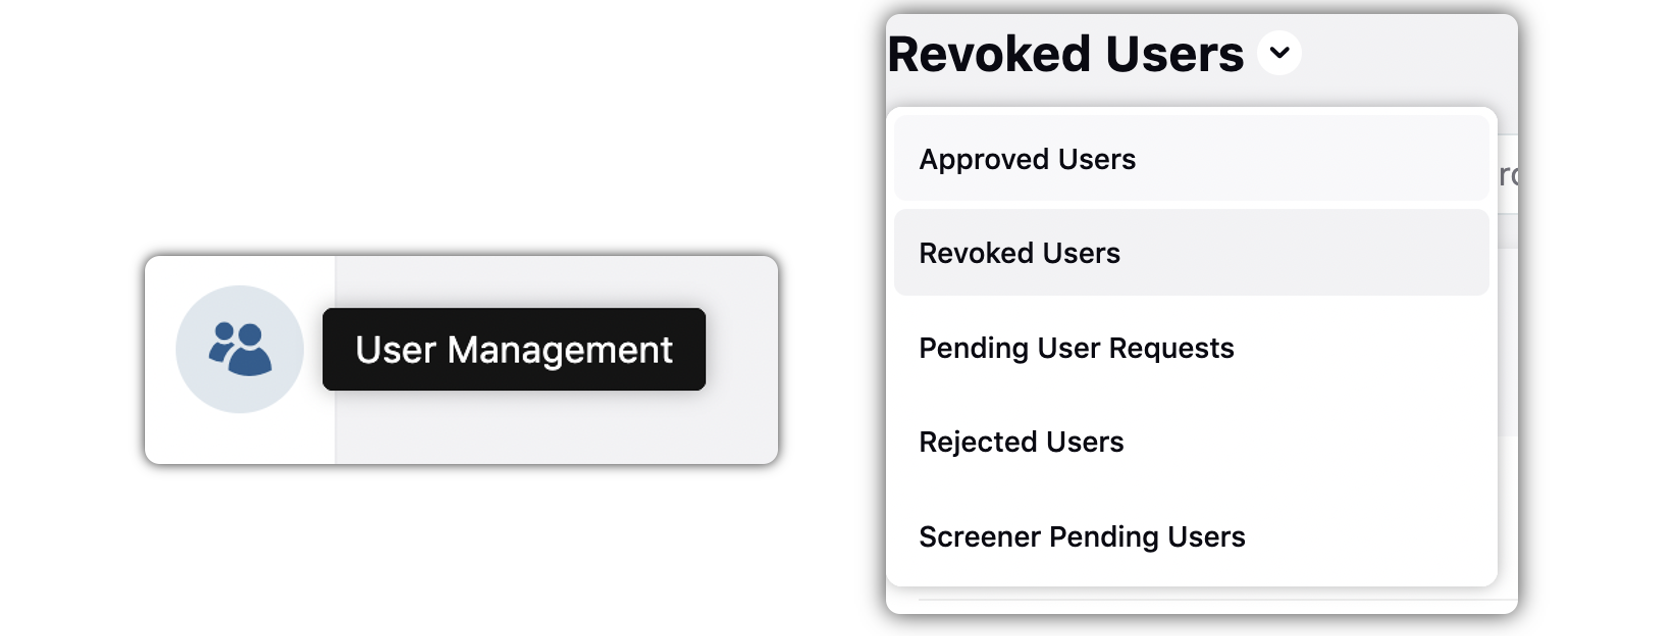
Screener Pending - These are the users who have logged on to the advocacy site but did not fill in the questions in the screener form.
Pending - Potential community members who have applied to be a part of the program.
Approved - Approved users can be given access to the website along with some on-site Admin features as well which is driven via user roles and permissions.
Rejected - These are the users who had applied to be a part of the Advocacy community but were rejected by Admin for not matching a predefined condition.
Revoked - Revoked user is like Rejected user but unlike rejected user, revoked user can't be reinstated into the program.
Inactive - Inactive users are essentially still a part of an advocacy community. It’s just that they have not done any activity in a while.
Deleted – Community Users who are no longer a part of the advocacy program.
How to manage Advocate workflows?
Managing users on the advocacy program is a convenient and simple process. Admins can update advocate statuses through the Sprinklr Space site and the Sprinklr Advocacy site.
On-site admins with required permissions can find the “User Management” menu in the left bar of the advocacy site where he can manage advocates and modify their statuses.

Set up On-Site Advocate Management workflow?
To manage roles and permissions for an advocacy site, admins can access the admin console, navigate to the desired community, and select "Roles and Permissions" from the advocacy site options by clicking on the three dots next to its name
If the User Management role is not available, the admin can create a new role or select the "edit" option by clicking on the three dots next to the role name
After selecting the "edit" option, the admin can assign the chosen role to a user by entering their community username in the "Select user" field to give him certain permission.
