Adding a custom field in Location Insights
Updated
Users can drill down on specific widgets to view distribution by other meta-location information which the user enters. Custom fields vary from customer to customer as different customers have different use cases. For example, a brand wants to see where their outlets are present, so a custom field can be added that maps every business location added to the platform where it is located, airport, mall, streets, etc.
To create a custom field
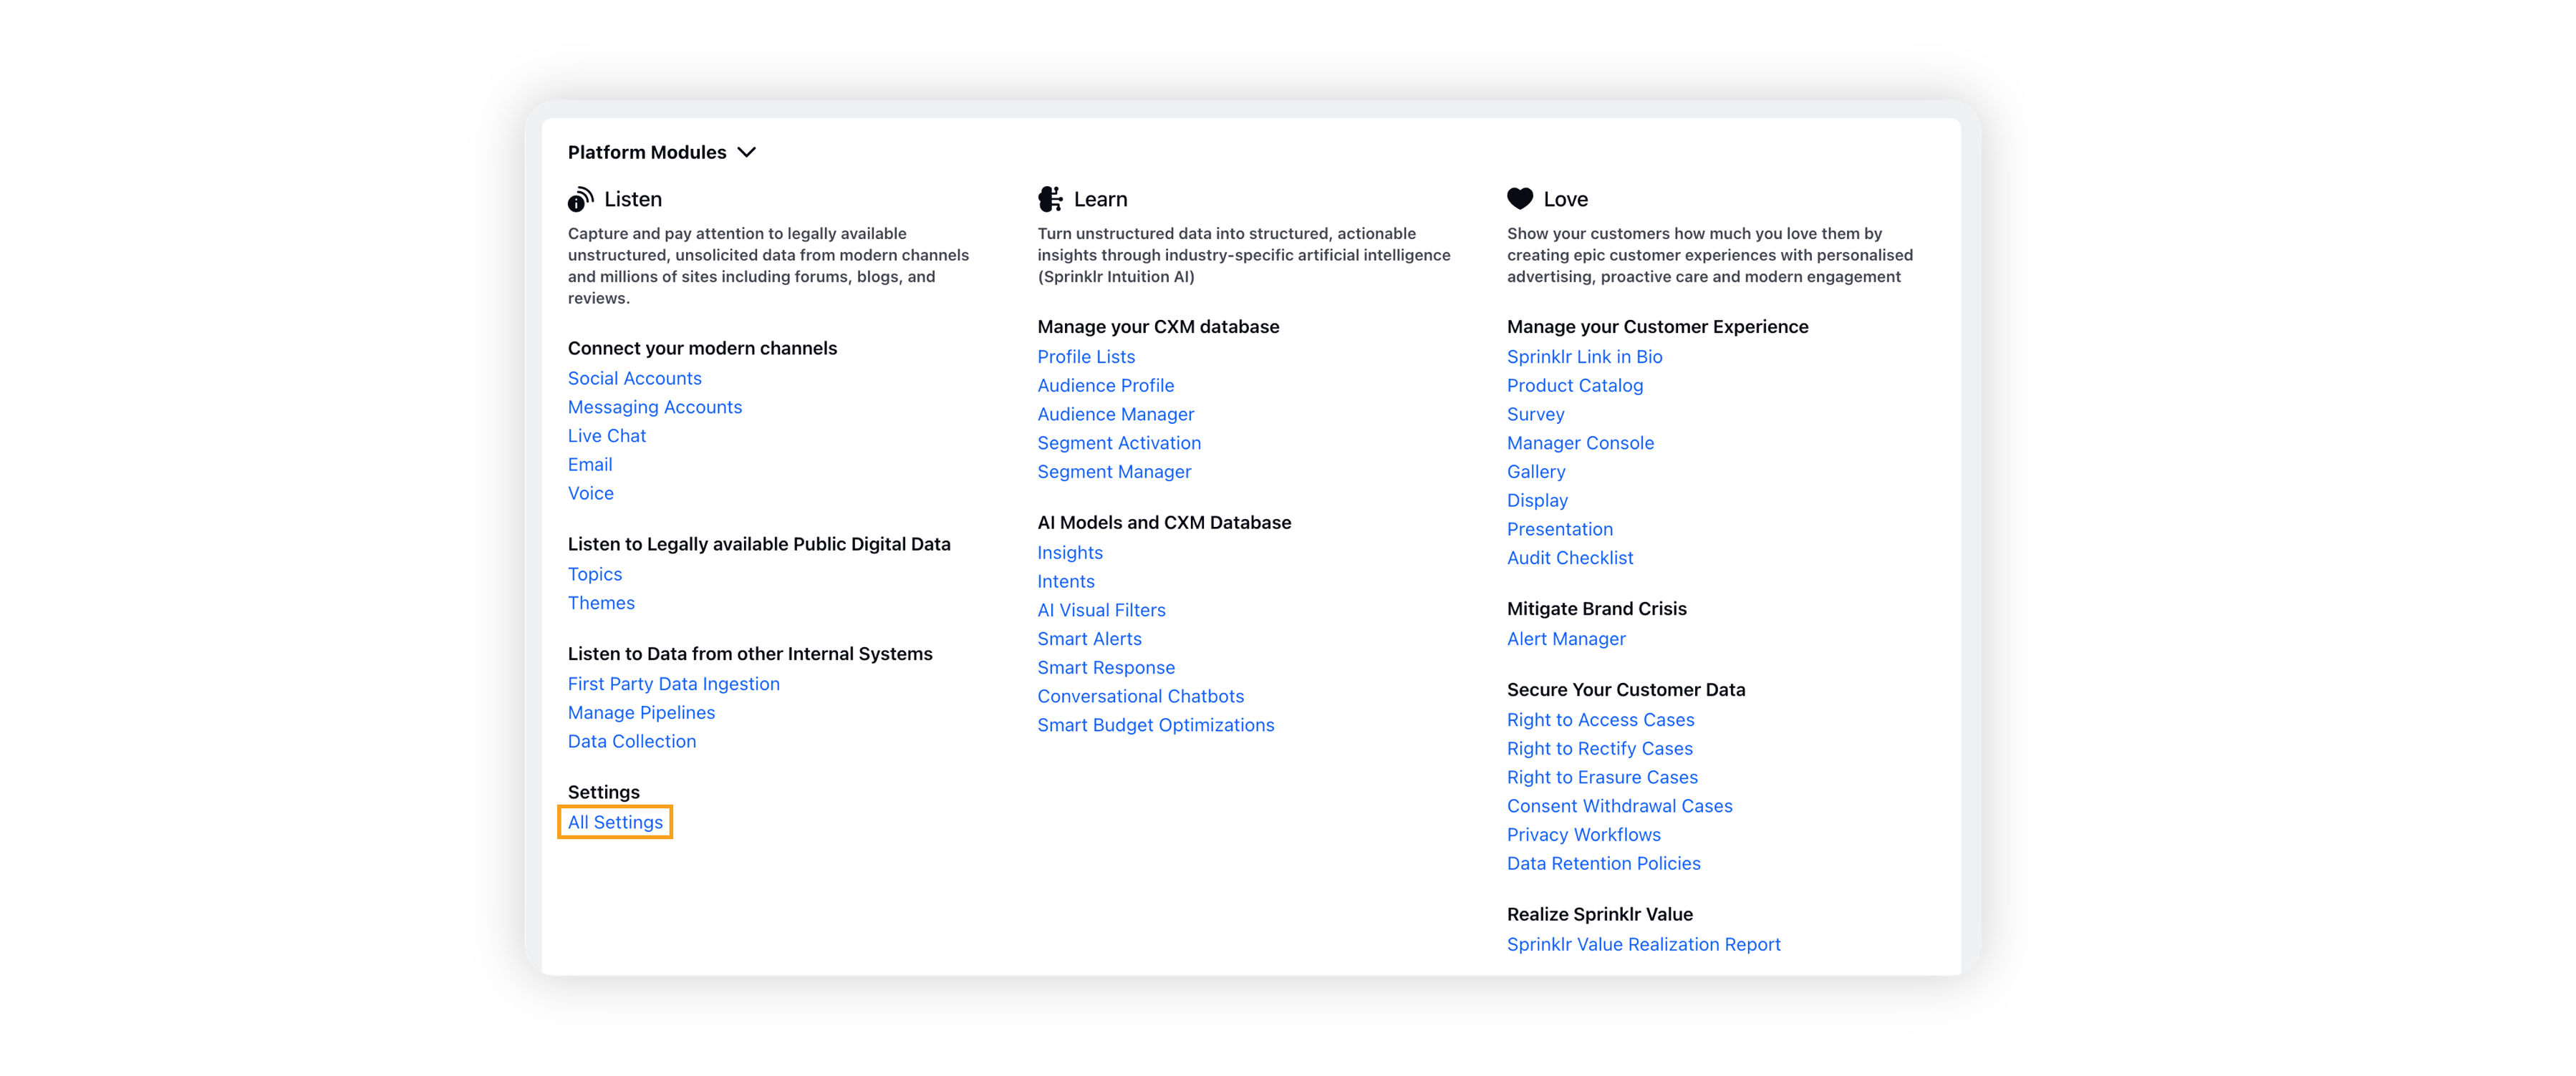
Click the New Tab icon. Under Platform Modules, click All Settings within Listen.
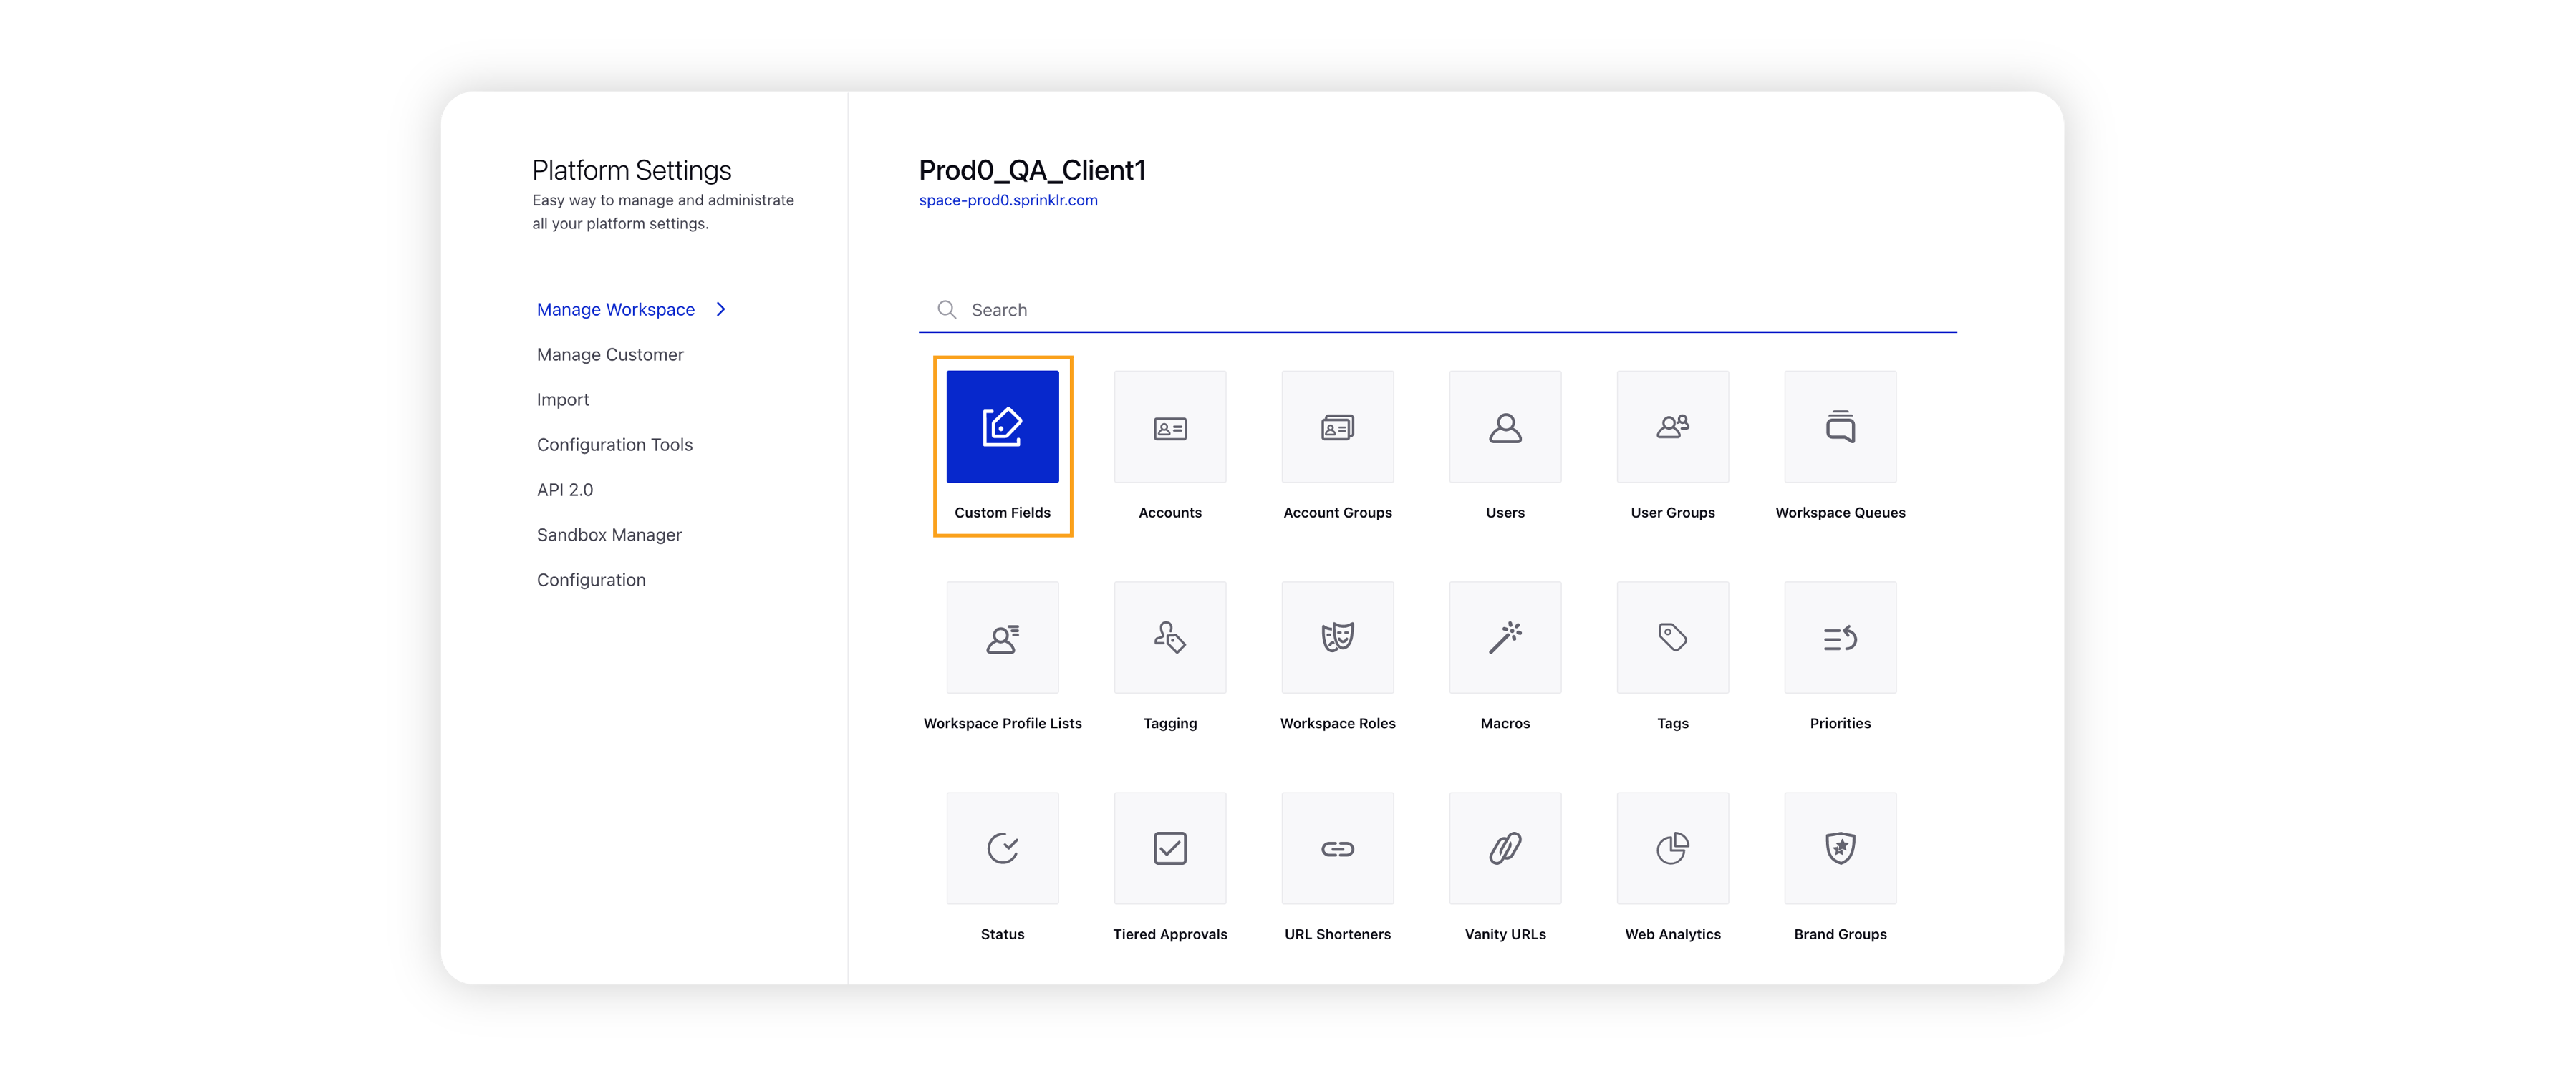
On the Platform Settings window, search for Custom Fields and select it.
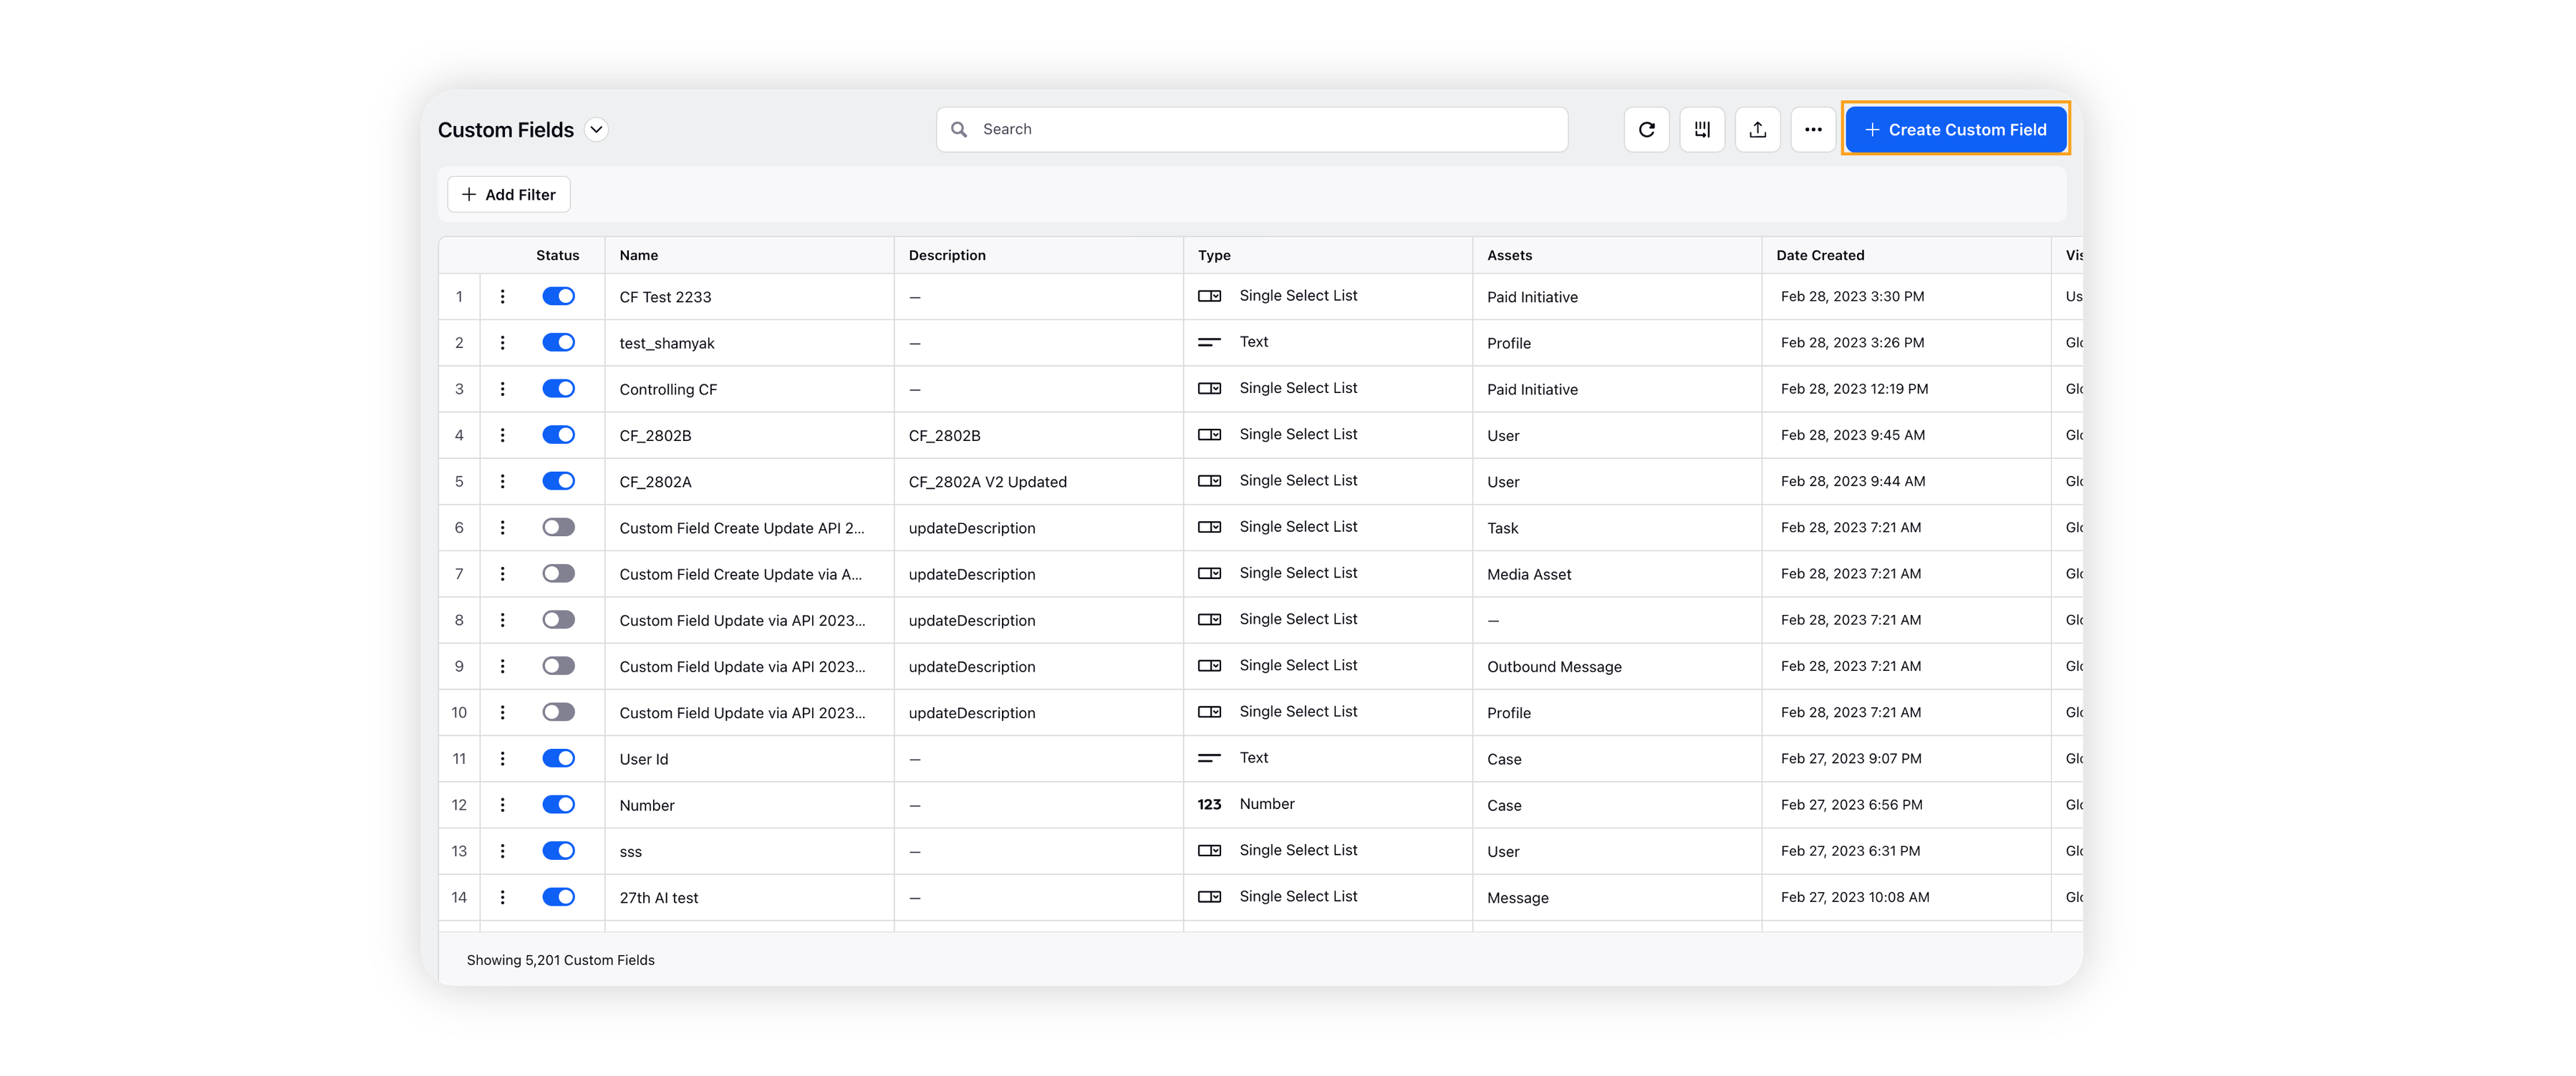
On the Custom Fields window, click the Create Custom Field button in the top right corner.
On the New Custom Field creation form, fill in the necessary fields. For more information, see New Custom Field – Fields & Description.
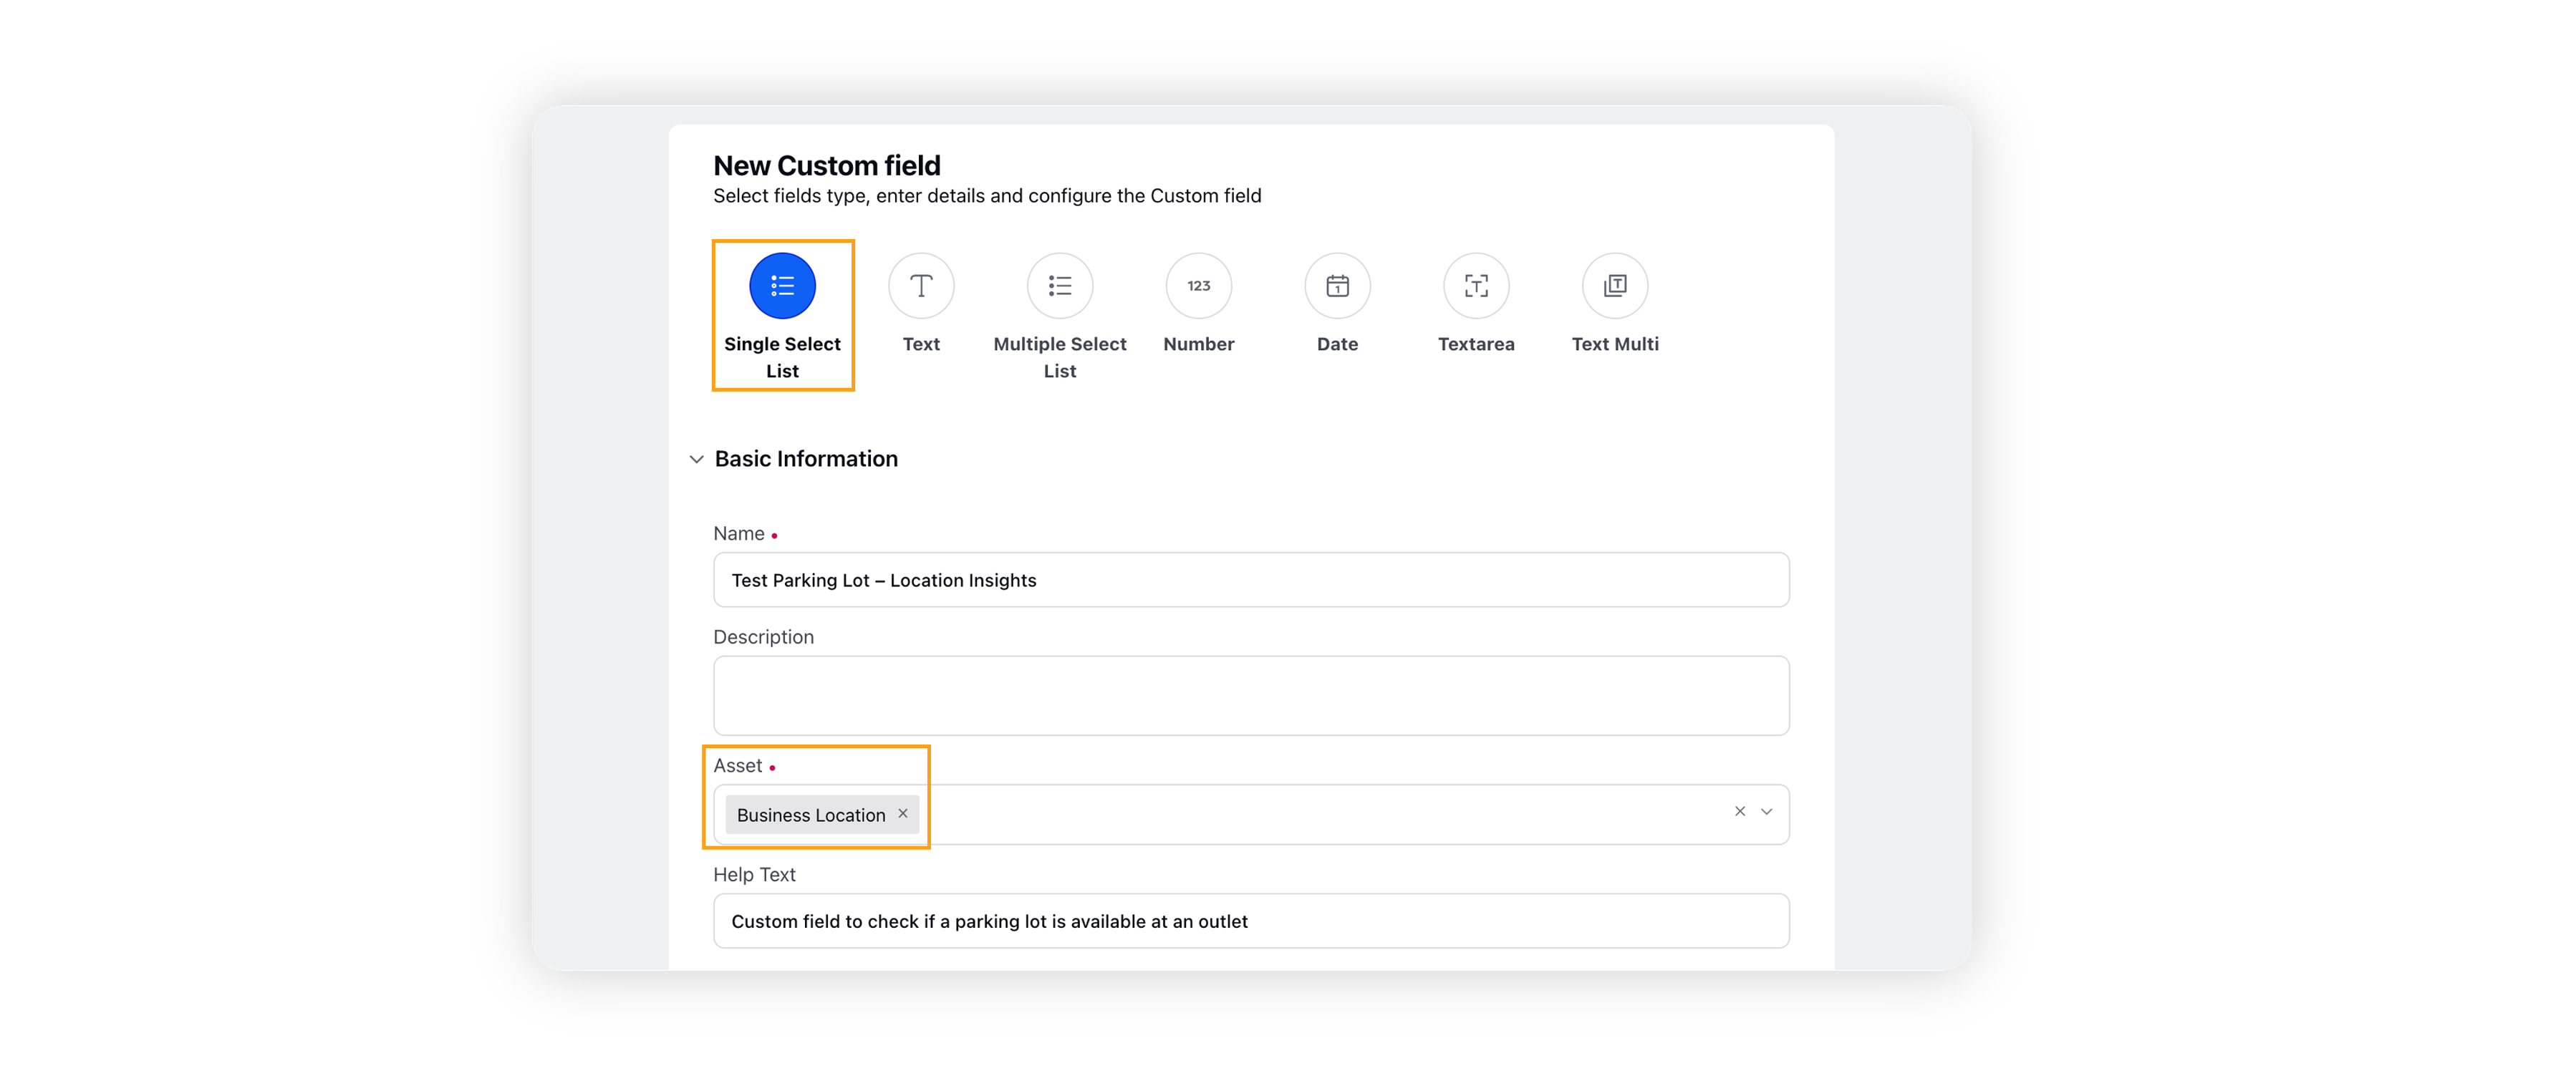
Note: The asset will be "Business Location" for creating location-based custom fields.
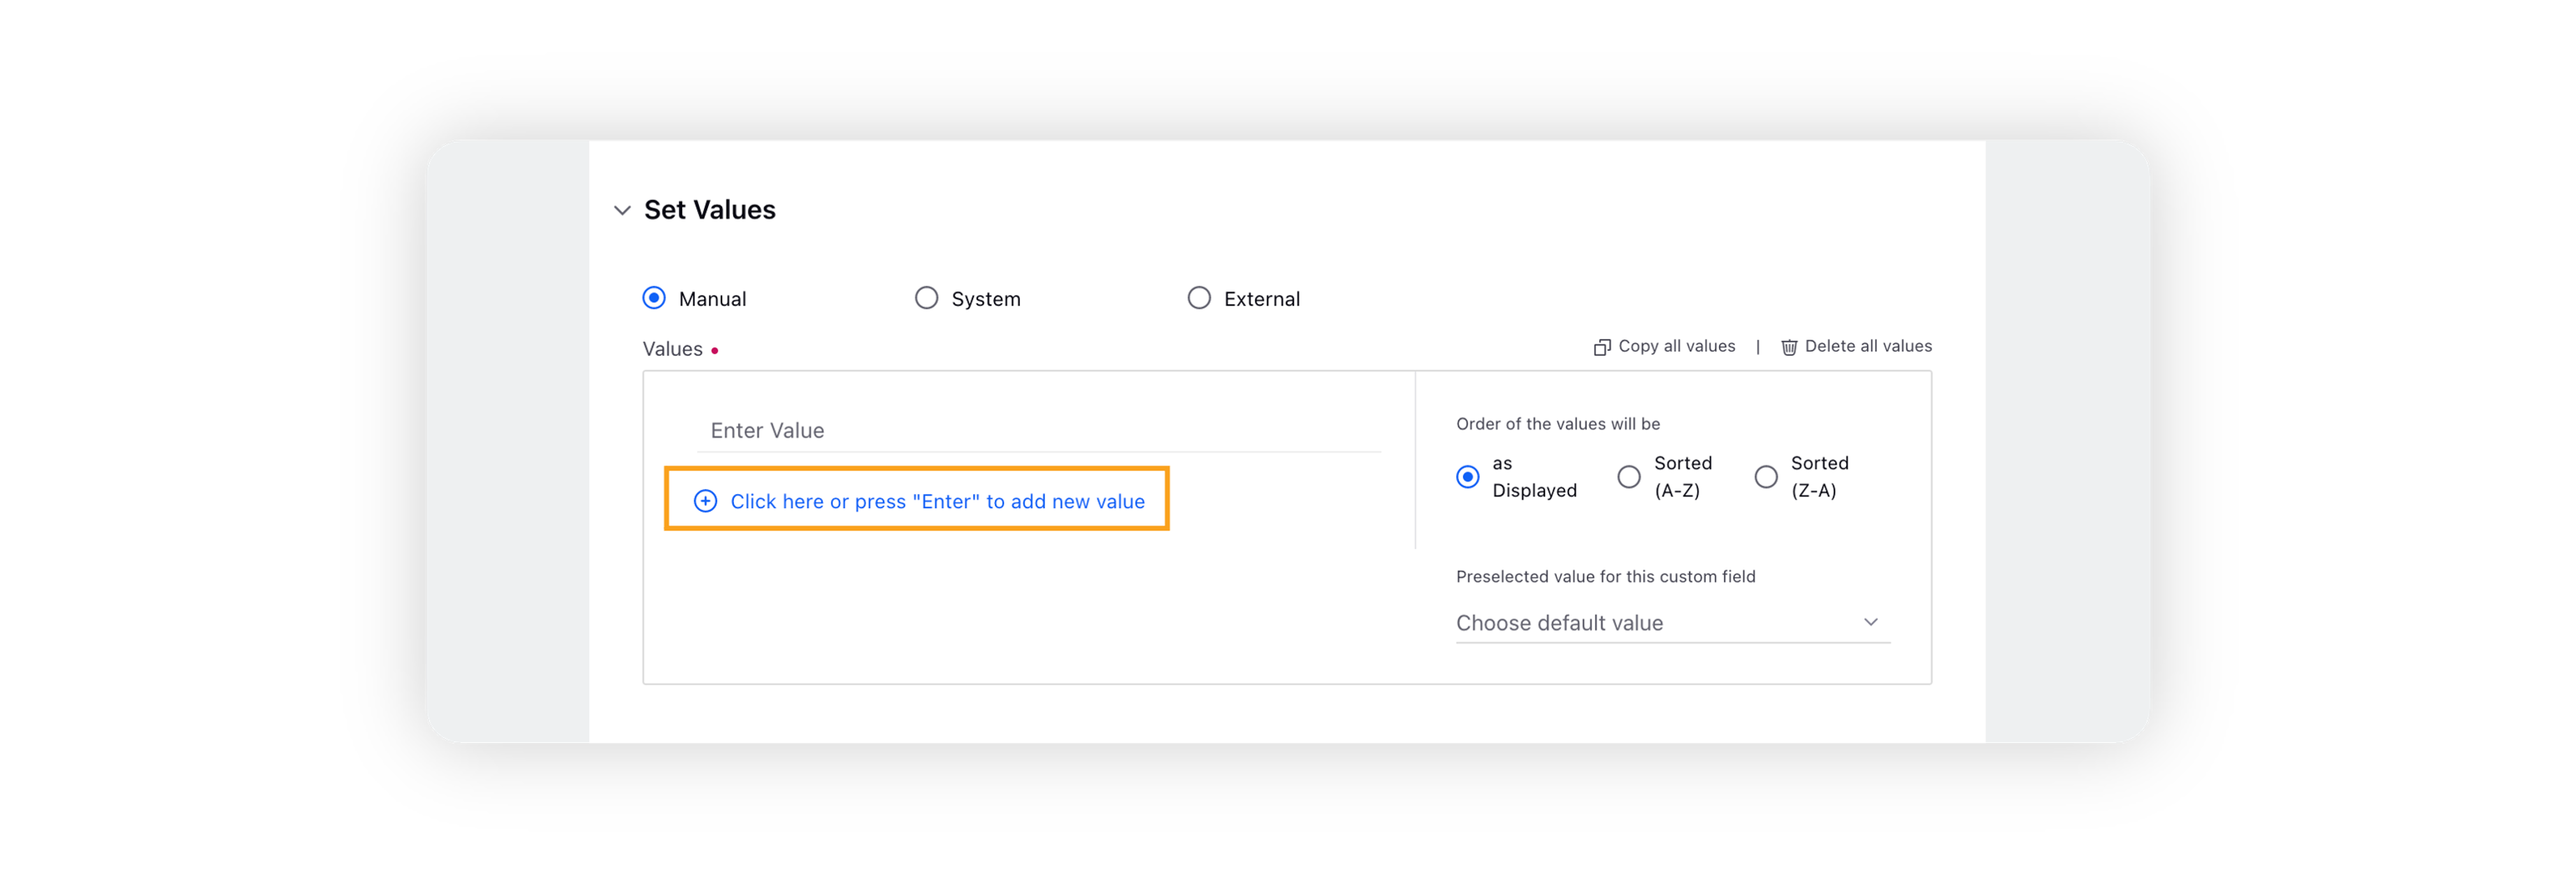
Under Set Values, click Manual and enter the values you want to display in your custom field. To add more value click Click here or press "Enter" to add new value and add more values.
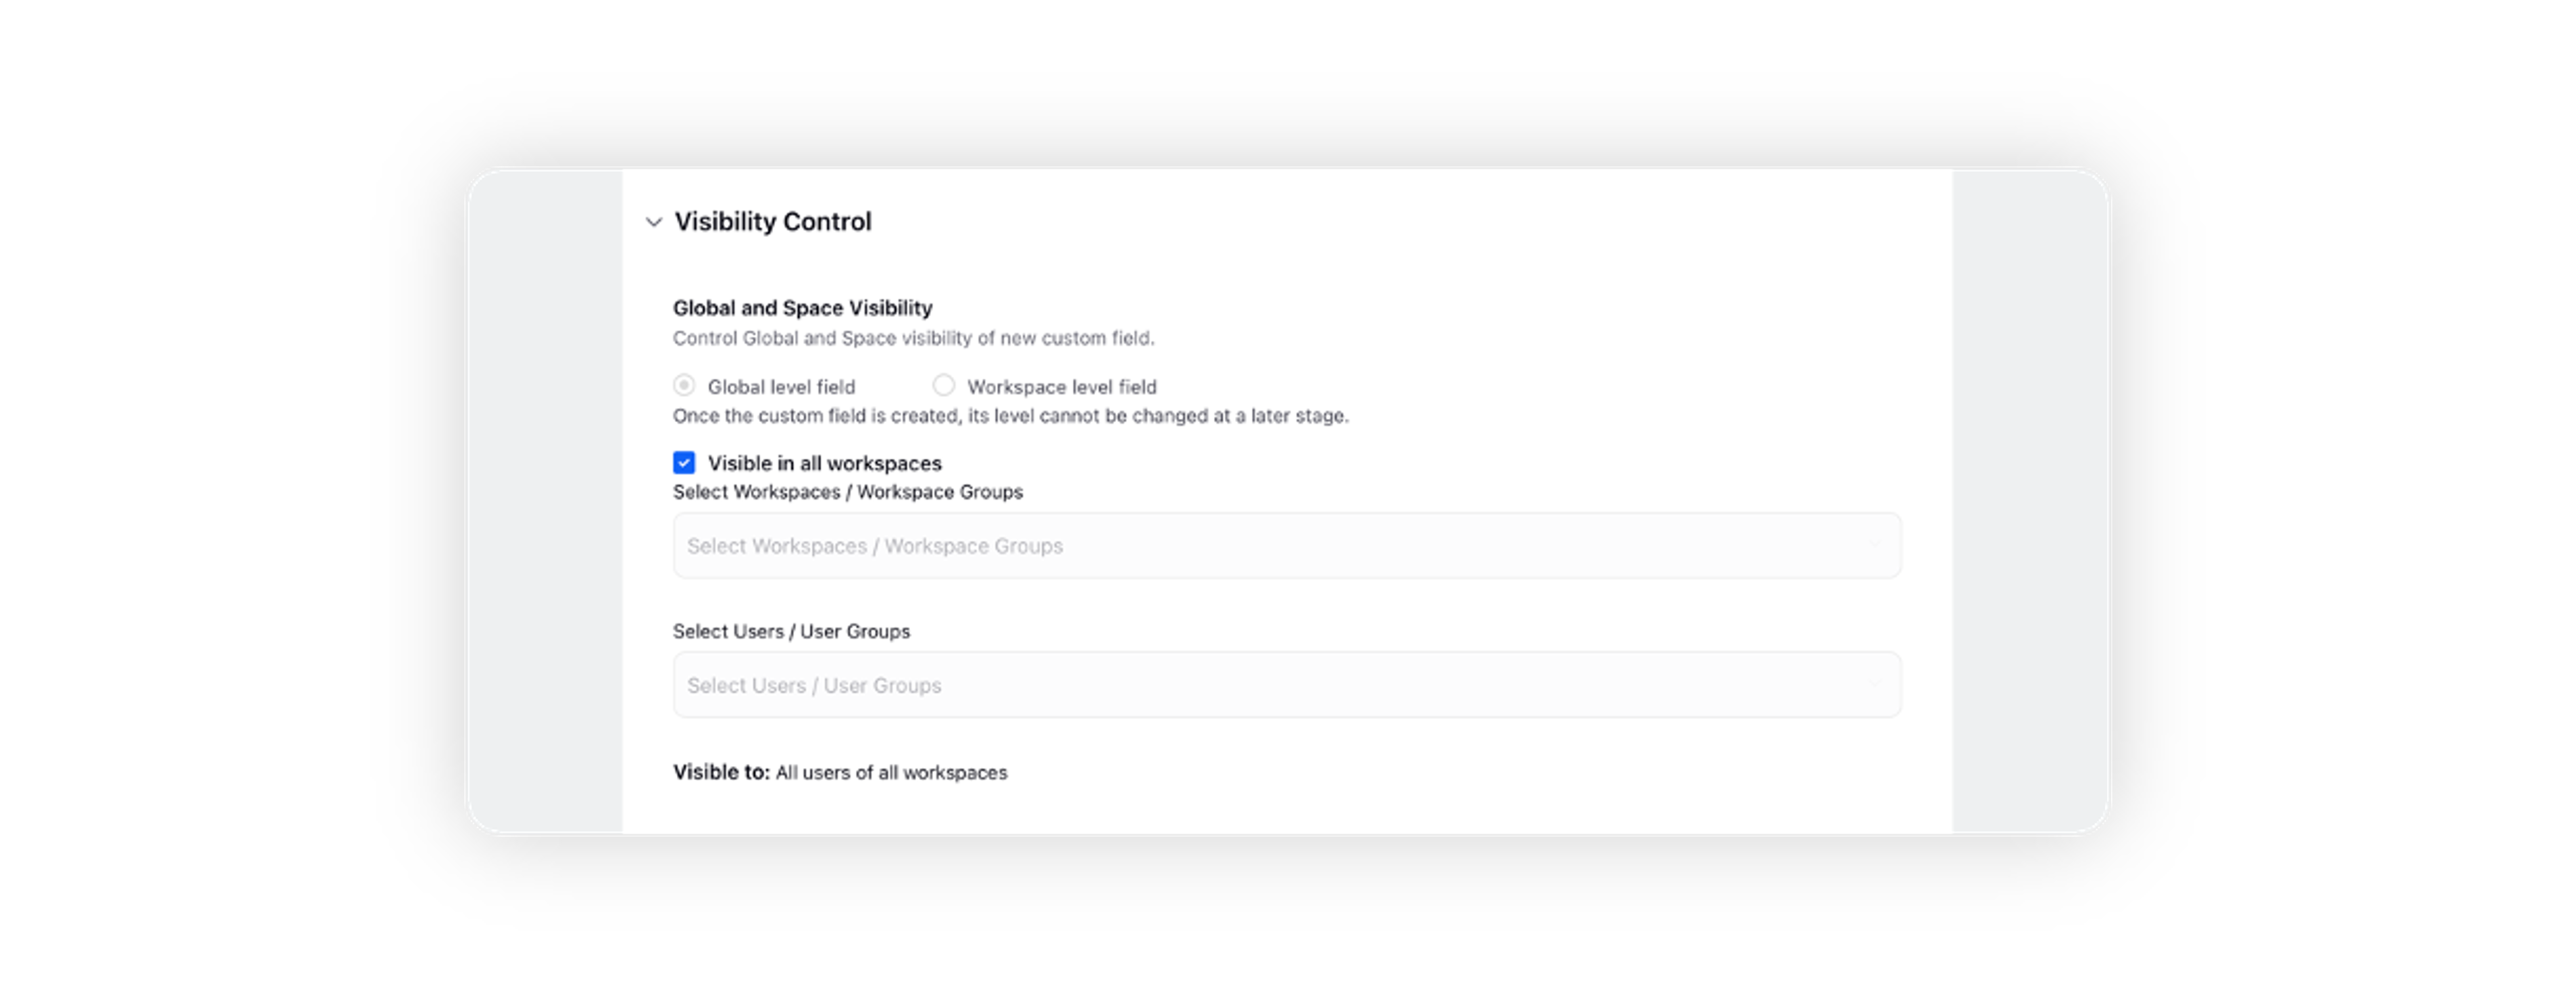
Under Visibility Control, select Visible in all workspaces or Select Users / User Groups if restricting the custom fields to some users only.
Click Save in the bottom right corner.
New Custom field – Fields & Description
Field | Description |
Custom Field Type | Define what the custom field will be –
|
Name | Name of the field |
Description | Details about the field not exceeding 500 words |
Asset | Select Business Location |
Help Text | Help text will be shown with the custom field to help the user understand the field. |
How to add custom fields?
On the dashboard, the custom field will can be added on a widget from the Widget buider under Filters –

Refer to this article for a detailed explanation on Custom fields - Custom fields.