Bulk import/export Business Locations
Updated
Learn how you can import and export your business locations in bulk using Location Insights.
Location Insights supports the bulk import and export of Business Locations. Using the Bulk Import capability, you can add or update a large number of business locations at once without the need to follow standard steps to add locations one by one. For example, if your company is opening multiple storefronts, Bulk Import can allow you to simply enter the information in a single document, all at once, and import them.
In addition to the ability to add new locations, you can also use the Bulk Import capability to update the information on existing locations. If your brand is changing the designated location ID format, you can use an import to update the Location IDs of all existing locations at once, without the need to edit each location one by one.
In the same way, the Bulk Export capability allows you to export or download all the Business Locations configured in your platform. The export file will be downloaded in the XLSX format.
Enablement note: In order to use this functionality, Location Insights should be enabled in your environment. To learn more about Location Insights, please work with your Success Manager.
Before you begin
You need to get started with an Excel file for importing Business Locations. An Excel template can be downloaded from the Import Business Locations window (shown in step 5). You can use this file to add or update Locations within Settings. You will notice that this template contains some sample entries under the Operation Type column.
These entries, for CREATE and UPDATE, are available to designate the two options you will have upon import.
For rows in the import file with the operation type CREATE, a new location will be added.
UPDATE will update an existing location with the new information that you provide.
Fill out the sample sheet linked above with the entries for any Business Location you wish to add or update. For the description of the fields within this sheet, see Import Business Locations – Field Descriptions. Once you have successfully compiled the business locations, you are ready to use the Bulk Import capability.
To import business locations
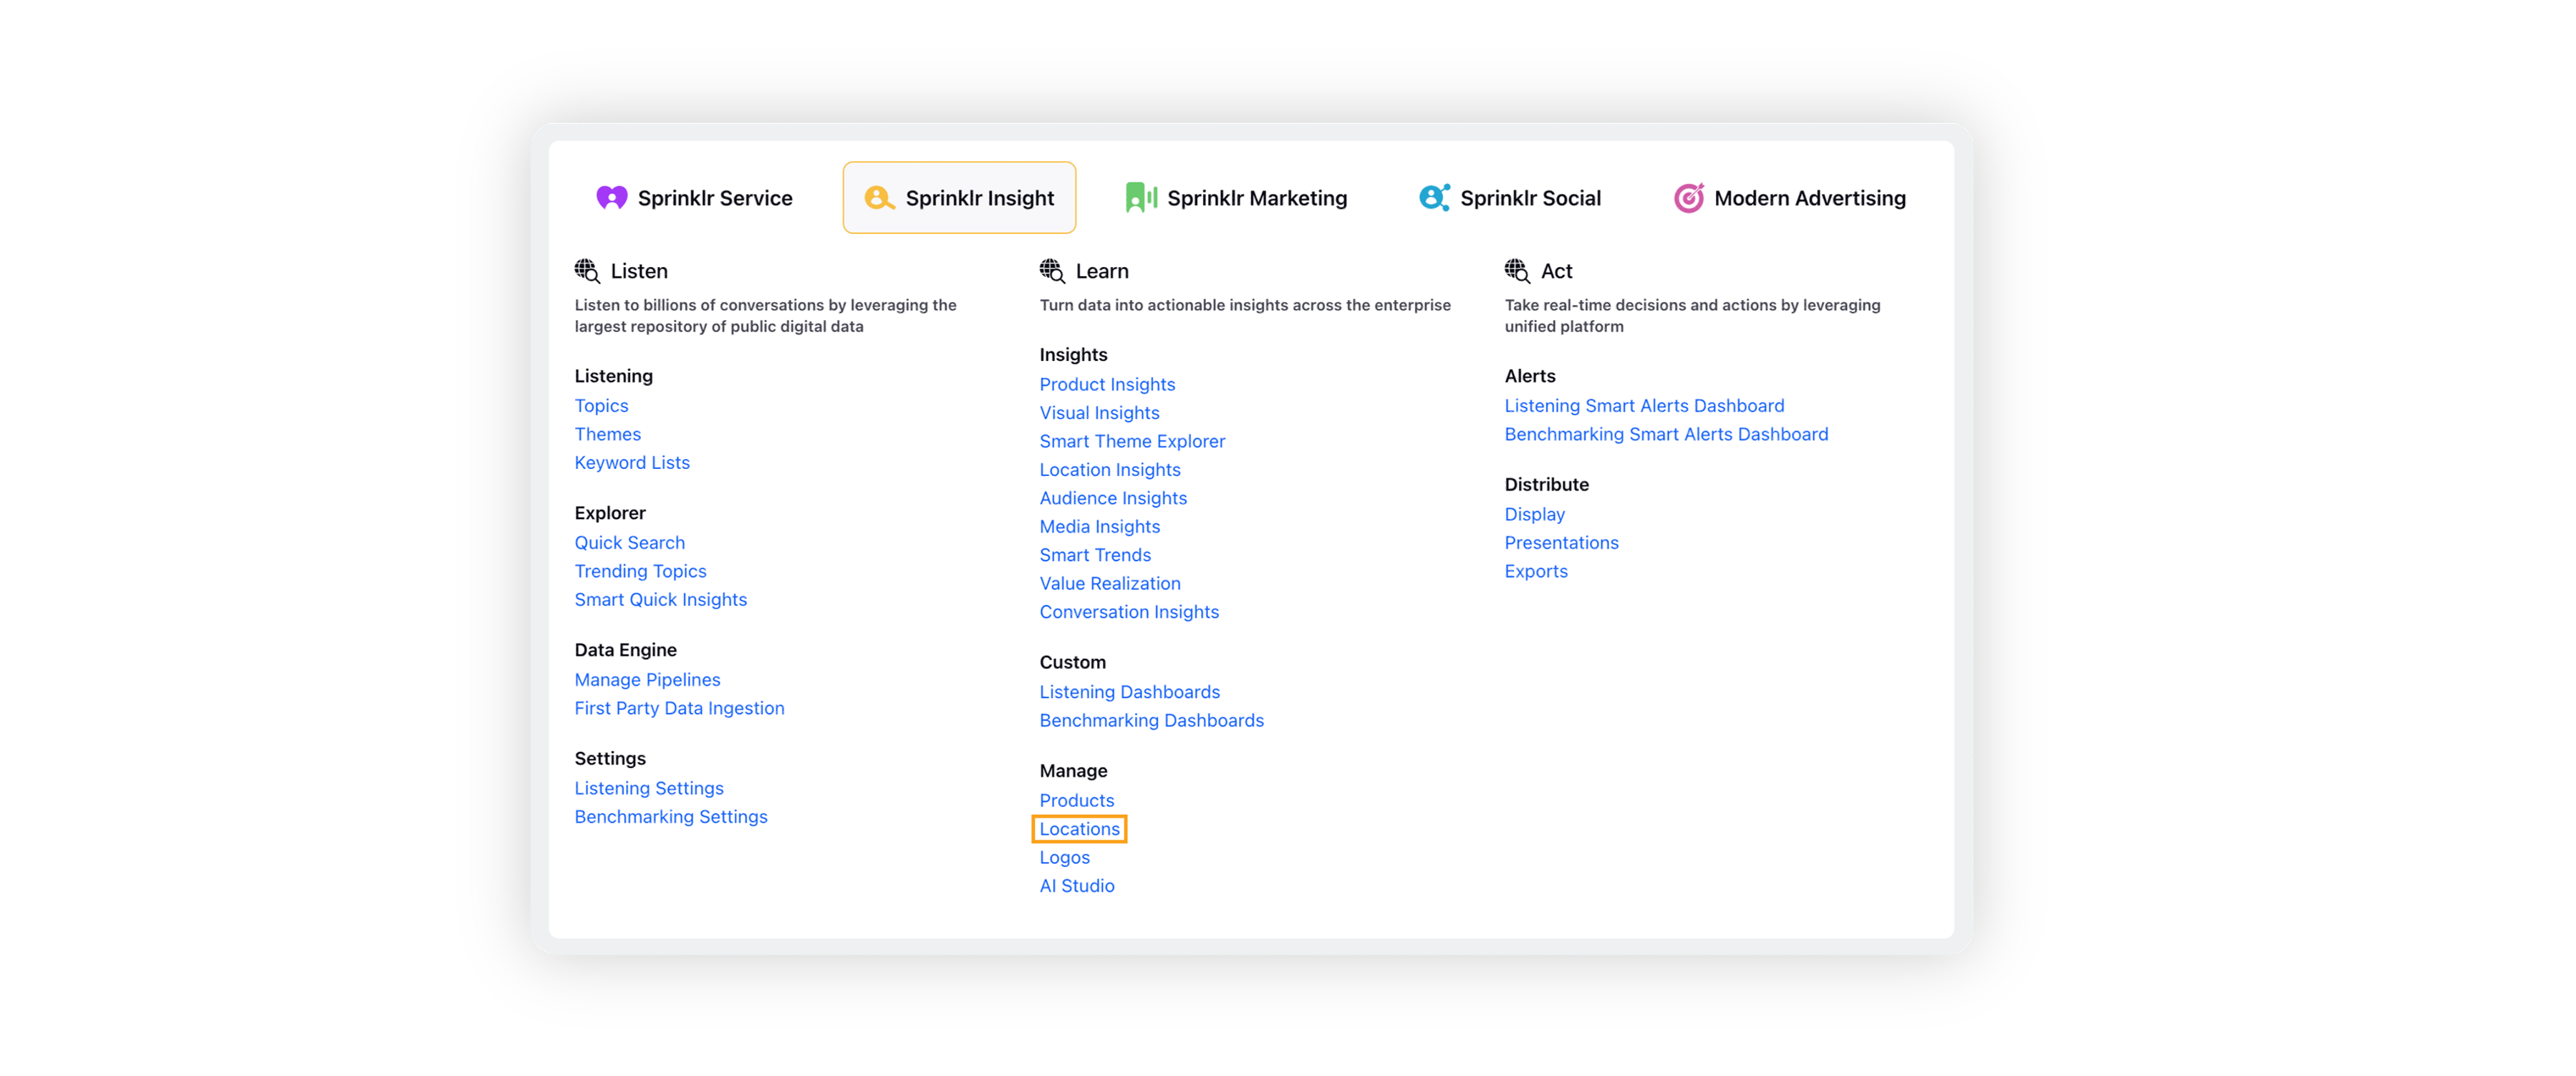
Click the New Tab icon. Under Sprinklr Insight section, click Locations within Learn.
On the Business Locations window, you can view all the previously created business locations.

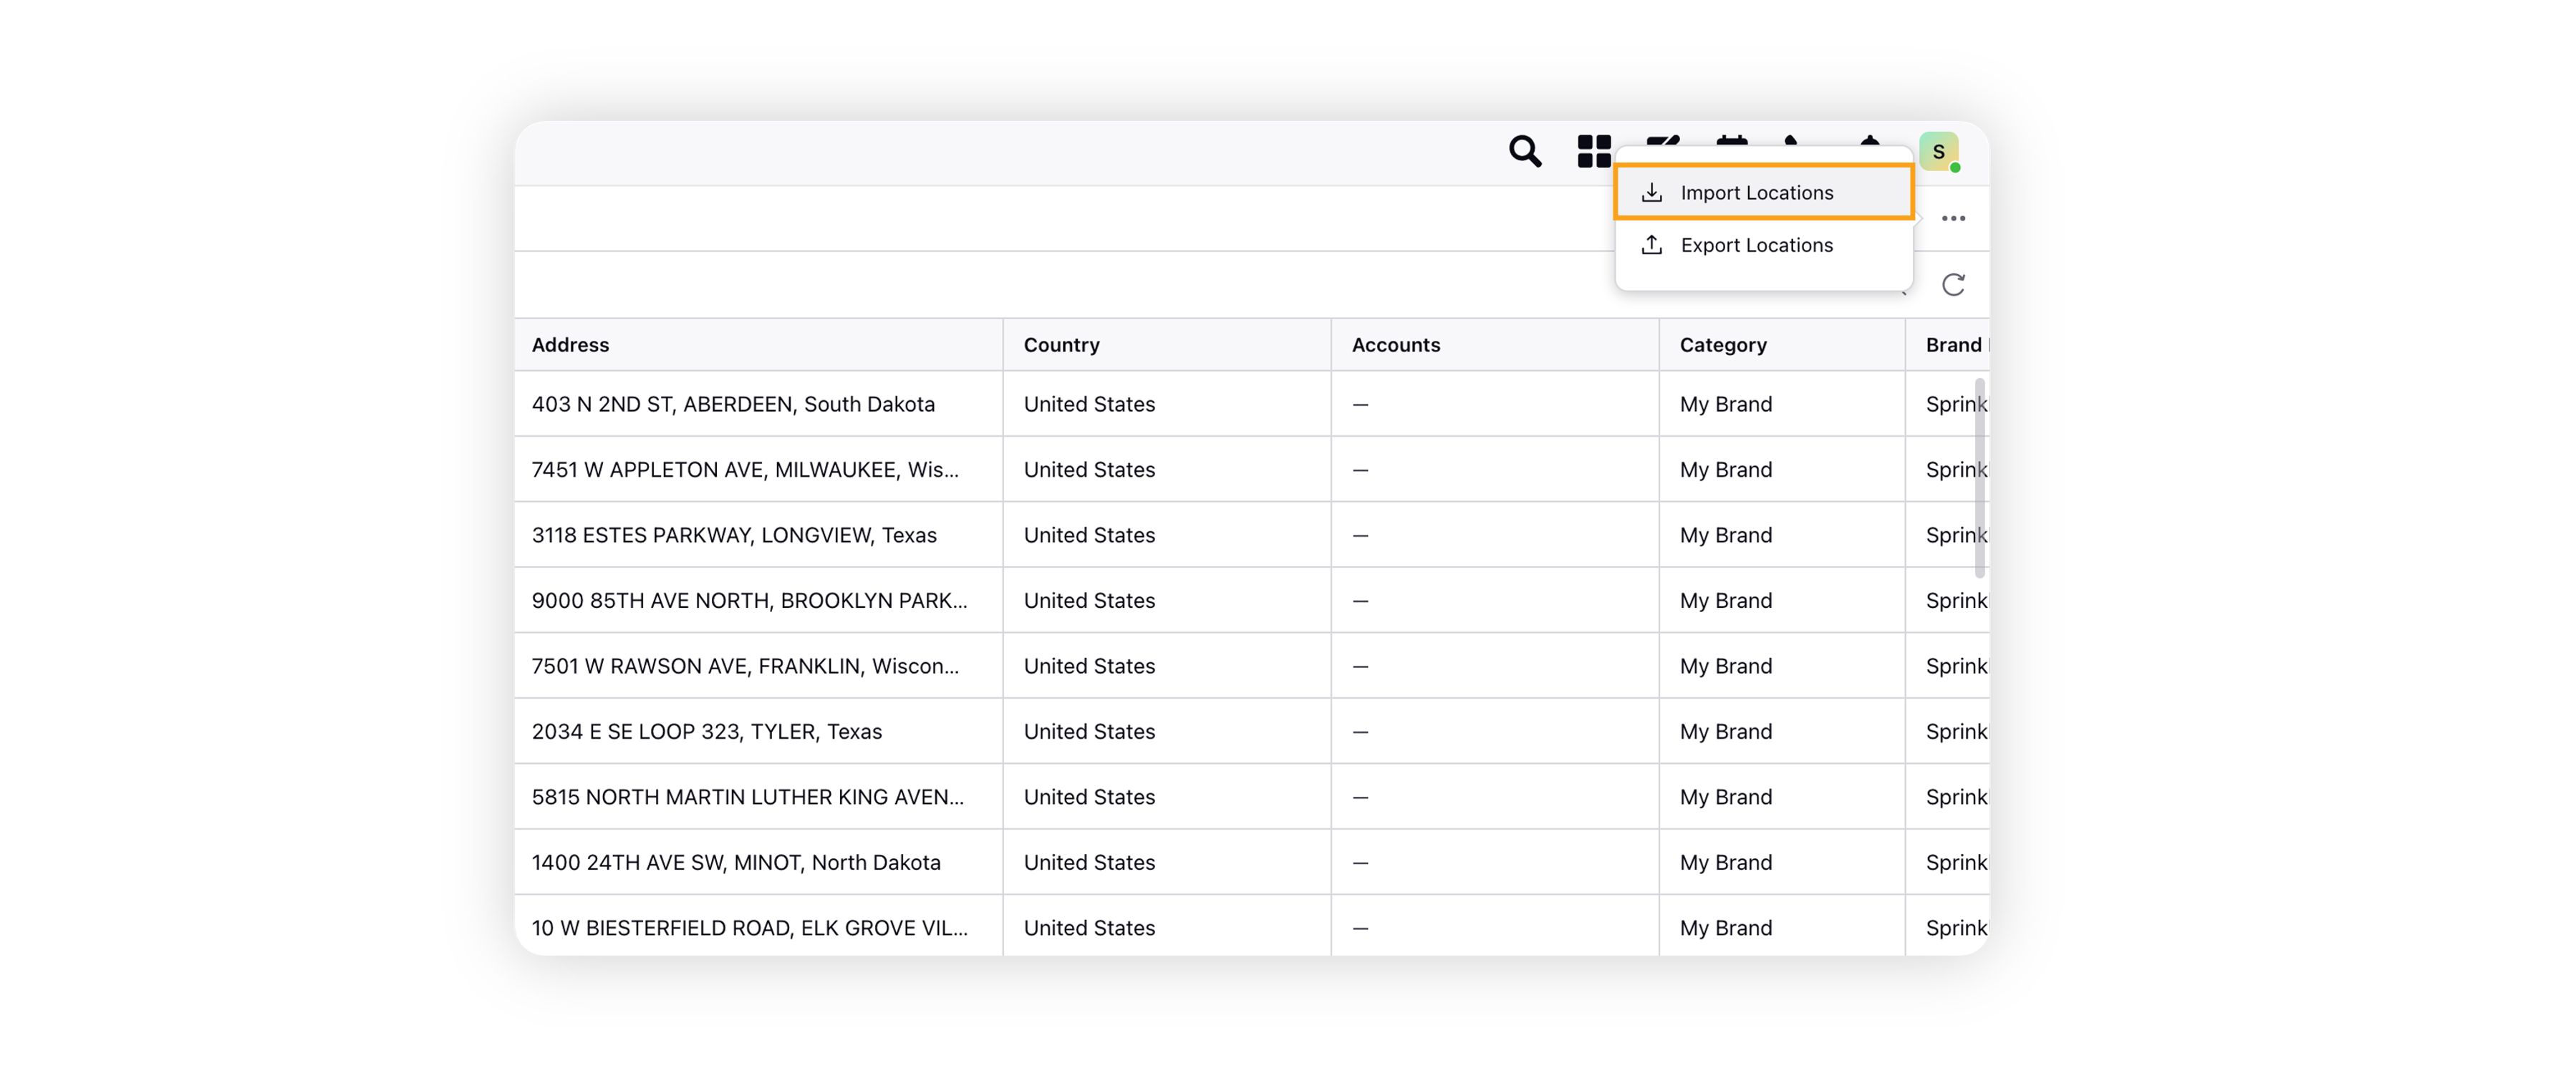
Hovering over the Options icon in the top right corner and click Import Locations.
On the Import Business Locations window, click Upload to upload the file with information about multiple Business Locations from your system.
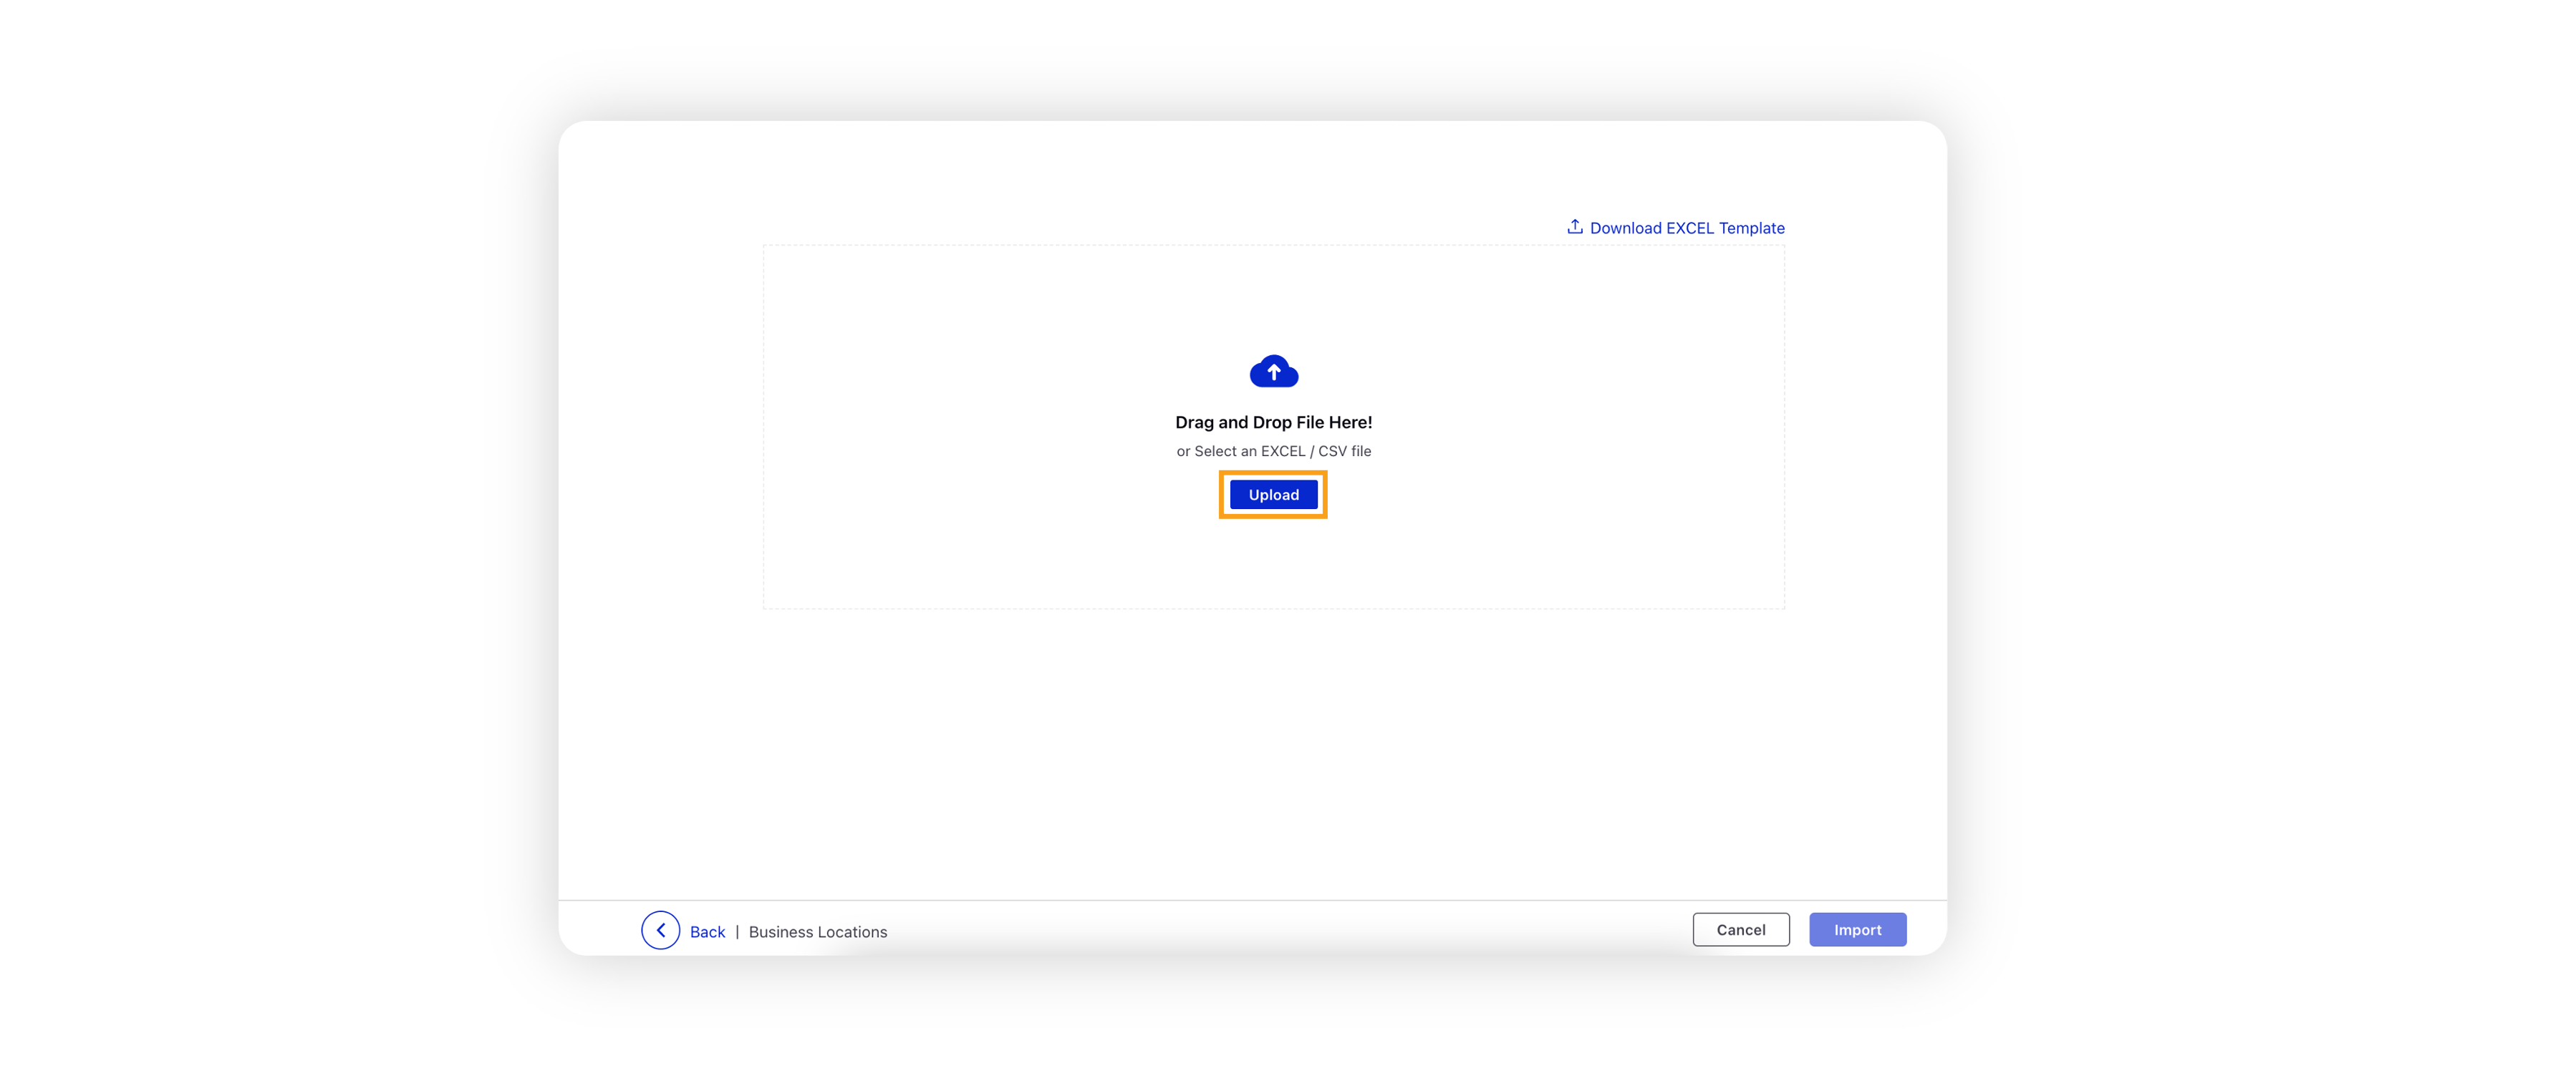
Note: Clicking the Download EXCEL Template link will download the Excel template to your system.
Click Import in the bottom right corner to start importing the business locations from the uploaded file. This process may take some time depending upon the number of business locations you have added to the file.
You will see a notification once the import has been completed successfully. Refresh the Business Locations window to load the new business locations.
Import business locations – Field & Descriptions
The following fields from the template designate how Location information will be transferred during import:
Field | Description |
Operation Type | This field designates whether an entry is to be added as a new Location (CREATE) or whether an existing Location is to be updated (UPDATE). |
Sprinklr Location ID | This field is required to identify an existing location when Updating through import. To obtain Location IDs for your saved Business Locations, please contact your Success Manager. Note: While creating new business locations, you can leave this field empty because the ID is auto-assigned by Sprinklr whenever a new location is created. |
Name | Enter a unique name for your location. |
Description | Enter a description for your location (optional). |
Vertical | This is the vertical / industry to which that location belongs. For example, Retail Stores, Automobiles, Hospitality, etc. This is non-mandatory but important as the NLP model is based on the vertical selected by the user. Note: If no vertical is selected, then the Generic model is assigned to the business location. |
Brand Name | Enter the name of the brand the location belongs to. |
Location Display Name | Enter the display name of your location. |
Brand Category - Competitor Brand? (Yes/No) |
|
Partner Brand Location - Competitor Mapping | This is used to map competitor location to partner brand location. If the user wants to compare 2 locations, i.e. 1 competitor location and 1 my brand location, then s/he can select the partner brand location name from this field. In the Import file, map the partner brand location to your competitor locations. And then you can analyze all in one place using competitor location mapping dimensions. |
Customer Location ID | This is a custom assigned ID that is used in mapping external data (location survey data) through first-party data ingestion. |
Country | Enter the country of your Location. |
Address | Enter the physical address of your location. |
City | Enter the city of your Location. |
State | Enter the state or province of your Location. |
Zip Code/Postal Code | Add the zip or postal code of your location. |
Website URL | Enter your location's website URL. |
Email | Enter the email address associated with the location. |
Phone Number | Enter your location's phone number. |
Alternate Phone Number | Enter an alternate phone number for your location. |
Topics | Enter the topics to map social listening mentions in a business location. |
Themes | Select the themes to map social listening mentions in a business location. |
Shared With: Global (Yes/No) |
|
Account | Map the name of the account in the Account Type column. The account you are entering here should be authenticated in the Accounts window. There will be 4 Account Type columns in the Import file – Facebook Page, Google My Business Page, Twitter, and BazaarVoice. |
Source | Enter the source URL in the Source Type column. The Import file has a separate section for each source. Note: We support multiple sources such as Agoda, Booking.com, Caring.com, Ctrip, Dianping, Expedia, Foursquare, Google.com, Hotels.com, OpenTable, Orbitz, Priceline, Qunar, Travelocity, Tripadvisor, Yelp, and eLong. |
Partner CF: Business Location: Custom_Field | Map the values of custom fields that you created in the platform for Business Locations asset type. |
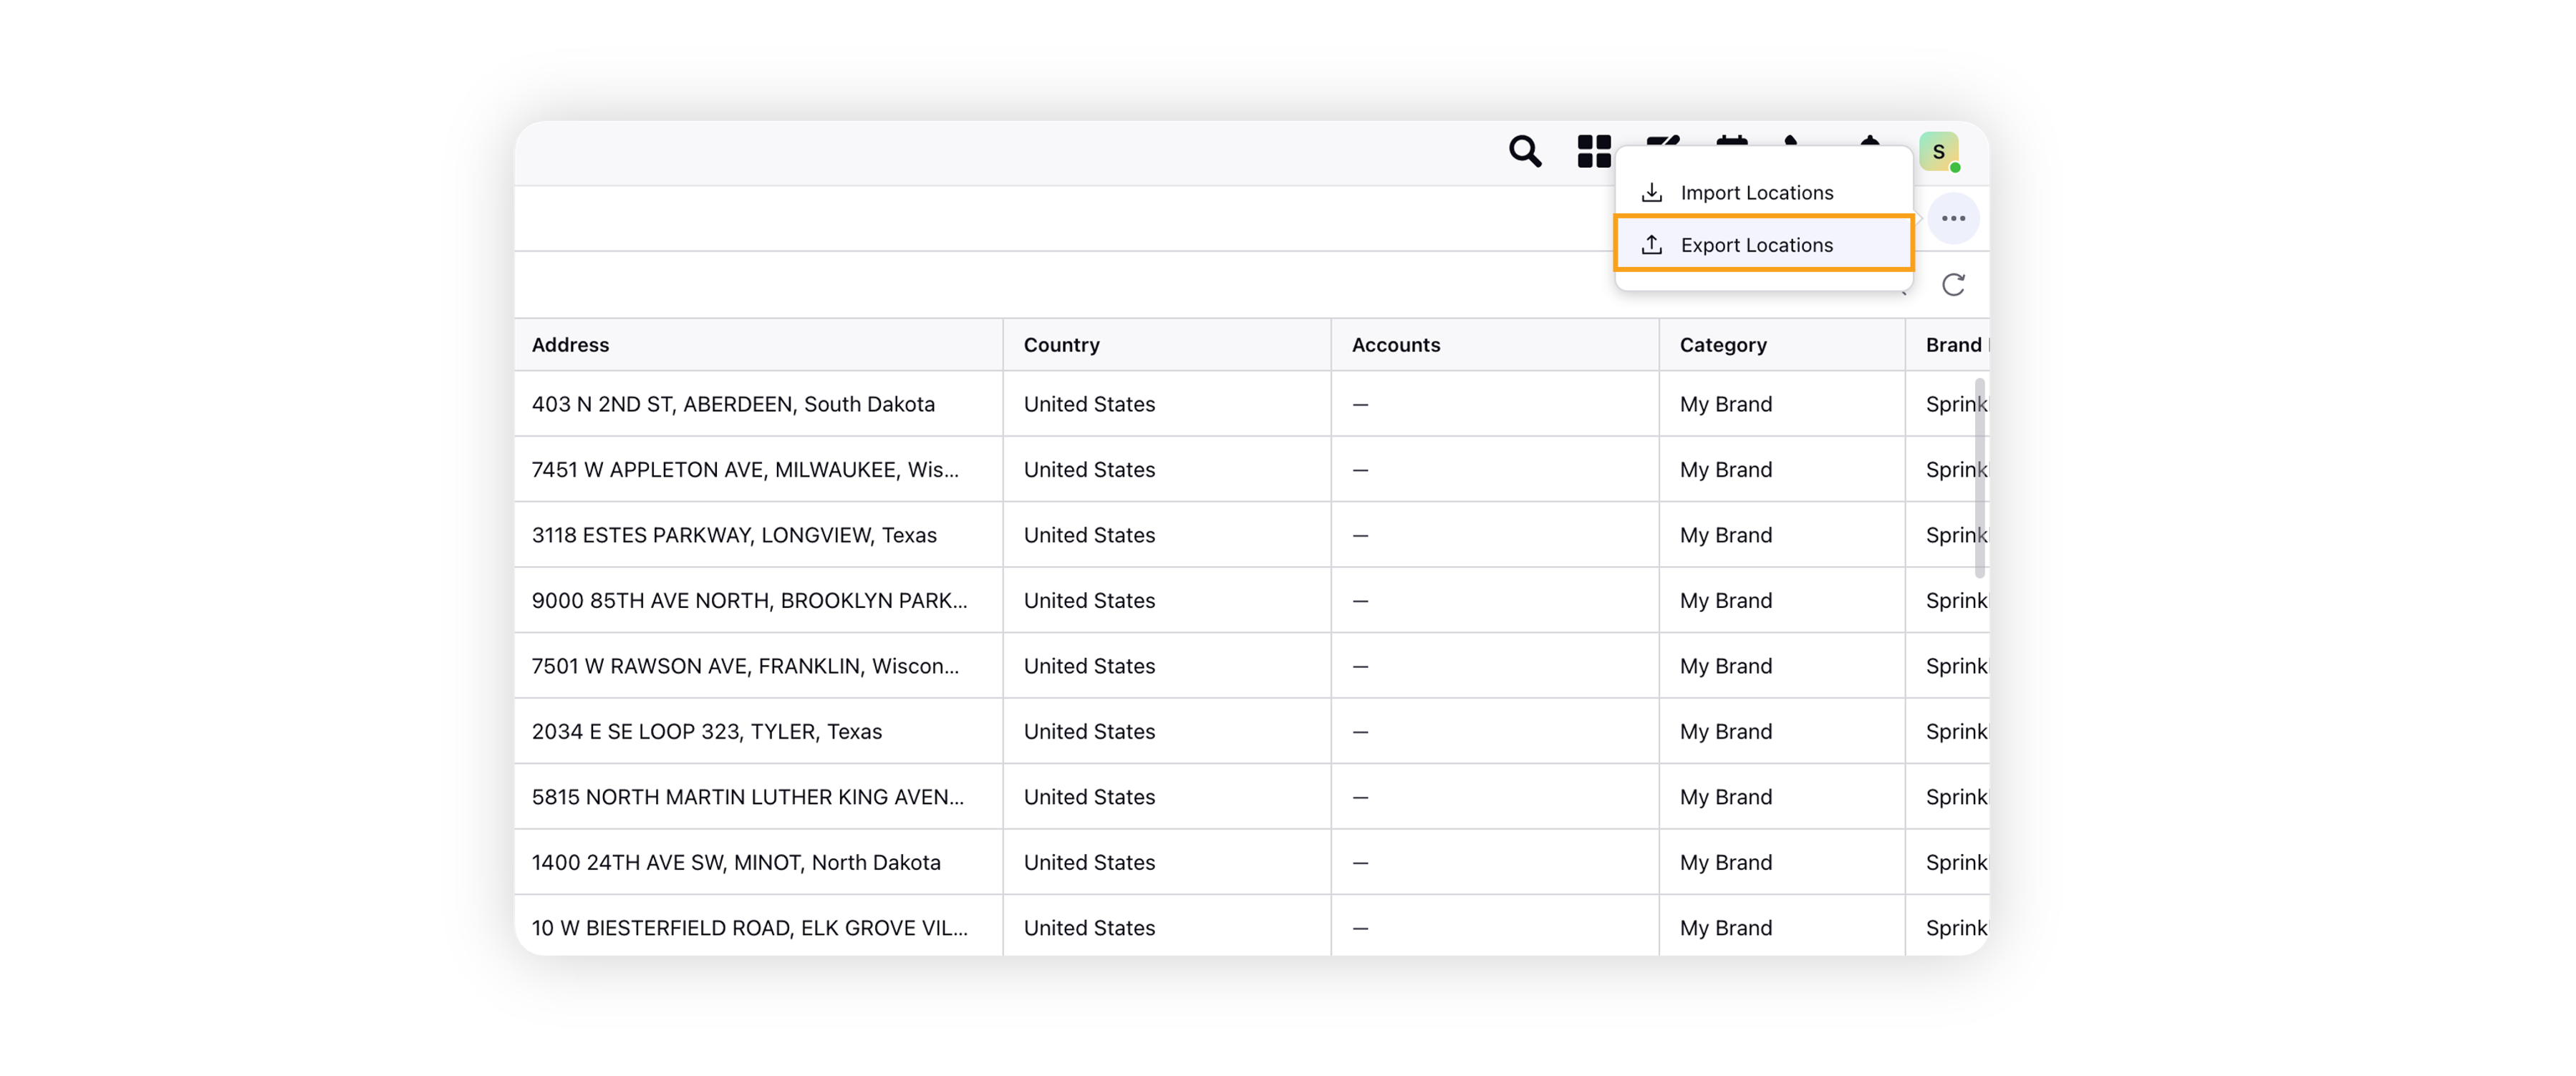
Export business locations
To export business locations, click the Options icon in the top right corner of the Business Locations window and select Export Locations. This will download an Excel file containing all the business locations.