How to Create Contact Drivers within Contact Driver Models
Updated
In each contact driver model, you can include two components: contact driver groups and contact drivers. The deepest level of the contact driver hierarchy is referred to as contact drivers, while everything preceding it consists of groups of contact drivers known as contact driver groups.
For example, "Product Issues" represents a contact driver group, under which there may be two contact groups: "Device Performance" and "Display Issues." Within the "Display Issues" group, specific contact drivers like "Display Damaged," "Flickering Image," "Ghosting/Touch," "No Video," and others can be added.
To Add Contact Driver Groups and Contact Drivers within a Contact Driver Model
Navigate to the Contact Driver Model window you created. Hover over the Options icon next to it and select View.

On the Contact Driver Groups window, locate and click the + Contact Driver Group option in the top right corner. In the top left, you see the model name.

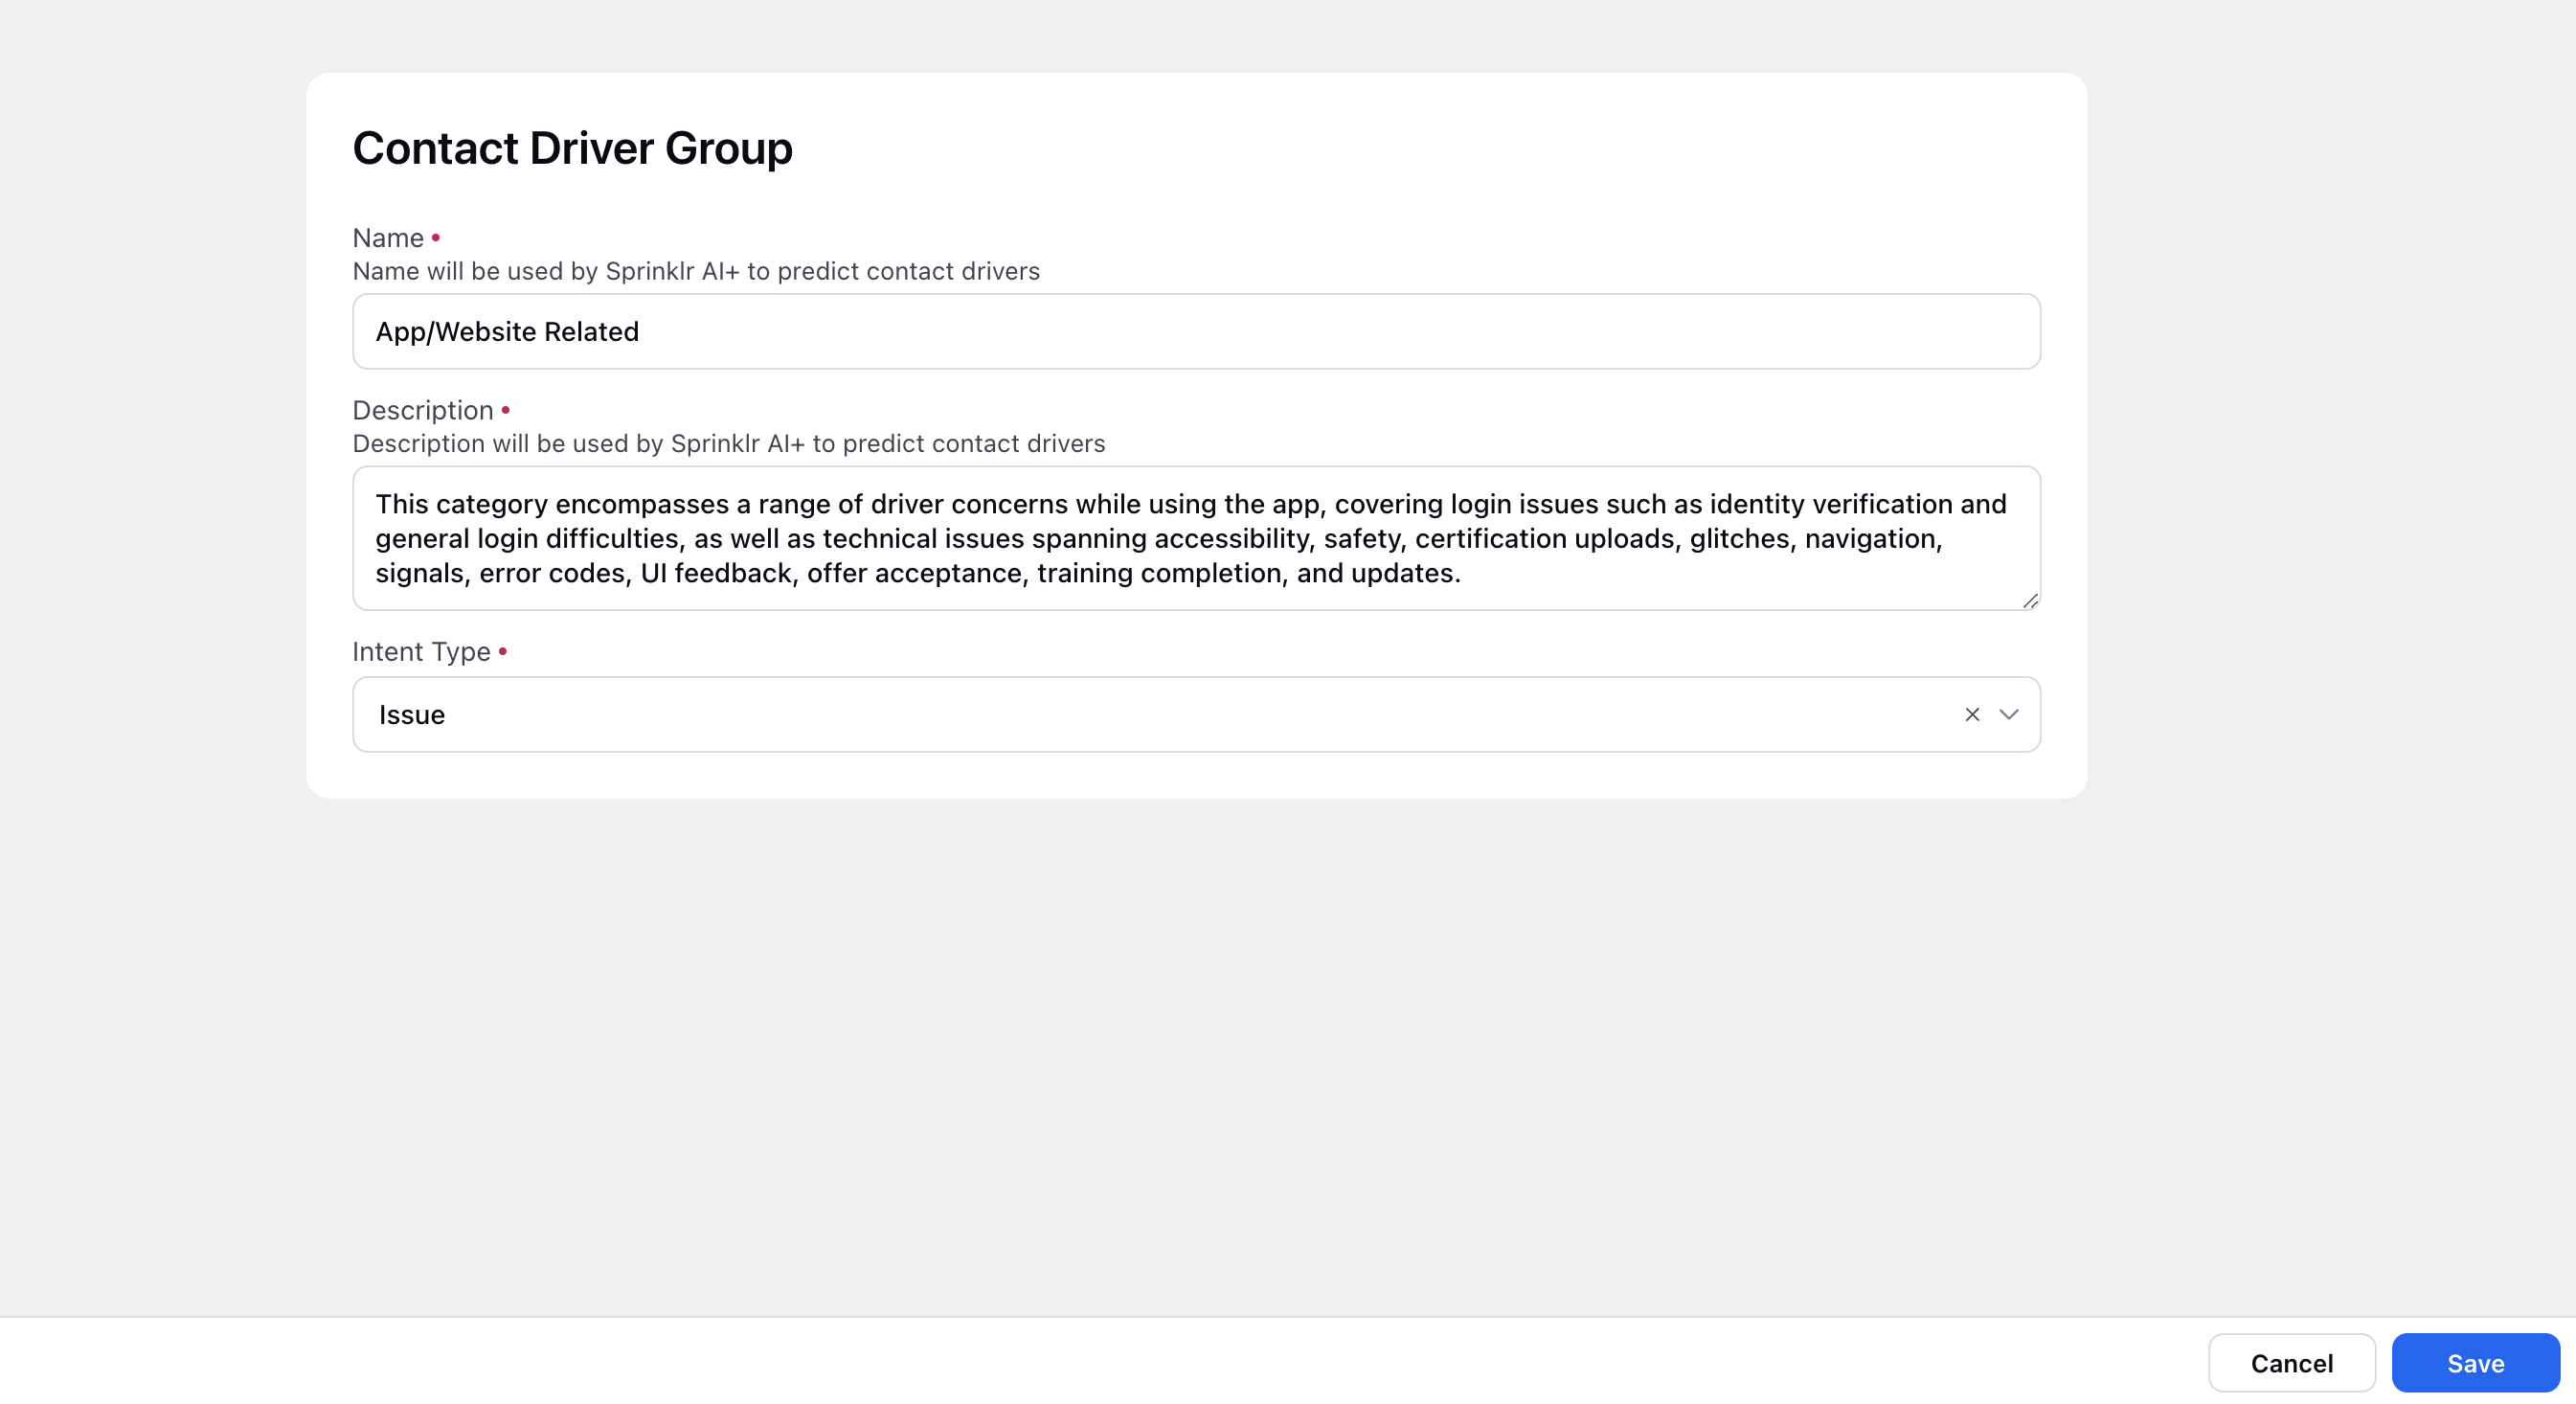
On the Contact Driver Group window, provide a Name, Description, and Intent Type.
It's important to note that the name and description is utilized by Sprinklr AI to predict contact drivers. Therefore, it's essential to provide meaningful and descriptive information that the model can effectively interpret. In the description, include descriptive guidelines detailing what the intent should contain or exclude, as well as when it should be triggered or avoided. These guidelines can be as detailed as needed, with a recommended length of at least two or three sentences to help the model understand the specific definition of the contact driver.
Additionally, specify the intent type for each contact driver group and each contact driver. For the Level 1 Intent Groups, select Issue. For more information, see Intent Type.
Click Save at the bottom to save your changes. You then be redirected back to the Level 1 Contact Driver Group window. From here, you can add multiple Level 1 Contact Driver Groups as required.
Note: As you proceed to add Contact Driver Groups and Contact Drivers within the Level 1 Contact Driver Group, you notice the counts updating in the "Total Contact Drivers" and "Immediate Sub-Groups" columns accordingly.

Now, hover over the desired group and click View to delve into a deeper level.

In the top left corner of the Level 2 Contact Driver Group window, you observe the updated hierarchy, indicating that you are within the Level 1 Contact Driver Group under the selected Model. On this window, click the + Contact Driver Group option in the top right corner once again to add Level 2 Contact Driver Groups as needed. Provide a name, description, and intent type.

Continue repeating the process until you reach the last level as specified during the creation of the selected contact driver model. For instance, if you set the total levels as 4, you'll be provided with options to create three levels of contact driver groups nested within one another. Once you reach the final level, you can proceed to add contact drivers within the respective groups.
In our example, we are now on the Level 4 Contact Drivers window where you can add contact drivers as needed.
At the top left corner of the Level 4 Contact Drivers window, you notice an updated hierarchy displayed. This hierarchy indicates your current location within the contact driver groups as follows:
- You are within the Level 3 App Functionality Error contact driver group.
- This group is situated within the Level 2 Technical contact driver group.
- The Level 2 Technical contact driver group is nested within the Level 1 App/Website Related contact group.
- Finally, the Level 1 App/Website Related contact group is contained within the Technical Support Model.
This hierarchical structure provides a clear understanding of the organization of contact drivers, helping you navigate and manage them effectively within the system.


Intent Type
There are two primary intent types within contact driver models: issue type and product type. At each level, the intent type determines whether a particular contact driver is categorized as an issue type or a product type.
Issue type contact drivers are typically associated with customer issues, where the goal is to classify a given case into a list of customer issues. On the other hand, product type contact drivers help identify products mentioned within a case.
For issue intent type, the focus is on identifying an issue in the context of its parent contact driver. Similarly, for product intent type, the focus is on identifying products mentioned in a case within the context of their parent issue contact drivers.
Restrictions
The first level (Level 1) of contact drivers must always have the Issue intent type. This is because Level 1 contact drivers are the initial level determined within a case, and determining a product directly within the case without context of an issue intent can be challenging, especially when multiple products are mentioned within the case.

All children of a parent contact driver must have the same intent type. This means that all contact drivers within a group must be either product or issue intent. Attempting to save a child contact driver with a different intent type results in an error message.

If the parent contact driver is of issue intent type, its children can have either product or issue intent types, however, if the parent contact driver is of product intent type, then all its children must also be of product intent type.
