How to Import Contact Drivers within Contact Driver Models
Updated
In every contact driver model, you have the option to include two key components: contact driver groups and contact drivers. The deepest level within this hierarchy is referred to as contact drivers, which represent specific issues or reasons for customer contact. Everything preceding the contact drivers consists of groups of contact drivers, known as contact driver groups. These groups serve as broader categories that encompass related contact drivers.
To streamline the process of adding or updating contact drivers and groups, the system provides an option to import data via an Excel template. You can download the template, fill it with the desired contact driver and group information, and then upload the completed template back into the system. If there are any errors or inconsistencies in the data, the system identifies them and provides feedback for correction. Once the template is error-free, the data is imported successfully into the system, allowing you to efficiently manage and organize their contact driver models. This feature simplifies the task of adding contact driver hierarchies, ensuring accuracy and consistency in customer interaction categorization.
To Import Contact Driver Groups and Contact Drivers within a Contact Driver Model
Navigate to the Contact Driver Model window you created. Hover over the Options icon next to it and select View.

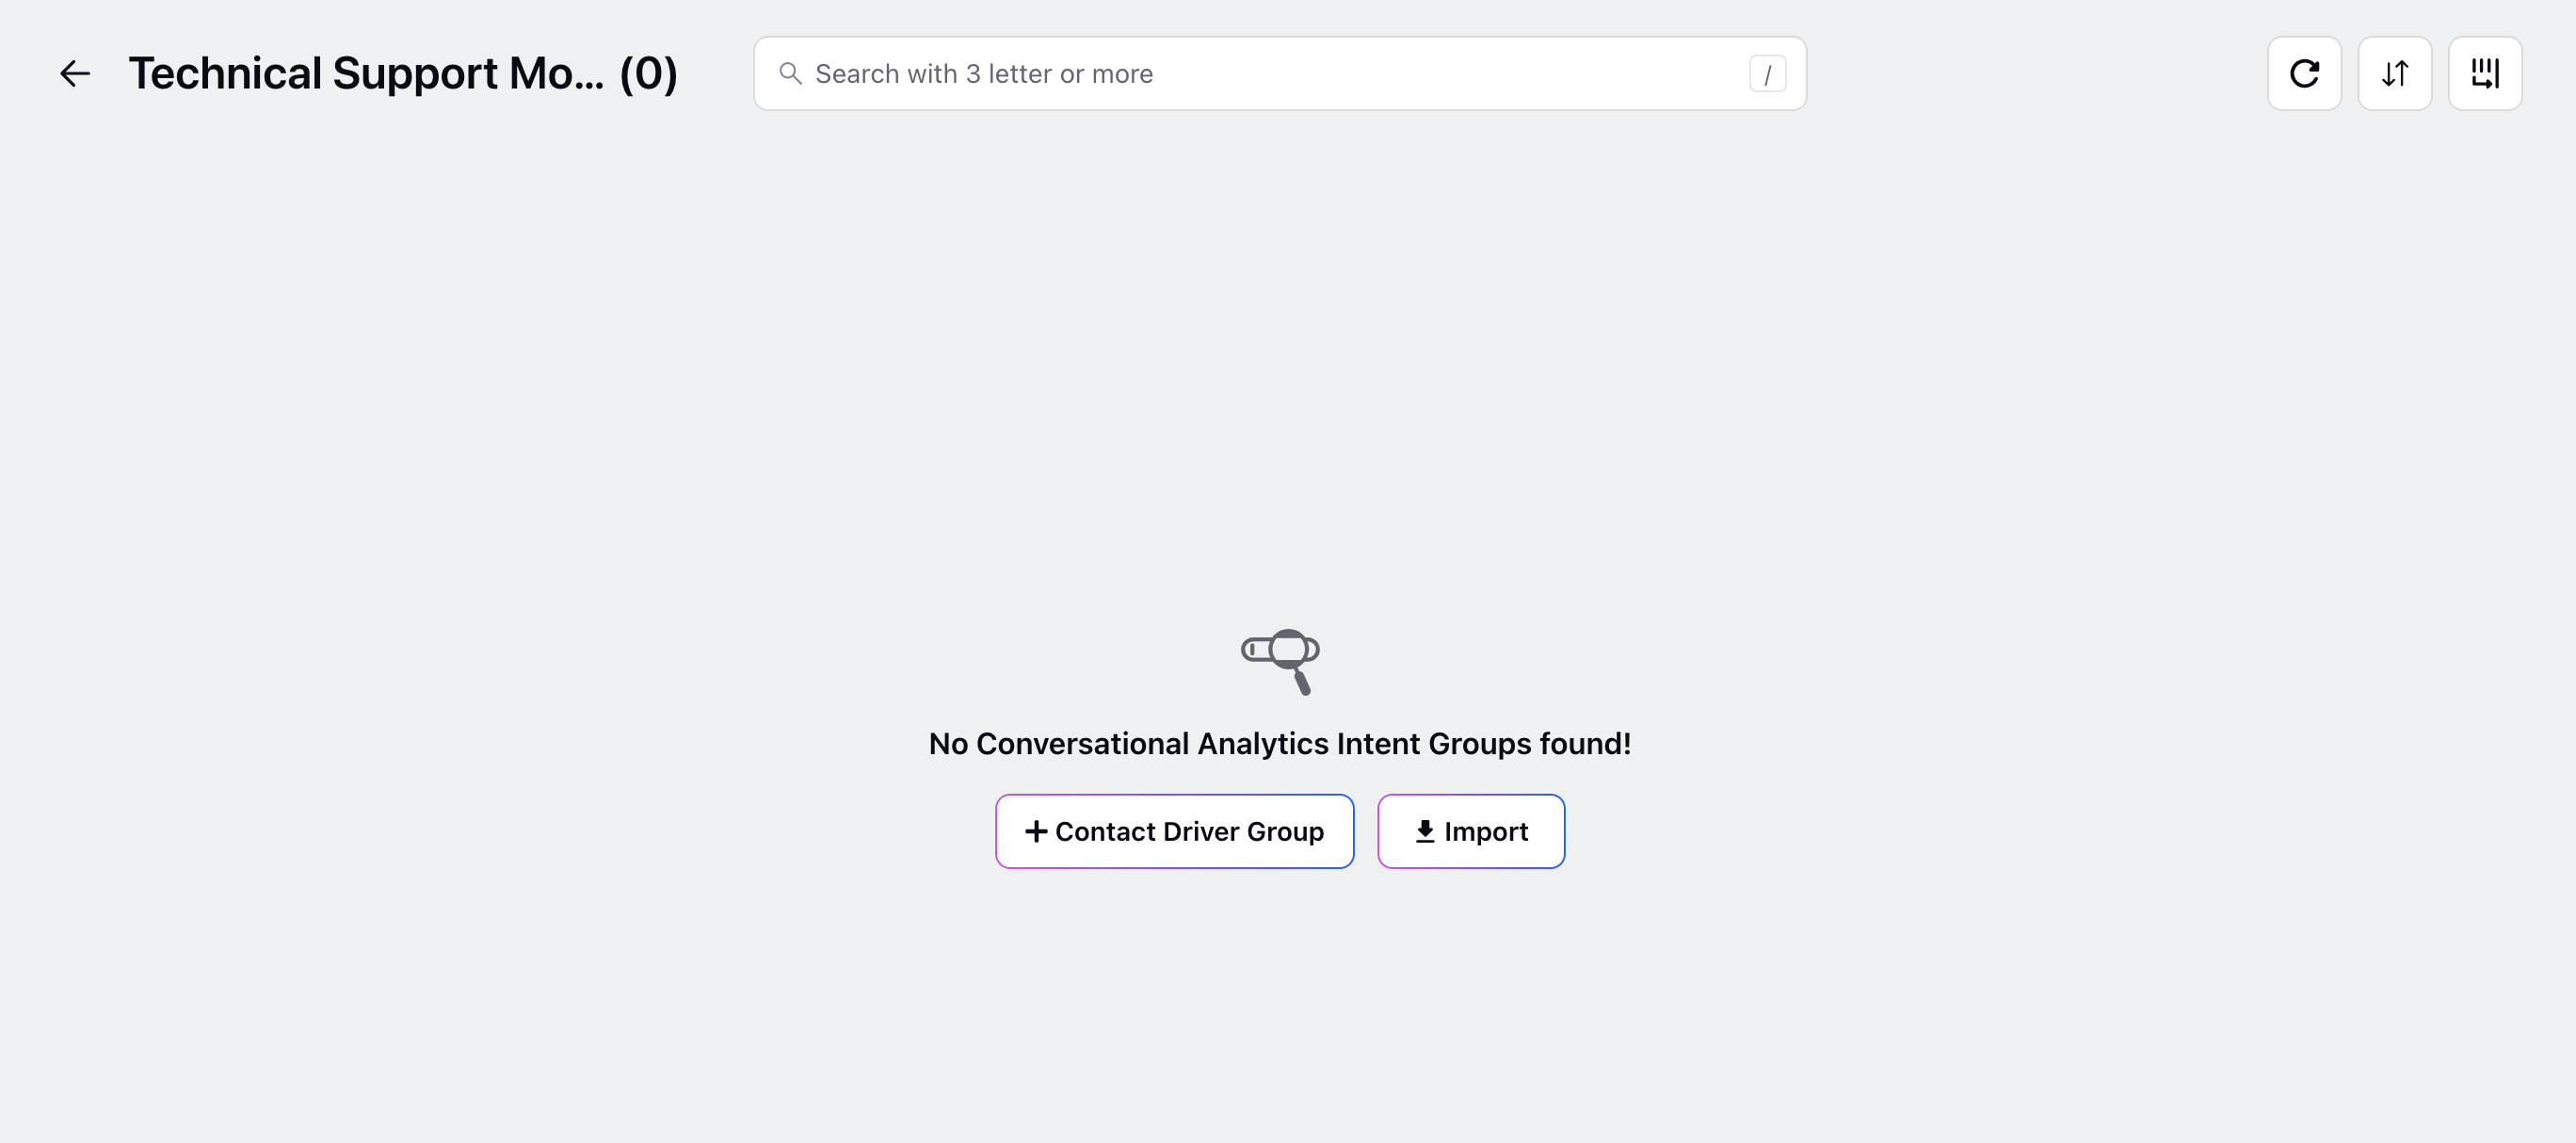
On the Level 1 Contact Driver Groups window, click Import. If no contact drivers have been added yet, this option will be visible. At the top left corner of the window, you'll see the name of the contact driver model you are currently working with. This provides context and ensures that you're importing data into the correct model.
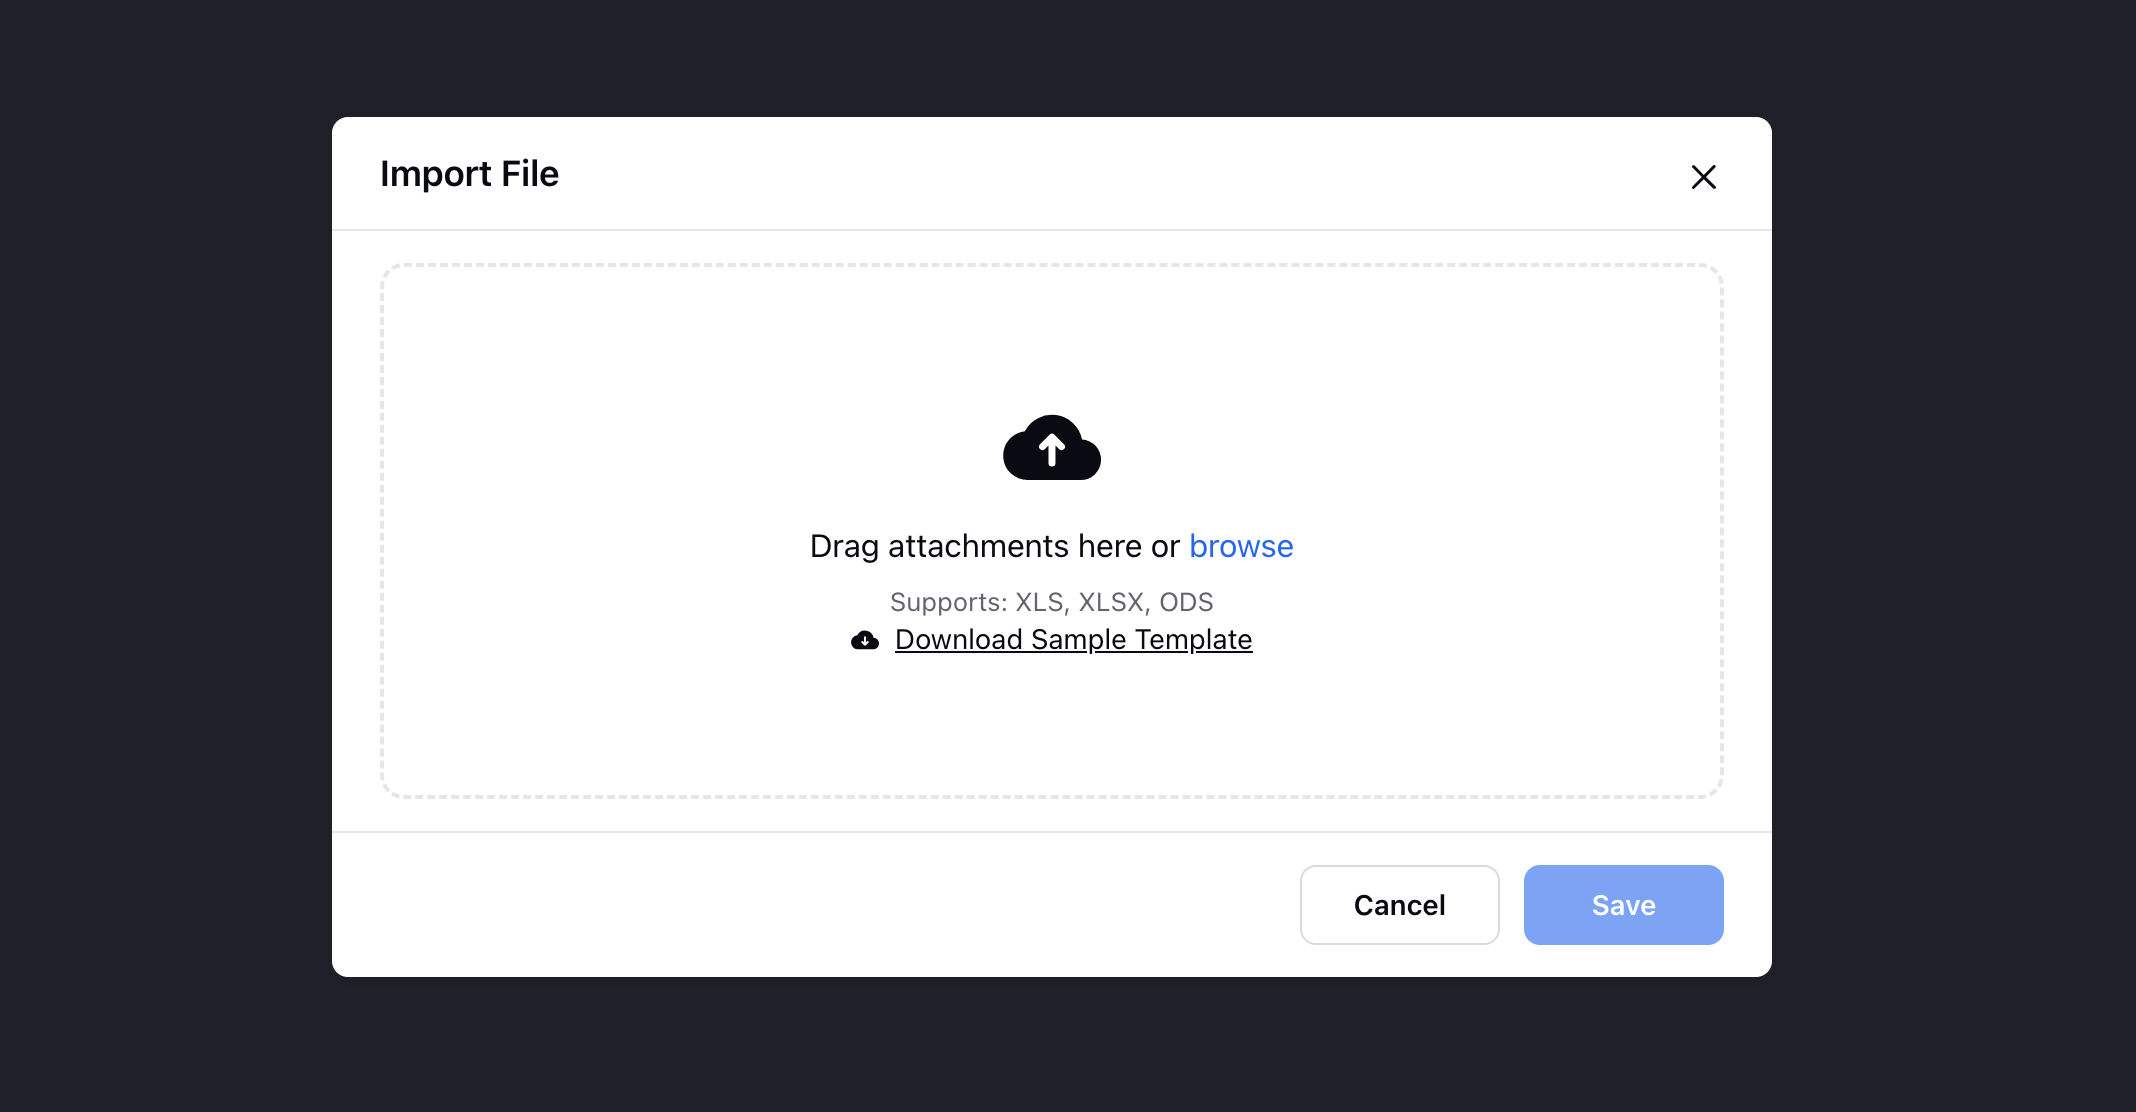
On the Import File popup window, you find the option to download the Sample Template.
Upon downloading the sample file, you'll notice several sheets added to facilitate the addition of contact drivers, as specified during the creation of the selected contact driver model. For example, if you set the total levels as 3, you are provided with options to create three levels of Contact Drivers.
The first sheet is typically named "Instructions & Guide," where you find detailed guidelines. These guidelines are tailored based on the set levels, ensuring clarity and relevance to the Contact Driver hierarchy you are working with.

Follow the guidelines provided and fill in the sheet accordingly with the necessary information. For more information, see Instructions & Guide.

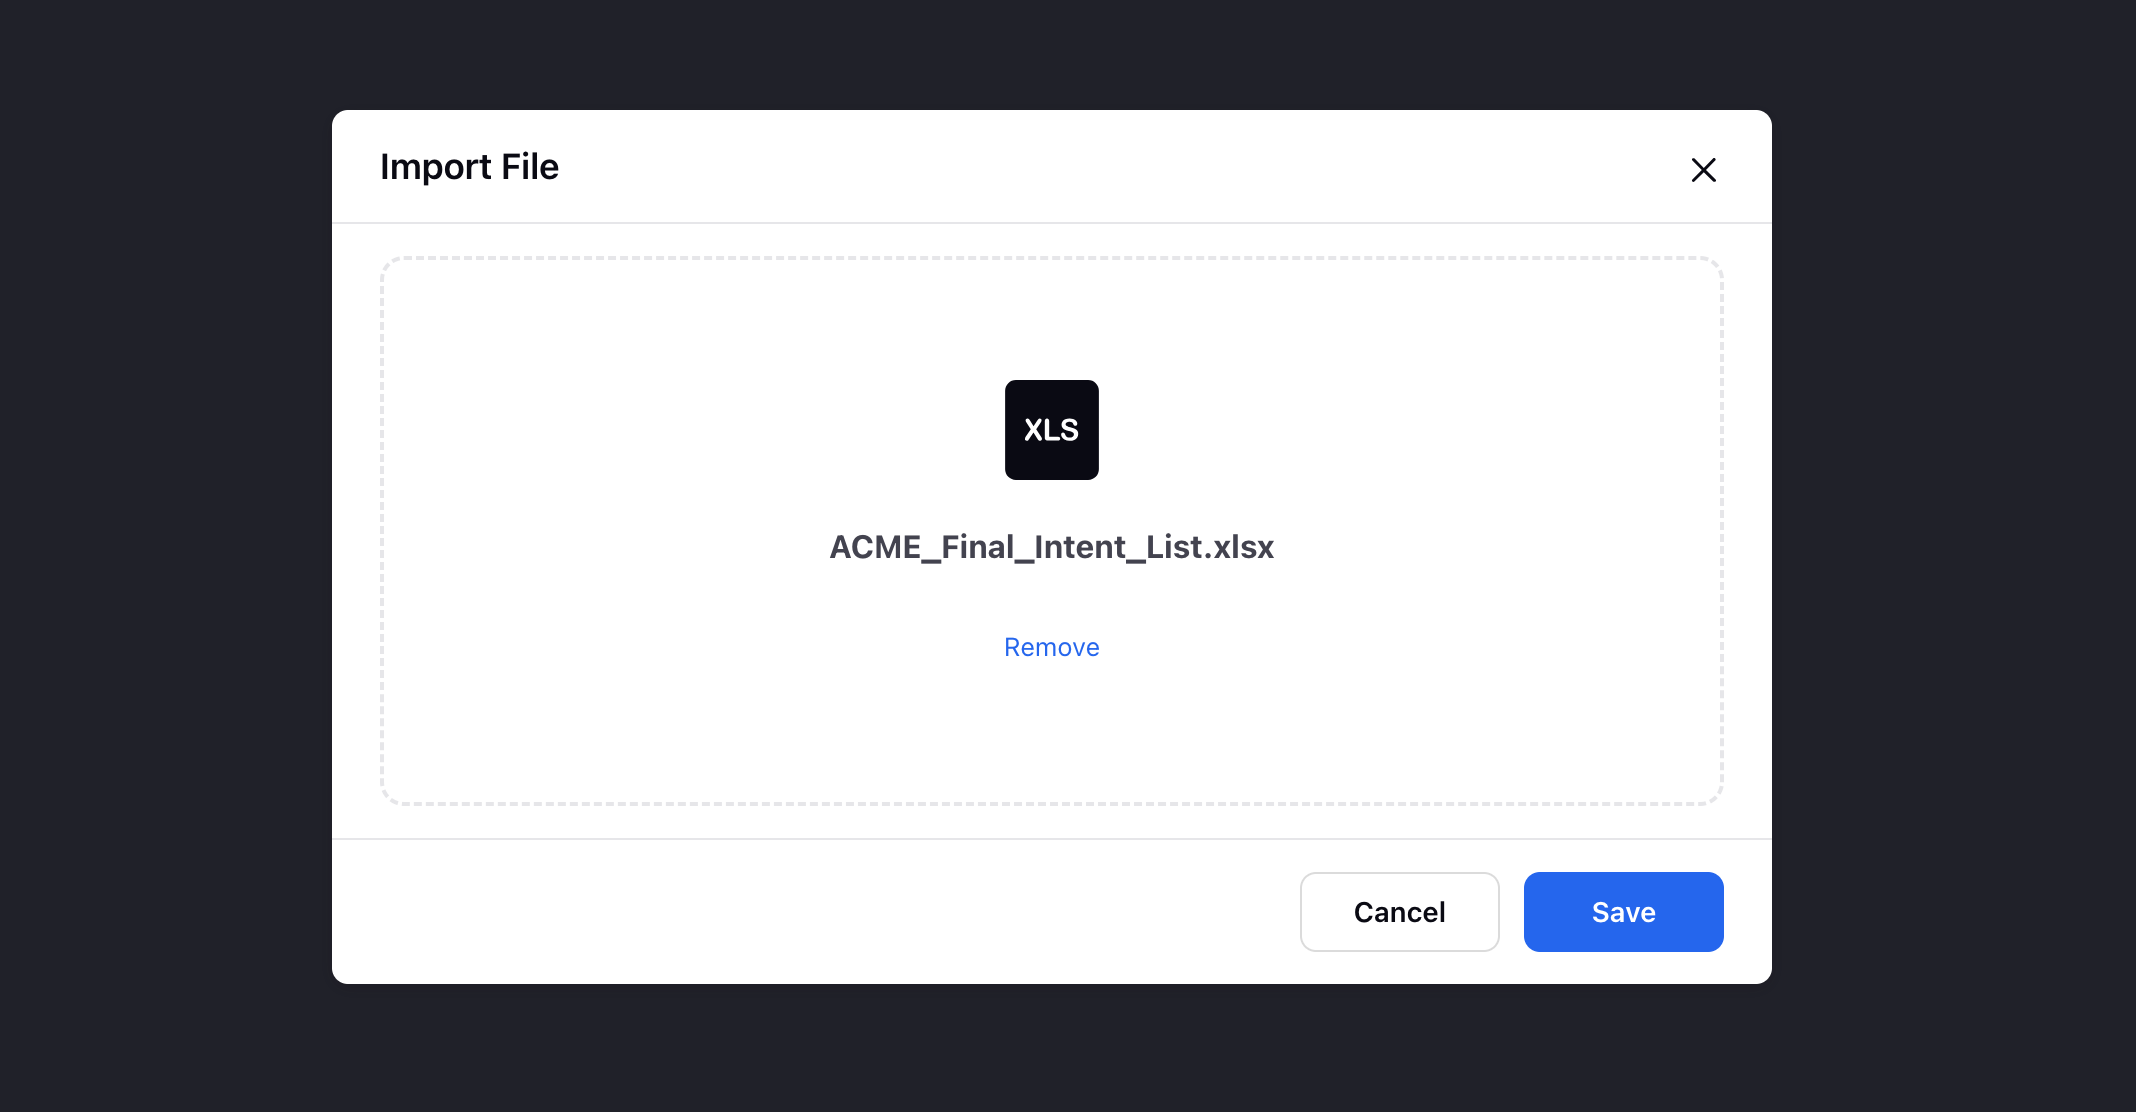
Once you have completed the template, upload the file back into the system and click Save to finalize the import process.
After uploading the file, if there are no errors detected, it is successfully uploaded, and all the Contact Driver levels are added to the system.
You receive a platform notification confirming the successful upload. However, if there are any errors found in the file during the upload process, you are also notified accordingly. Additionally, you have the option to download the file containing the highlighted errors, making it easier to identify and correct them. For more information, see Platform Notifications.
 Note: The file is uploaded, you cannot import again within the same model. Imported data is only allowed once within the model. To upload again, you can either delete all intents within the model before uploading again or delete the entire model and create a new one.
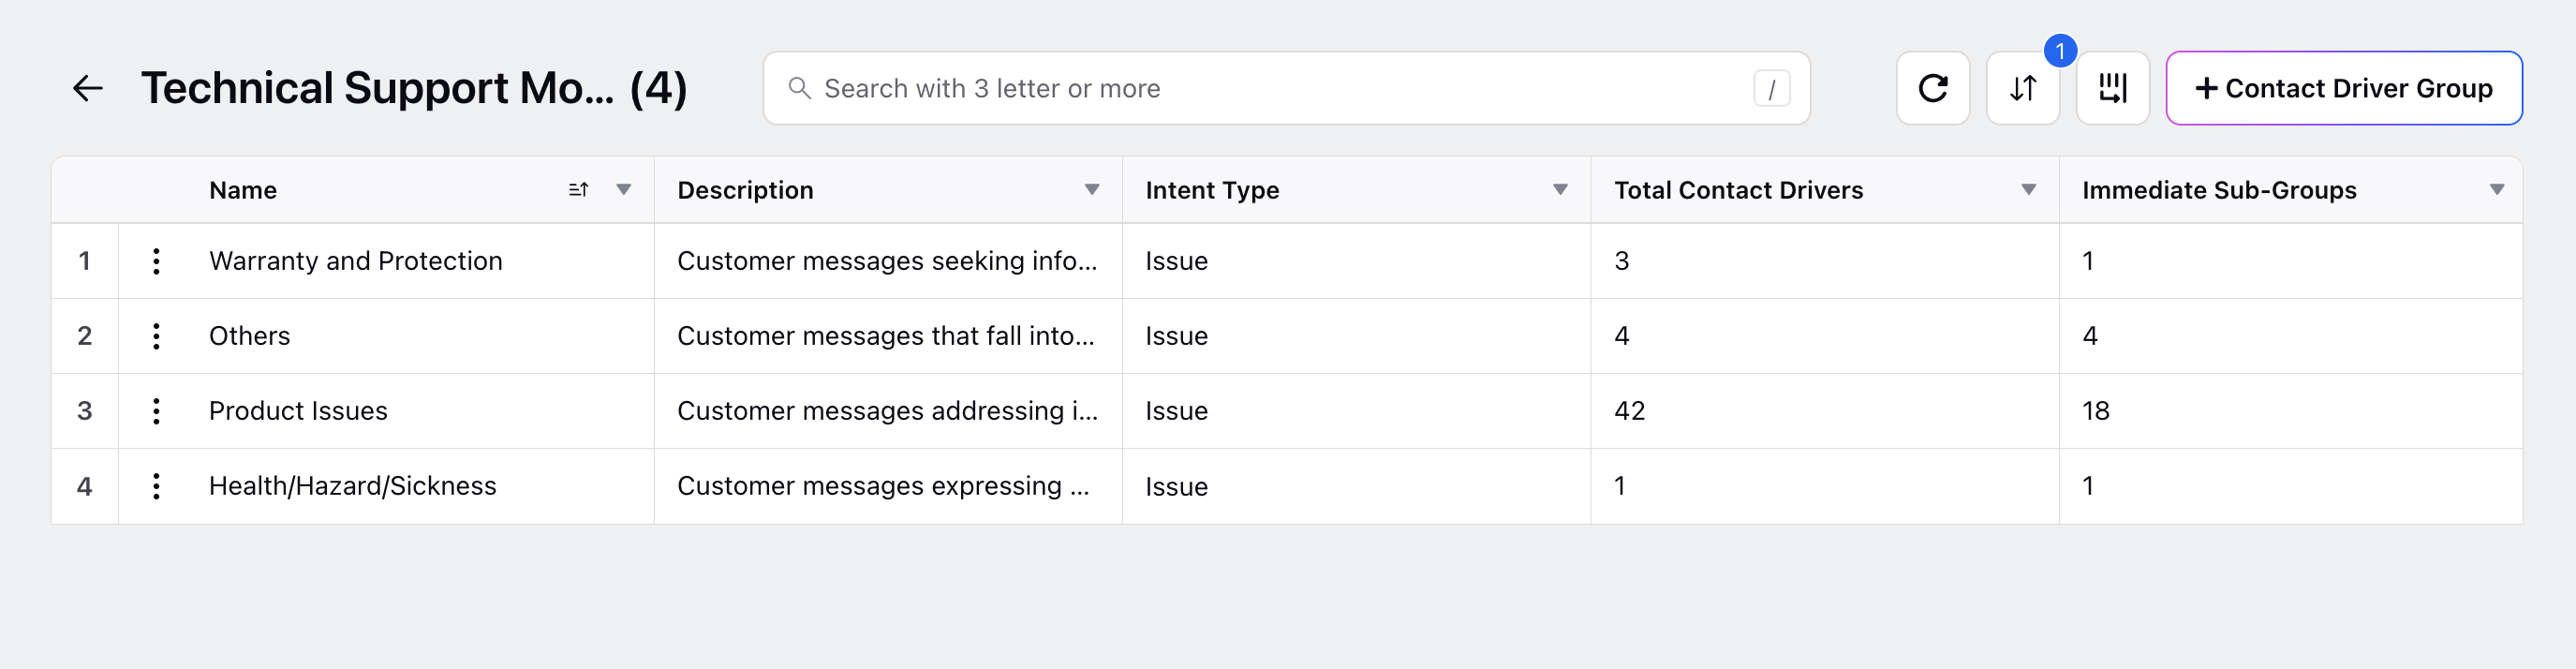
Instructions and Guide
Let's break down the instructions for populating the Excel template for a three-level hierarchy:
System Requirements: The system requires a hierarchical mapping of Intent Names at all levels. Additionally, it needs a description for each Intent Name.
Fill in Intent Names in "Hierarchy & L3 Details" Tab:
Enter the Intent Names in the "Hierarchy & L3 Details" tab.
Add the type of L3 Intent in the "L3 Intent Type" column. Use "Product Intent" if it's related to a product, and "Issue Intent" if it pertains to an issue.
Provide descriptions for the L3 Intent in the "Description of L1|L2|L3 Intent" column within the same tab.
Copy Intent Names to "L2 Details" Tab:
Copy the columns containing Intent Names from the "Hierarchy & L3 Details" tab and paste them into the "L2 Details" tab.
Delete the "L3 Intent Name" column in the "L2 Details" tab.
Remove Duplicates in "L2 Details" Tab:
Within Excel, navigate to the Data toolbar > Data Tools > Remove Duplicates to remove duplicate entries in the "L2 Details" tab.
Add Type and Description for L2 Intent:
In the "L2 Details" tab, add the type of L2 Intent in the "L2 Intent Type" column.
Provide descriptions for the L2 Intent in the "Description of L1|L2 Intent" column within the same tab.
Copy Intent Names to "L1 Details" Tab:
Copy the columns containing Intent Names from the "L2 Details" tab and paste them into the "L1 Details" tab.
Delete the "L2 Intent Name" column in the "L1 Details" tab.
Remove Duplicates in "L1 Details" Tab:
Use Excel's Data toolbar > Data Tools > Remove Duplicates to eliminate duplicate entries in the "L1 Details" tab.
Add Description for L1 Intent:
In the "L1 Details" tab, provide descriptions for the L1 Intent in the "Description of L1 Intent" column.
Following these steps ensures a systematic approach to populate the Excel template with intent names and descriptions, organizing them into the appropriate levels within the hierarchy.
![]() Note: While the steps outlined provide a recommended approach for setting up the contact driver hierarchy in Excel, you have flexibility in how you achieve the same result.
Note: While the steps outlined provide a recommended approach for setting up the contact driver hierarchy in Excel, you have flexibility in how you achieve the same result.
Platform Notifications
You receive a notification when a file is successfully uploaded.

You receive a notification if there is a missing tab or column in the file. For more information, see Errors in File.

You receive a notification if there is an error within the file, along with an option to download the file with highlighted errors. For more information, see Errors in File.

Errors in File
Below is an explanation for each error that might occur during the upload of the Contact Drivers file:

Missing Intent Details tab: This error occurs when the file lacks the tab that should contain detailed information about each intent level.
Missing Column: This error indicates that a required column is missing from the file.
Corresponding Intent not found in Ln Details tab: This error occurs when there is a mismatch between the intents listed in different levels of hierarchy within the file. For example, an intent listed in Level 3 does not have a corresponding entry in Level 2 or Level 1.
Duplicate row with same Intent Names found: This error indicates that there are duplicate rows in the file with identical intent names. It's important to note that this error does not consider the description associated with the intent.
Intent Name is empty: This error occurs when the intent name field is empty at any specific level.
Intent Type Error. Child Intents of a Product Type Intent must be Product Type Intents: This error specifies a rule violation in the intent hierarchy. It indicates that child intents of a parent intent categorized as "Product Type" must also be classified as "Product Type" intents.
Intent Type Error. All Child Intents of an Intent must be of the same Intent Type: Similar to the previous error, this one highlights a rule violation in the intent hierarchy. It states that all child intents of a parent intent must be classified as the same intent type.
Description is empty: This error occurs when the description field associated with an intent is left blank.
Intent Type is empty: This error indicates that the intent type field is left blank for a particular intent.
![]() Note: The tabs and rows with errors are highlighted in red. Additionally, if there are multiple errors in a row, they are separated by a semicolon.
Note: The tabs and rows with errors are highlighted in red. Additionally, if there are multiple errors in a row, they are separated by a semicolon.