Model Verification and Versioning within Contact Driver Models
Updated
The Versioning feature enables you to make changes in Contact Driver Models without affecting the existing deployed by efficient version management. Additionally, this also allows you to leverage AI to verify Contact Driver Models by checking for errors & warnings for each Contact Driver Group / Contact Driver and automatically suggests improvements to be made before deployment.
Perform the following steps to check for versions in Contact Driver Model.
1. Once you have created the Contact Driver Model in To Create a Contact Driver Model section, the model opens in Draft state.
Draft State - The Draft version state means that you are currently in edit mode. You need to Verify the model before saving or deploying.
Go to the newly created model on the Create Screen.
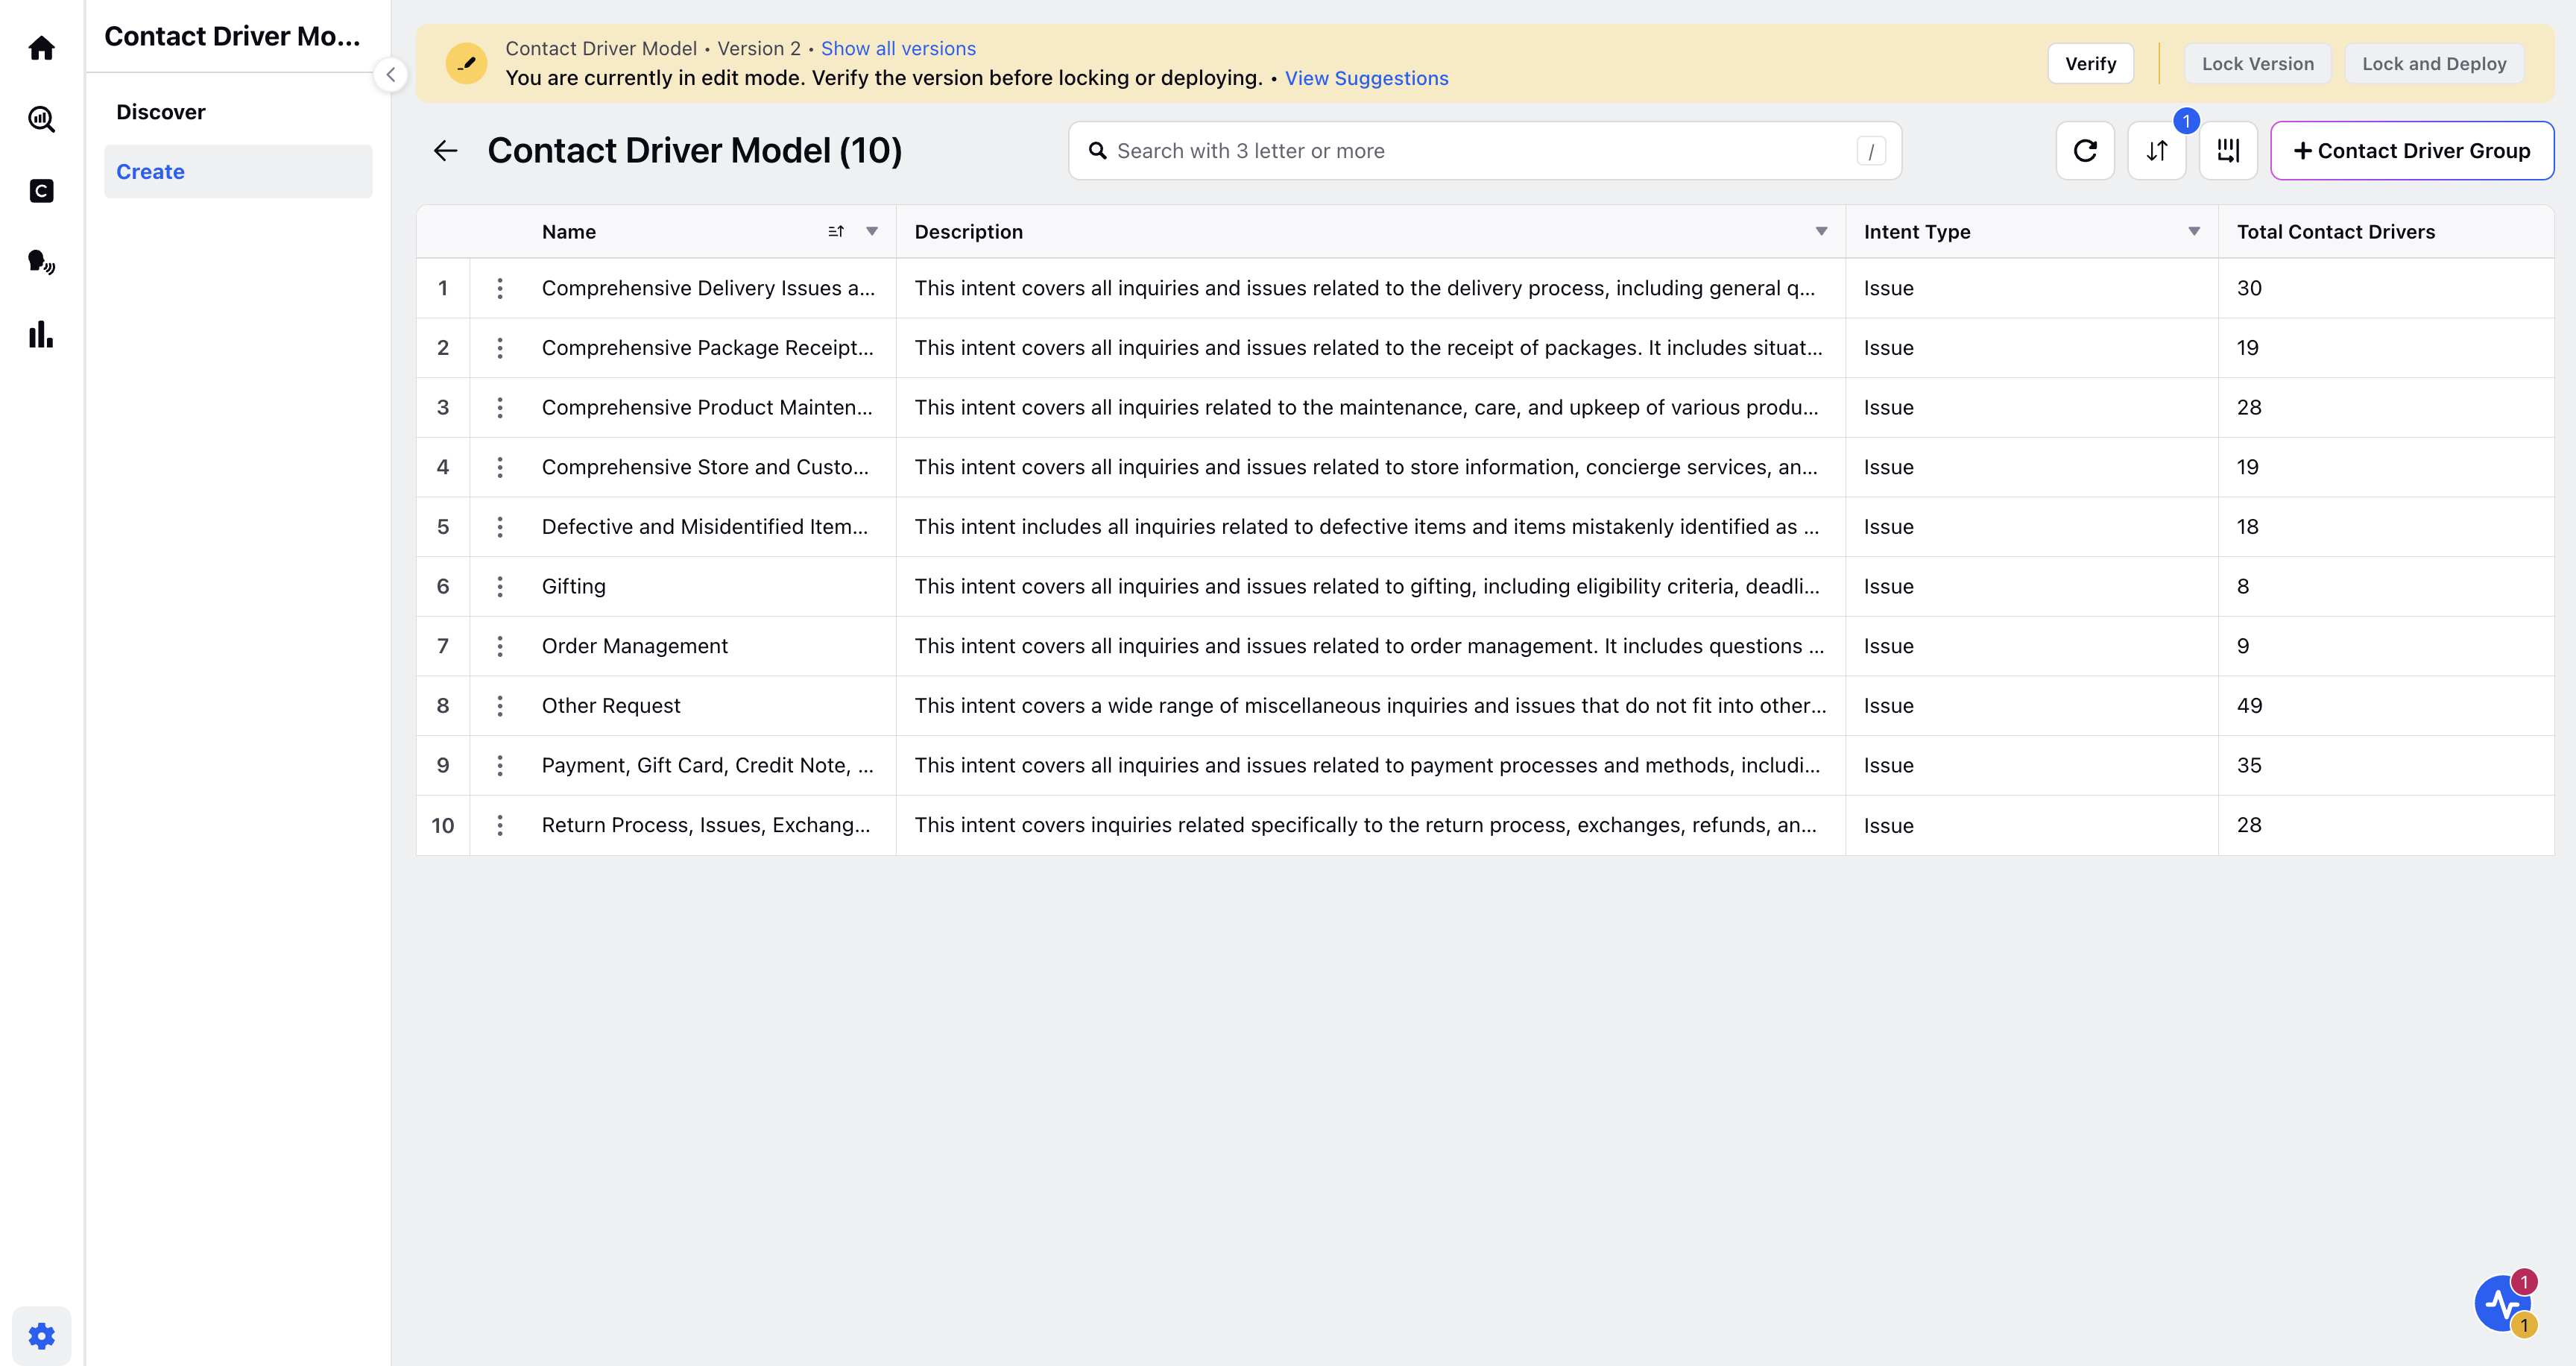
2. Click on the three dots appearing on newly created model and click View Latest Version. The created model is displayed in the Draft state on the screen.
3. Click on the Verify tab appearing at the right top most side of the screen. By clicking on this tab you are able to automatically verify a model before deploying it. There are four job states that appear for Verify:
Verification In Progress - This job state means that the Testing is in progress and this may take a few minutes. You can Abort the job by clicking on the Abort button appearing on the screen, incase you wish to cancel the verification.
Verification Failed - This job state means that the Model verification has failed and you need to Review the suggestions and resolve the errors before saving or deploying. Refer to the Suggestions section to view the Suggestions message details. You can make changes and click on Verify to re-verify the changes made.
Verification Passed with Warnings - This job state means that Model verification has completed, but with warnings. You need to review the suggestions before saving or deploying. Refer to the Suggestions section to view the Suggestions message details. After making the changes you can Lock Version to Version History and make it Ready to Deploy or you can make changes and click on Verify to re-verify the changes made.
Verification Passed - This job state means that Model verification has completed successfully. You can now save or deploy the model. You can Lock Version to Version History and make it Ready to Deploy.
4. Click on Lock Version to save version to Version History and make it Ready to Deploy.
OR
Click on Lock and Deploy to save version to Version History & Deploy it directly.
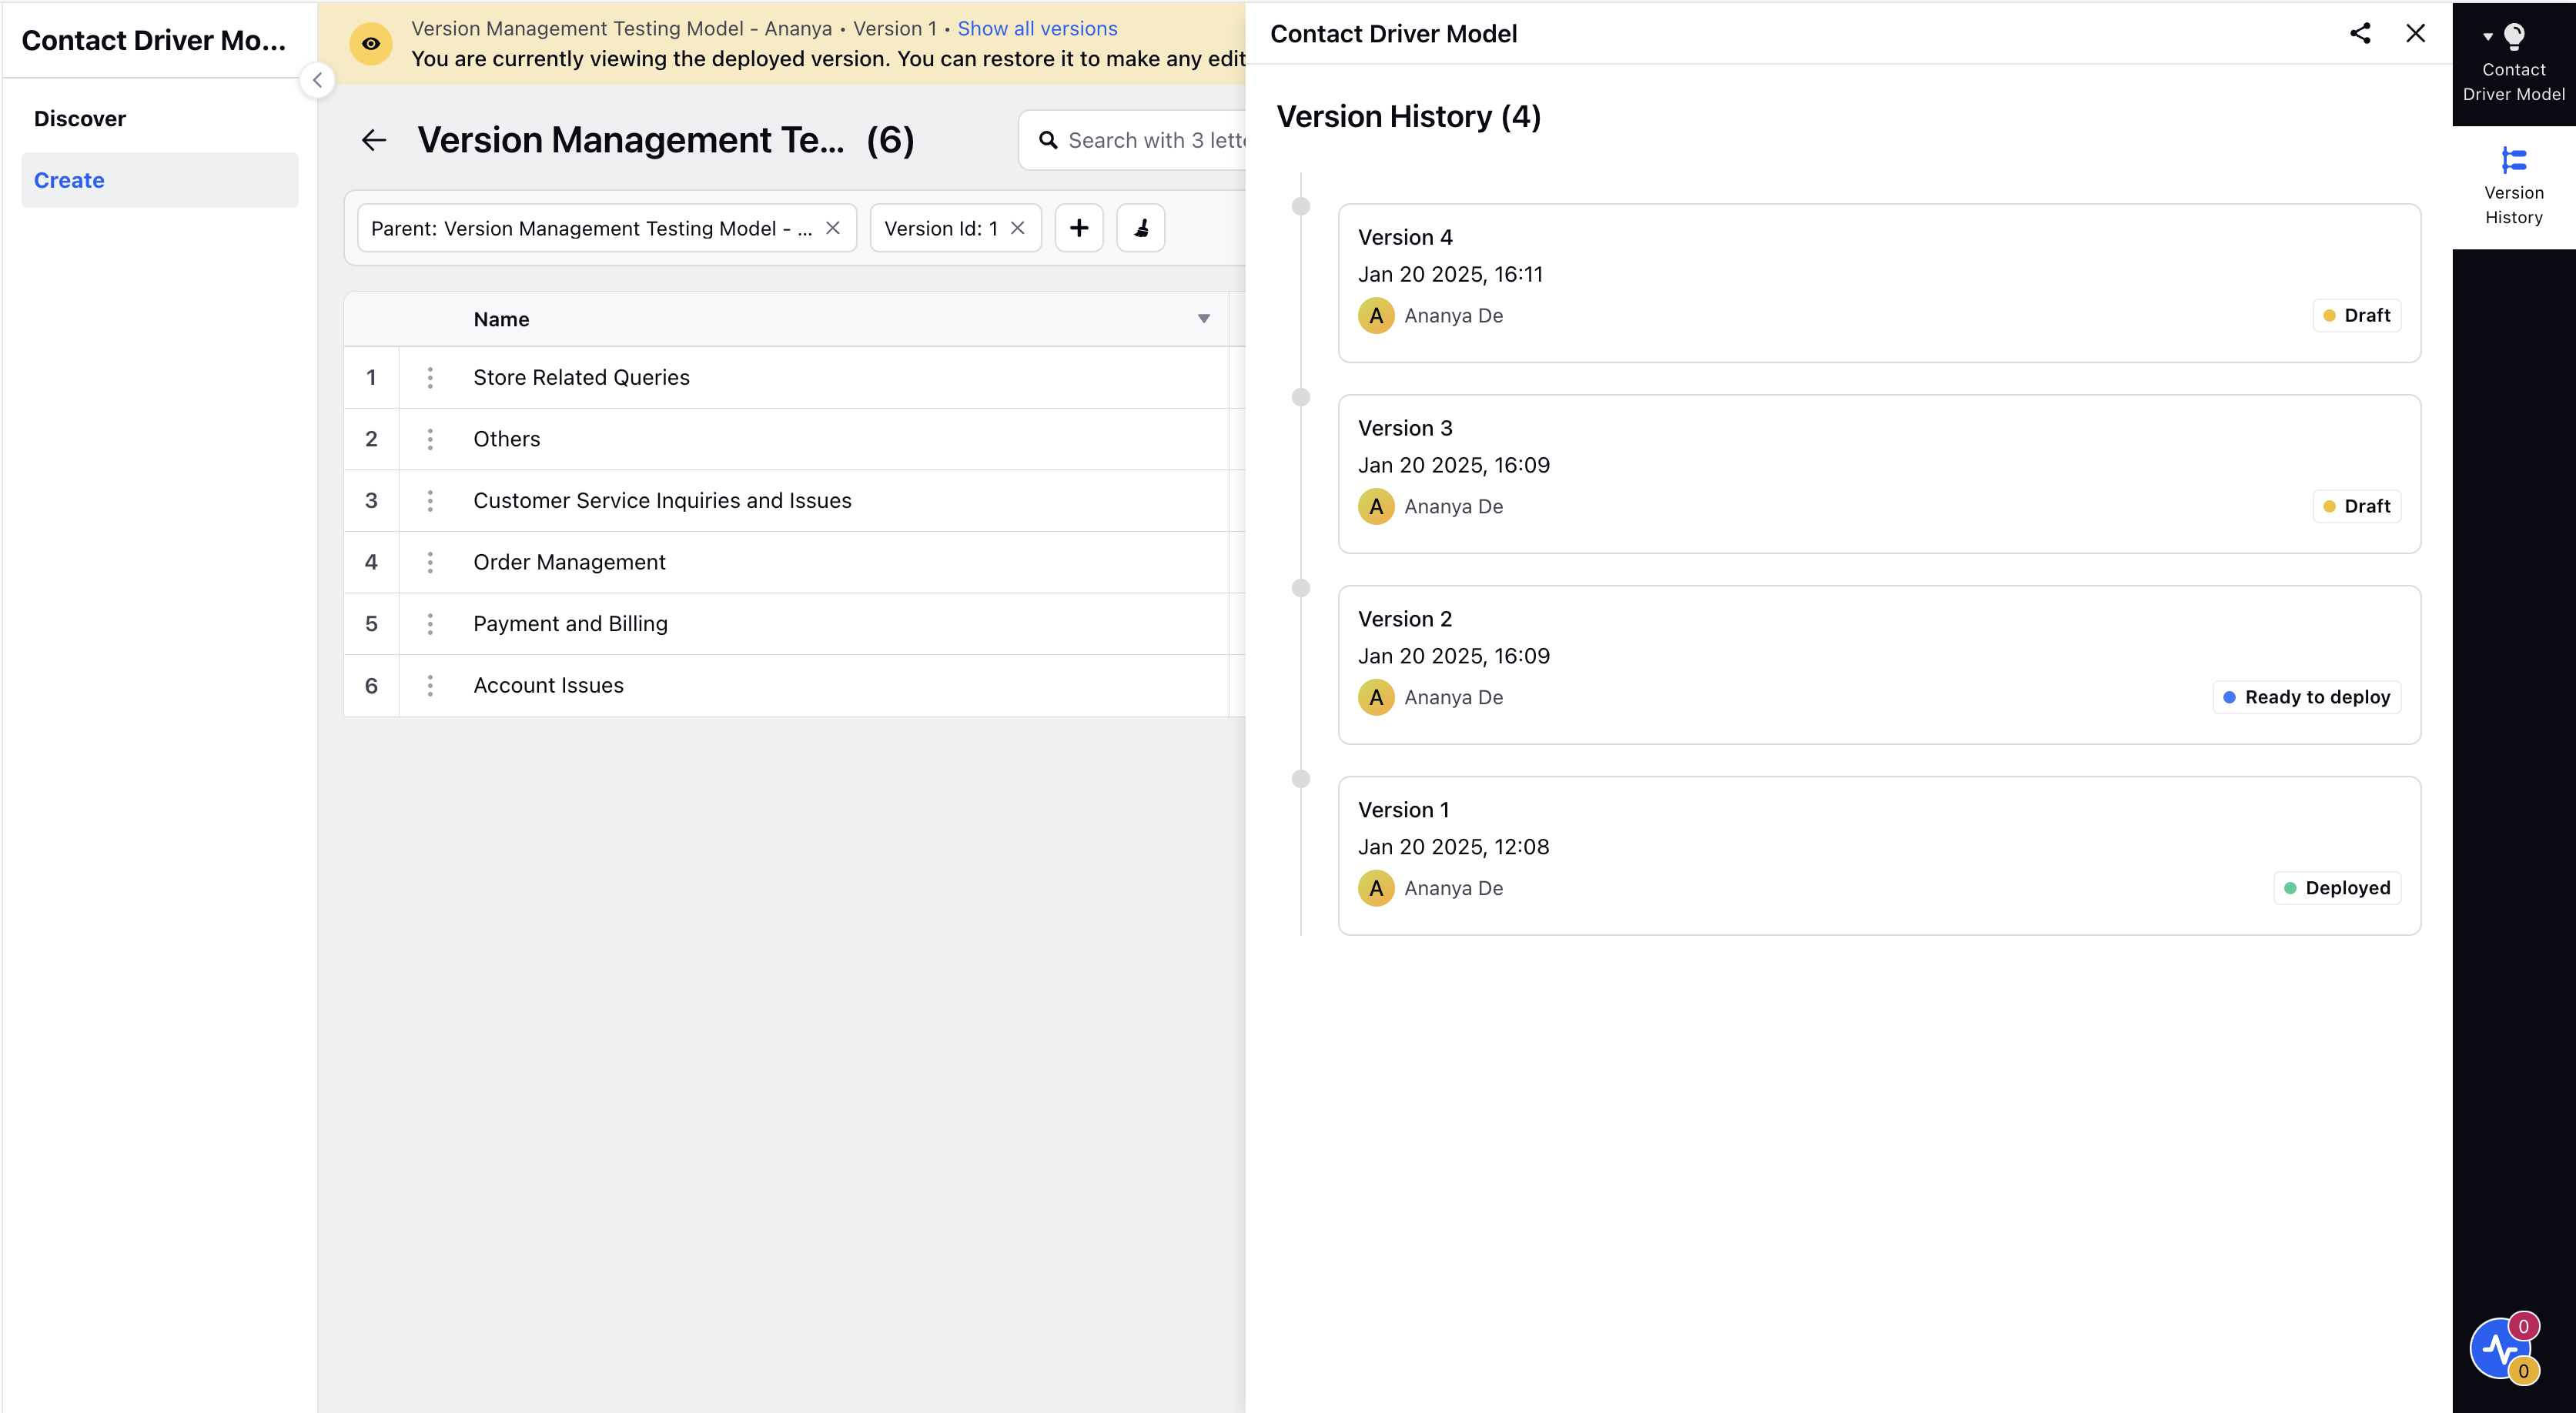
Ready to deploy State - The Ready to Deploy state means that you are currently viewing a saved version. You’re now ready to deploy the model. After clicking Deploy, this version gets Deployed and other deployed version gets undeployed.
Deployed State - The Deployed state means that you are currently viewing the deployed version. You can restore it to make any edits.
5. Click on Show All versions appearing on the left top most side of the screen. The Version History screen is displayed showing all the Version History of the Contact Drivers.
6. Click on View Suggestions. The Suggestions screen is displayed on the right pane.
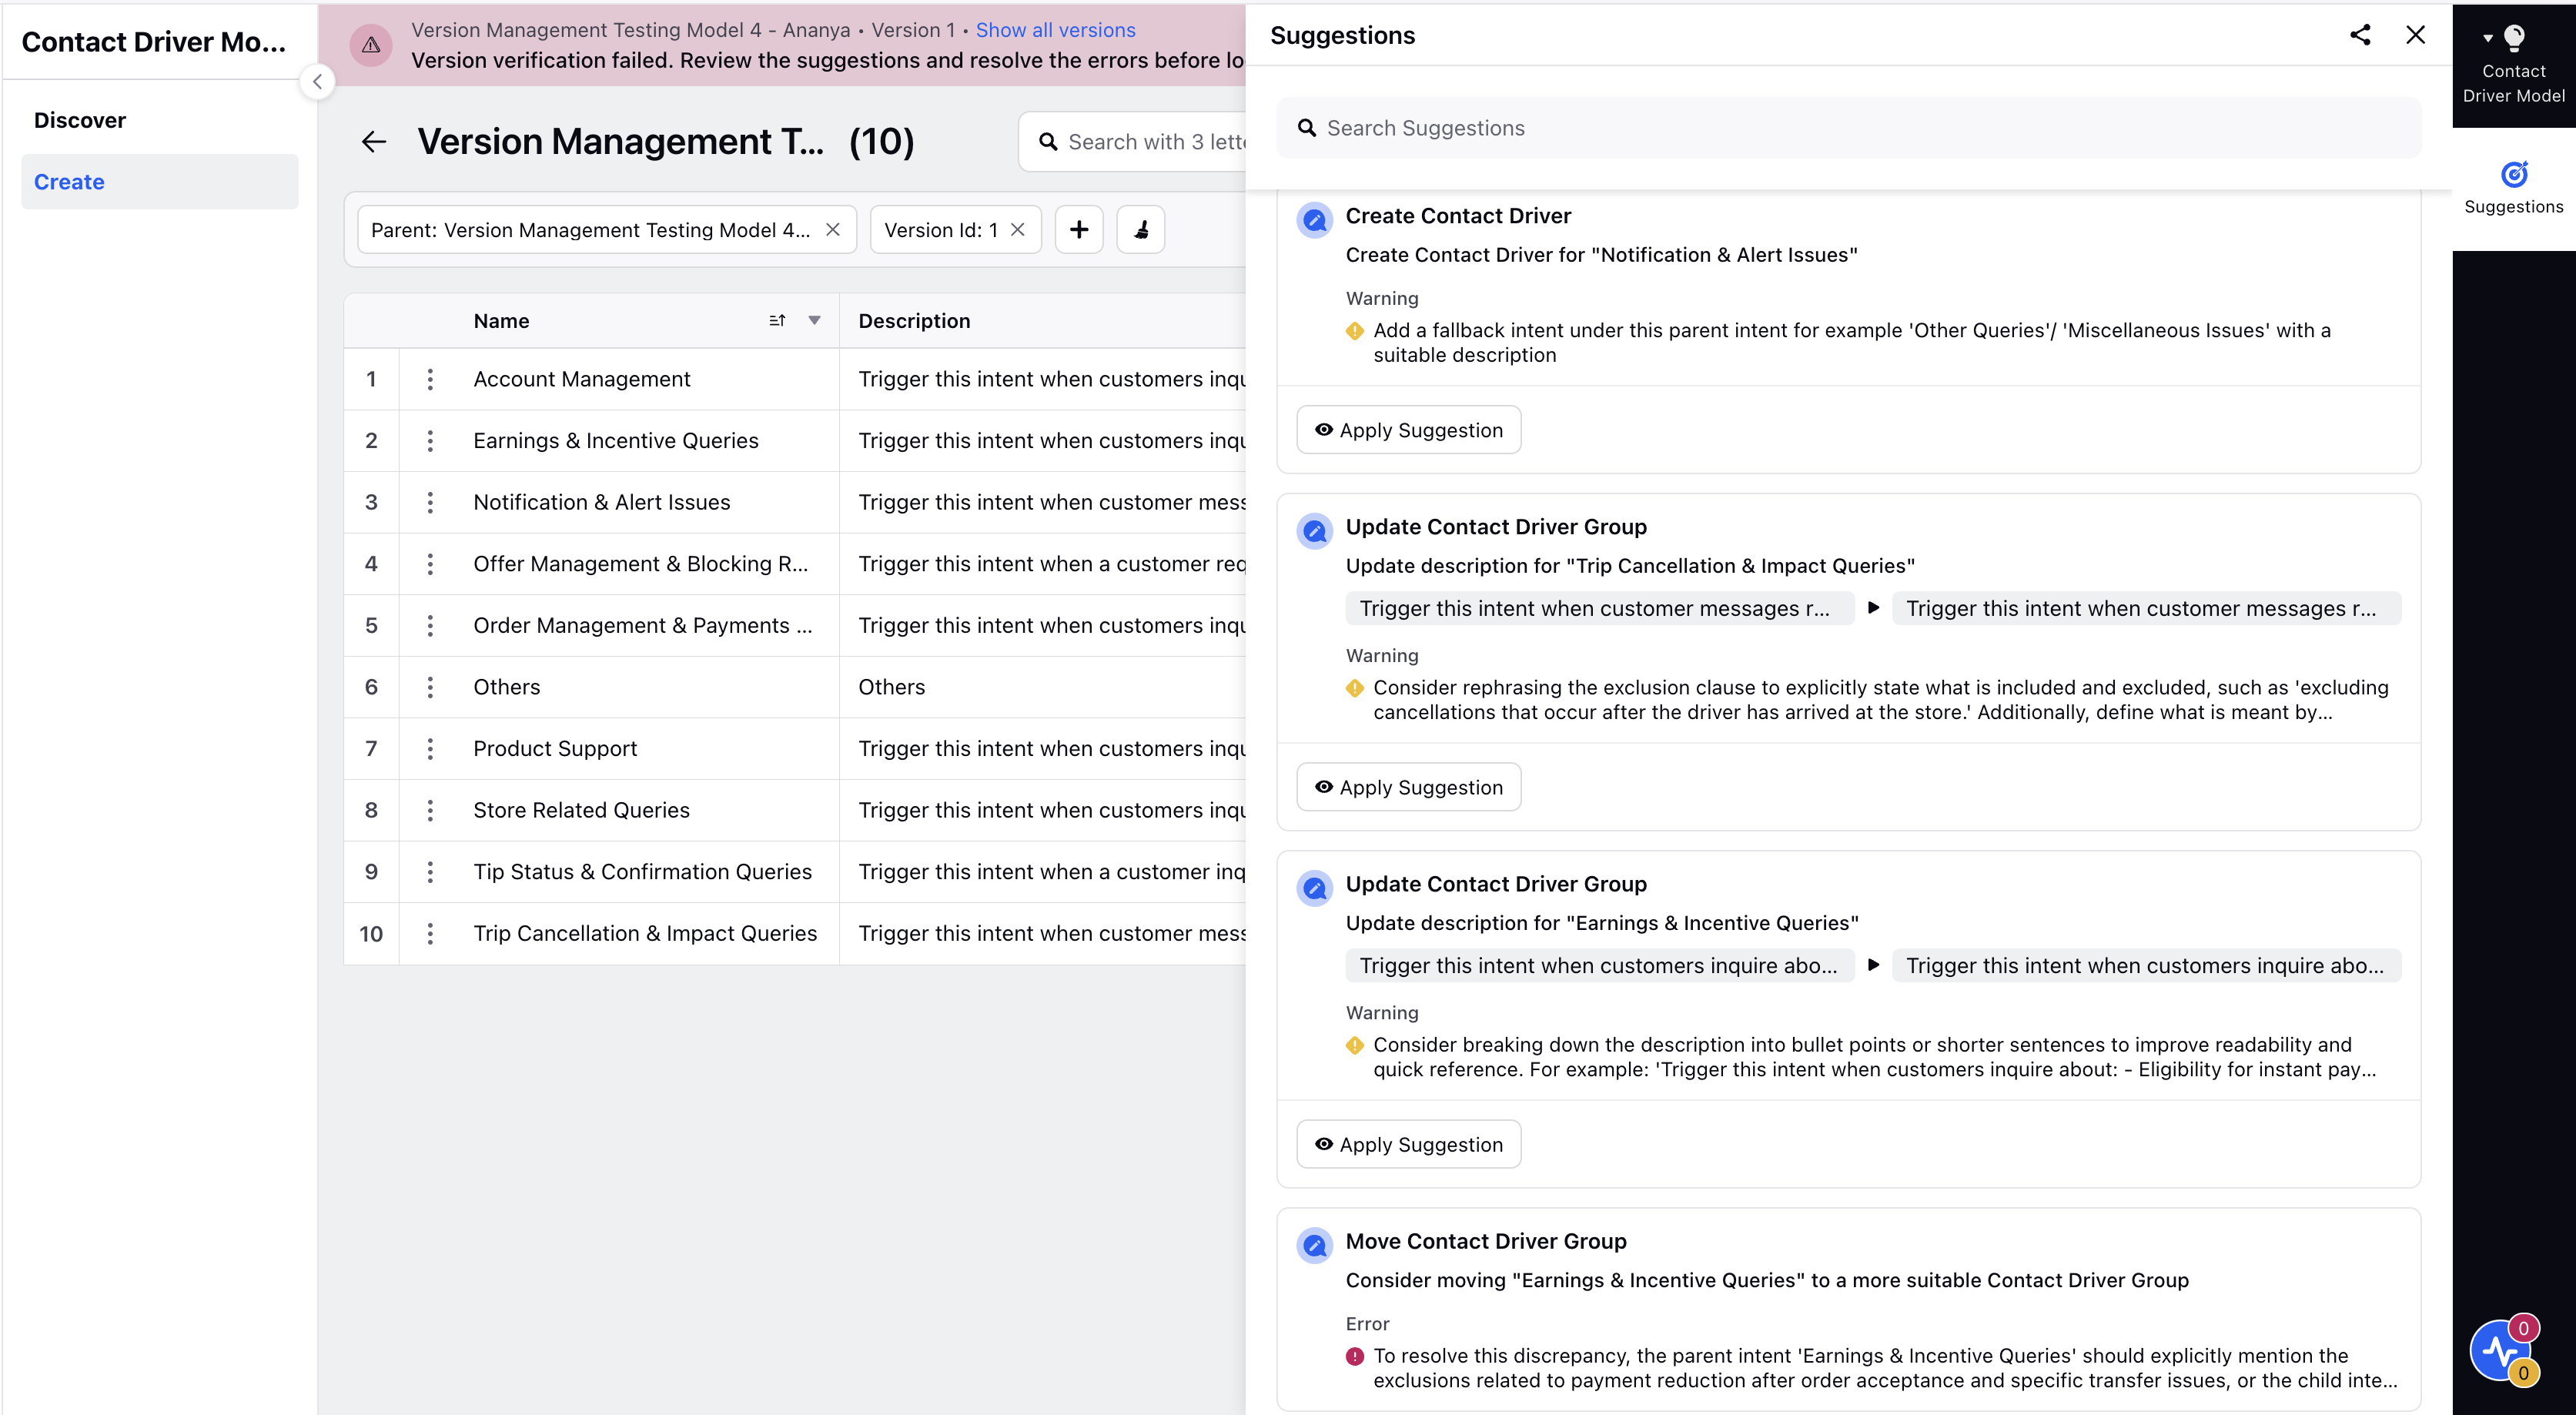
7. Click on Apply Suggestion.
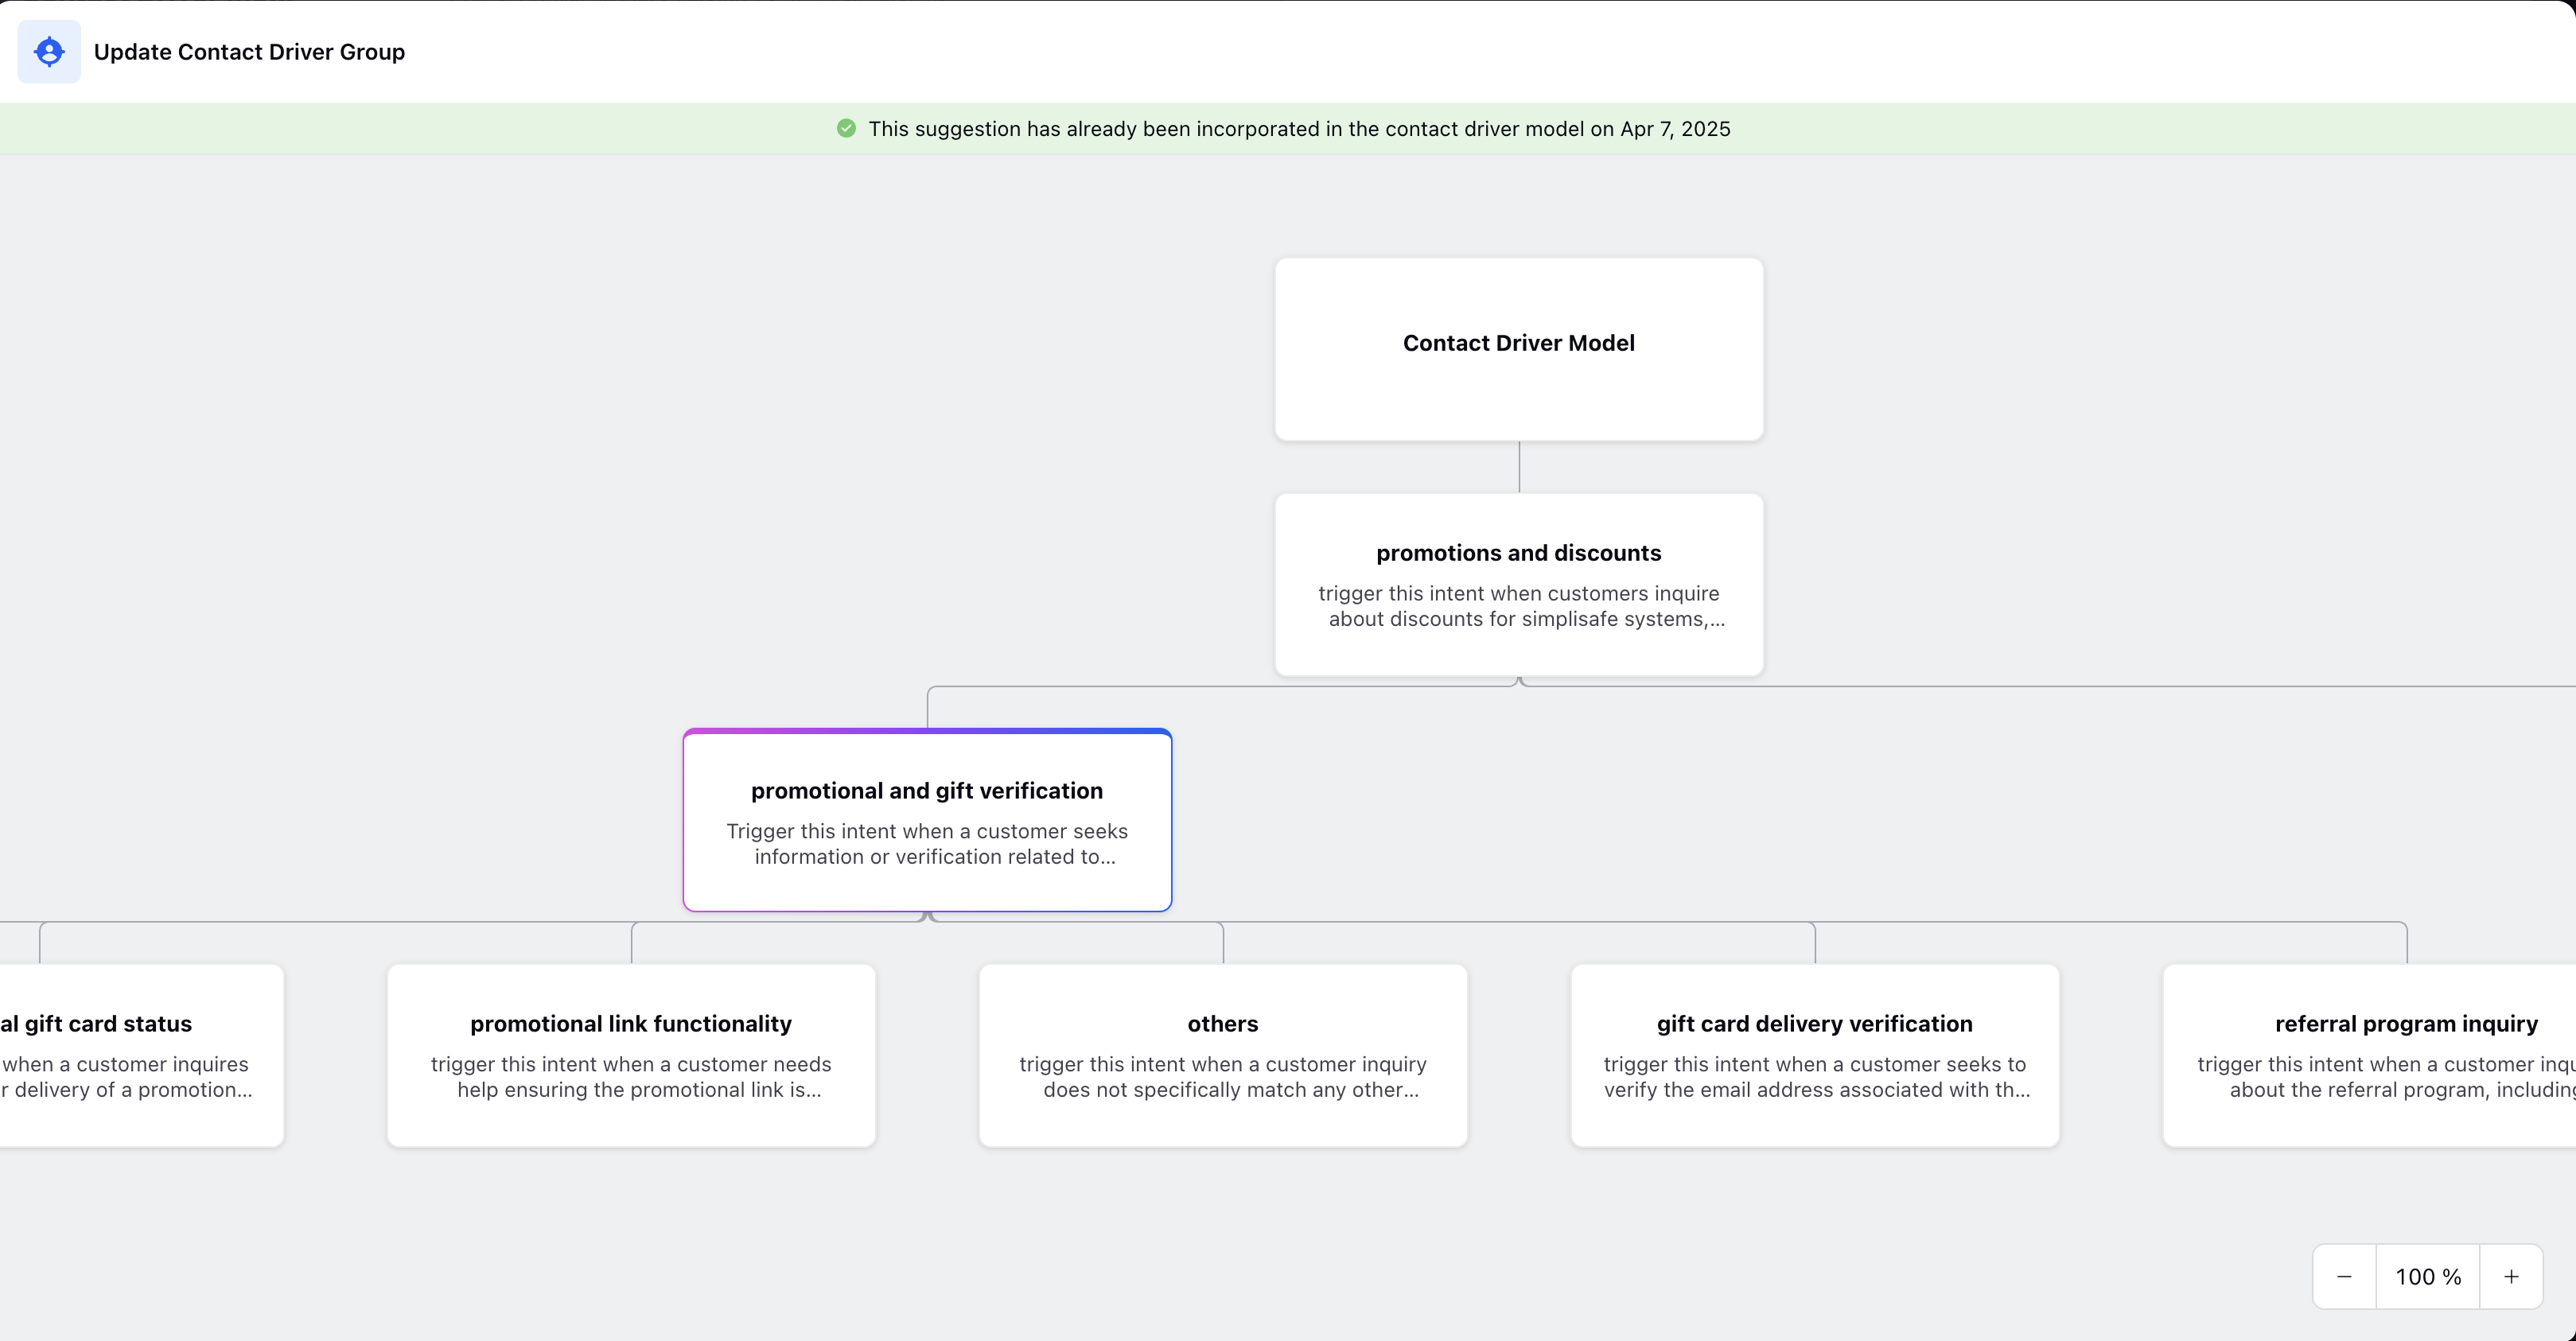
The Create, Update or Move Contact Driver Group/Contact Drivers suggestion screen is displayed based on the suggested suggestions.
There are three types of suggestions which can be applied on Contact Driver Groups/Contact Drivers improve model:
Create Contact Driver Group/Contact Drivers - Add new relevant Contact Driver Groups & Contact Drivers under Parent Contact Driver Groups.
Update Contact Driver Group/Contact Drivers - Update names and descriptions for Contact Driver Groups/Contact Drivers to more intuitive names and exhaustive descriptions.
Move Contact Driver Group/Contact Drivers - Consider moving a Contact Driver to a more suitable Contact Driver Group.
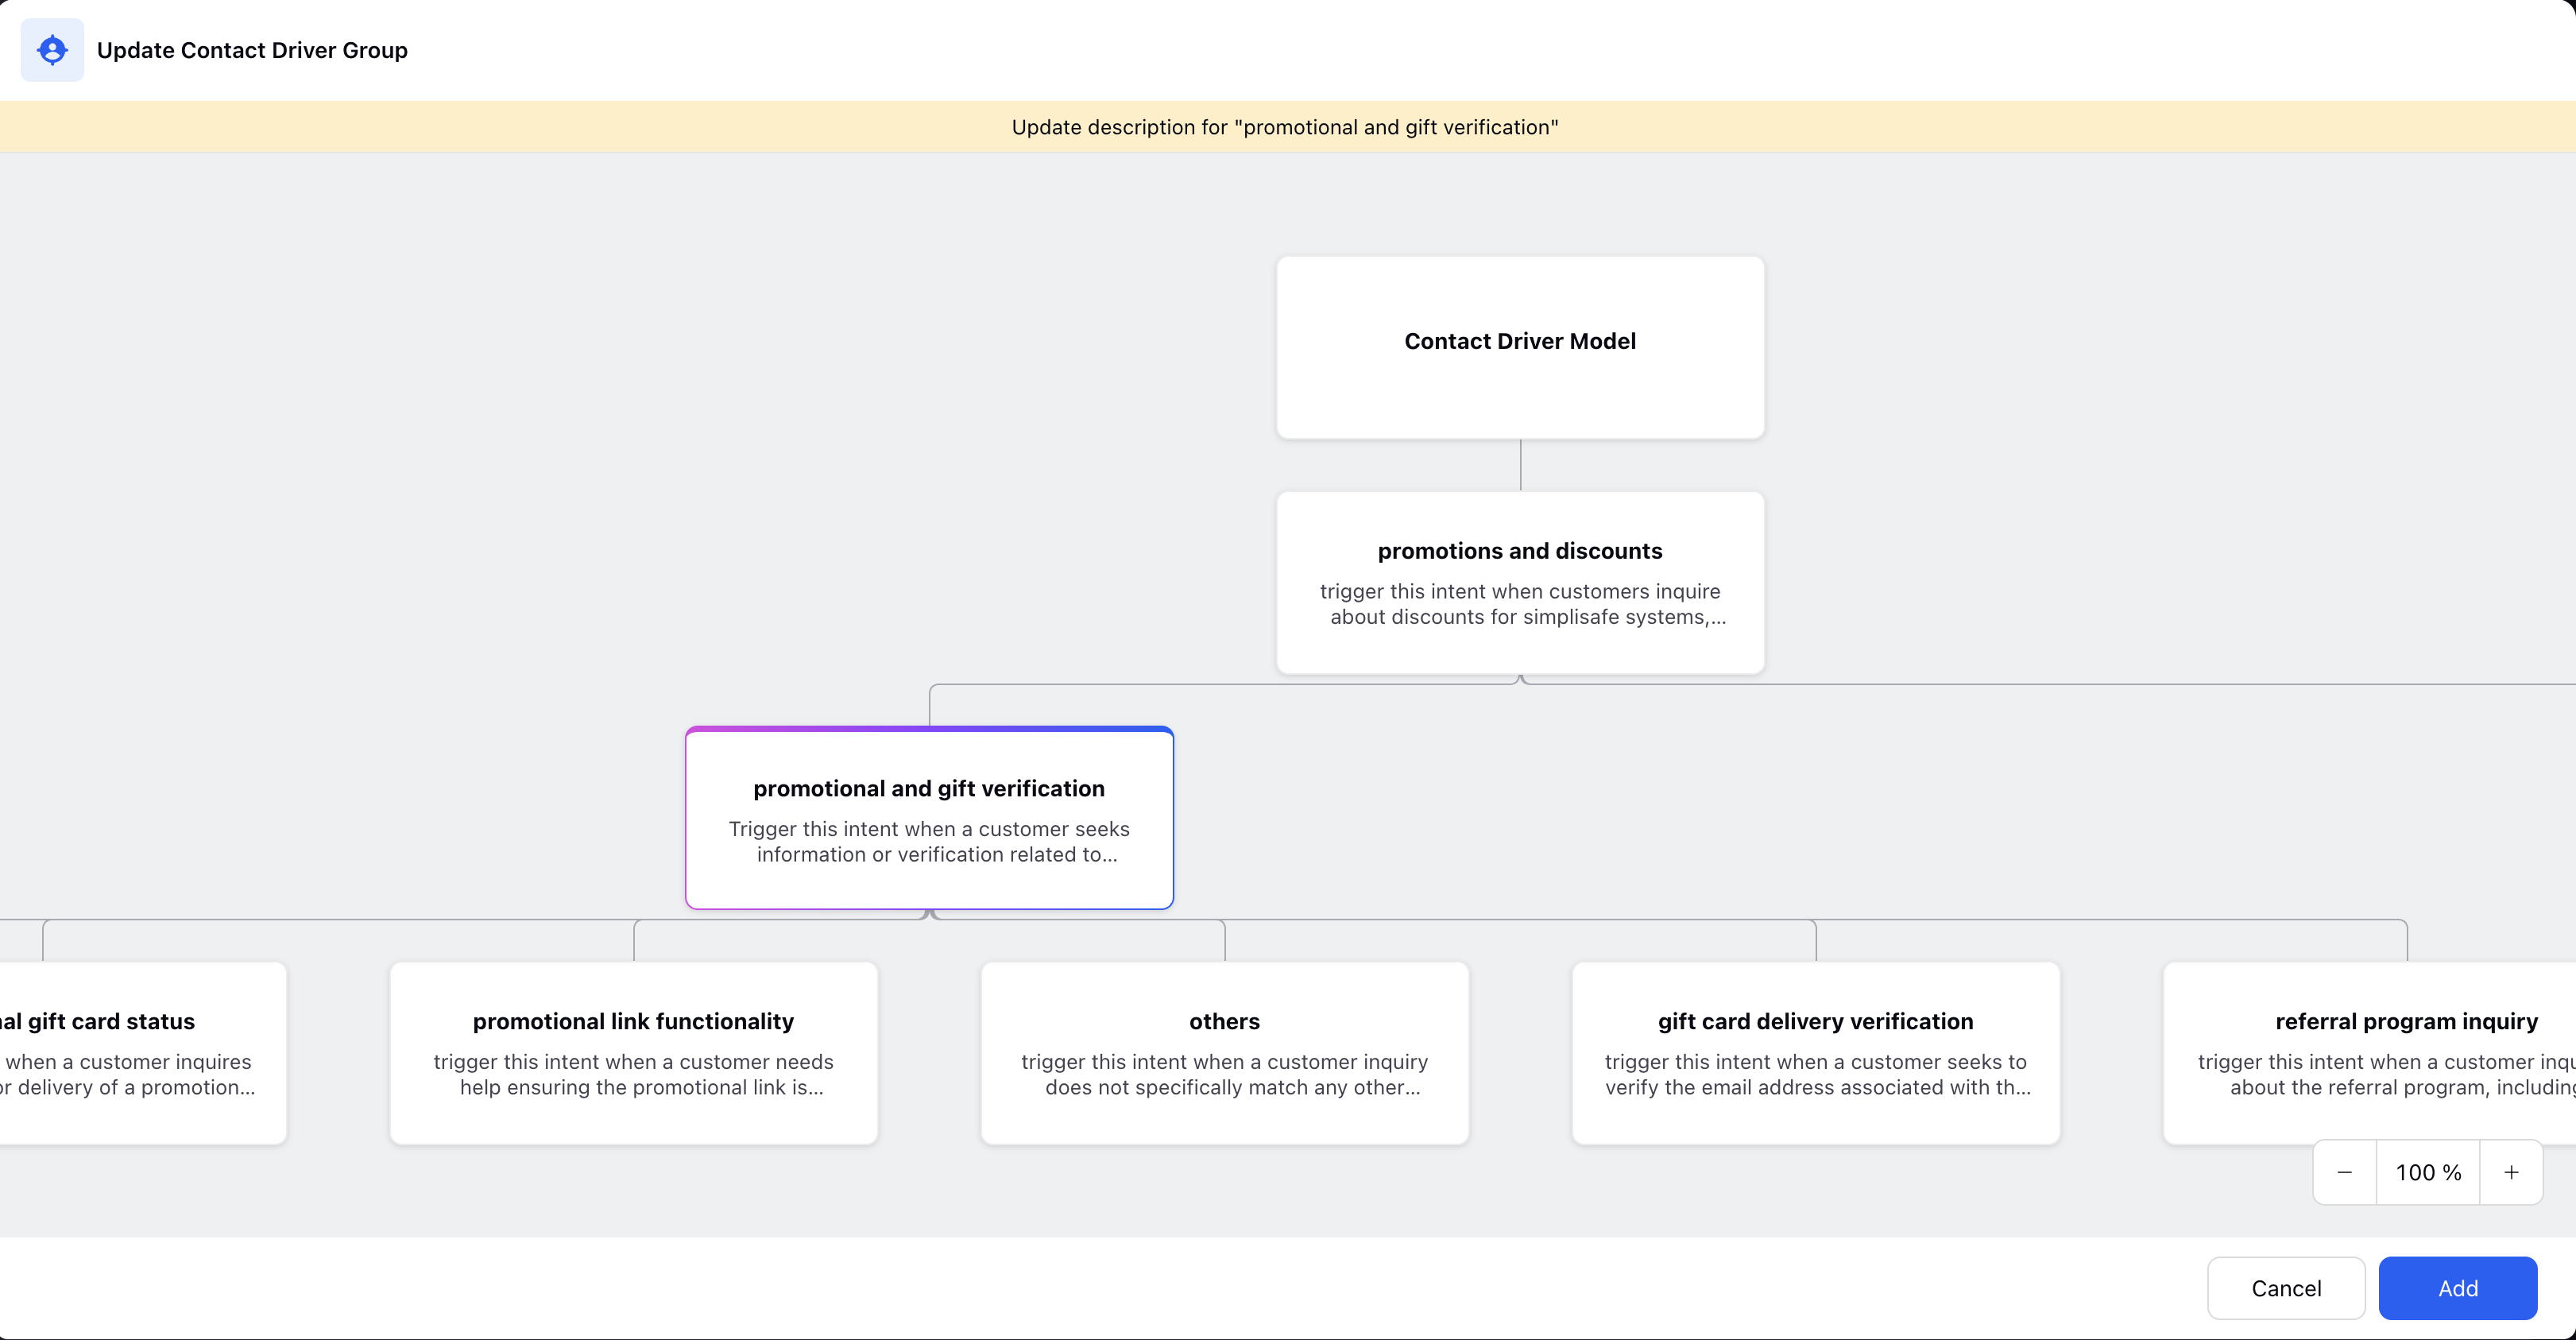
Here, you can:
Edit the name and description of contact drivers if necessary.
Delete levels below the one you have opened (This option is only available for Create Contact Driver Group/Contact Drivers).
Click Add to incorporate all suggested levels of contact drivers into your model.
8. Once you Add the suggestion, Suggestion applied successfully message is displayed on the screen.
9. Click on View Suggestions to now view the applied suggestion.
