Entity Manager - Setting Up Persona App
Updated
Before you Begin:
In standard persona apps, the Custom Entity Manager isn't initially visible. This article provides a walkthrough on configuring a persona app to incorporate the Custom Entity Manager.
Note: To ensure this feature is enabled, please contact tickets@sprinklr.com and provide the Partner ID and Name. If you are unsure of your Partner ID and Name, please work with your Success Manager. |
Overview
The Persona App Manager lets you access -
1. Entity Manager (In scope of article)
2. Data Connector
3. Dynamic Record Manager
Only the Entity Manager is coverd in the scope of this article
To Configure the Entity Manager in a Persona App
Click the New Tab icon. Under Platform Modules, click All Settings within Listen.
Next, select Persona App Manager within Manage Customer
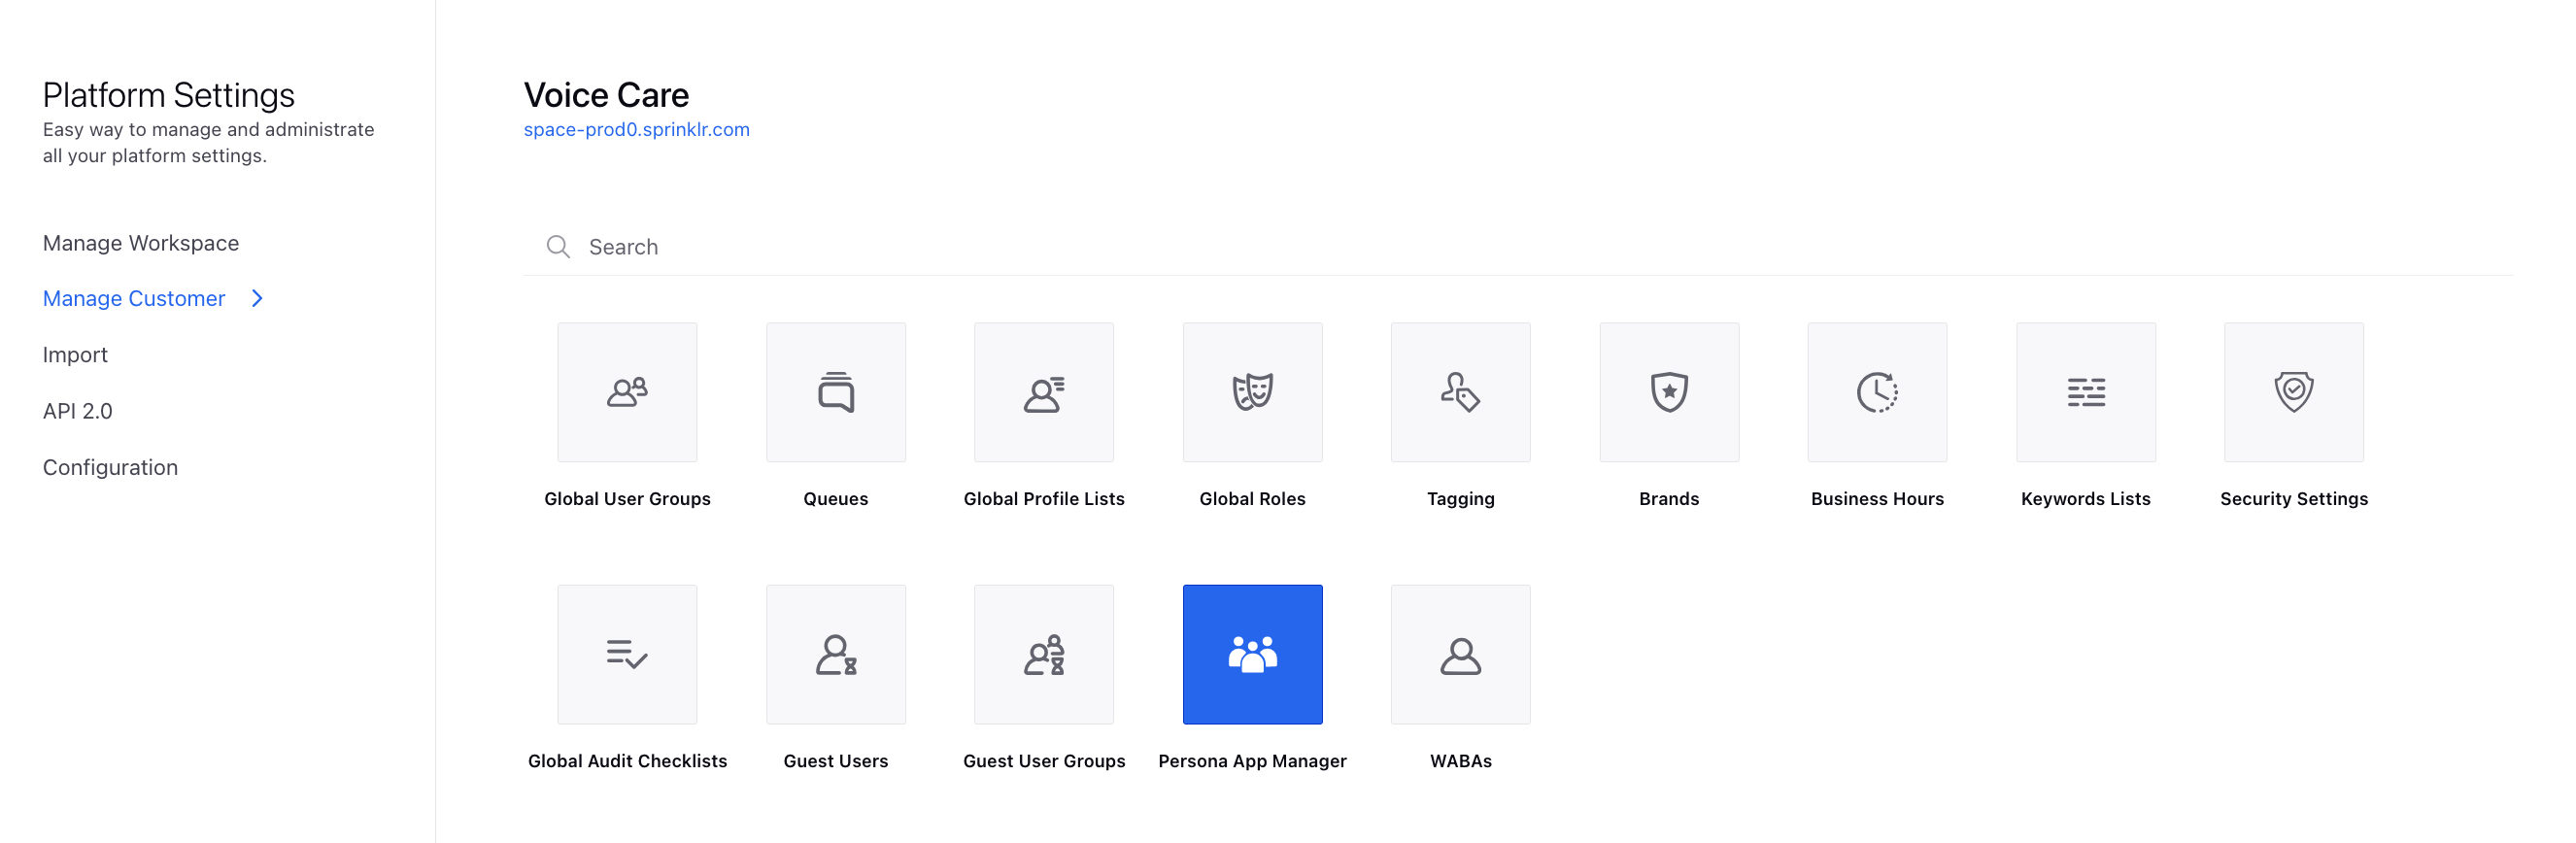
On the Persona App Manager window, click Create (Continue from point 4) in the top right corner or Edit Existing Custom Persona app in the Spirnklr Service Suite (Continue from Point 5)

If you selected Create On the Create New Persona App window, add the Label as desired and select the Product Suite as Sprinklr Service. Click Next.

On the created Persona App window, click the Add icon at the top to add the Entity studio as a menu item.

Once you've added these items, click on them to customize the labels and Icon as desired. Additionally, you can enable the Ignore Last Visited URL option. This feature ensures that the menu item does not remember the last visited URL when navigating back to it.

Click Publish at the top to publish the persona app for the desired users.
Next Steps:
1. Learn more about creating and managing Custom Entities through the Entity Manager.