Dashboard FAQs
location insights dashboards
Updated
10 hours ago
, by [Redesign] Sprinklr Help Center
Below are some of the frequently asked questions about the Location Insights dashboard –
In order to edit/delete an insight, double-click on the mention to view it in the third pane. Please check this KB article for more information on this.
Permissions to access Location Insights can be changed under User Roles & Permissions. Please check this KB article for more information on this: Location Insights Roles and Permissions.
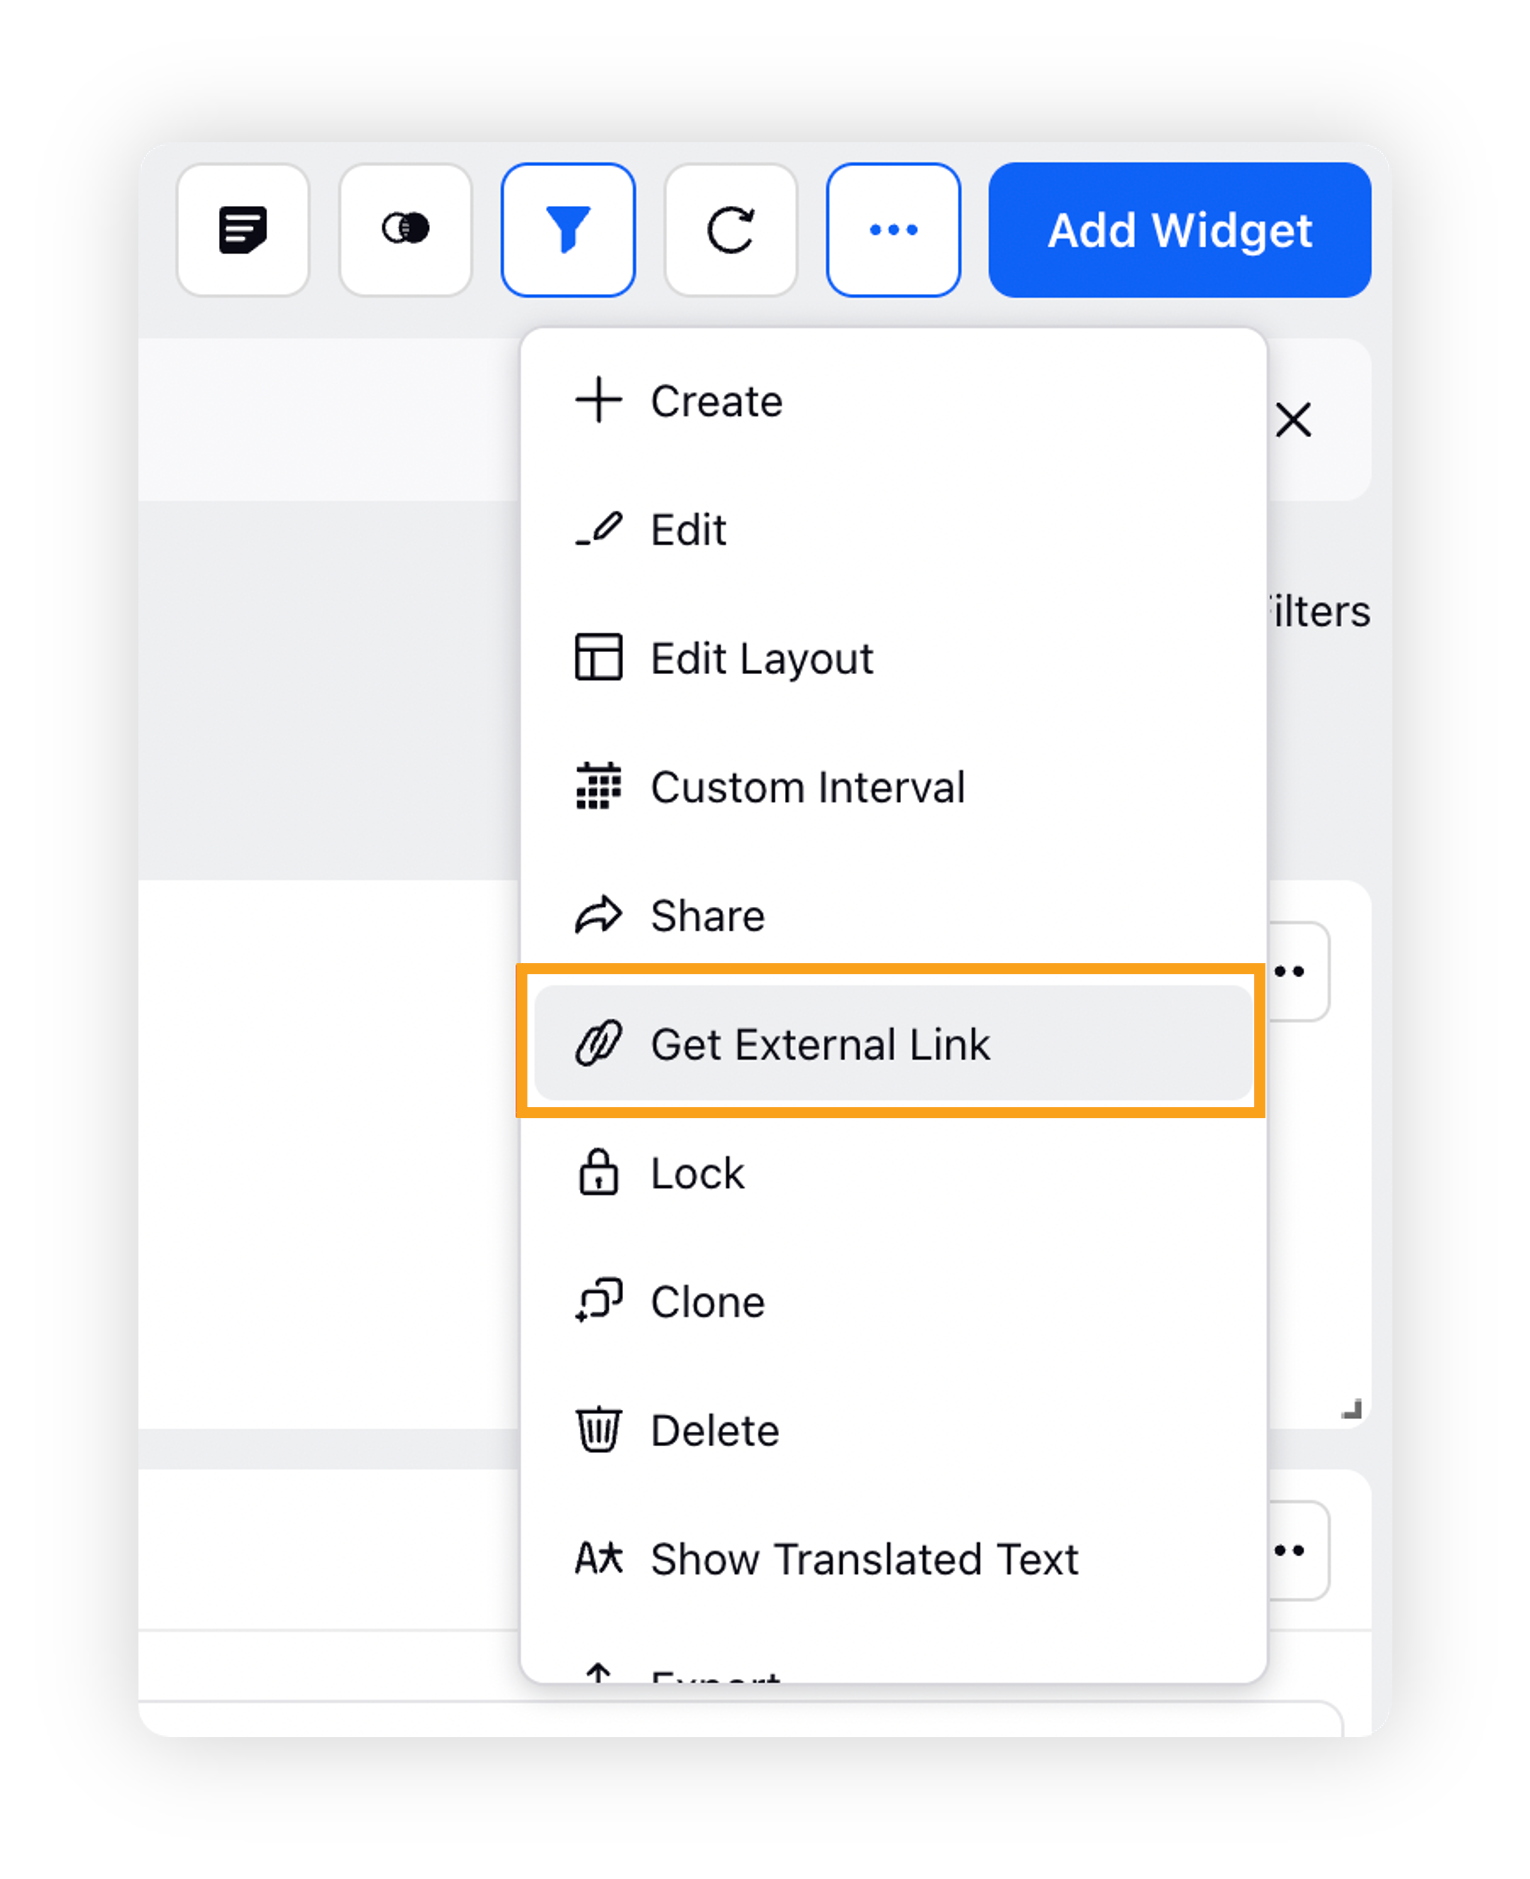
Click the Options icon in the top right corner of the dashboard and select "Get External Link".
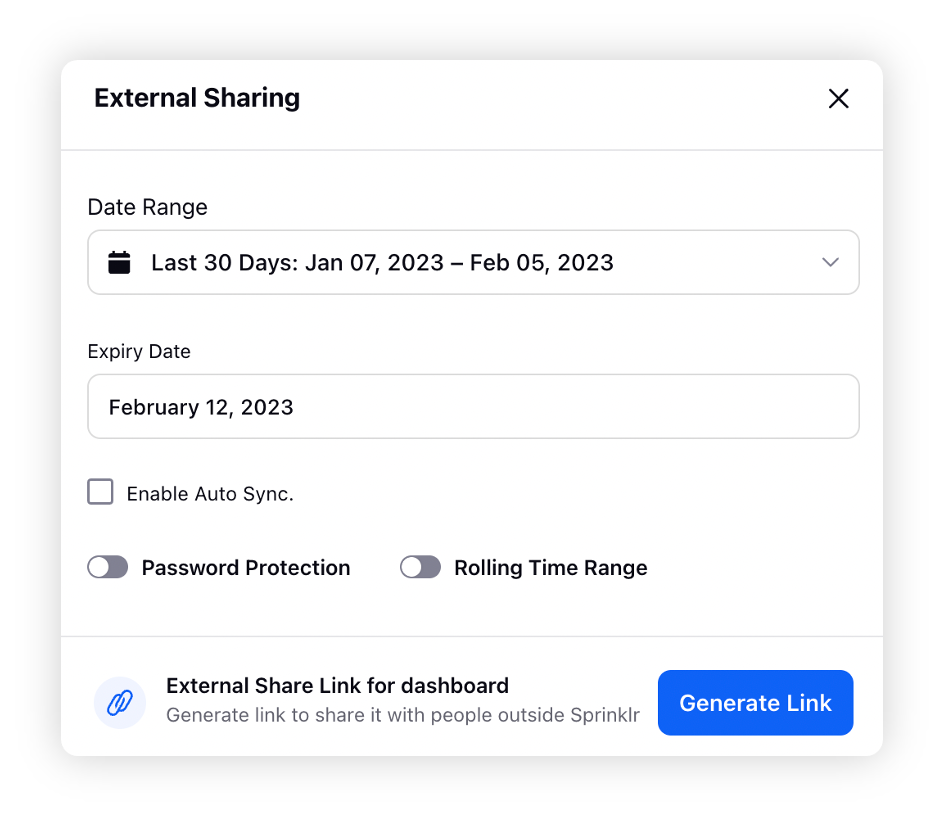
On the External Sharing popup window, you can select the time range and expiry date for the external dashobard.
Apply the password protection (if needed), and click the Generate link button.
Yes, there are multiple location-specific Metrics & Dimensions which are supported in Location Insights. You can check these by plotting a widget in any internal environment. Please refer to the following KB article for more details – Standard Metrics & Dimensions for LI.
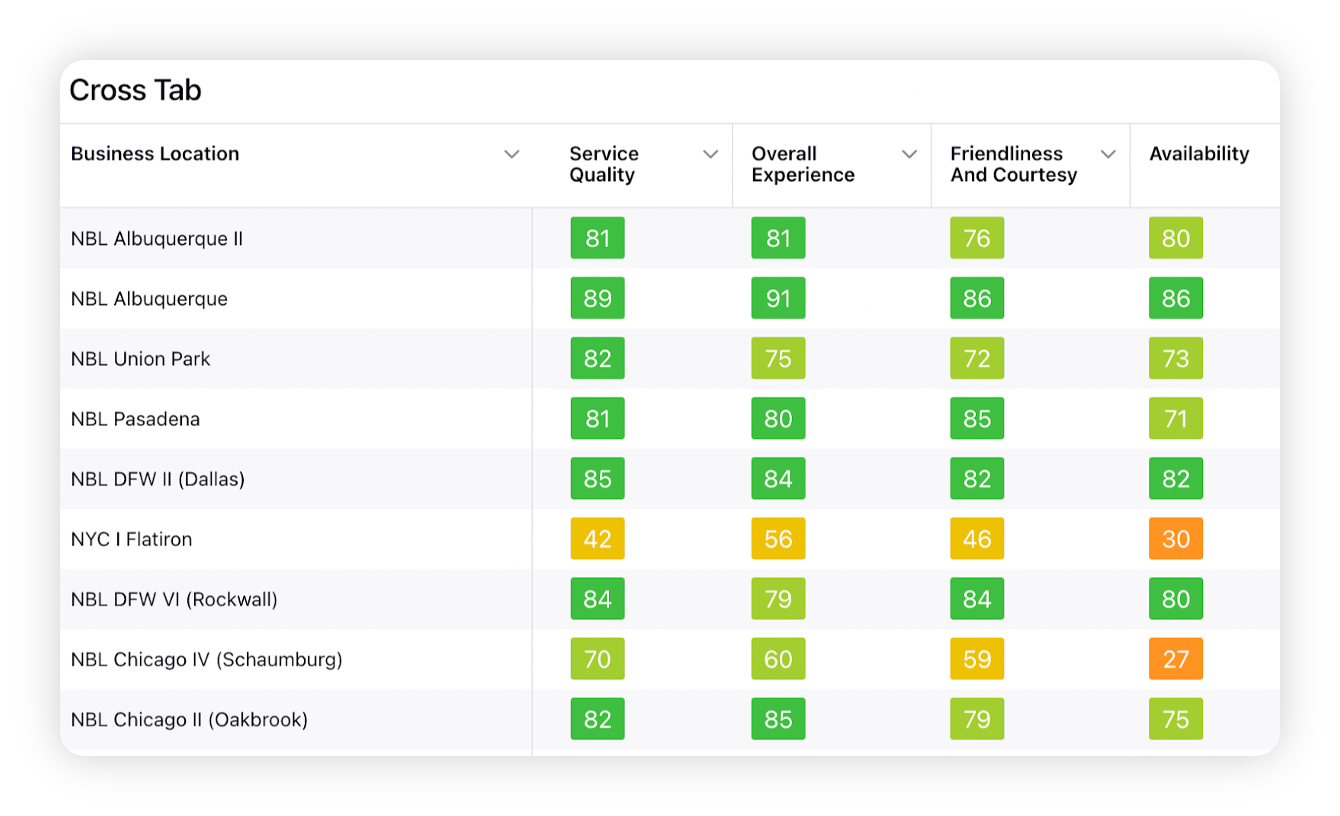
You can use Location Insights to do a competitive analysis between your own brand and a competitor brand by plotting the corresponding business locations in a widget. There are multiple widgets available in the Sprinklr platform which can help the user do various analyses like Cross Tab, Spline, etc.
Go to the top right corner of the screen, next to Create Widget. Click on the 3 dots icon and go to Clone. Enter a name and click on Clone.
Go to the top right corner of the screen and click Add Widget.
In the Add Widget window, select "Select a visualization for your widget" and select any visualisation for the widget.
Plot metrics and dimensions in your widget as per the requirement.
Under Advanced Settings > Filters, users can add filters as per requirement.
On the bottom right of the screen, click Add to Dashboard.
Refer to the following steps to make a custom Location Insights dashboard –
Click the New Tab to open the launchpad. Under Learn > click on Listening Dashboards.
On the Create your own window, enter a name for the dashboard. Then click Create in the bottom right corner of the screen.
Refer to the following pointers –
On the top right corner of the widget, click on 3 dots > click on Add to a Custom Dashboard.
On the Add to Custom Dashboard window, under Dashboard > click on the right dialog box. It will open up the names of all tabs.
Click on any tab to copy the widget.