Create a Contact Card template for WhatsApp Business
Updated
Contact messages allow you to send rich contact information directly to WhatsApp users, such as names, phone numbers, physical addresses, and email addresses.

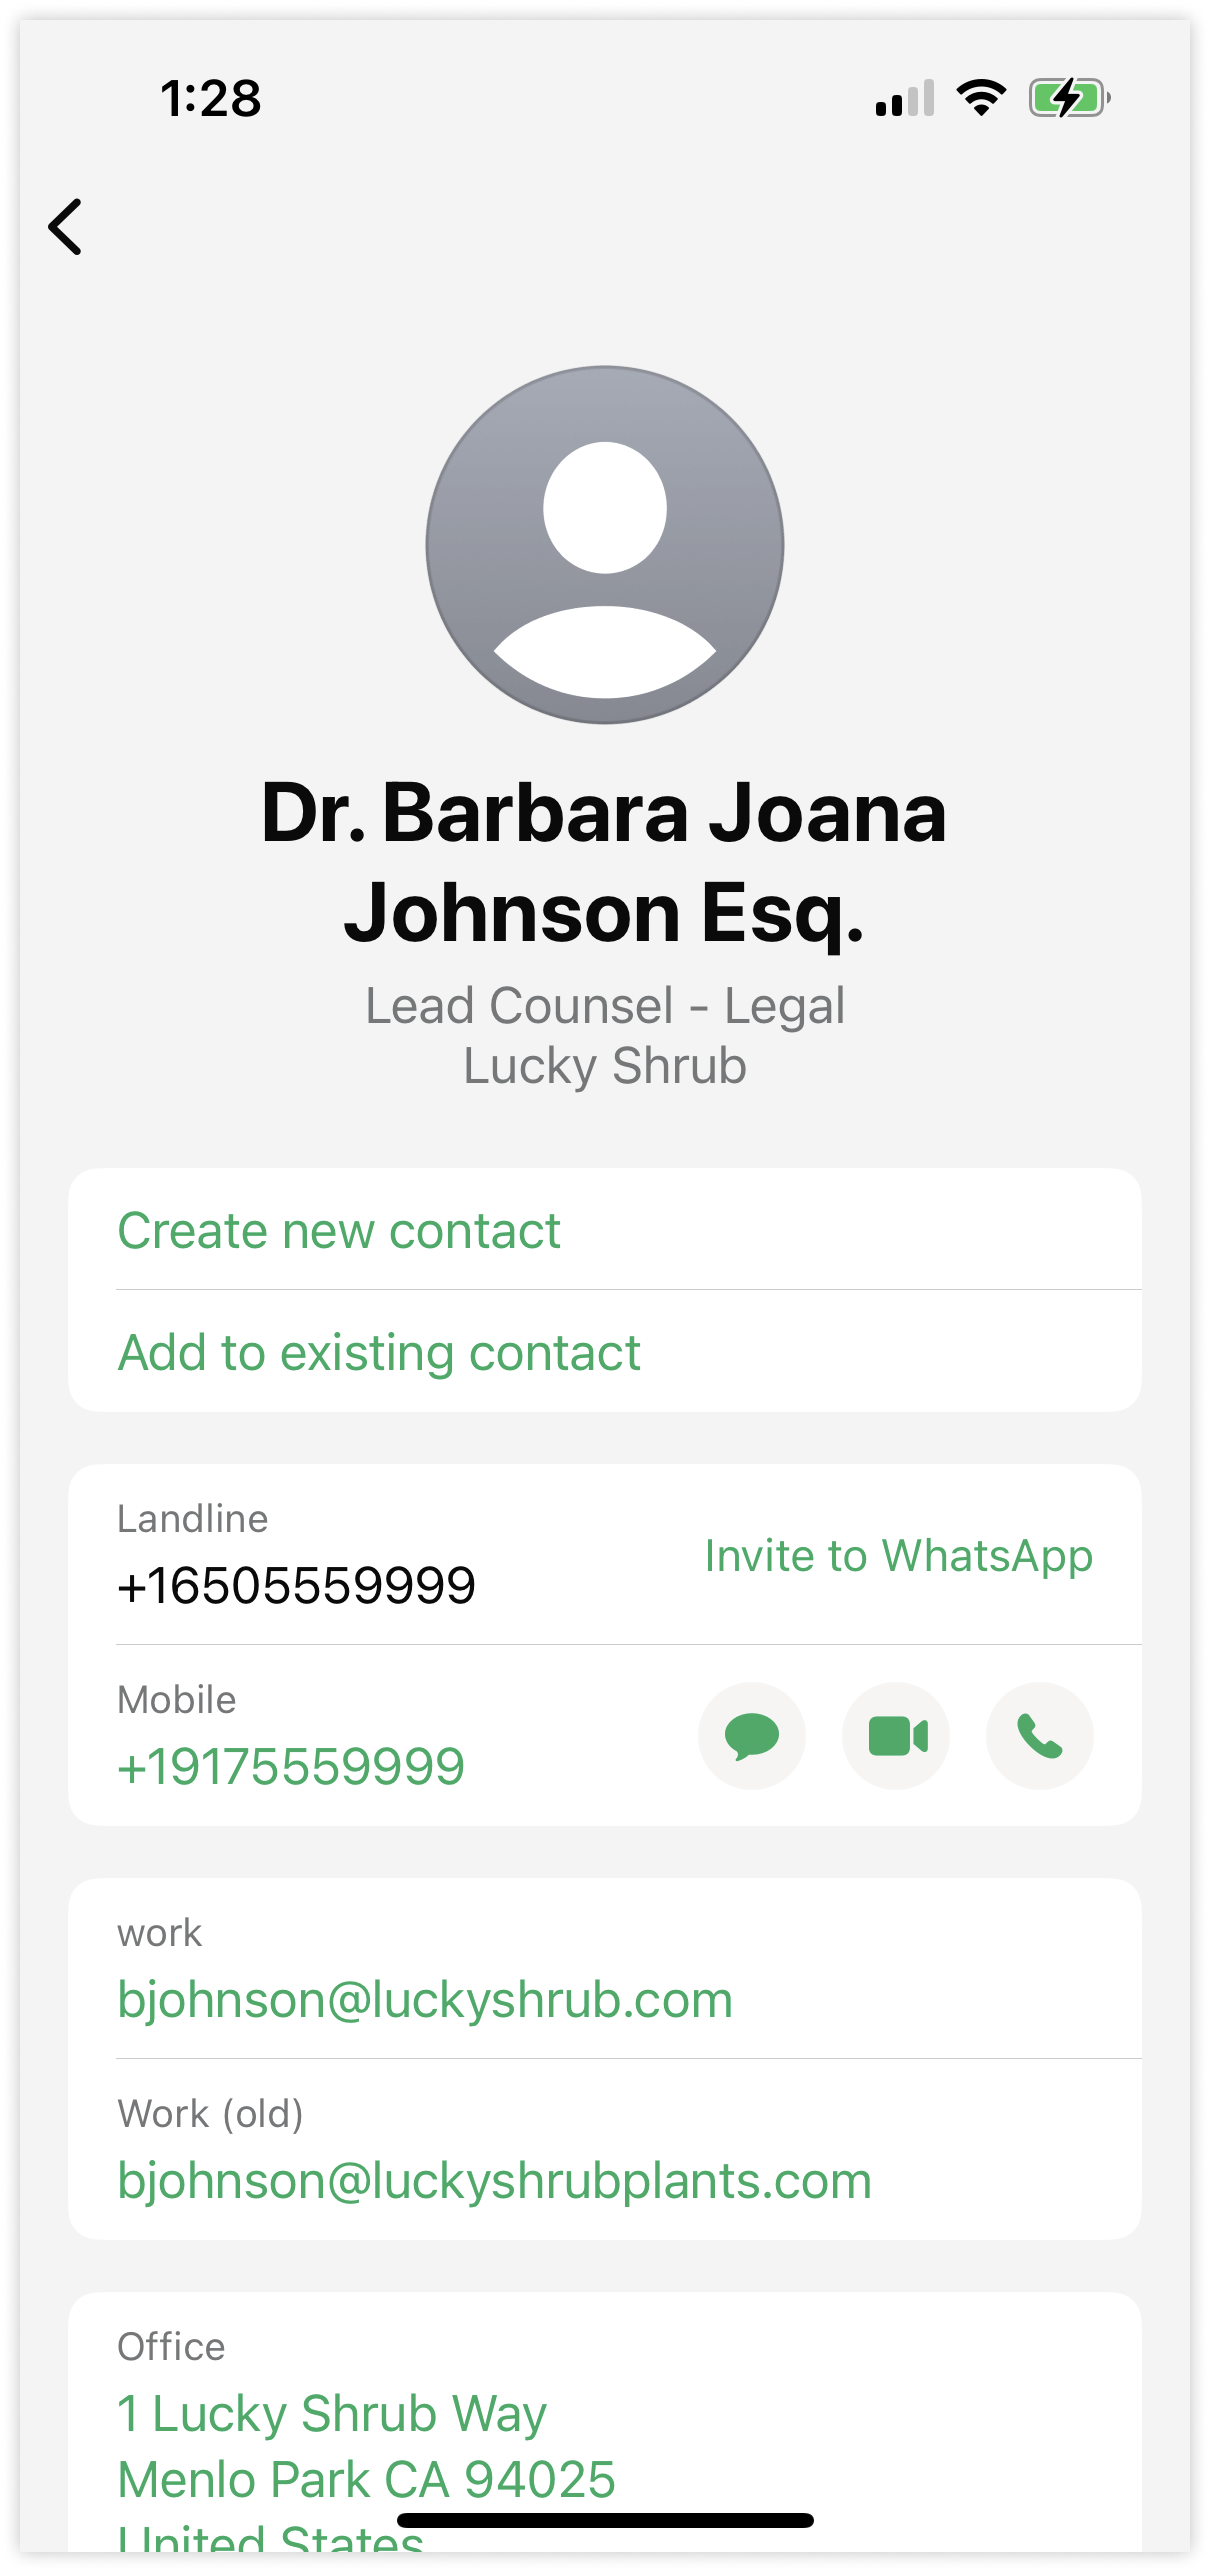
When a WhatsApp user taps the message's profile arrow, it displays the contact's information in a profile view:

If the WhatsApp user taps the Message button, it will open a new message with the contact. If the user taps the Save contact button, they will be given the option to save the contact as a new contact, or to update an existing contact.
You can create a contact card template in Digital Asset Manager to send on WhatsApp Business.
Contact Card Template - Field Descriptions & Limitations
Field Name | Description & Limitation |
First Name | This is the contact's first name. |
Last Name | This is the contacts last name. |
Phone number | This is the whatsapp user phone number. |
Birthday | Contact's birthday in YYYY-MM-DD format. |
Email address of the contact. |
To create a Contact Card template in Digital Asset Manager
Click the New Tab icon. Under the Sprinklr Social tab, click Assets within Engage.
Click +Create Asset in the top right corner of the Asset Management window.
Go to Templates in the dropdown and select Omni Chat Templates.
On the Create New Asset window, enter a Name and optional Description for your asset under the Basic Details section.
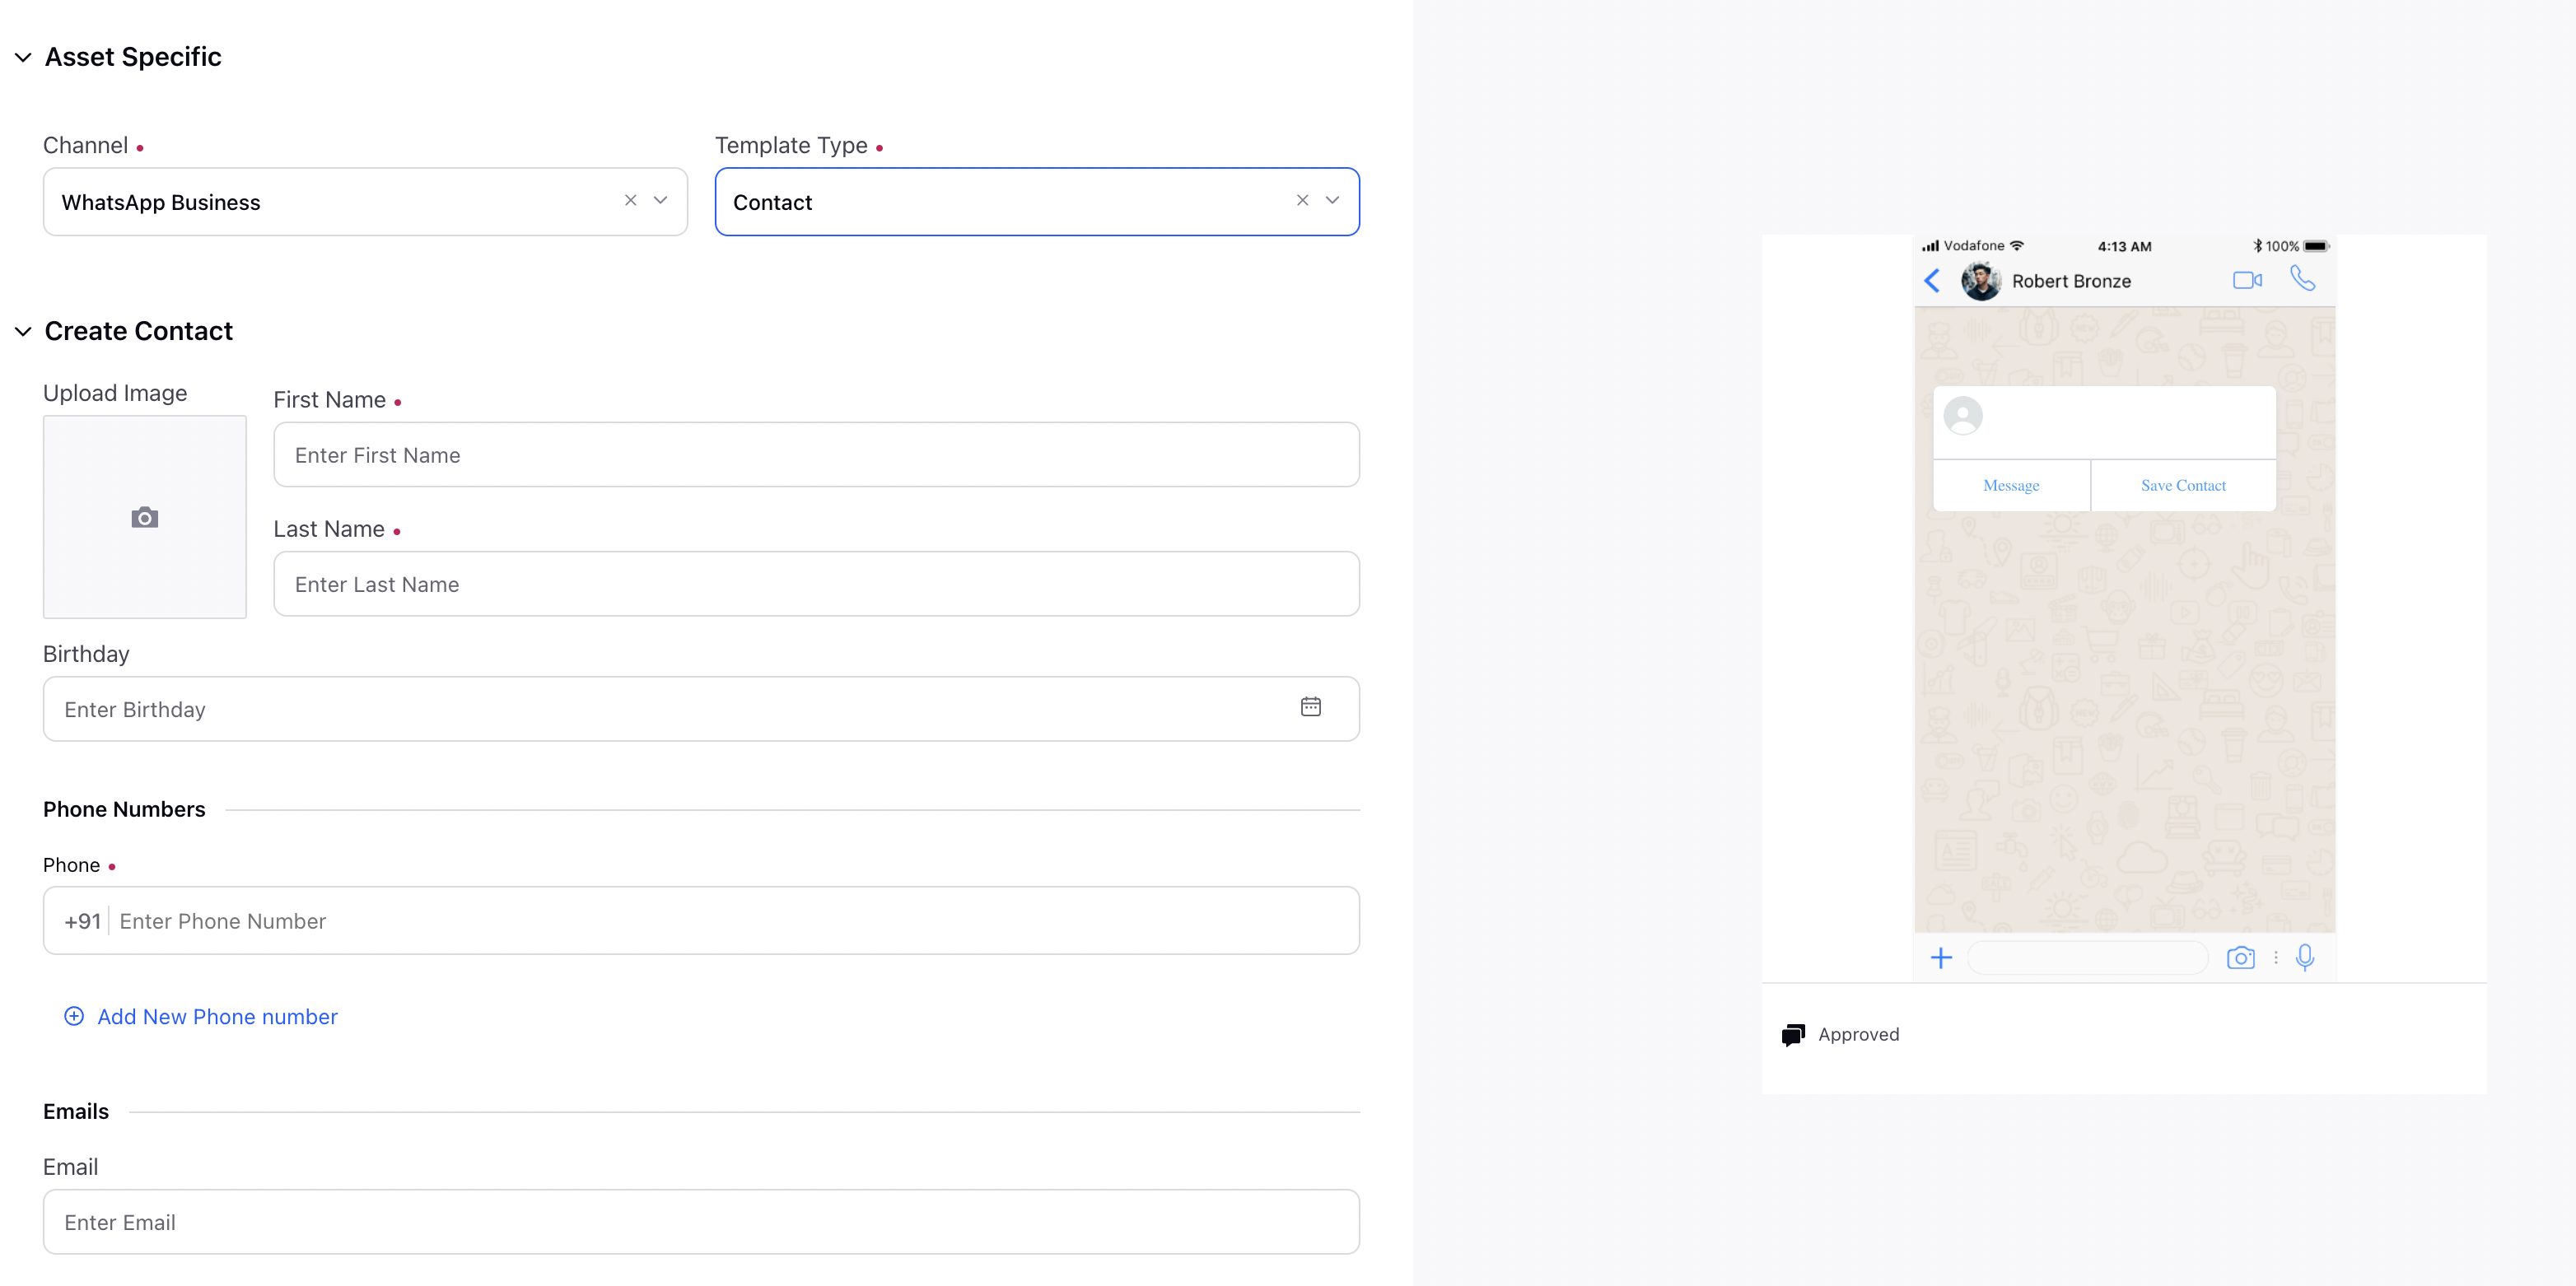
Under the Asset Specific section, select Contact from the Template Type dropdown and WhatsApp Business from the Channel dropdown.

Under the Create Contact section, enter the first name, last name and the contact number using the dropdown for the desired country code. In addition to contact number you can also add relevent Email, URLs, Organization and Address related to the contact number.
Under Asset Details, select Campaigns, Sub Campaigns, Status, Available from, Visible from, Expires on, Tags, Restricted, Brands, Persona, Customer Journey Stage, Automated Tags, and Information.
Under Asset Sharing, select Workspace(s) and Users/Users Group(s) you want to share this asset with. You can also check the box alongside Visible in all workspaces to share the asset with all workspaces.
Next, enter the Properties per your needs.
Click Save in the bottom right corner.
Note: Please refer here for more details on the article.