Create a macro
Updated
How using Macros, you can perform a combination of tasks with a single click, removing redundancies in your workflows.
Macros are used to execute multiple actions on an entity with a single click. Agents often need to perform a series of actions repeatedly in their daily workflow. For example, to assign a case from another queue to an agent, you would need to manually remove the ticket from the existing queue and add it to the assigned queue, and then have to change the status to assigned. Macros let you perform all these tasks with a single click, creating efficiencies in your workflows.
Macros can be viewed, edited, and created by admins from Settings and are available at the Workspace level only. Below, we'll explore how macros can be created. Actions that users can take on macros are determined by Macro Permissions.
Steps To Add a Macro
Click the New Tab icon. Under Platform modules, click Macros within settings.
In the top-right corner of the Macros window, click Create Macro.
On the Create Macro window, enter a Macro Name and Description, and select the entity to apply the macro to from the Apply macro on dropdown.
Entity types include Inbound Message, Outbound Message, SAM Asset, Case, UGC Asset, Profile, Task, Campaign, Sub-campaign, and User.
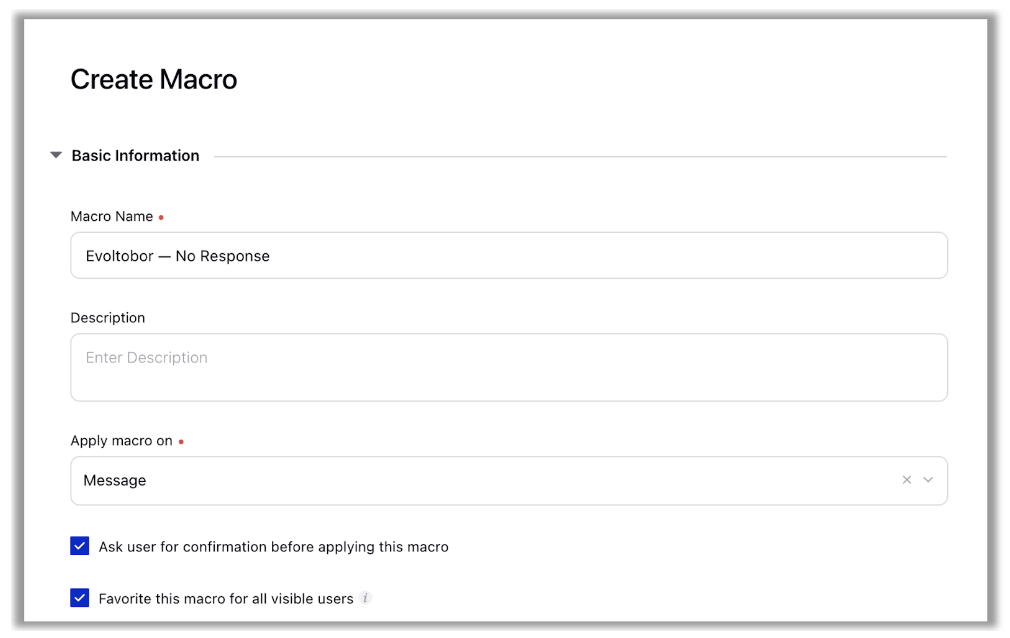
Check the Ask user for confirmation before applying this macro box, if you want to re-confirm conditions when the macro is applied.
Similarly, check the Favorite this macro for all visible users box, if you want to pin the macro.
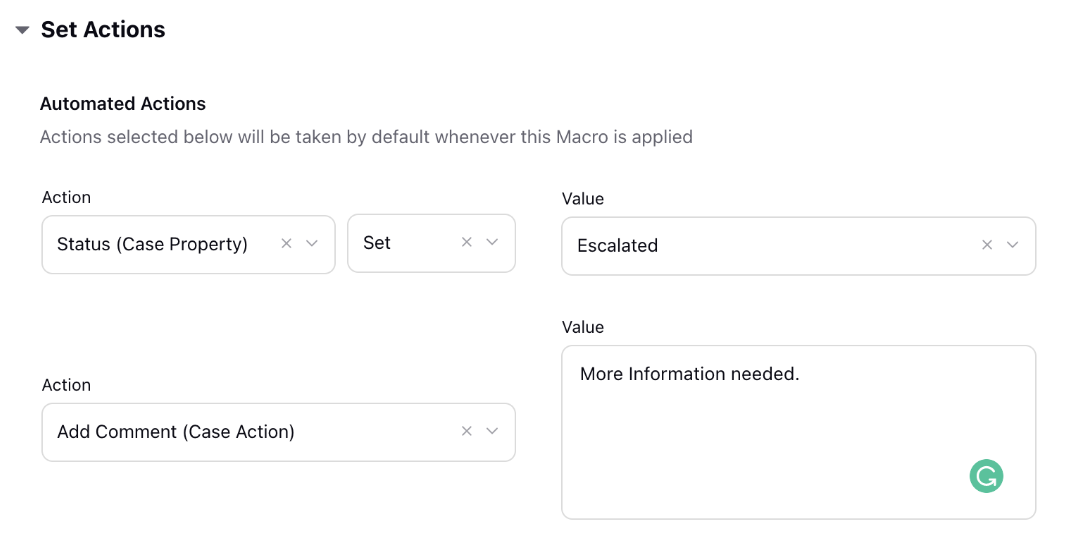
Set actions for your macro under Automated Actions and Manual Actions. This lets you set the task details that you want to perform on the selected entity. You can add multiple actions at a time. Click Add new Action/Input if you wish to add additional conditions.
For example, if your macro conditions are:
Status set to Escalated
Escalation Reason [More information needed]
Then, all the cases where you apply this macro will be escalated with the escalation reason "More information needed”.
If you are creating a Message, Outbound Message, or UGC Macro, you can add Related Macros, which can be used to apply another macro to assets associated with the parent content. Click Add new Related Asset to add a related Macro.
Select your visibility preferences. Sharing macros lets different people/teams in your organization use it and perform desired actions. Selecting Visible in all workspaces will allow visibility for all users across the Workspaces. Selecting Workspace(s) will allow visibility for all users within the specified Workspace(s). Selecting User(s) will allow visibility for only the specified user(s) or user group(s).
Under Advanced Visibility Filters, select the following fields as per your requirements to restrict the visibility of the macro based on a custom field value.
You are required to select asset to define visibility on its properties.
Select the Asset Property from the drop-down menu.
Next, select the Operator and Value from the drop-down menu, respectively.
 Note: To get this capability enabled for Case Macros, please work with your Success Manager.
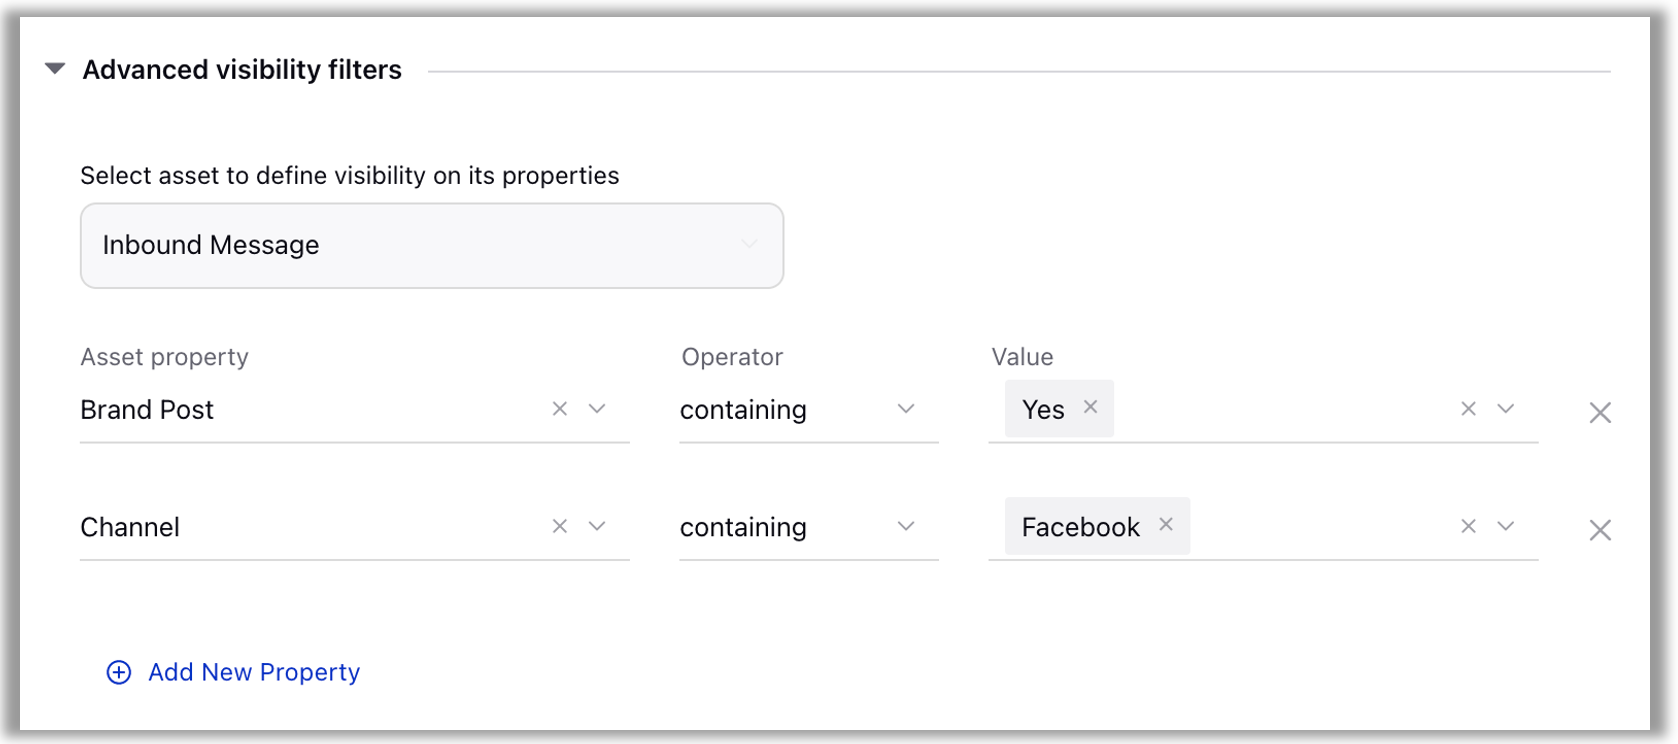
Click Save in the bottom-right corner to save your macro.