Publisher Console
Updated
Sprinklr’s Publisher Console consolidates all the tools required for Social Publishing within one single window. It is designed to improve the productivity of Social Media Managers by bringing all the actionable items upfront, and by giving access to commonly used modules like DAM, Engagement Dashboards, Reporting, etc. In this article we will cover the details about Publisher Console.
Sections in Publisher Console
There are two major sections in the Publisher Console:
The Left Rail which has quick links to the different modules like DAM, Campaigns, Engagement Dashboard, Reporting.
The Message updates which can be used for tracking the day to day Social Publishing tasks shows the notification of all the urgent actionable posts of Failed & Rejected Ones. It also shows notification for posts that require approval.
Steps to access the Editorial Calendar in the Publisher Console
Click the New Tab icon
. Under the Sprinklr Social tab, click Publisher Console within Engage.
Within the Publisher Console, click Calendar in the Left Rail.
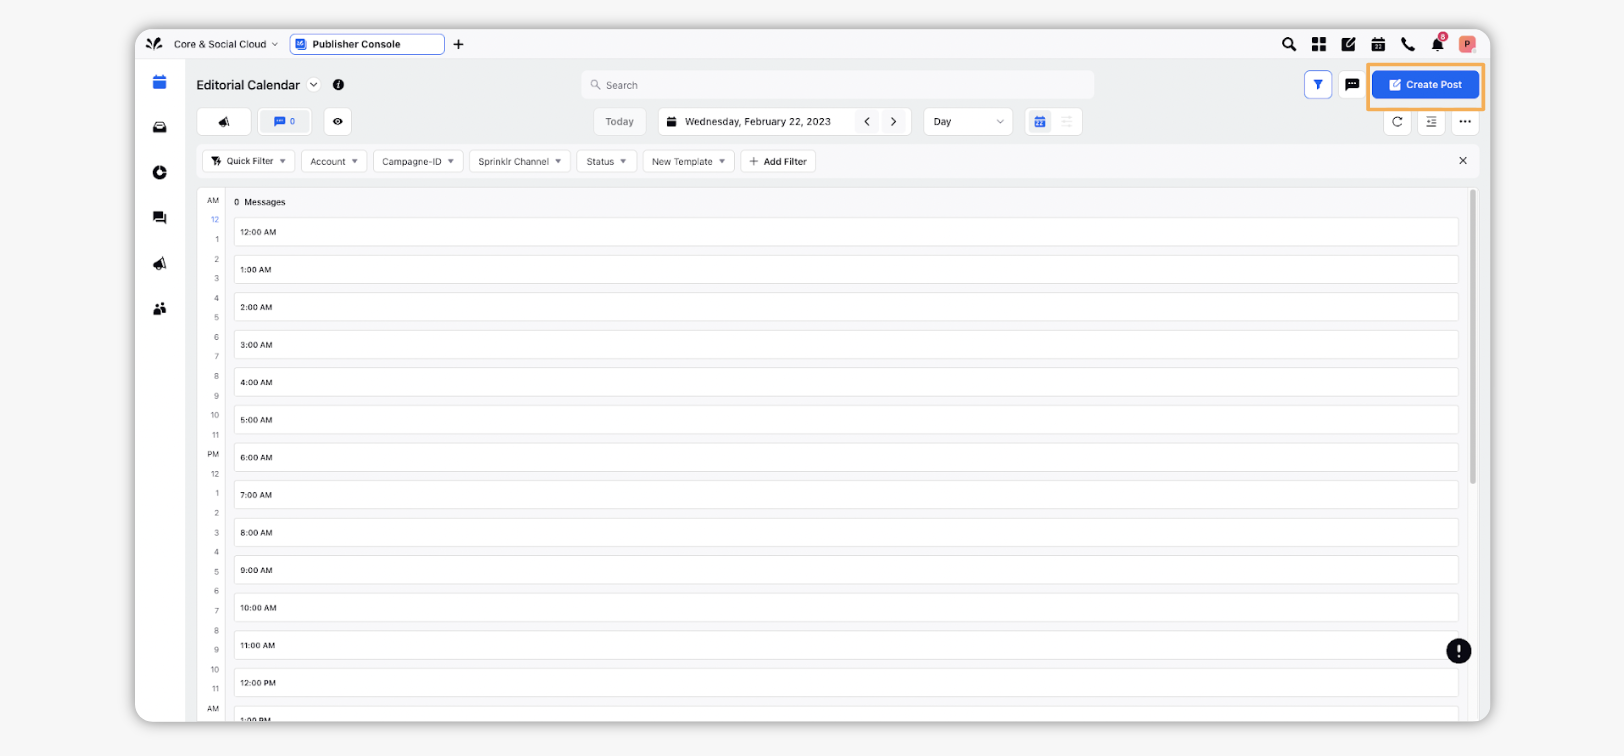
In the Editorial Calendar window, you can create a post, view Message Updates and have a comprehensive view of all Campaigns, Events, Messages, and Tasks in one easy-to-consume calendar. For more information, see About the Editorial Calendar.
Steps to create a post in the Publisher Console
Click the New Tab icon
. Under the Sprinklr Social tab, click Publisher Console within Engage.
Within the Publisher Console, click Calendar in the Left Rail.
Click Create Post in the top right corner of the Editorial Calendar window.
Next, in the Create Post window, fill in the required details and click Post in the bottom right corner to publish the post.
Steps to view message updates in the Publisher Console
Click the New Tab icon
. Under the Sprinklr Social tab, click Publisher Console within Engage.
Within the Publisher Console, click Calendar in the Left Rail.
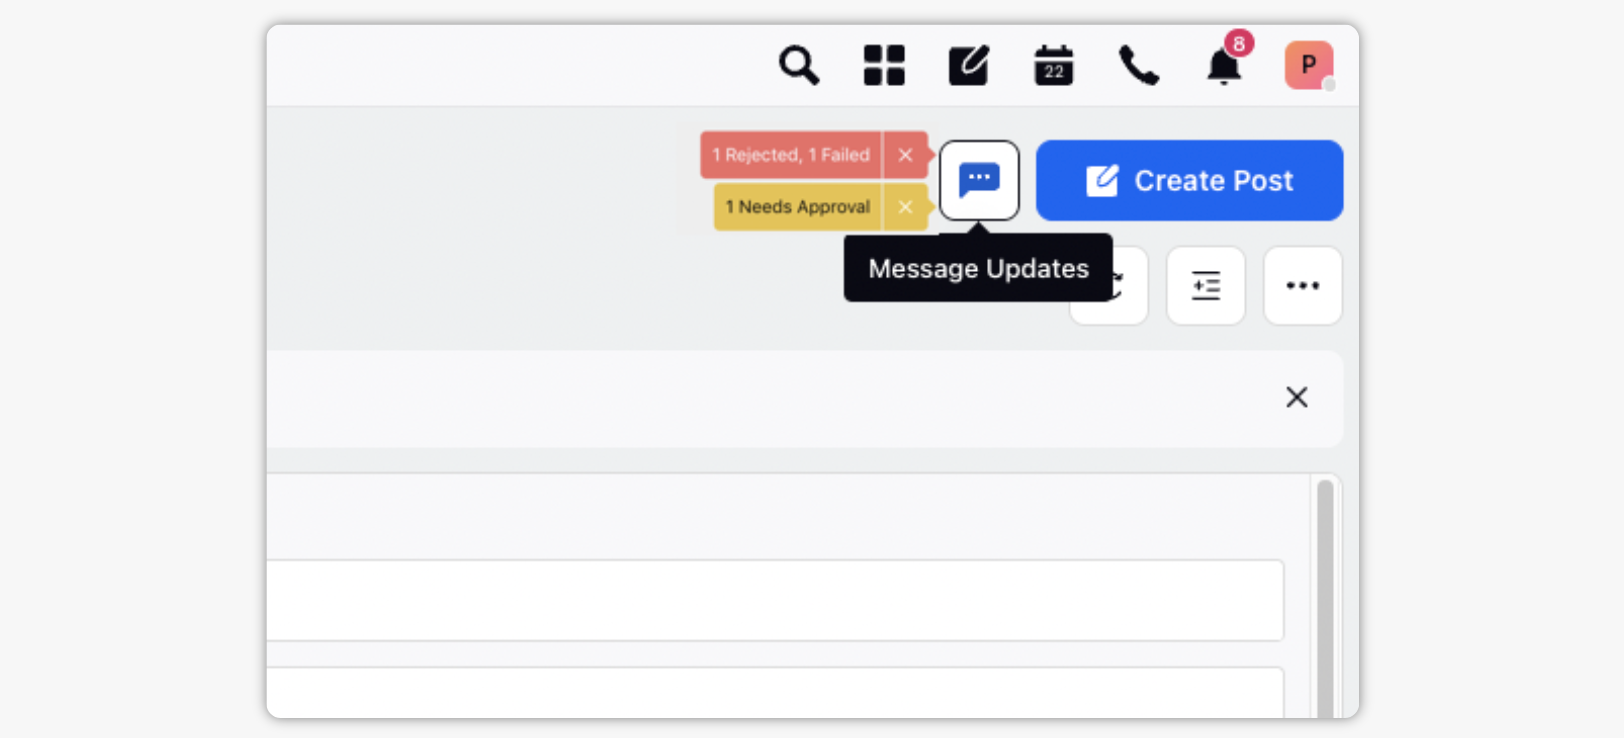
Click Message Updates in the top right corner of the Editorial Calendar window.

When you open Message Updates (Outbound Message Third Pane), the information related to the outbound post will be displayed in eight tabs. Below, we will take a look at each tab and the information you will find within.
You can navigate to the post of each category and take the required actions. For example, you can click on Failed Post and check the reason for the error and get it fixed.
Within the Outbound Message Third Pane, if you click any post. It will open the Message Third Pane. Additionally, you can use the Search, Sort, Refresh functionality under categories.
Tab
Description
Overview
In the Overview tab, you will view the top three posts of each category. The following categories are available:
Failed Posts
Rejected Posts
Drafts Posts
Post that requires approval.
Scheduled Posts
Published Posts
Once you access the post, it will no longer be available in the Overview tab. If you wish to access any specific category post, click the desired tab in the Outbound Message Third Pane.
To view the complete list of a particular category of posts, you can click on Show all for the respective category.
Failed
In the Failed tab, you will view all your failed posts.
Rejected
In the Rejected tab, you will view all the rejected posts.
Drafts
In the Drafts tab, you will view all the drafts.
Pending
In the Pending tab, you will view all the pending posts which are not yet approved.
Required
In the Required tab, you will view the post that will require your immediate attention.
Scheduled
In the Scheduled tab, you will view all the scheduled posts.
Published
In the Published tab, you will view all your published posts.
Steps to view notifications in message updates
Click the New Tab icon
. Under the Sprinklr Social tab, click Publisher Console within Engage.
Within the Publisher Console, click Calendar in the Left Rail.
In the top right corner of the Editorial Calendar window, you will be able to view the notifications on the Message Updates.
![]() Note: This capability is DP controlled and to enable this in your Environment please reach out to your success manager or raise a support ticket.
Note: This capability is DP controlled and to enable this in your Environment please reach out to your success manager or raise a support ticket.
DP Details —
PUBLISHER_CONSOLE_ENABLED — controls launchpad entry for publisher console.
VIRALITY_ENABLED (DP) — [CURRENT_USER_MESSAGE_UPDATES] (value) — controls message updates virality pane button in planner.
VIRALITY_ENABLED (DP) — [OUTBOUND_GROUP] (value) — controls enablement of outbound message virality pane.
PUBLISHER_CONSOLE_ENABLED_MODULES — [CAMPAIGNS, AUDIENCE_MANAGER] — controls enablement of campaigns and audience manager tabs in publisher console.
CURRENT_USER_MESSAGE_UPDATES_VIRALITY_ENABLED DP added to hide/show message updates button.
Enablement of this capability requires additional setup.