Social Planning & Publishing Persona App
Updated
Perform end-to-end planning and publishing of posts from one place by using the Social Planning & Publishing persona app. Also leverage the persona app overview page to get a top-level summary of how your posts are doing. In this article, we detail out the core capabilities of the Social Planning & Publishing Persona App.
Left Navigation
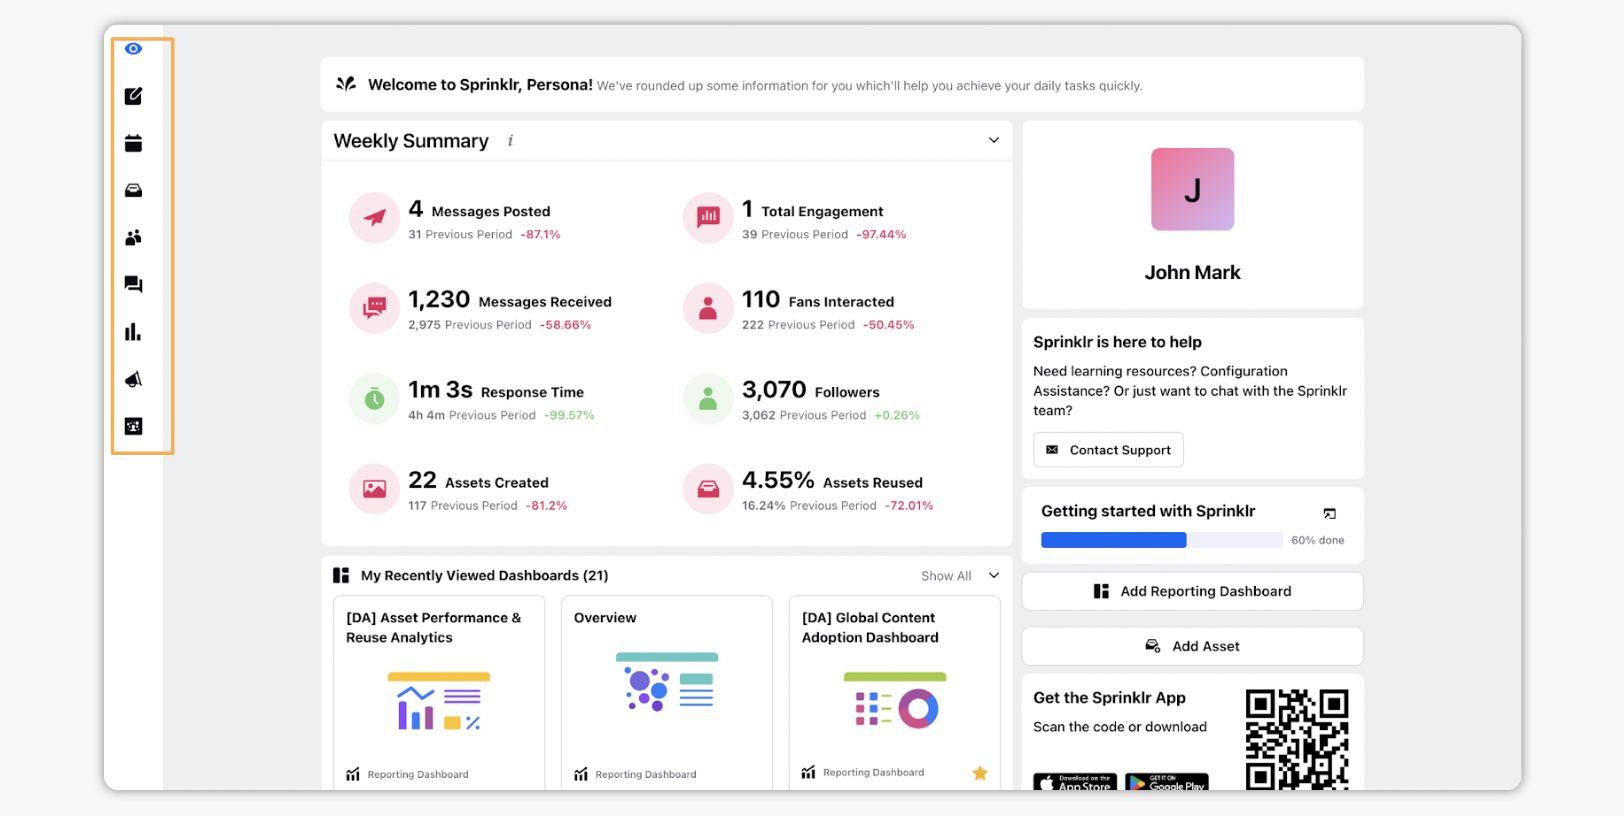
Get to all of the modules you will need for planning and publishing posts through a left navigation bar. Everything needed for your publishing workflows will be available one click away. Access your Calendar, Asset Manager, Publisher, Engagement dashboards and Reporting dashboards as part of your everyday publishing workflows.
Home page
The home page provides a set of useful widgets to give you an overview of your publishing process. The weekly summary tells you how your posts are performing and the kind of engagement you have received. Other widgets provide shortcuts that take you to our favorite dashboards and campaigns you created.
Onboarding
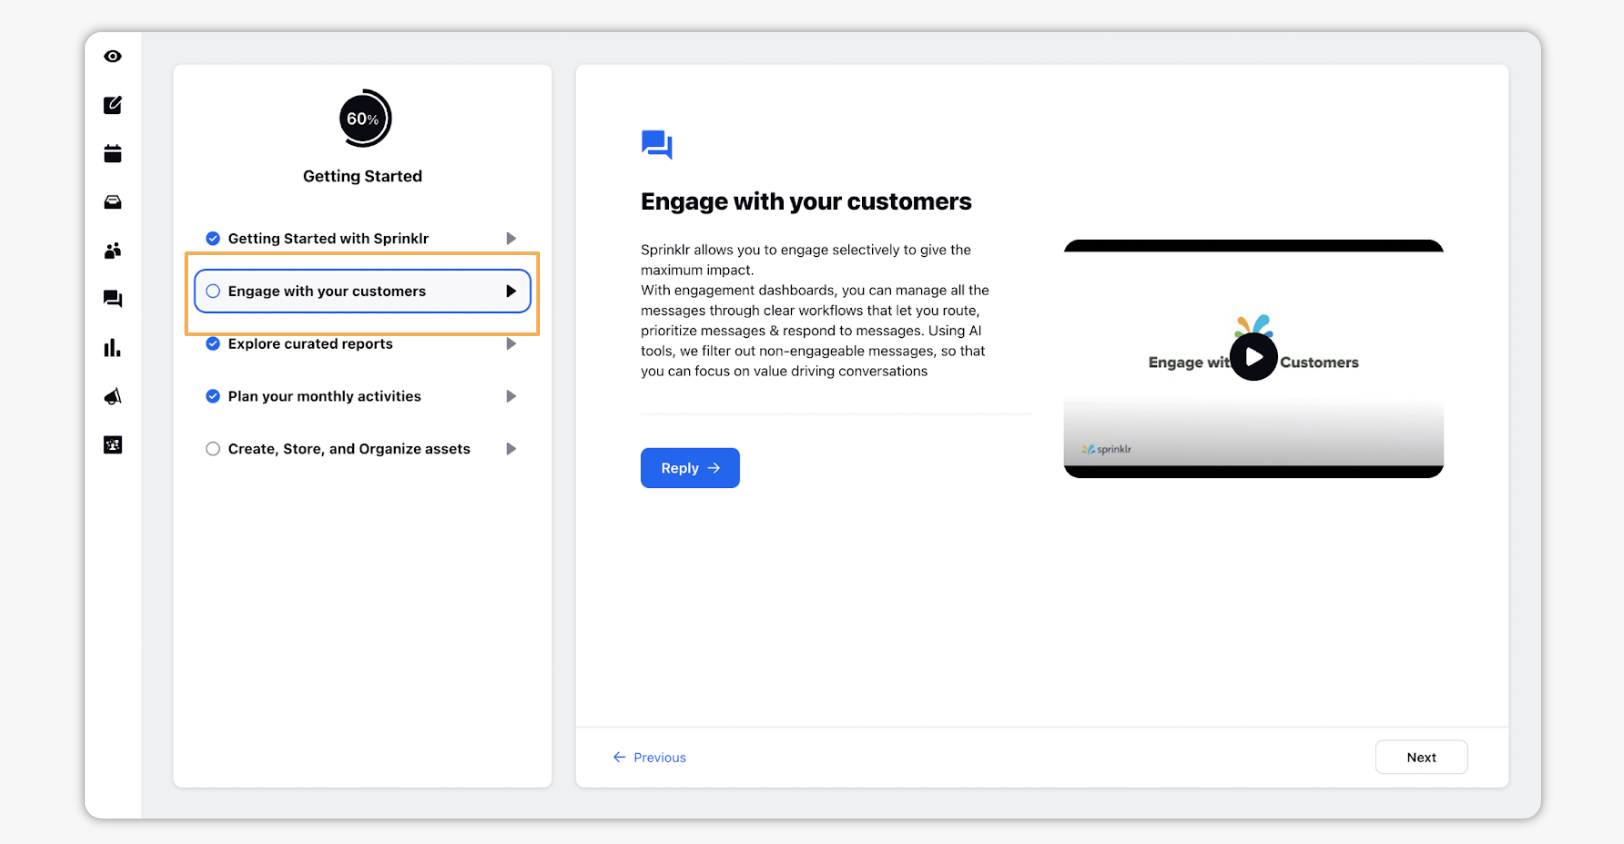
There is a dedicated onboarding flow with the Social Planning & Publishing Persona app to help you learn the basics of publishing with Sprinklr. You can go through the guided learning journey, with a video explaining each process and the ability to try it out immediately within the platform. Progress is tracked as you complete each step.
The first time you access the persona app, you will be taken to the onboarding page. You can later access it from within your home page as well.
Focused Dashboards List
For engagement and reporting dashboards, the social planning and publishing persona app provides a simpler focused list. Rather than showing all the dashboards in the environment, which might not be relevant to you, you can choose which are the dashboards you need. You can share those dashboards with the persona app and only those appear and are accessible from within the app.
Steps to publish through the Persona App
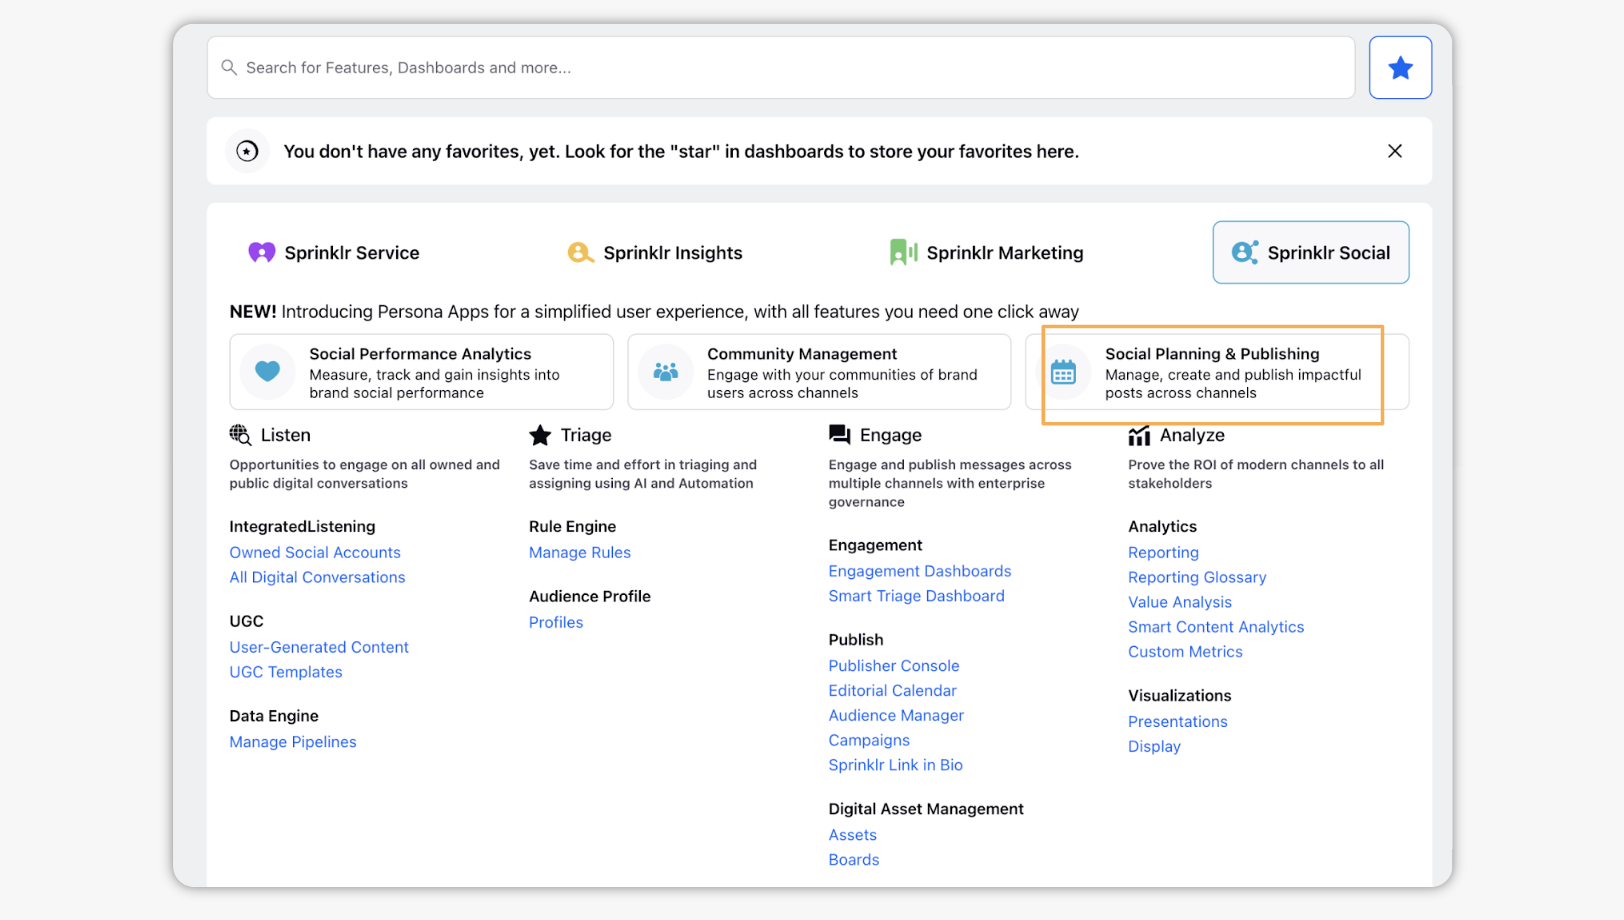
Click the New Tab icon
. Click Social Planning & Publishing persona under the Sprinklr Social tab.
As you get started with the process of planning you post, the editorial calendar will help you get an overall perspective of upcoming social media activity. Click the Calendar icon on the left navigation to access the editorial calendar.
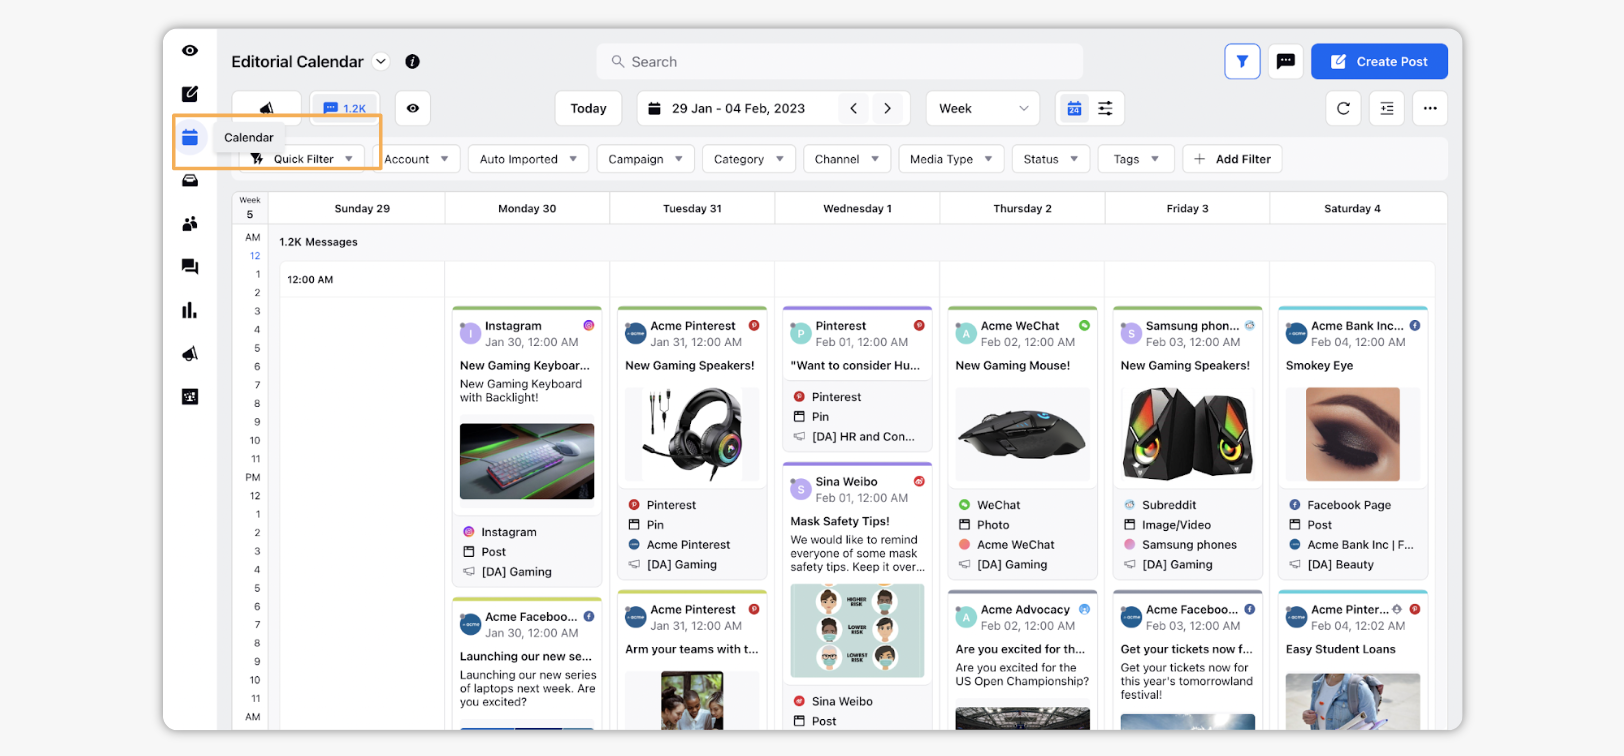
Get an overall view of all the posts across channels, campaigns and their statuses all in one place. You can use this to plan and find the right time for content you are about to publish.
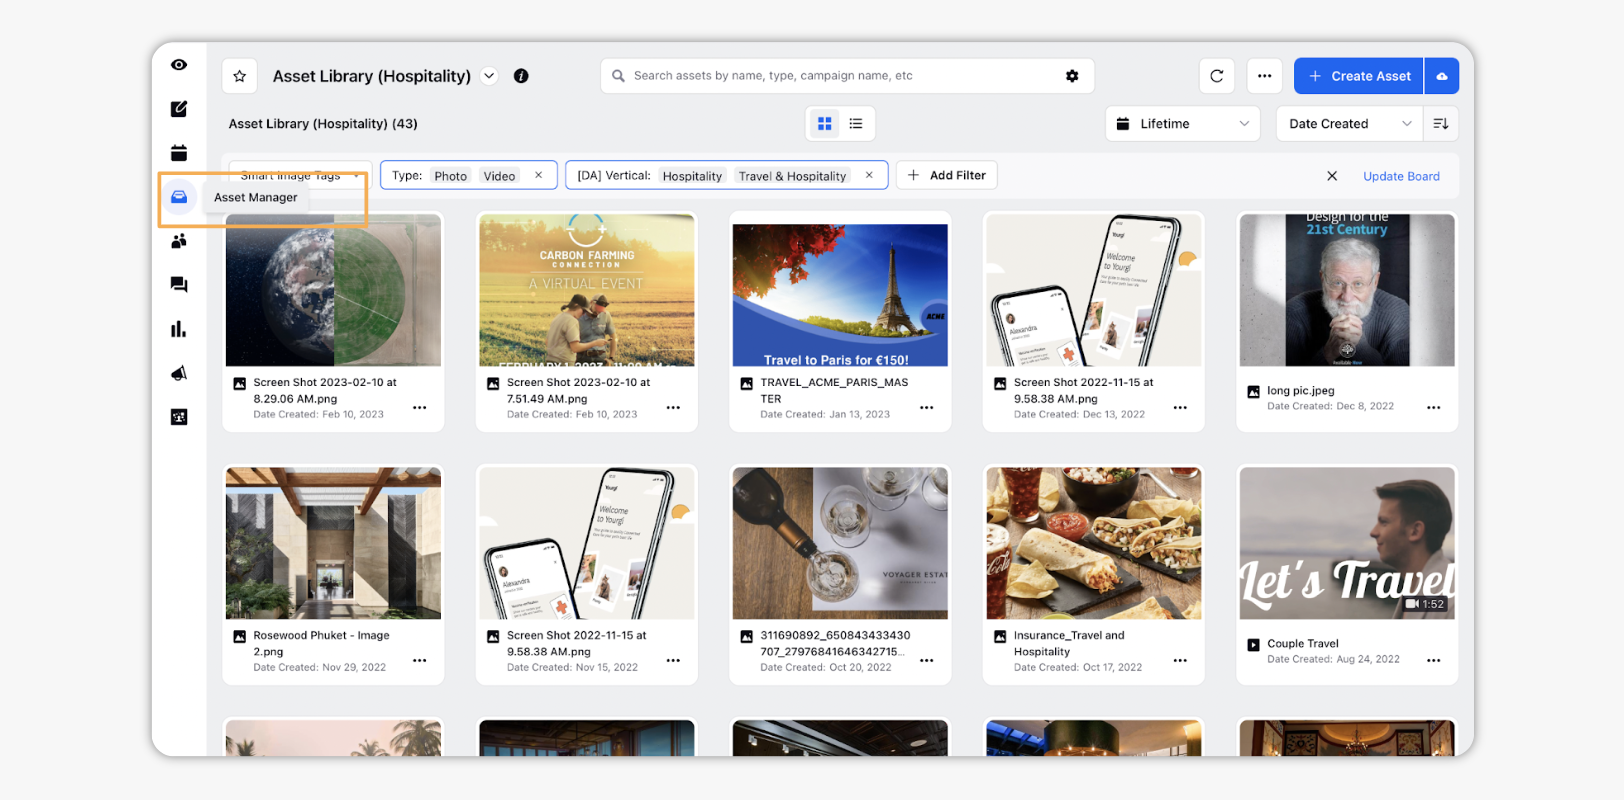
Create all the collateral needed for your posts and add them to the asset manager, as a central repository to organize and manage all content. Click Asset Manager in the left navigation to access the asset manager.
You can create and add your creatives, tag them, filter, sort and share them across your organization as part of your workflows from this central location within the persona app.
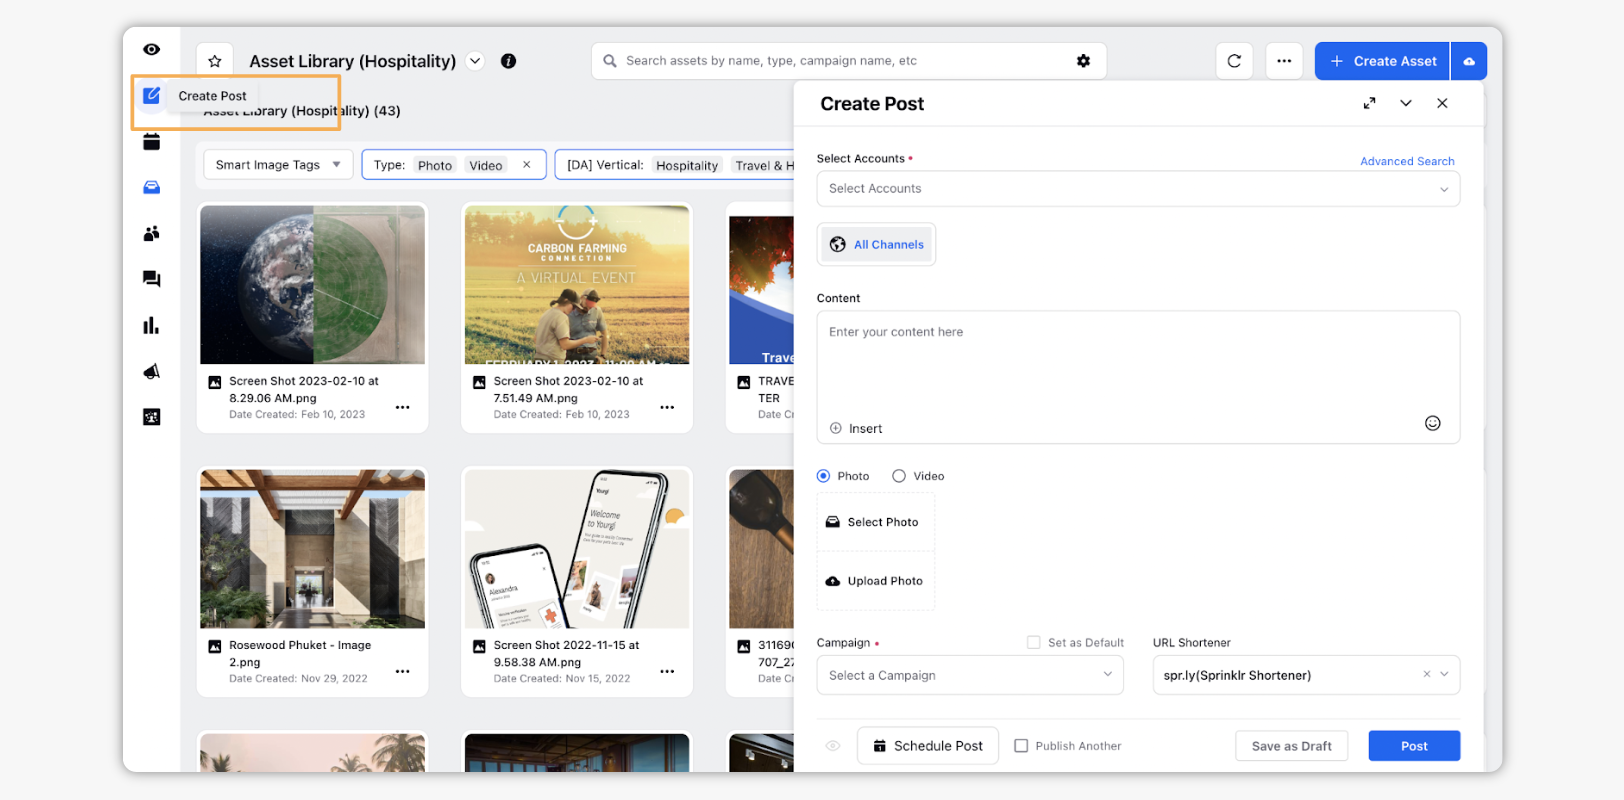
Click Create Post in the left navigation to open up the publisher.
Here you can choose the accounts to publish from, add your content, assets and other details needed for your post. You can create and save drafts to be fetched later, post immediately or schedule the posts.
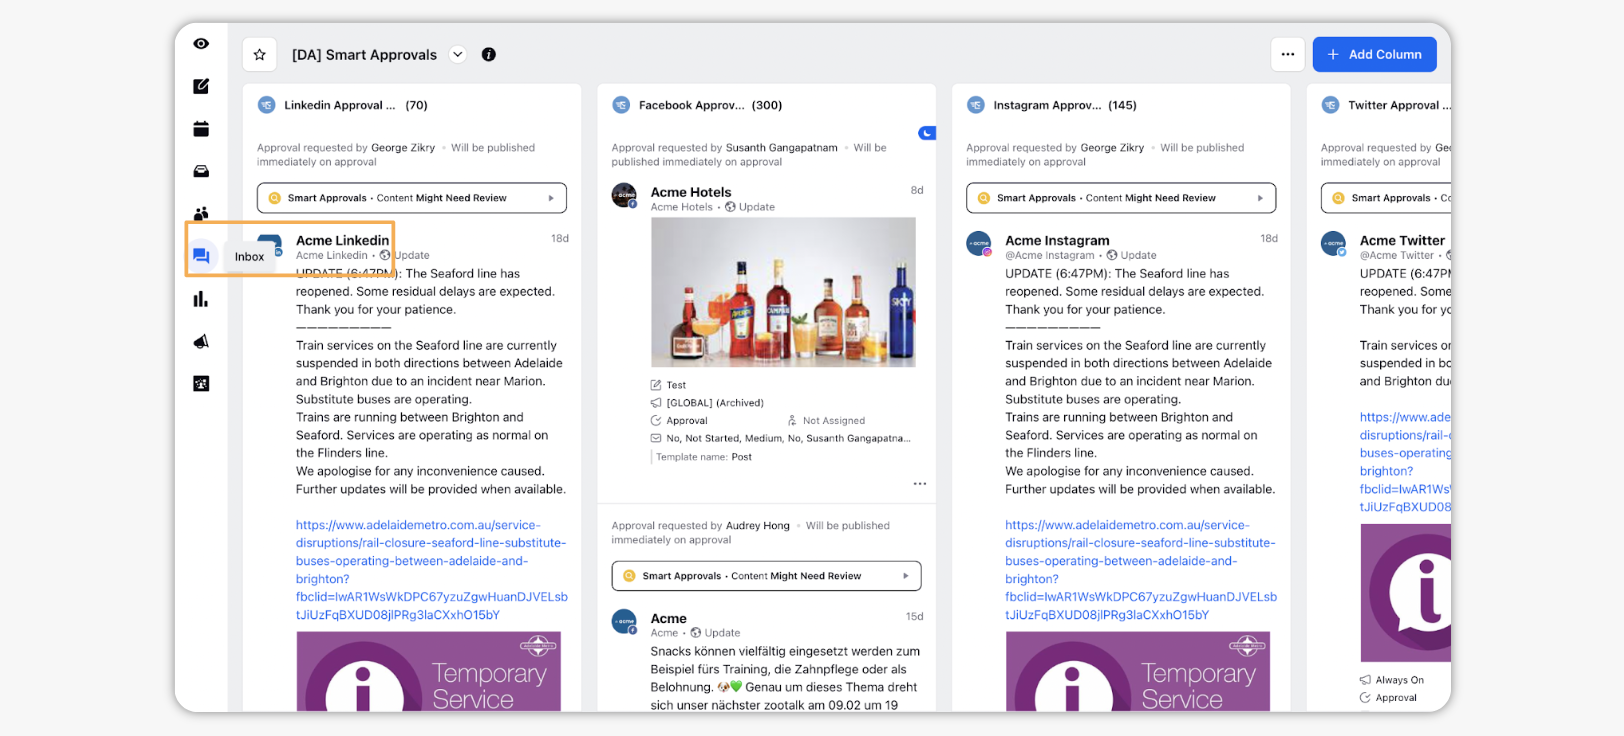
In case you have tiered approvals configured, the posts will get sent through the approval workflows. Approvers will need to make use of dashboards which have been configured for approvals to check and approve or reject the posts. Click Inbox to access your engagement dashboard and work through your approvals.
Once your post has been published, you would need to keep track of performance. Reporting dashboards helps you with this. Click Reports to access reporting dashboards you have set up.

As your users engage with and react to the posts that you have put out, there are many opportunities for you to interact with them. Click Inbox to access the engagement dashboards you have set up. You can switch between the different engagement dashboards you have set up and work with all the messages that have come in.
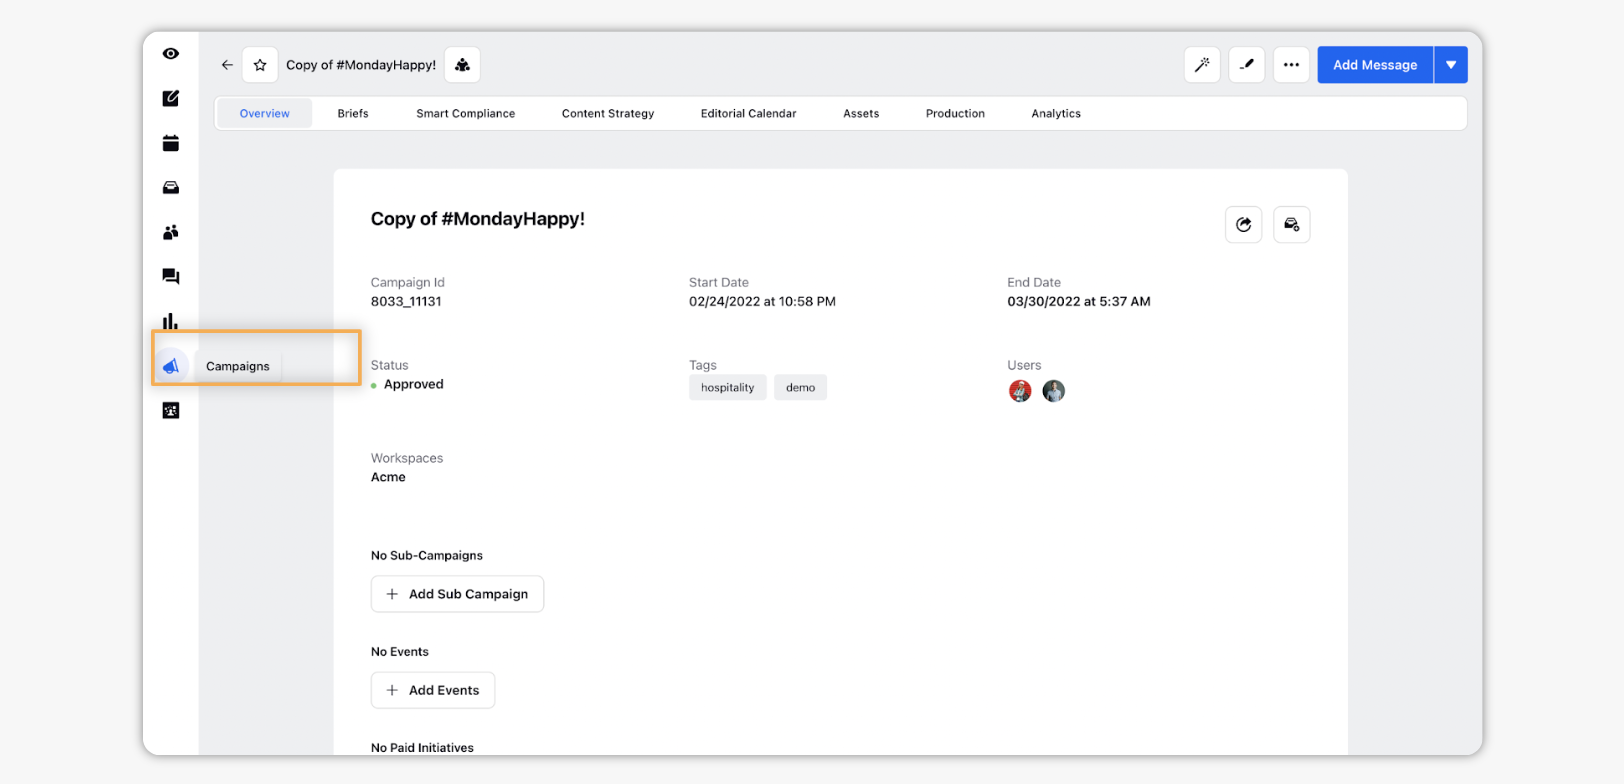
Get an overall picture of ongoing campaigns, by associating your posts with campaigns. Click Campaigns to view the list of all your campaigns, dive deeper into any of them and set their strategy, compliance, briefs and other details.
If you would like to target your posts, you need to create the relevant audiences with the required properties. Click Audience Manager to access audience manager.
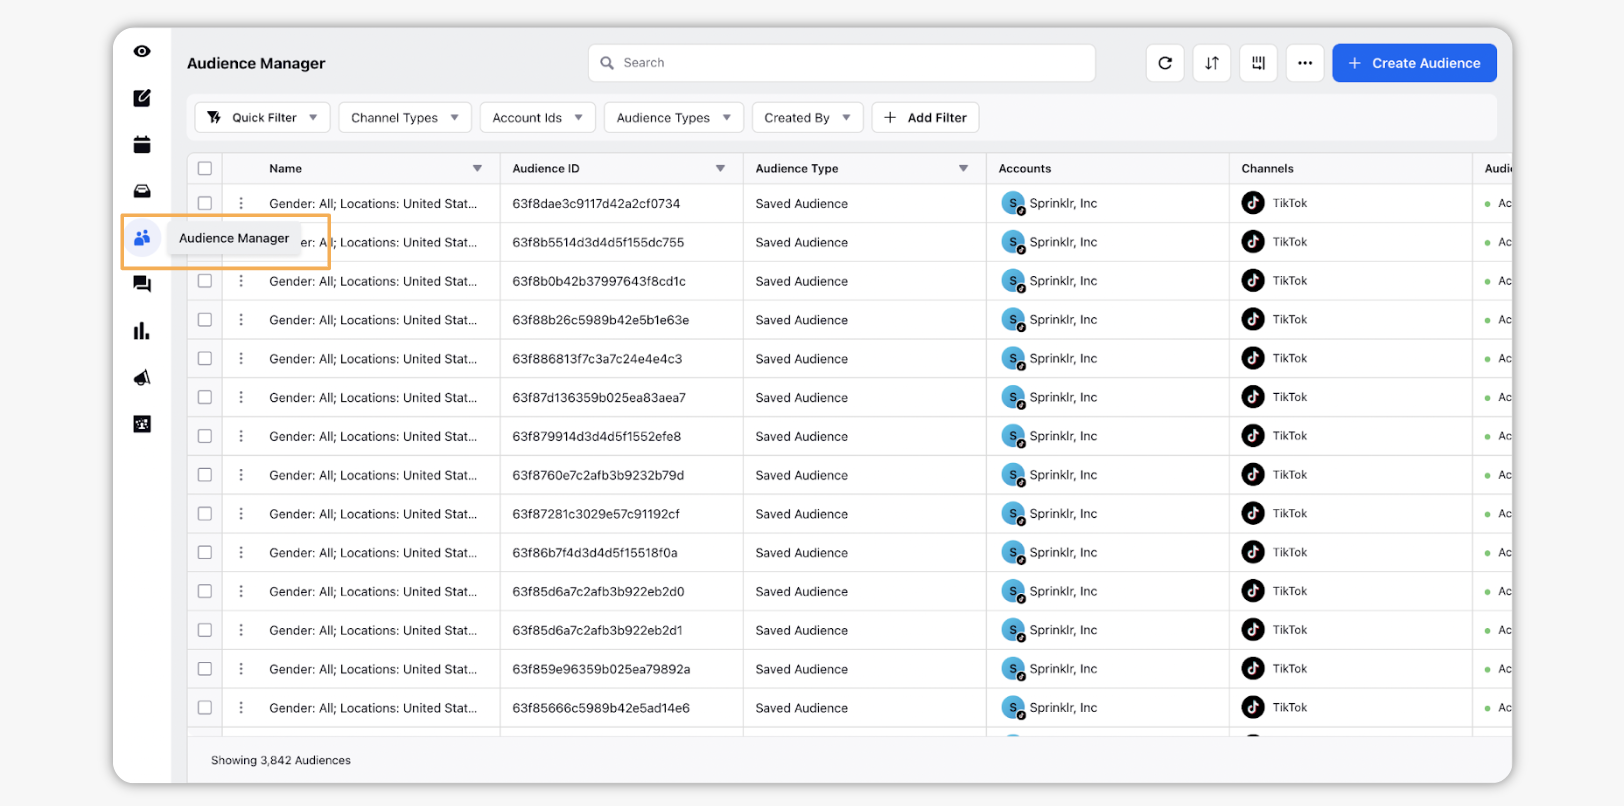
Setup and manage your audiences, which you can use while creating posts.
If sourcing and posting user generated content is part of your strategy, you can do the same through the persona app as well. Click User Generated Content to access the UGC module.
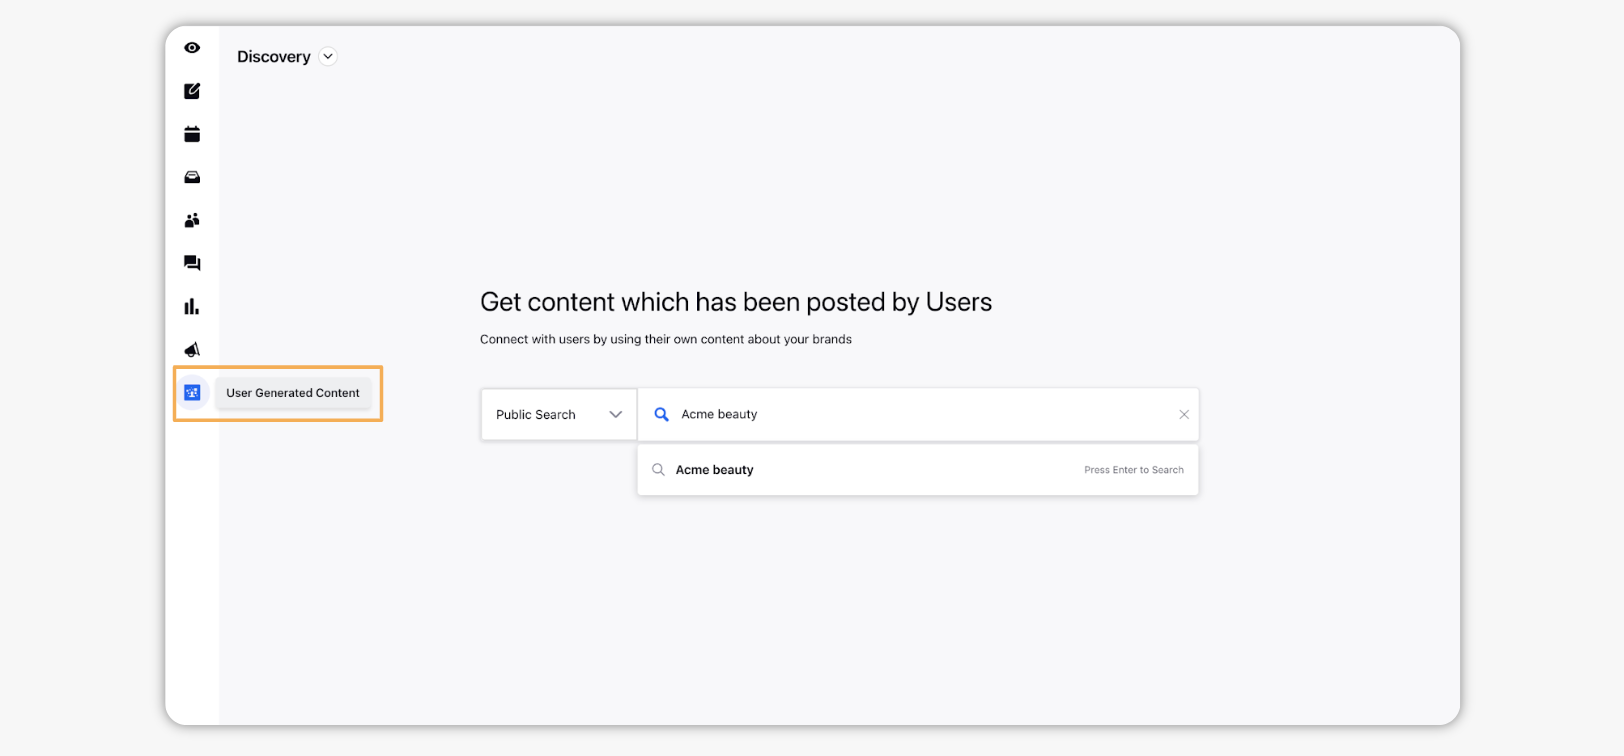
The complete discovery and approval process can be carried out from here in the persona app.