Upload Media while Publishing
Updated
Images and videos can make your content more appealing to viewers, enhancing the reach and impact of your social content. You can access the media uploader from the Quick publisher, Care Console, and Agent Console to add photos and videos to the content that you publish. In this article we will cover how you can add photos or videos from the Digital Asset Manager, UGC, MediaValet, upload media directly from your device, or use a URL to add media to a post along with other aspects of publishing.
Steps to access Media uploader
Click the New Tab icon. Under the Sprinklr Social tab, click Quick Publish within Engage.
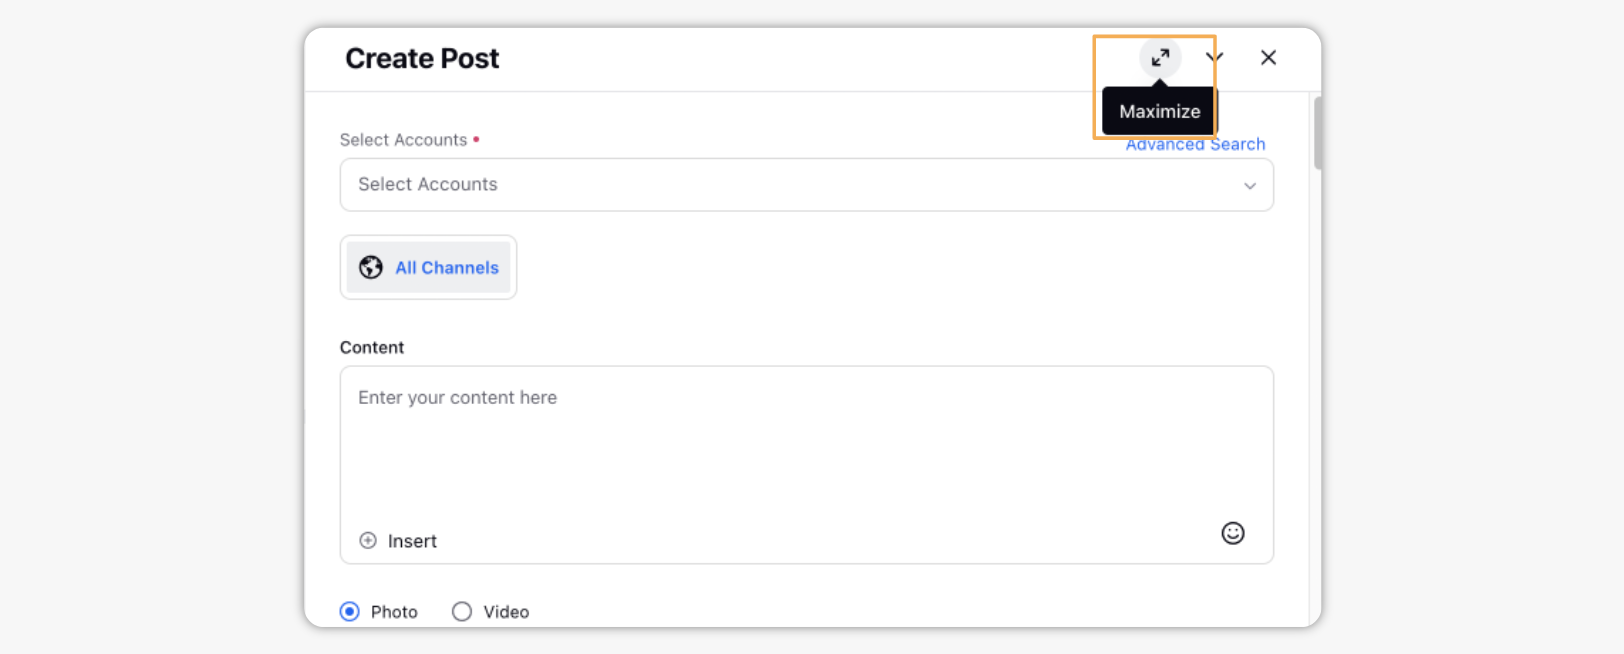
From the Create Post window, select your desired account(s) where you want to publish. You can also use Advanced Search to narrow your searches by a series of different filters.
Once you have selected the desired account(s) you would like to publish to, either select Photo (to add an image) or select Video (to add a video) to open the Media Uploader window.
On the Media Uploader window, select the desired Options tab for uploading content through the Media Uploader.
Click Add in the bottom right corner of the Media Uploader pop-up window.
Media Uploader — Field Descriptions
Option Tab | Description |
Favorites | The assets you've favorited will be available here. For more information, see Add Asset to Favorites |
Add from DAM | Choose the DAM asset you'd like to include in your post. |
Upload Image/Video | Selecting a file from your device (alternatively drag and drop from your device). |
Add from URL | Enter the asset's source URL. |
Add from UGC | Choose the UGC asset you'd like to include in your post. |
Dynamic Image | Create images by using Dynamic Image Templates or use Quick Image Creator. |
Media Valet | Choose the Media Valet asset you'd like to include in your post. |
Steps To Add DAM Assets in the Media Uploader
On the Media Uploader window, select Add from DAM tab at the top of the Media Uploader to choose the DAM asset you'd like to include.
To search DAM assets, click the Search icon to enter a query to search assets. You can also click the Filter icon to add filters to more easily locate DAM assets.
To view assets from Boards, select any board to see that Board's assets.
Steps To Upload an Image/Video from Your Device
On the Media Uploader window, select the Upload Image (or Upload Video) tab at the top of the Media Uploader to select files to upload from your device.
Upload the asset from your device by clicking Upload and selecting a file from your device (alternatively, drag and drop from your device).
If you wish to add the media to the Asset Manager, check the Import to Asset Manager box in the bottom left corner of the Media Uploader window. If you do not wish to see this option, please work with your Success Manager.
Steps To Upload Media from URL
On the Media Uploader window, select Add from URL tab at the top of the Media Uploader to select files to upload from your device.
Enter the asset's source URL.
If you wish to add the media to the Asset Manager, check the Import to Asset Manager box in the bottom left corner of the Media Uploader window. Note: If you do not wish to see this option, please work with your Success Manager.
Steps To Add UGC Assets in the Media Uploader
On the Media Uploader window, select Add from UGC tab at the top of the Media Uploader to choose the UGC asset you'd like to include in your post.
To search UGC assets, click the Search icon to enter a query to search assets. You can also click the Filter icon to add filters to more easily locate UGC assets.
To view assets from Boards, select any board to see that Board's assets.
Steps To Add Dynamic Image
On the Media Uploader window, select the Dynamic Image tab at the top of the Media Uploader to create images by using Dynamic Image Templates or Quick Image Creator.
To search Dynamic Image Template, click the Search icon to enter a query to search template. You can also click the Filter icon to add filters to more easily locate dynamic image templates.
Hover over the Dynamic Image Template and click Use Template in the Centre of the template.
On the Create Image Using Dynamic Template window, fill in the details based on the template. Next, click Apply in the bottom right corner of the Create Image Using Dynamic Template window.
If you wish you can add the dynamic image using Quick Image Creator.
On the Quick Image Creator window, select the Canvas size of the image from the drop-down list. Enter the text on the canvas and select the background for the canvas. Next, click Create Image in the bottom right corner of the Quick Image Creator window.
Steps To Upload a Media Valet Assets
Please ensure that you have Media Valet integrated with Sprinklr and the Media Valet account is added.
On the Media Uploader window, select the Media Valet tab at the top of the Media Uploader to choose the desired Media Valet asset you'd like to include in your post.
You can view the Metadata of the Media from Media Valet Accounts in Sprinklr. This will help in better identifying the Assets while making use of them.
 Note: You can only view the Metadata while making use of the Media from Media Valet Accounts.