Create custom dashboards in Quick Search to analyze data of your choice
Updated
Learn how to create a custom dashboard in Quick Search and use it to analyze the data of your choice.
Quick Search (previously known as Listening Explorer) helps you search and analyze billions of conversations on social media and the web. Quick Search comes with 2 standard dashboard options – Research Query and Trending Topics. The Research Query dashboard within Quick Search allows you to analyze research queries in order to surface trends and insights in historical data. Other than having standard dashboards, Quick Search also allows you to create custom dashboards through which you can perform more targeted analysis than what is available in the standard dashboard.
Note: The functionality of creating custom dashboards in Quick Search is permission-controlled. Users with appropriate permission will only be able to create custom dashboards in Quick Search. For more information, see Permissions for Quick Search.
To create a custom dashboard in Quick Search
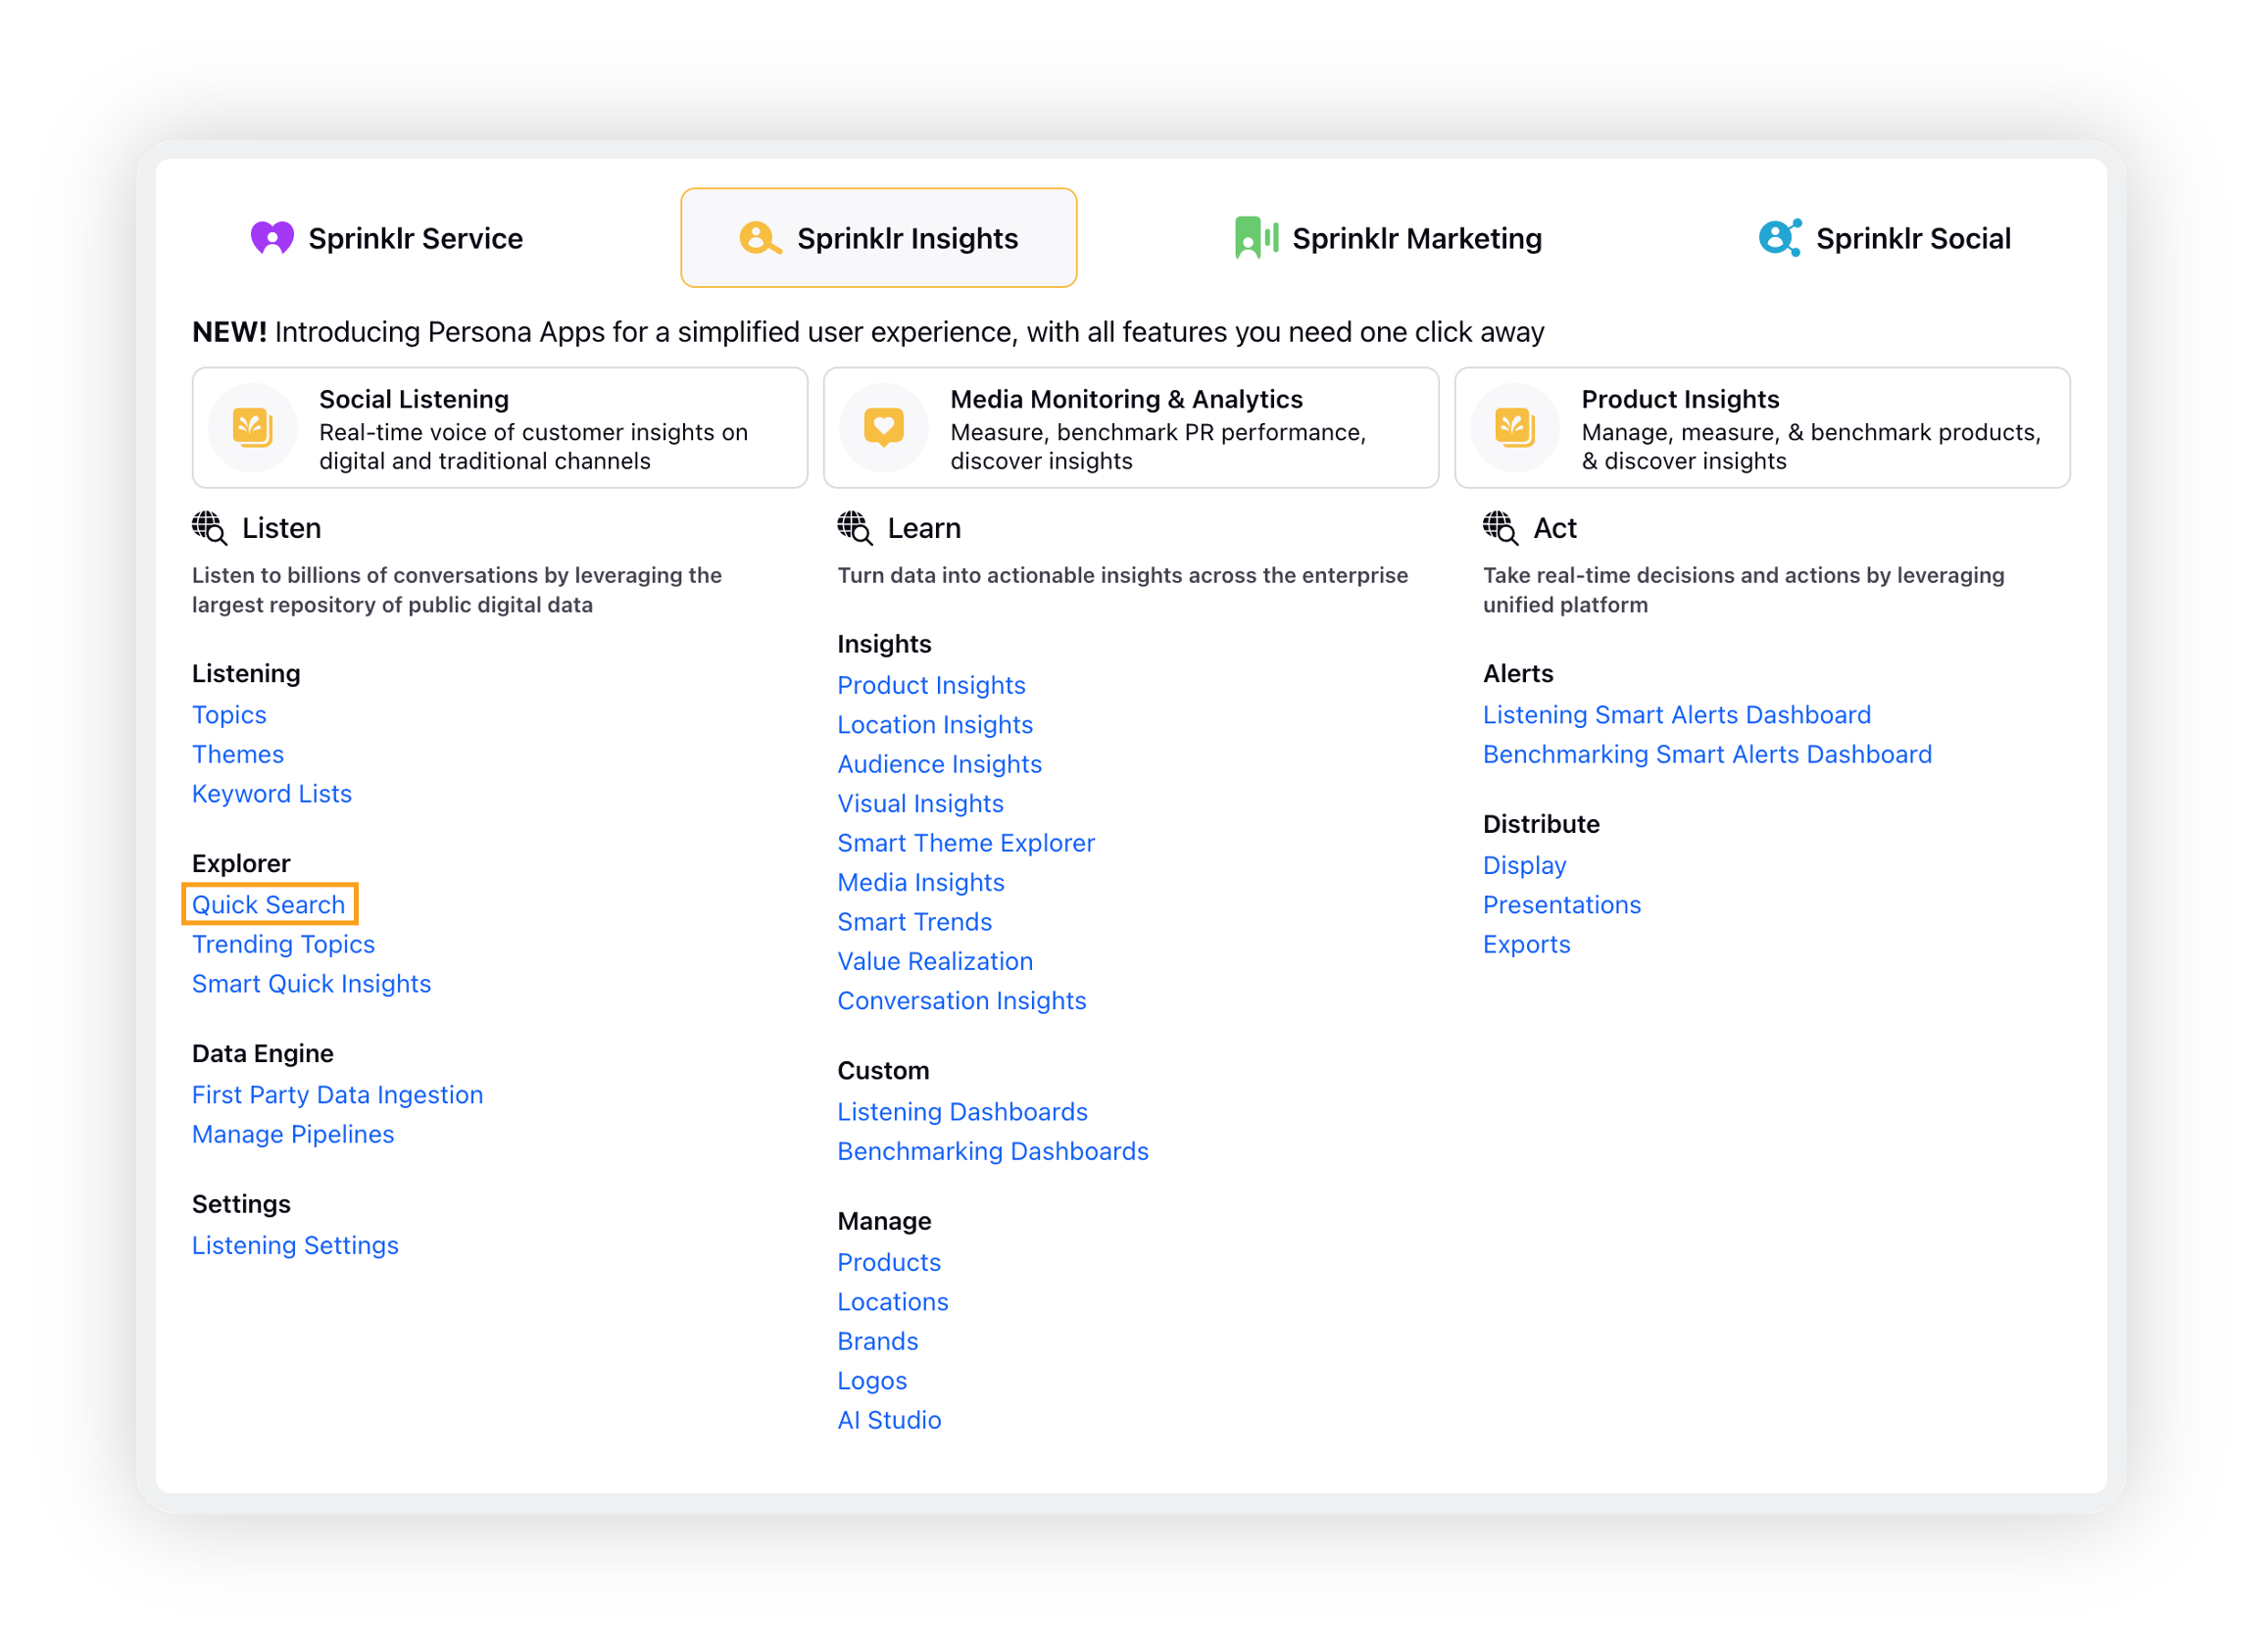
Click the New Tab icon. Under Sprinklr Insights, click Quick Search within Listen.
On the Quick Search window, click the dropdown icon next to Quick Search and click Home.

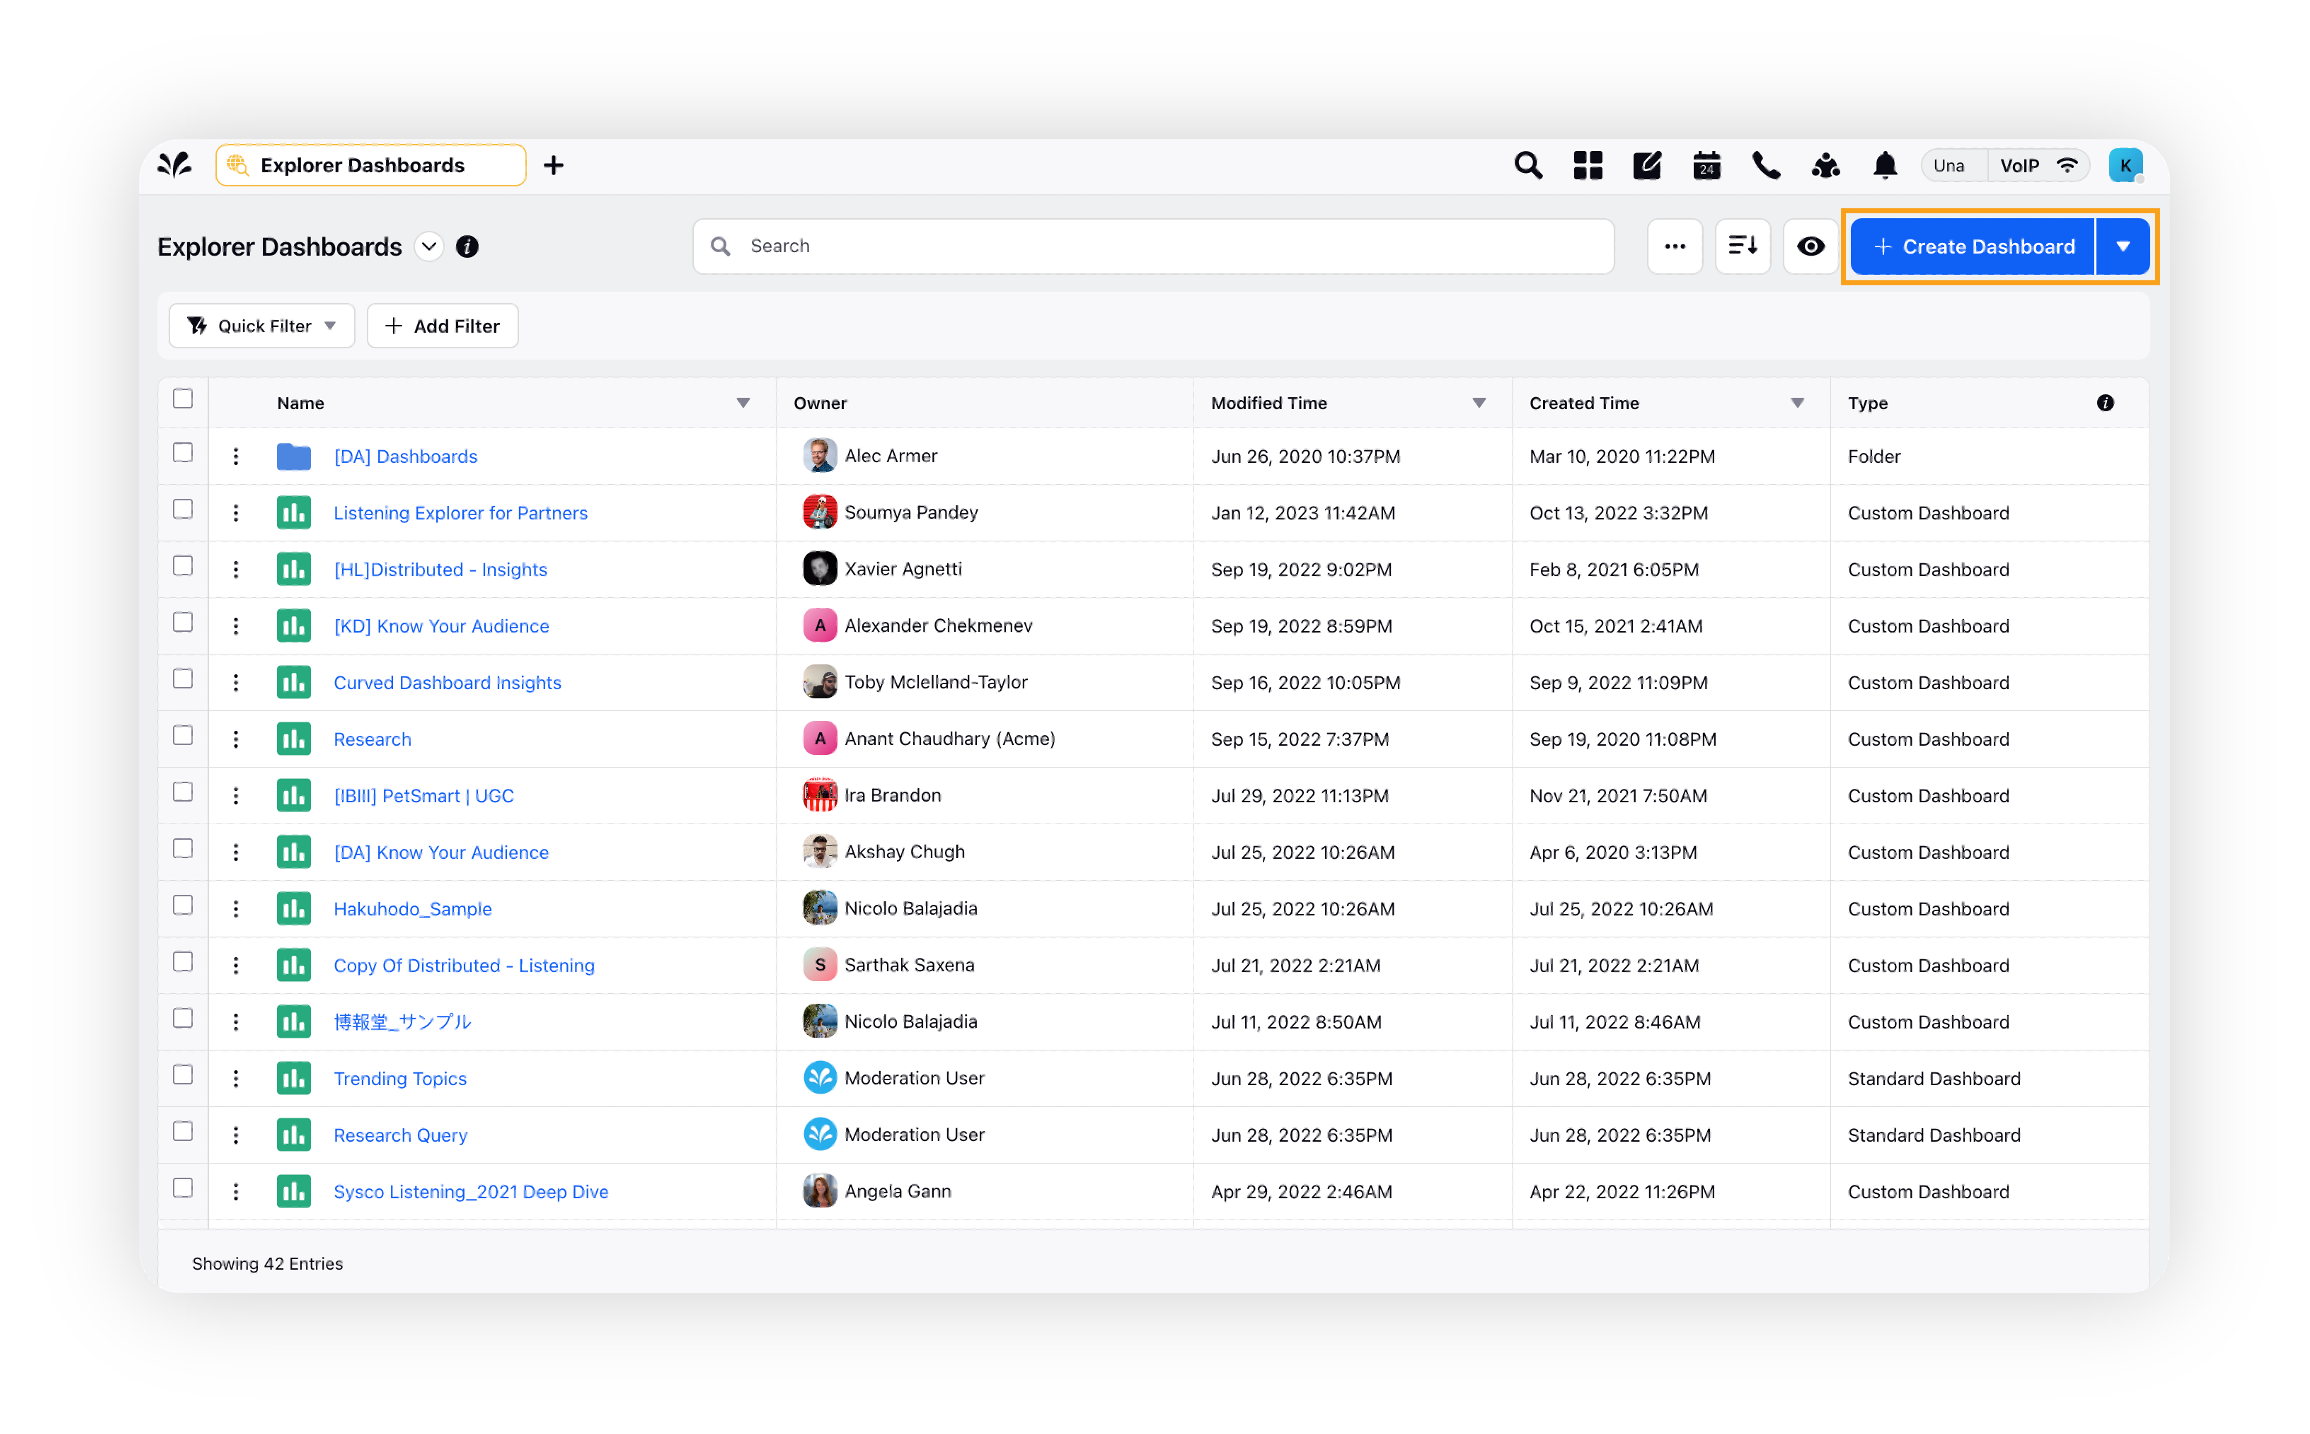
This will take you to the Explorer Dashboards homepage where you can view all the Explorer dashboards. Click Create Dashboard in the top right corner.
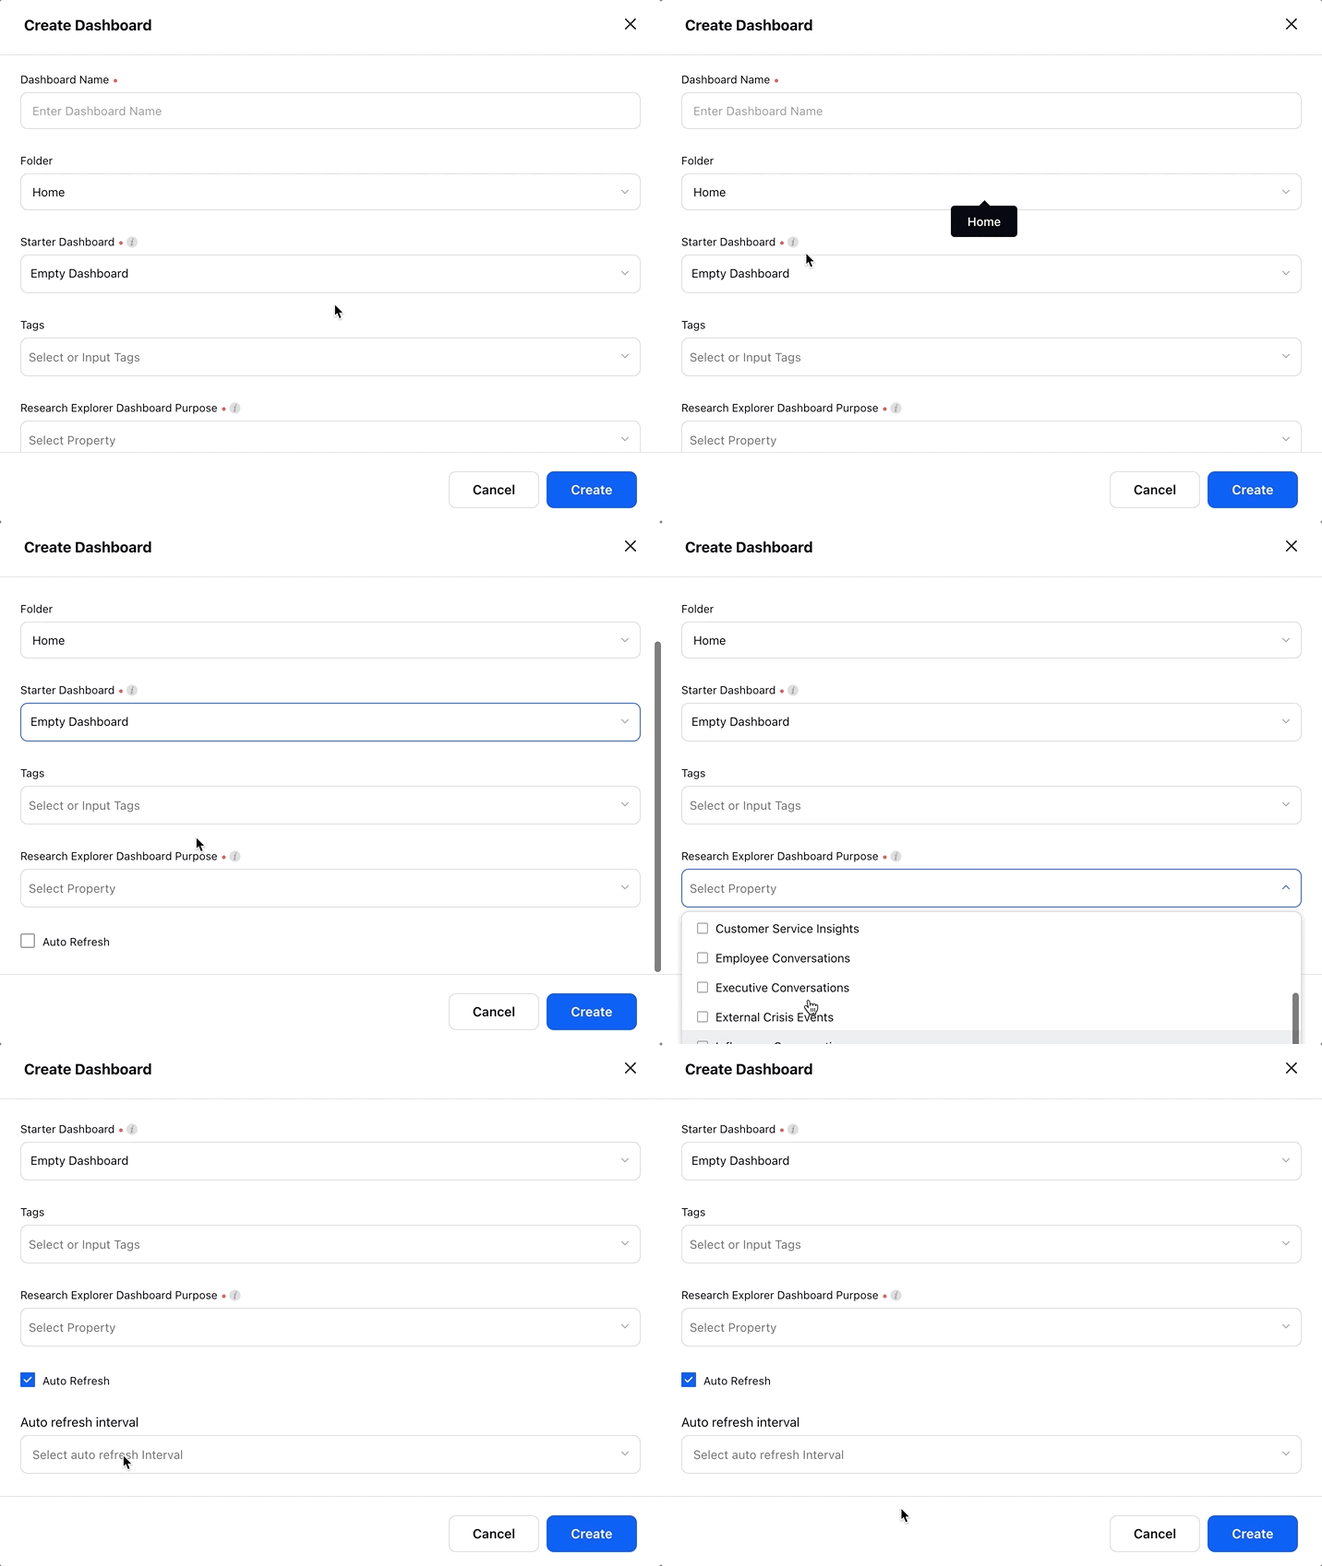
On the Create Dashboard popup window, enter the dashboard name and other details. For more information, see Create Dashboard – Fields & Descriptions.
Click Create to create the custom dashboard in Quick Search.
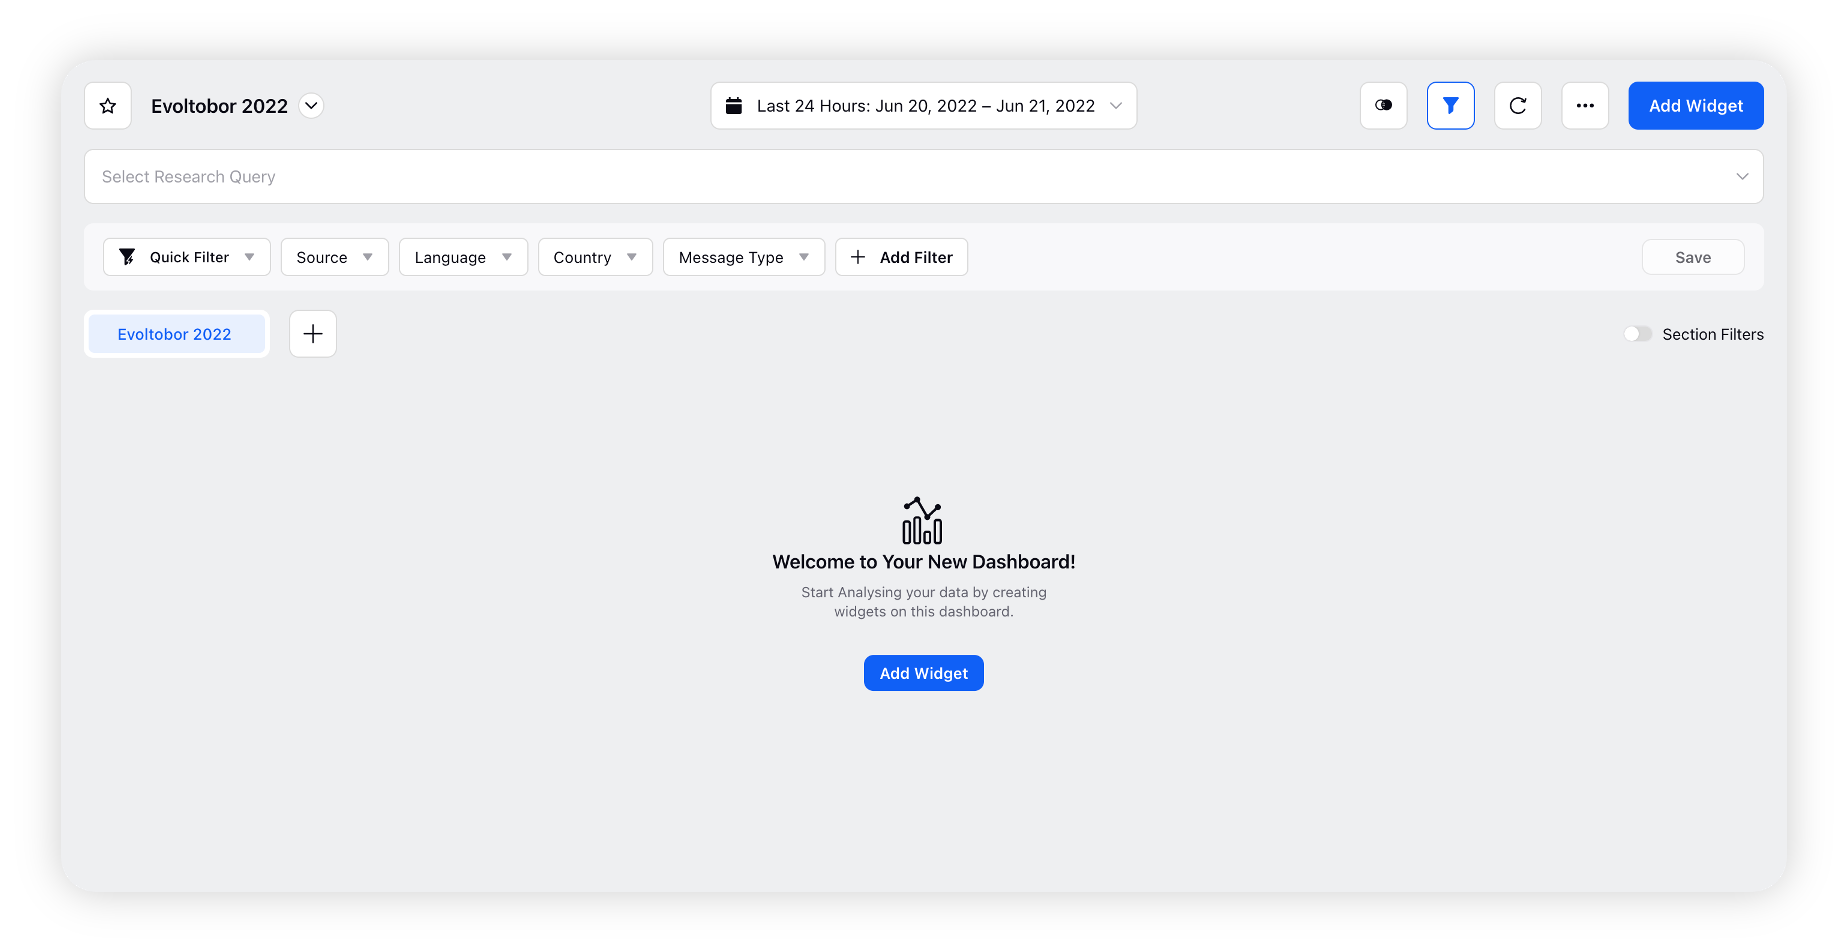
This will successfully create your custom dashboard where you can add/create research queries and add widgets to fetch data.
Note:
|
Create Dashboard – Fields & Description
Field | Description |
Dashboard Name | Enter the name of your custom dashboard. |
Folder | Select the folder into which you want to map your dashboard. |
Starter Dashboard | Select the type of dashboard to start from.
|
Tags | Select or enter tags for your custom dashboard (optional). |
Research Explorer Dashboard Purpose | Choose values for this field to track adoption pertaining to the analysis of data for various insights. You can also choose None as a value. |
Auto Refresh | If you want to enable the auto-refresh functionality on your custom dashboard, click the check box. |
Auto refresh interval | Select the auto-refresh interval in the options. For e.g. if you select 10 minutes, this will auto-refresh your custom dashboard in every 10 minutes. |
Create custom dashboard from Quick Search window
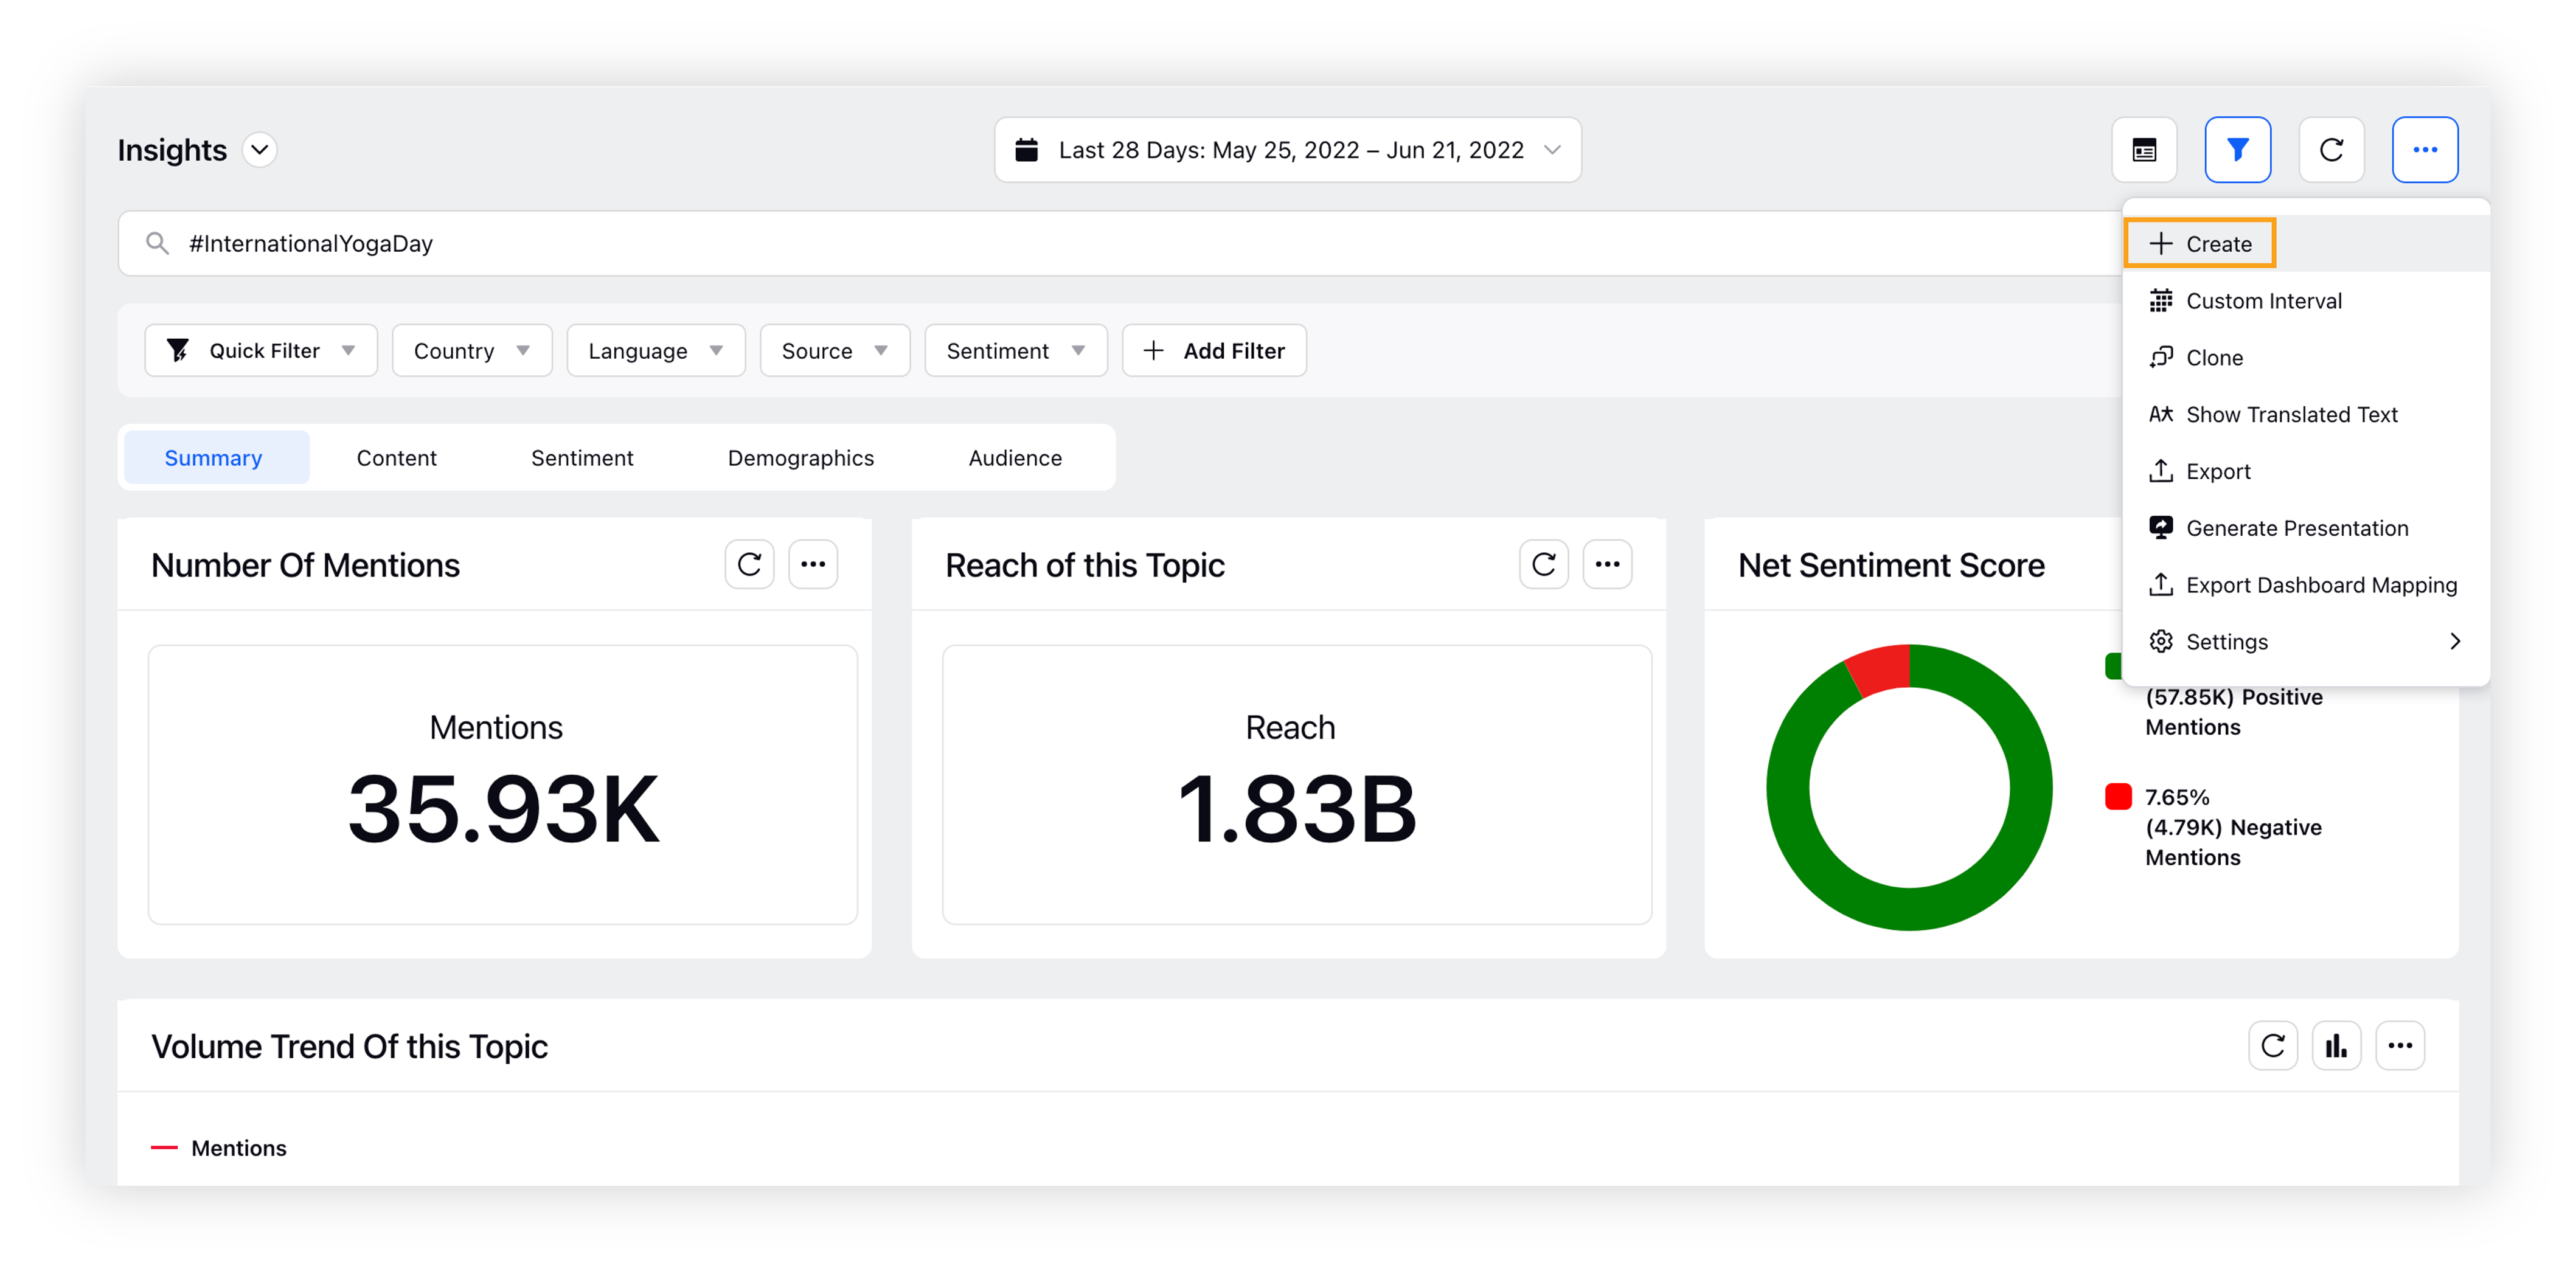
You can also create a custom dashboard from the Quick Search window. Go to the Quick Search window, click the Options icon and then click Create.
Related articles |