Create an HSM Template for WhatsApp Business
Updated
![]() Note: Pause on WhatsApp Marketing Messages for US Customers
Note: Pause on WhatsApp Marketing Messages for US Customers
Effective April 1, 2025, Meta will temporarily halt businesses from sending marketing template messages to WhatsApp users with US phone numbers (+1 dialling code).
Meta advises businesses to utilize utility, authentication, service conversations, and Click-to-WhatsApp Ads for engaging with US customers. Sending marketing template messages to US numbers after this date will result in an error.
In Sprinklr, you can create the HSM templates and get them approved from WhatsApp. You can then send the HSM templates directly from Agent Console or Care Console or by configuring it as an Auto-Response in Rule Engine.
To Create an HSM Template for WhatsApp Business
Open a new tab and click on Digital Asset Management.
Click Create Asset and select Omni Chat Templates within the Templates drop-down.

Fill in the Name and a description for the asset in the respective fields under Basic Details.
Under Asset Specific, select HSM from the Template Type dropdown and WhatsApp Business from the Channel dropdown.
Under Template Details, enter the Element Name that you want to give to this asset that will not be visible to anyone. For the element name
All the letters should be in lowercase.
There should be no space between words; you can use underscore (_) if required.
Example: 24_hrs_template_message
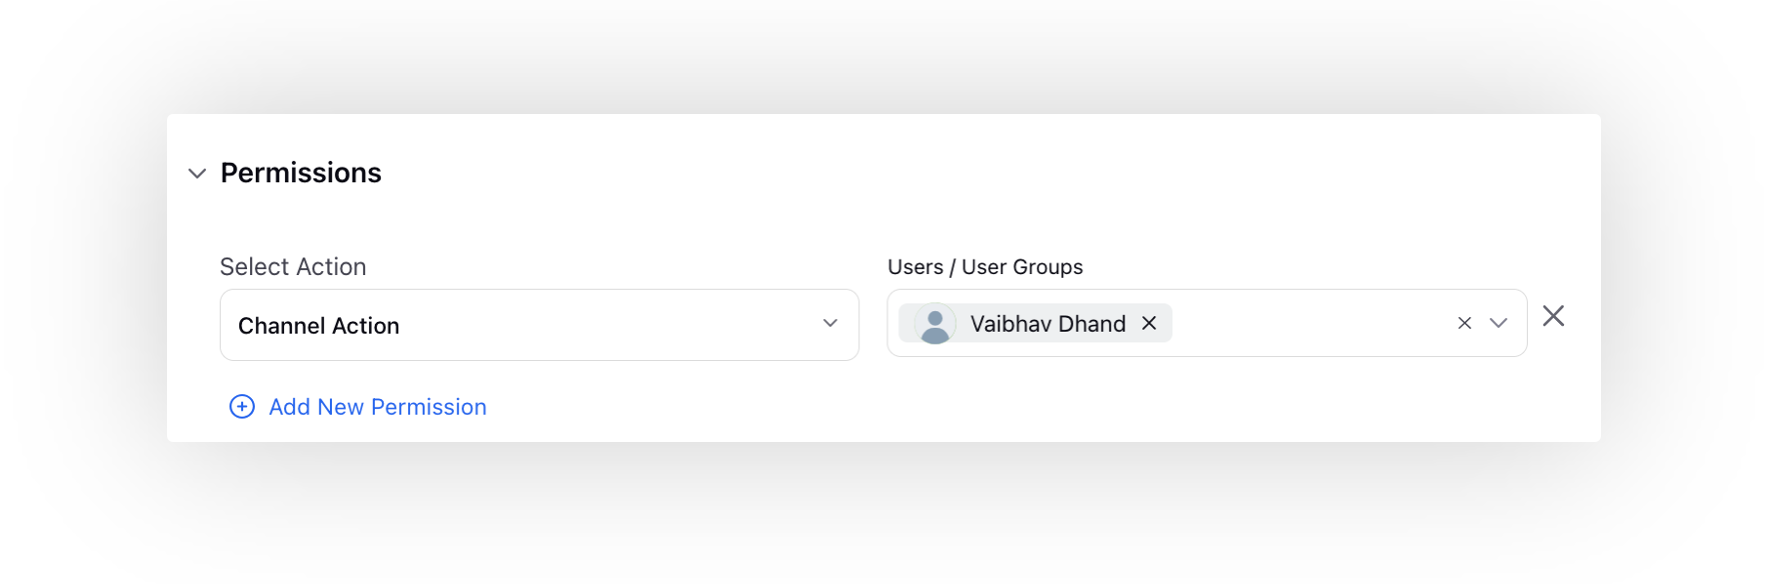
Add Account Name. Choose the WhatsApp Business account (WABA) to be utilized in conjunction with this particular asset. Only accounts linked to those corresponding WhatsApp numbers will be displayed here for which the users are given Channel Action permission within the account settings screen.


Note:
If a user holds the role of global admin or workspace admin, all associated WABAs will be visible by default.
The mentioned restriction is only applicable to workspace and global users.
Select the language in which the template is created from the Language Code dropdown.
Choose the Category that matches your template use case from Authentication, Marketing and Utility.
For Marketing, under Message Details, select the Header Type as None, Text, Image, Document, Video or Location.
None - Selecting None will provide you a template without the header.
Text - Enter the text you want to appear as a header. You can also create dynamic content using variables/custom fields. To create dynamic content using variables/custom fields, use double curly brackets while creating the content. Use numbers (1, 2, 3, etc.) inside the double curly brackets, which will represent the custom fields below the Text box. The character limit is 60 characters (including spaces and special characters).
Image - Selecting Image will give you two options.
Add Image - You can either select the image from SAM, Media Valet, or upload it.
Use Custom Field - You can select the custom field as a header that can be created in All Settings. To know more, see Add a Custom Field.Note: While creating the Custom Field, select Custom Field Type as Text and Value Validation Control as URL. Using Custom Field will allow you to send different information to different users through HSM Template. It can be done by providing different URL Links (where you have uploaded the image and information) as the value for Custom Field that can be set in Rule Engine while configuring the auto-response rule to send HSM Template. WhatsApp Business will fetch the image from the URL as the value for Custom Field for each case/message and will send it to the end-user in the template form.
Document - Selecting Document will give you two options i.e., Add Document and Use Custom Field.
Video - Choose appropriate Video option
i) Add Video:- Upload a video and the preview will be render on the right side.
ii) Use Custom Fields:- In this case, the uploaded video will be sent as a sample and the preview will not be shown.
Location - Allows businesses to share a clickable map view of your location with the addition of specific inputs: Name, Address, Latitude, and Longitude. You can also define custom fields to effortlessly pull dynamic location data during runtime. It is available for both Utility and Marketing templates and only in Whatsapp Cloud API.

Next, enter your message content in the Message box. Formatting messages in the template is easy. You can bold, italic, strikethrough, make code blocks, and add emojis. The character limit is 1024 characters (including spaces and special characters). You cannot add two or more consecutive newline characters in the message body.
You can also add placeholders to your message content to create dynamic content. Use double curly brackets while adding the message and add numbers (1, 2, 3, etc.) inside the double curly brackets, which will represent the placeholder below the Message box.
For placeholder values, you can choose between using a custom field or manual user input.
Custom Field: If you select Custom Field, the value will be automatically pulled from the specified custom field.
Manual User Input: If you choose Manual User Input, agents can manually replace the placeholder before sending the template from the Care Console.

From the Buttons field, select from the following options. You can add up to 10 buttons (Quick Reply + CTA) in a template. Each button type will be organized into groups, ensuring that all Quick Reply buttons appear in succession without any CTA button type in between. You have the flexibility to reorder buttons within each group. Additionally, you can reorder entire groups, deciding whether Quick Reply buttons should appear first followed by CTA buttons, or vice versa.
None: Select it if you do not want to add any button to the template.
Quick reply: Quick reply buttons allow your customers to send a simple text message. Enter a label for the button and a postback message which is stored at Sprinklr backend whenever a user clicks on quick reply. Note: To implement specific actions based on postback messages, you can create an Inbound rule. Within Conditions Applies To The properties of the Message, include the Template button postback condition and add desired actions based on the received postback message.
You can add up to 10 quick reply buttons. The character limit is 25 characters (including spaces and special characters).
Call to action: With call to action, you can allow your customers to call on a phone number, copy the coupon code, and/or visit a URL.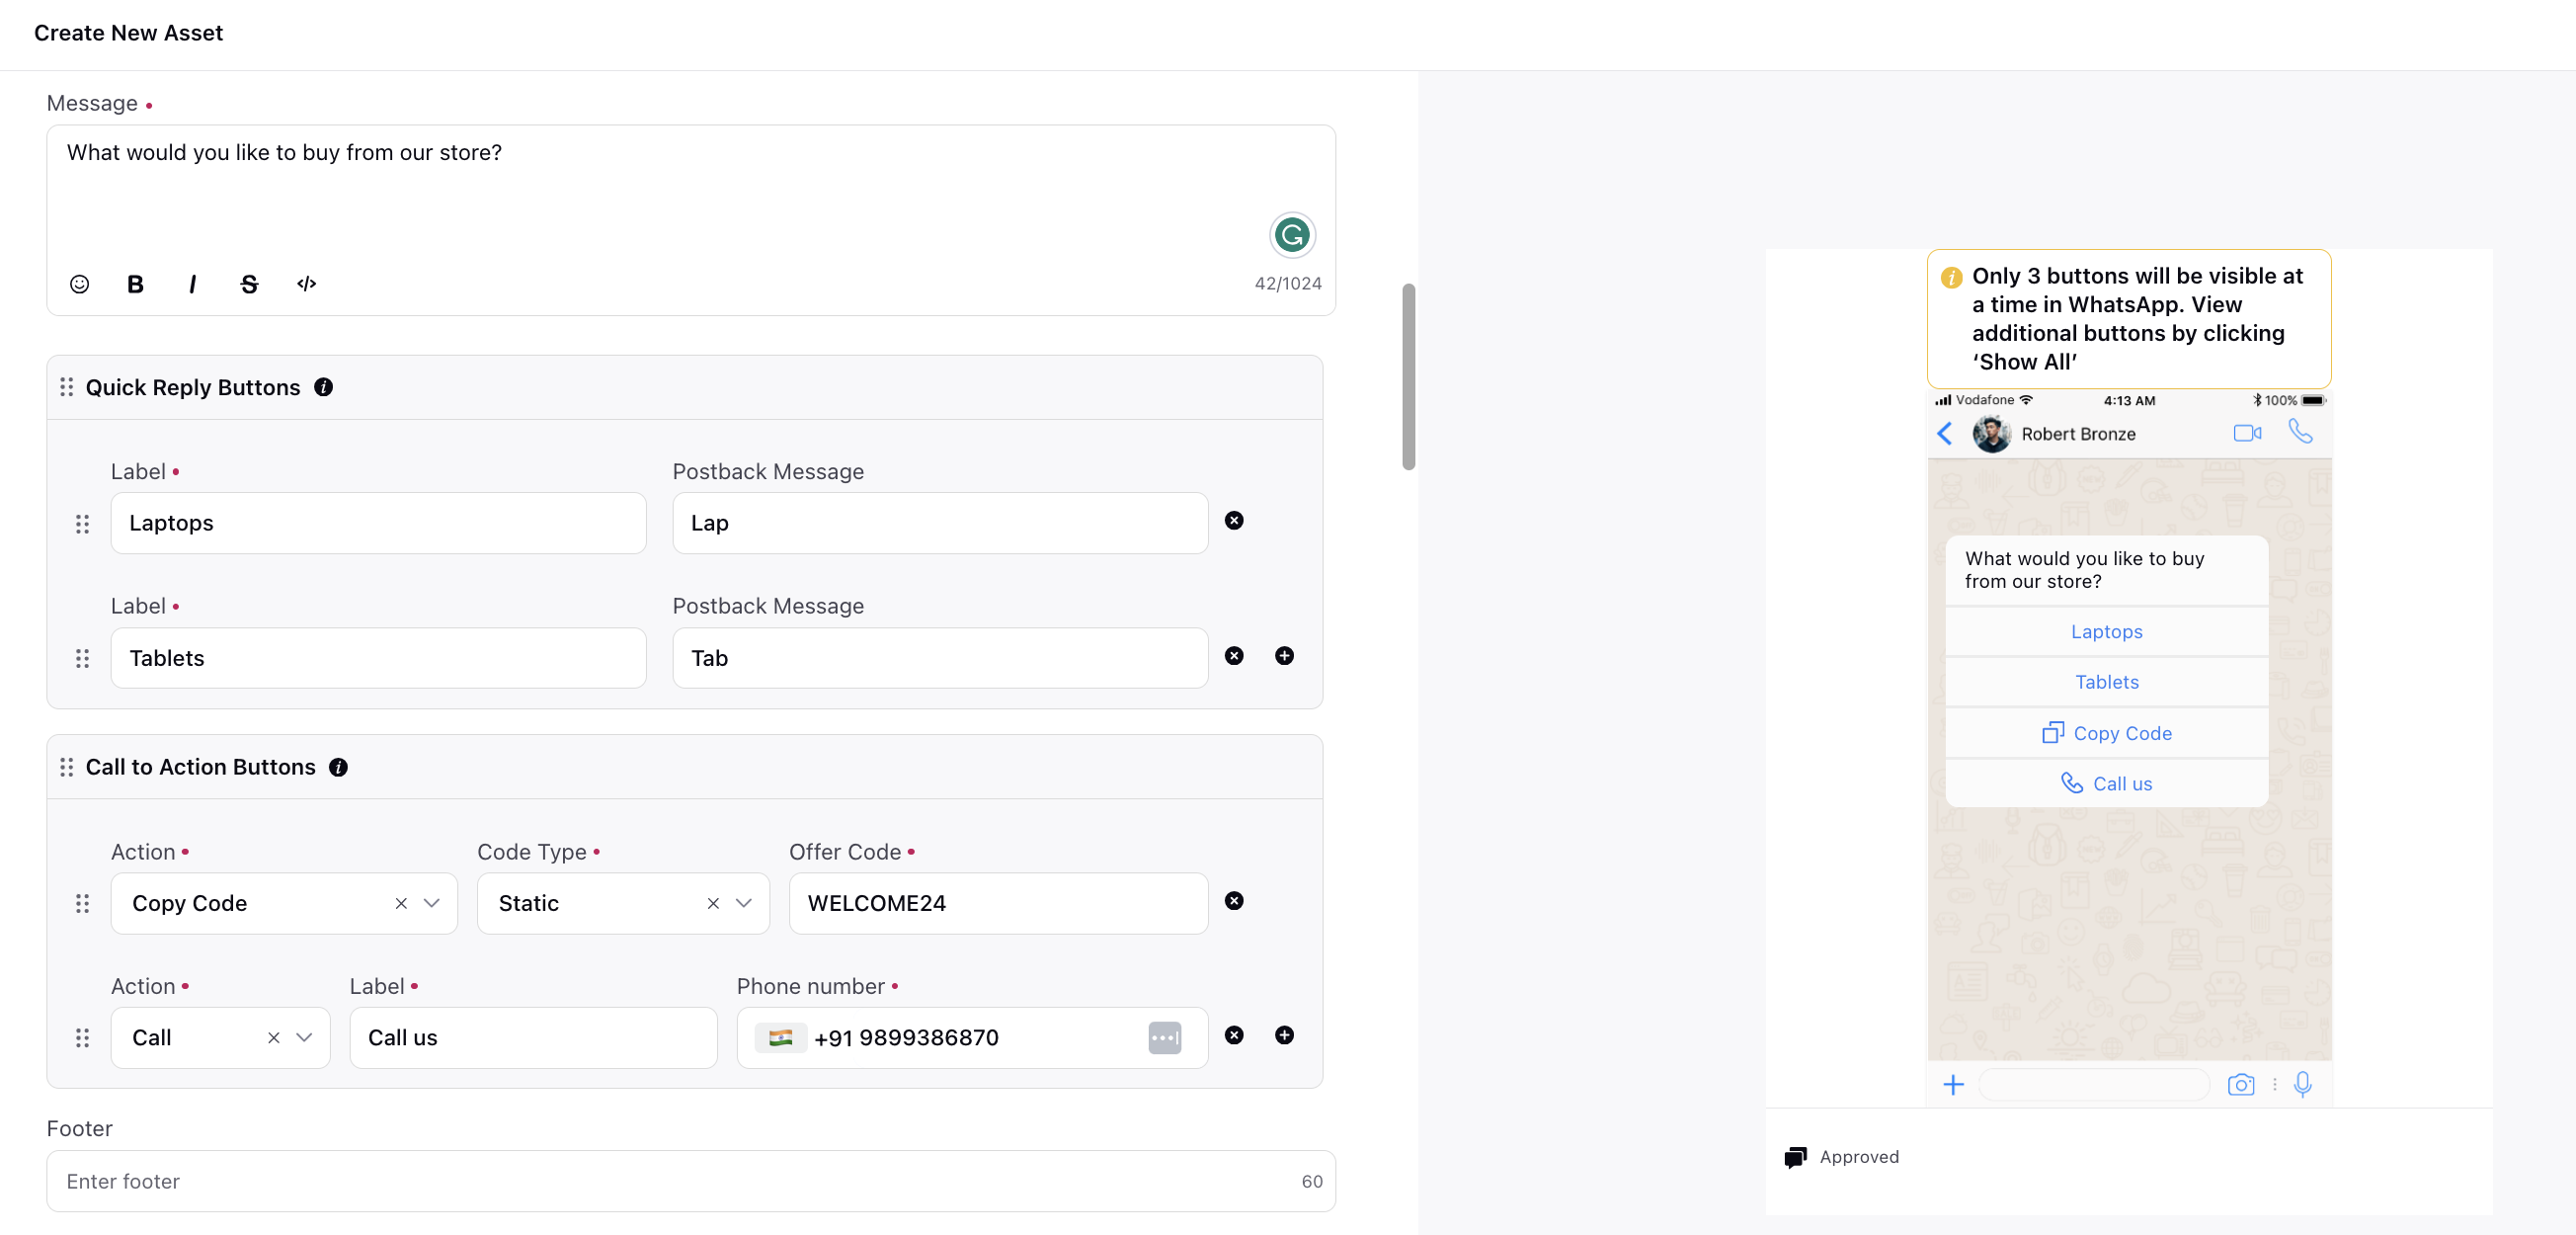
Call: Enter a label for the button and a phone number with the country code for the users to call on. The character limit is 25 characters (including spaces and special characters) for the button Label and 20 characters (including spaces and special characters) for the Phone number. Templates are limited to one phone number button.
Copy Code: Copy code buttons copy a text string to the device's clipboard when tapped by the app user. Coupon code templates are currently not supported by the WhatsApp web client. Codes are limited to 15 characters. Button label cannot be customized. Templates are limited to one copy code button.
Open URL: Enter the URL clicking on which the user will be redirected to the specified page. The character limit is 25 characters (including spaces and special characters) for the button Label and 2000 characters (including spaces and special characters) for the URL. Templates are limited to two URL buttons. There are two kinds of Open URL:
Static URL
Dynamic URL: URL of website that loads in the device's default mobile web browser when the URL button is tapped by the app user.
Supports 1 variable, appended to the end of the base URL string. If using a variable:
You need to enter a base URL (the static part of the URL)
You need to select a custom field for the variable part of the URL
If using a variable, add sample variable content
You can also track, at the profile level, who clicked on the Open URL CTA button and how many times they clicked on it. To enable this feature, simply toggle on the "Enable profile level link tracking" option. After enabling this, the click values will be visible in the Outbound Message reporting widgets under the dimension “Links Clicked Count”.
Enter the desired text in the Footer field which will be shown beneath the message. The character limit is 60 characters (including spaces and special characters).
Under Notifications, select the users and/or user groups to receive email and platform notifications specific to the status updates of the templates. These statuses encompass active templates that have been approved, rejected templates along with the reasons for rejection and possible mitigation measures, paused templates with explanations for the pause and its duration, as well as disabled templates. This notification system ensures users stay informed about the state and management of their HSM templates.
Additionally, users will receive platform notifications at the account level, covering various updates such as quality updates on phone numbers, status updates on phone numbers, and messaging limit tiers.
Under Asset Details, enter the asset details like Campaigns, Status, Available From, Visible From, Expires on, etc.
Under Asset Sharing, select the Workspaces and Users/Users Groups you want to share your asset with. Check the Visible in all workspaces box to make it visible in all workspaces.
Next, apply the desired Properties to the asset.
Click Save in the bottom right corner to create the template.
After saving, this template will automatically be added to the Facebook Business Manager for approval. You can see the current approval status of the HSM templates in the Digital Asset Manager itself. The status will be visible in the DAM preview as well as in the edit mode of that template. Note that you will not be able to use the Pending/Rejected templates anywhere on the Sprinklr Platform.
| | |
![]() Note:
Note:
During template creation, you need to add sample content for WhatsApp approval. This helps them better understand the use case during the review process. You can add a sample template for one or all languages you are submitting. Make sure not to include any actual user or customer information, and provide only sample content in your templates.