How to Customise a layout in Care Console Layout Manager?
Updated
The Care Console layout is configurible and can be customised according to the customer's requirements with respect to widgets and tabs repositioning, naming and information regarding them. The customisation can be achieved by understanding the care console layout manager's working and build the layout for an easy agent interaction.
The record page builder page consists of all the existing record pages with their unique record page ID (example: 611d2ef057ee850dc1a44fa4), its entity type, and other details of this record page. Each record page can be edited, previewed, or cloned to another record page.
The record page editor for a particular record page, includes the widget wise configuration which is present for this partner. The right side of the screen can show the code editor which has been set for the whole page. The configuration in any widget can be done manually through the edition of the code.
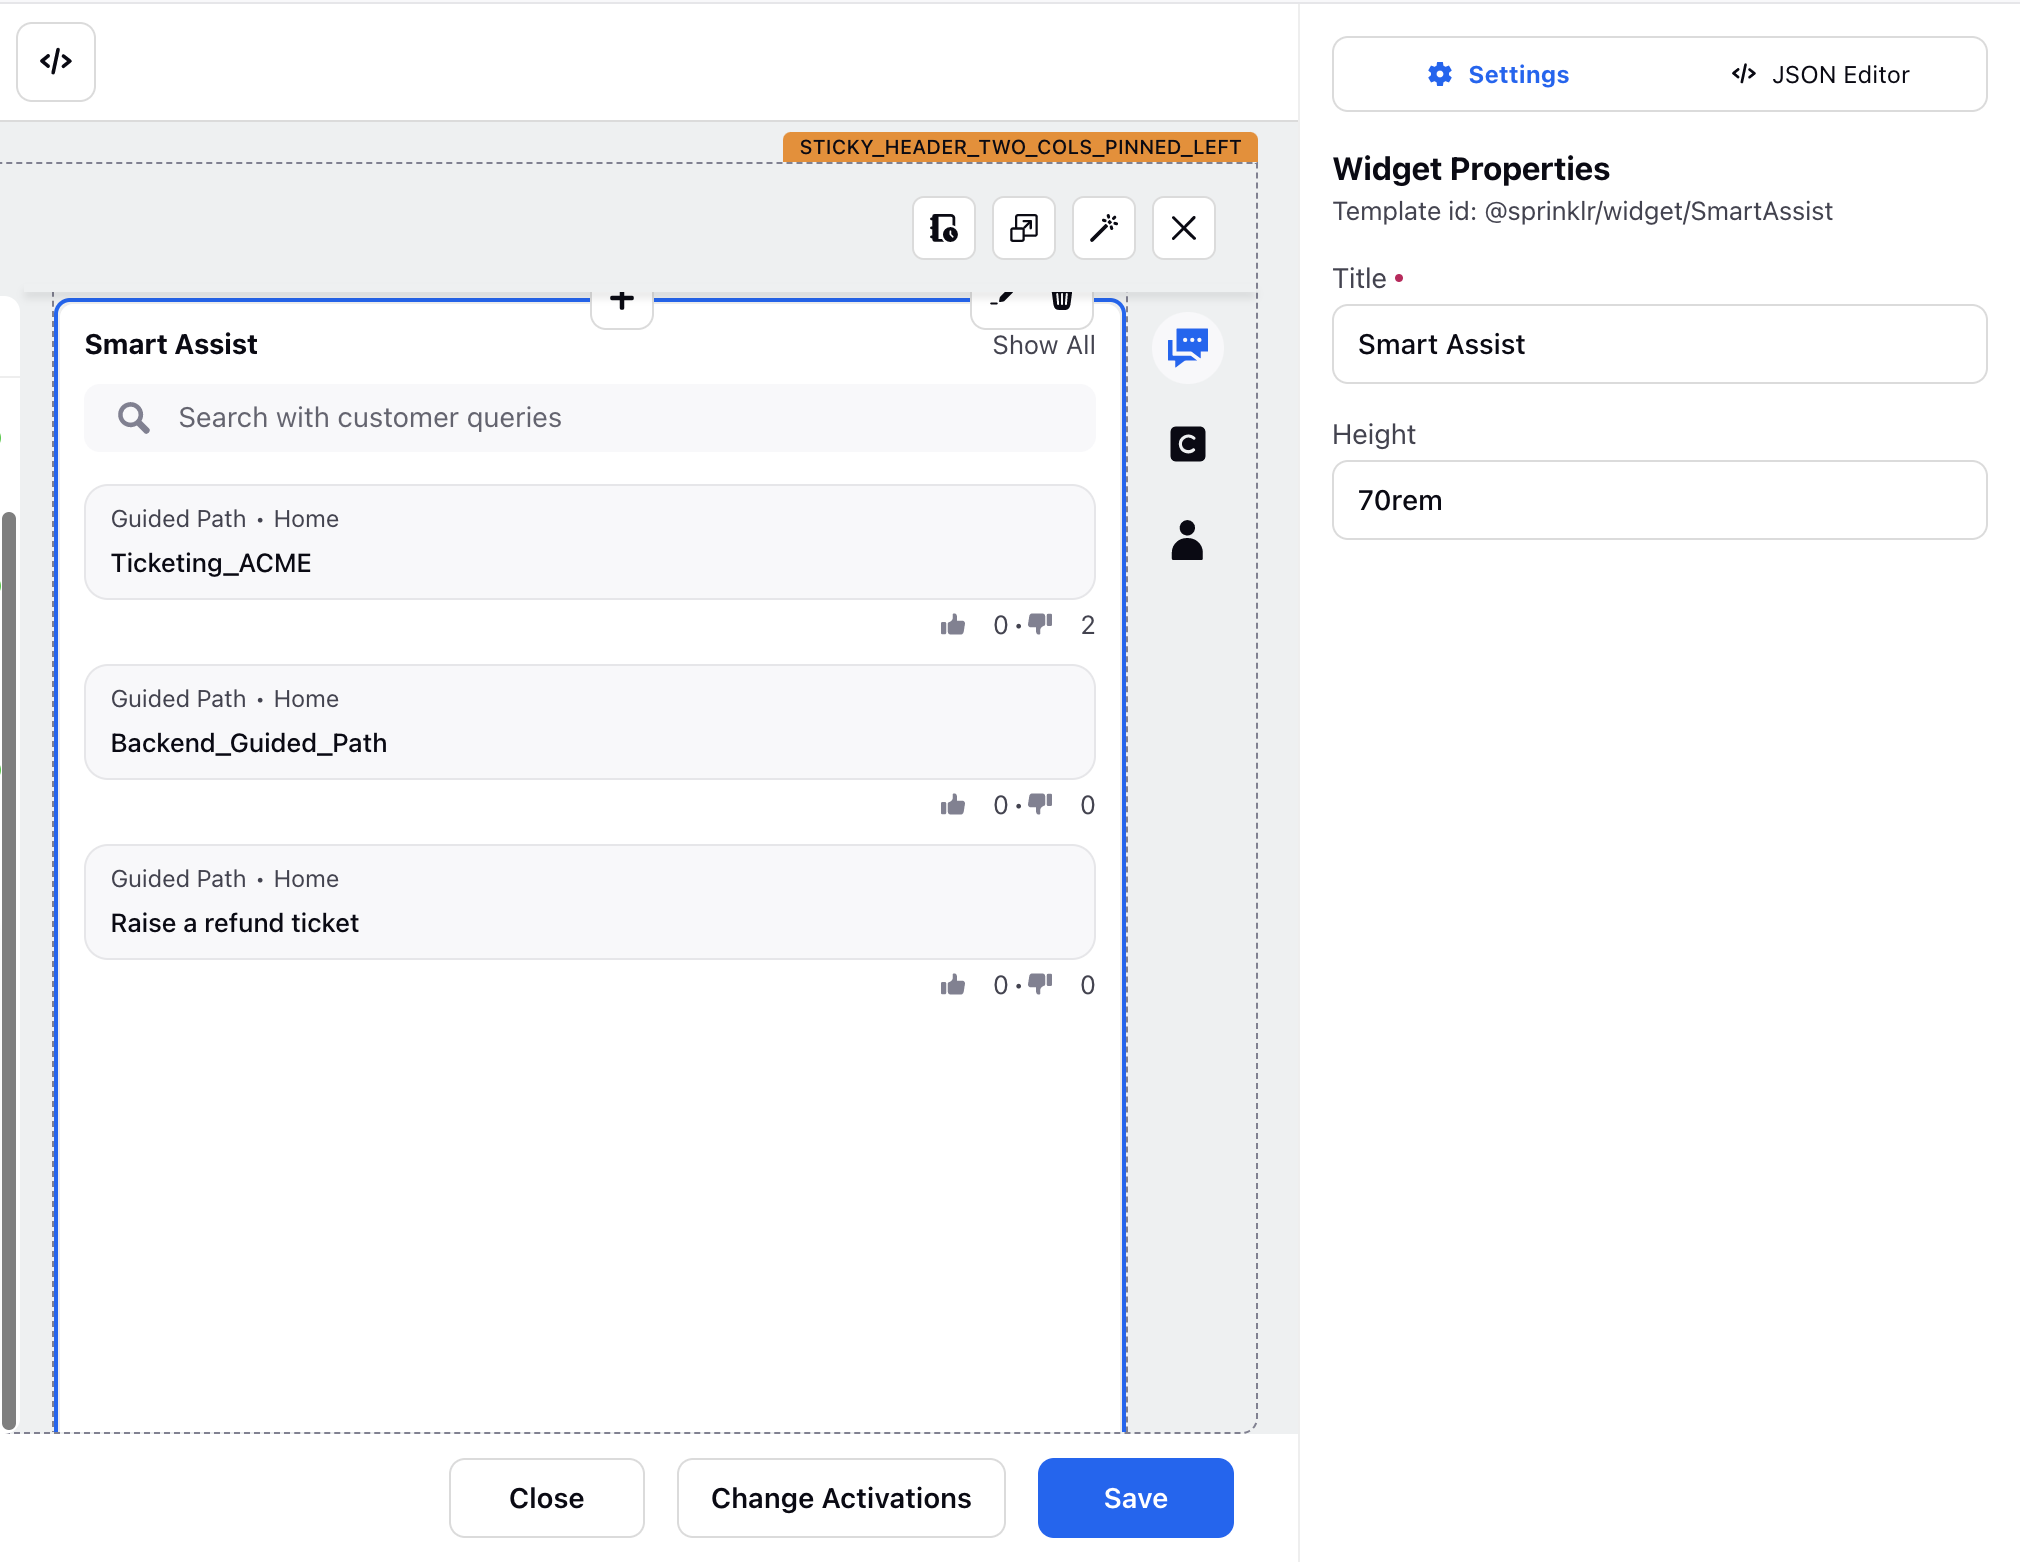
For each widget we click on, it can show us its specific code responsible and the widget settings for its configuration for its working on the code editor. For example, if we click on the smart assist widget, we can see 2 panes on the right side i.e Settings and Code Editor.
Settings : This gives you the template ID of the widget, which essentially gives us the name of the type of widget in the widget library. The template ID in this example is @sprinklr/widget/SmartAssist which shows that this widget is named as Smart Assist in the widget library. So even to add a new smart assist widget, we just have to search it by its name given in template ID. The settings also entails the title and height of the widget to be customized accordingly.
Code Editor : The code editor will provide the code responsible for this widget. We can make changes in the code as well according to the configuration required. Each widget has an ID as well which is given in the code. As we can see in the screenshot below, the ID of the smart assist widget is given as “3a1b2” which is unique for each widget and is assigned from the backend when created initially. The code can be understood intuitively :
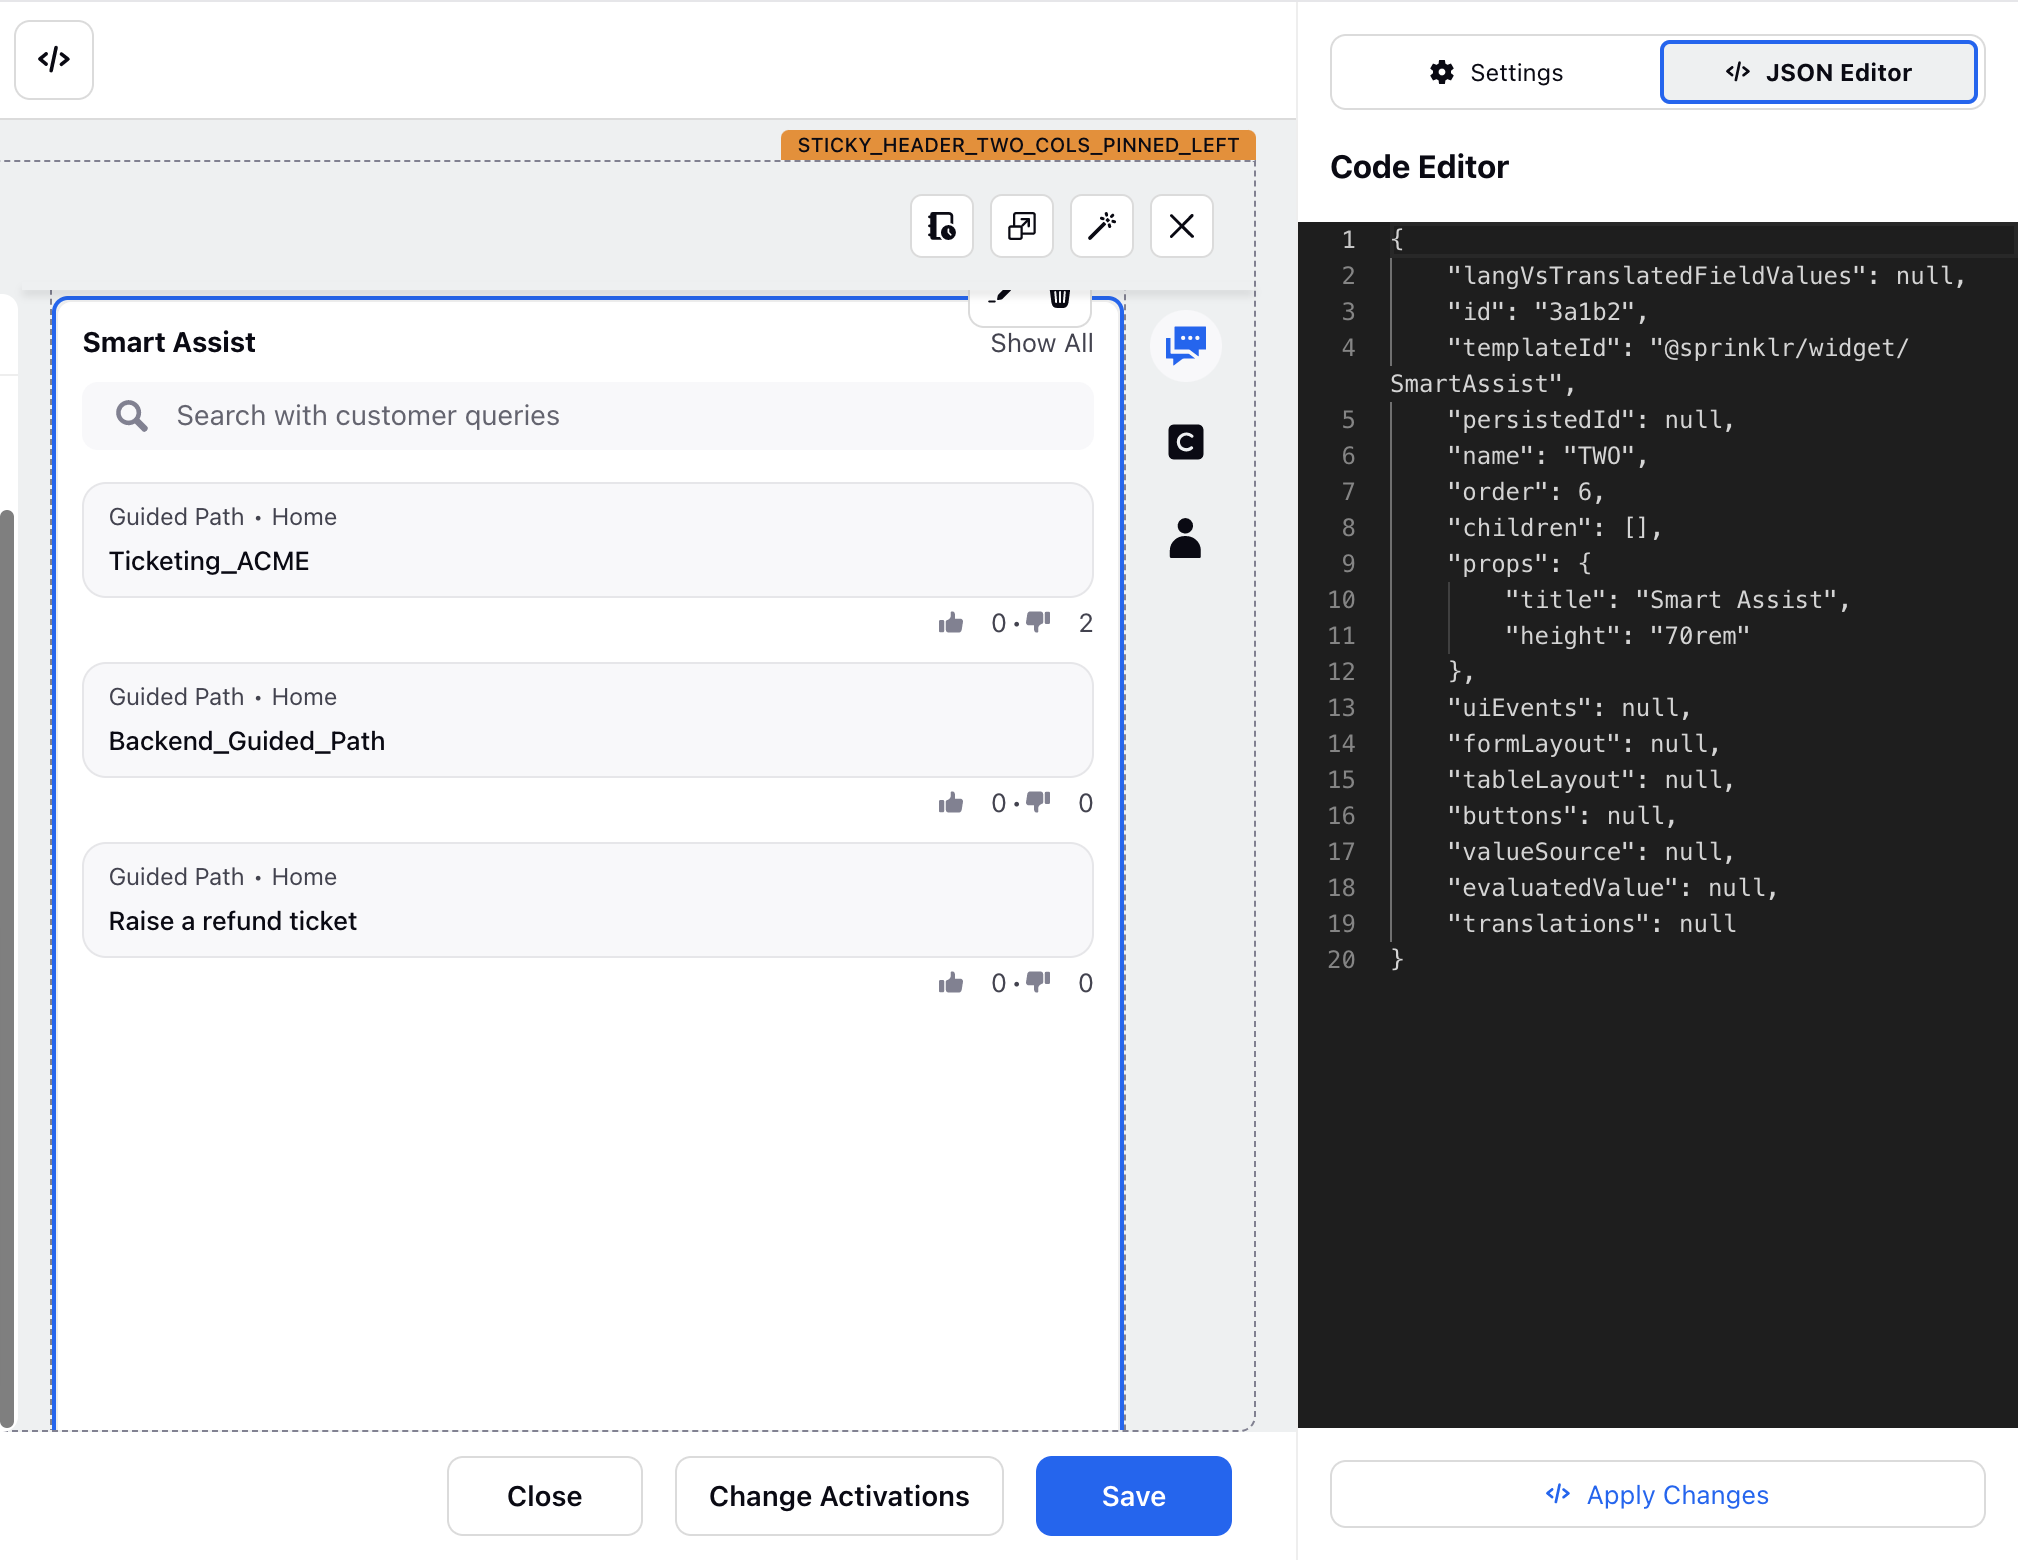
The “props” part of this code block in example is responsible for all the information encoded inside the widget
The “name” i.e TWO in this case, indicates the position of the widget. The name “TWO” suggests that this widget is in the 2nd column of the 3-pane care console layout.
If we search the “ID” (3a1b2) in the overall code editor of the whole page, it can show us where the widget is situated in the whole code block.
To access the whole code block of the page again, we can just click on Icon situated on the top left side in the builder.