Add an Account Group
Updated
An Account Group, i.e., a group of multiple accounts, can be created by individually selecting accounts to add (static), or based on a property or properties (dynamic). Grouping accounts within a group allows you to perform actions simultaneously on all the account types, given that the user has been provided permission to all accounts within the account group.
Follow the steps mentioned in this article to add Account Groups into Sprinklr.
Steps
Click the New Tab icon
. Under Platform Modules, click All Settings within Listen.
In the Platform Settings window, click Manage Workspace in the left pane and select Account Groups in the right pane.
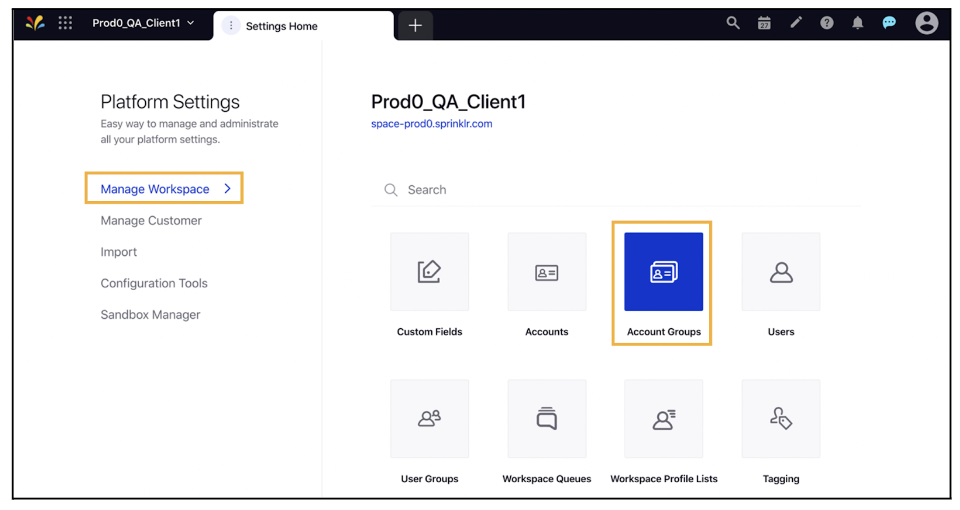
In the Account Groups window, click Add Account Group in the top right corner.

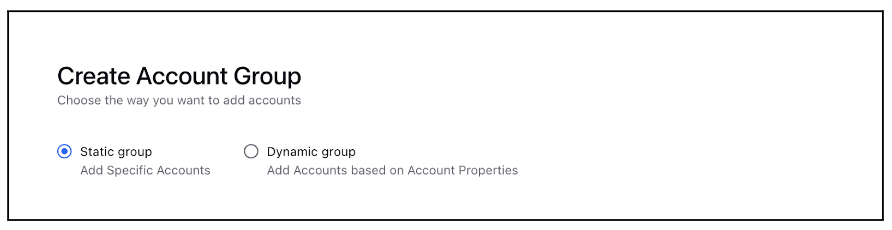
In the Create Account Group window, choose the desired type of account groups based on your requirements. The following options are available:
Static Group: You can add specific Accounts. Once this option is selected, you will have to select the accounts. More on this is explained after Step#7.
Dynamic Group: You can create Account groups based on Account Properties. Once this option is selected, you can specify the properties depending on which you want an account to be made part of this account group. More on this is explained after Steps#7
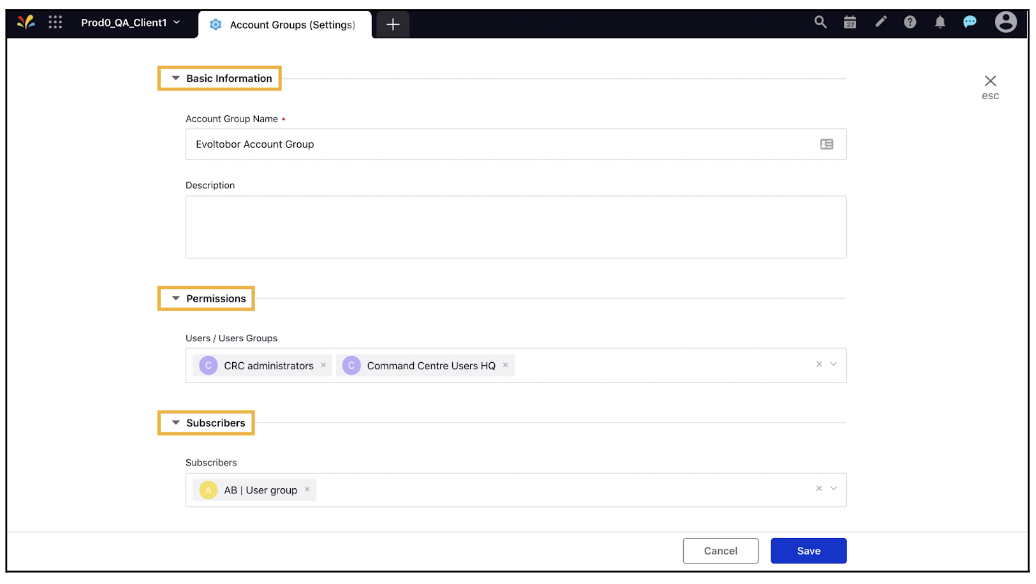
Under Basic Information, enter the Account Group Name with a Description for the account group.
Under Permissions, select the Users/User Groups from the drop-down menu whom you wish to grant permissions to access the account group.
Under Subscribers, select Users/User Groups from the drop-down menu whom you want to add as subscribers to receive email notifications regarding the deactivation or deletion of the subscribed account group.
Specific step for static account group:
Under Select Accounts, select the accounts you wish to add to the group. Search for a specific account by typing in keywords into the search bar.
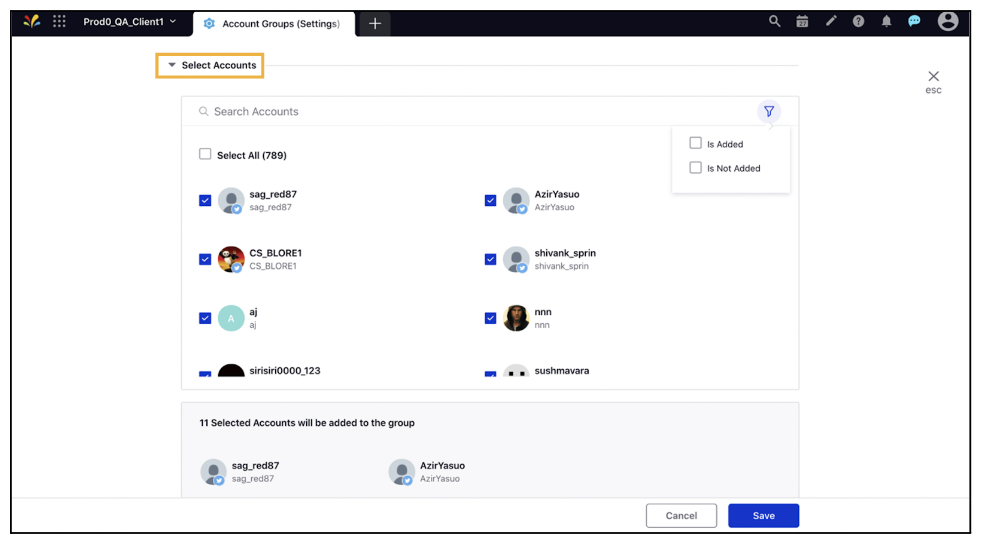
Review the final list of the selected accounts that will be added to the static account group.
Specific steps for dynamic account group:
Under Define Properties, Select account Attributes and Values from the drop-down menu to specify the properties of the Account Group. Accounts that meet this criterion will be included in the group.
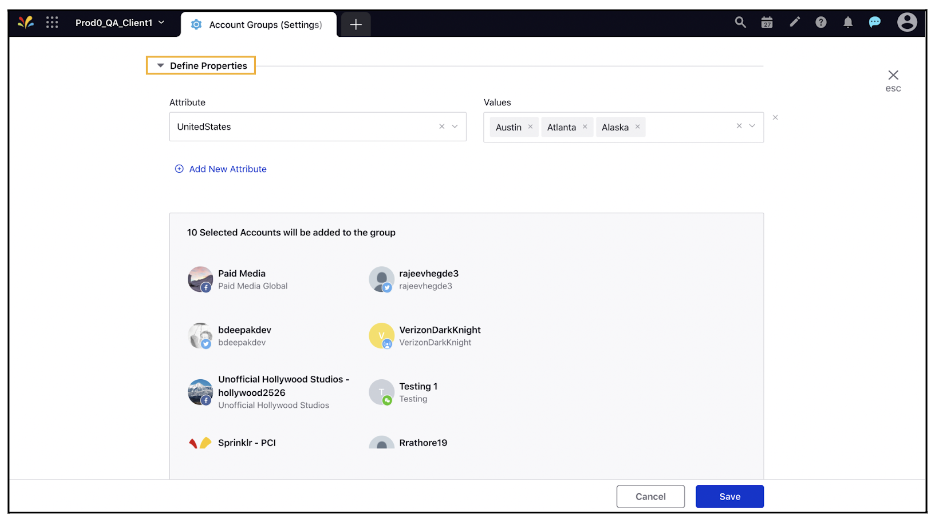
Click Add New Attribute to select more accounts with attributes & values.
Review the final list of the accounts that meet the criteria of the dynamic account group.
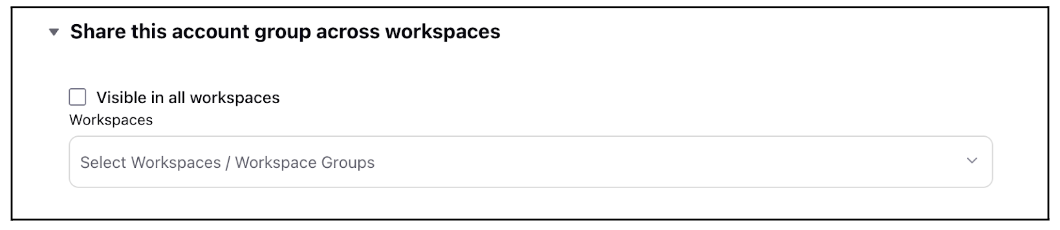
Under Share this account group across workspaces, either select Visible in all workspace or select the desired Workspaces from the drop-down menu.
Click Save in the bottom right corner of the Create Account Group window.