How to set up Automated Newsletters?
insights
Updated
25 days ago
, by [Redesign] Sprinklr Help Center
Recurring communication is now simplified with an Automated Newsletter.
An automated newsletter is an important tool for corporate communication enabling users to set up regular communication such as daily coverage feeds for brands and competitors, recurring communication on campaigns to track progress, and generic internal communications. Once set up, the user need not come to the platform daily to send out the communication.
The content of the automated newsletters is defined by the filter configurations. Once the filters are configured for different sections of the newsletters, the messages start coming into the newsletter without having to manually select every message. These messages can be sorted on the basis of published time or the key performance metrics, such as Media Reach, Web Shares, etc. to make the newsletter more relevant for your audience. With an automated newsletter, the user can also define the frequency with which the newsletters will go out to the recipients.
While creating a newsletter, you have the option to configure Automated Newsletters. In this article, we will discuss how to navigate, create, and configure an automated newsletter.
Method #1
Click the New Tab icon. On the Sprinklr launchpad, scroll down to Platform Modules, and click Newsletters within Collaborate.

On the Newsletters window, click Create Newsletter in the top right corner. The Automated option will be selected by default.
Method #2
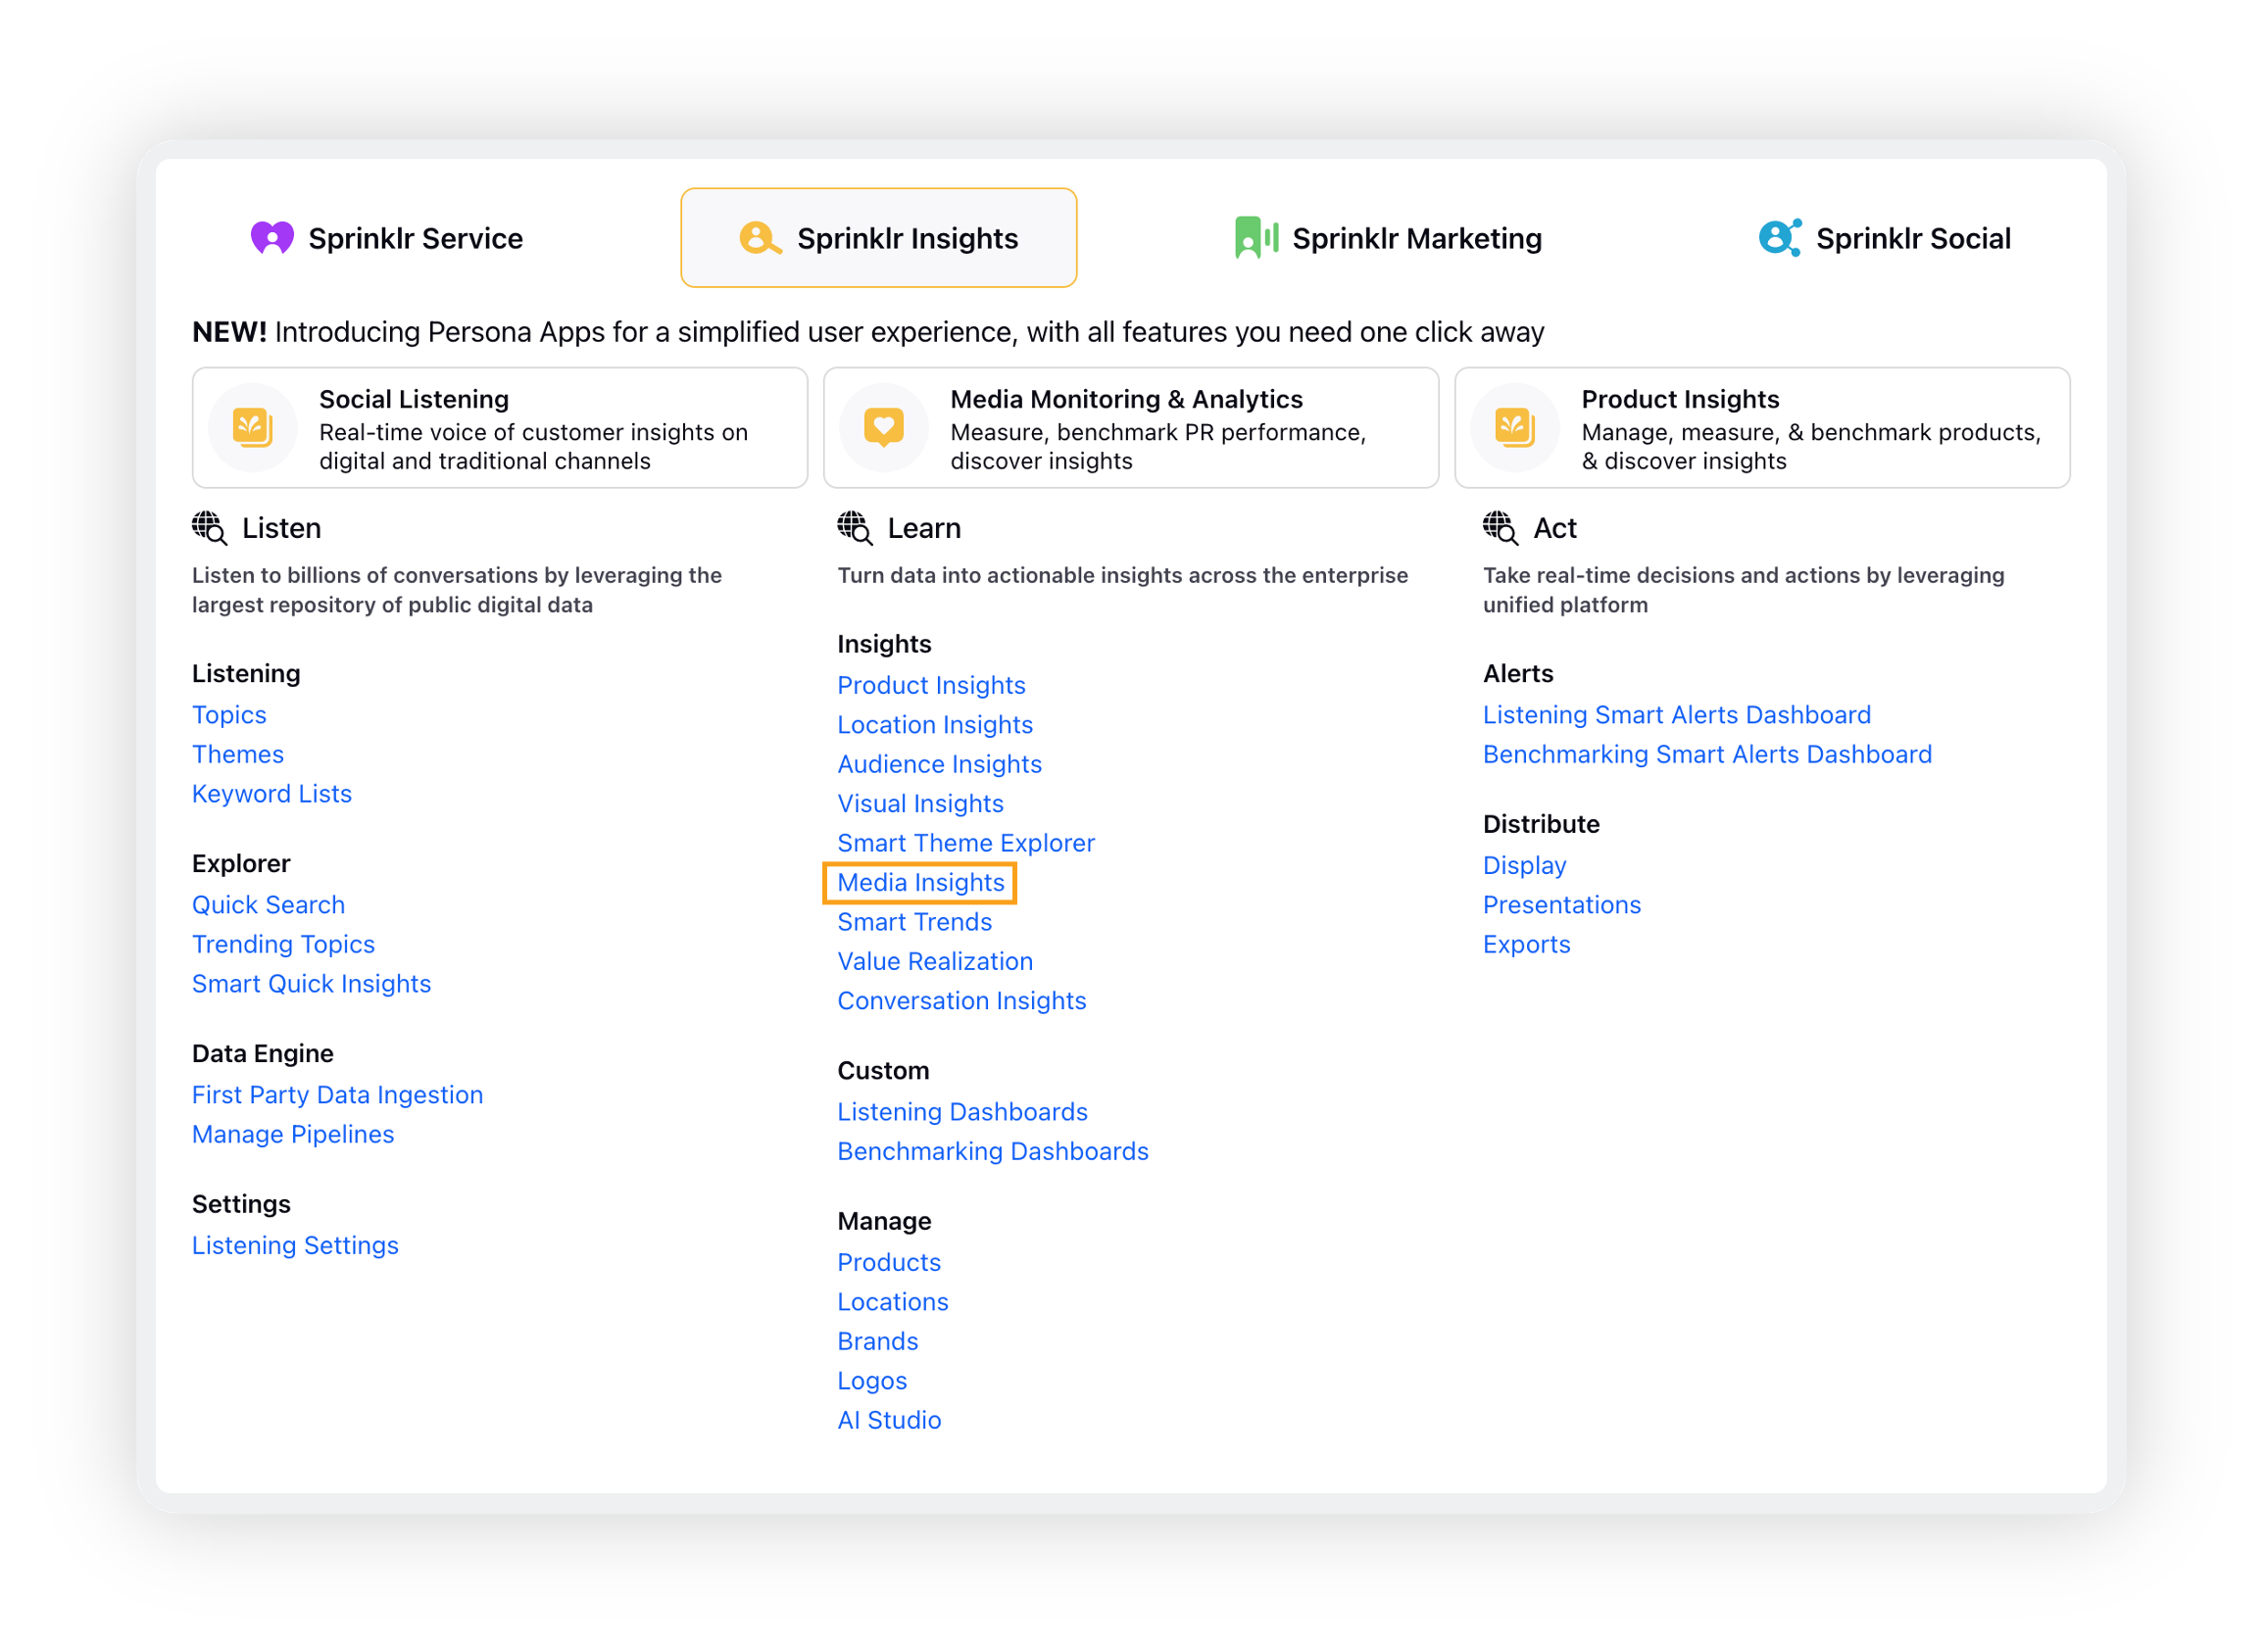
Click the New Tab icon. Under Sprinklr Insights, click Media Insights within Learn.
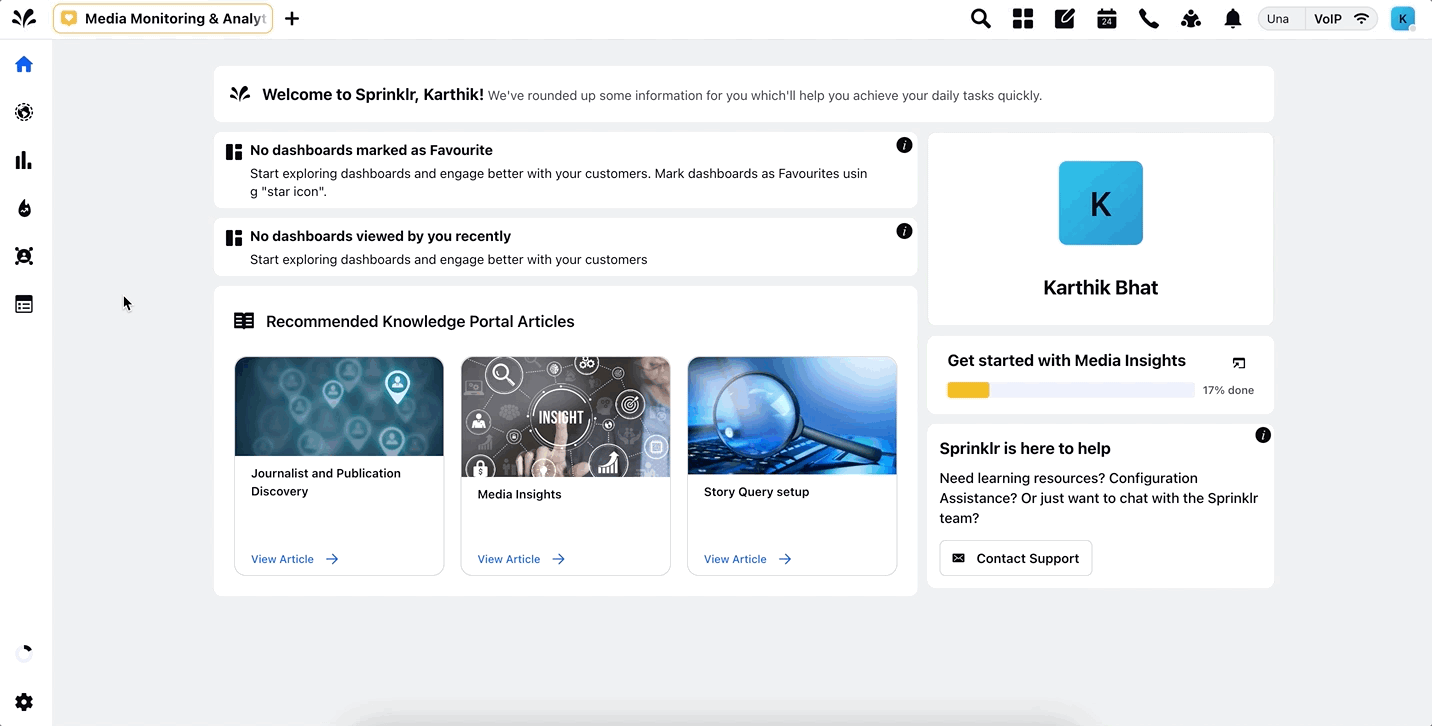
On the Media Monitoring & Analytics homepage, click Newsletter in the left pane.
On the Newsletters window, click Create Newsletter in the top right corner. The Automated option will be selected by default.
Upon selecting the Automated Newsletter option, you need to fill in the fields of the Overview section.
The Overview section consists of fields requiring basic newsletter details, such as name, sender's email, etc.
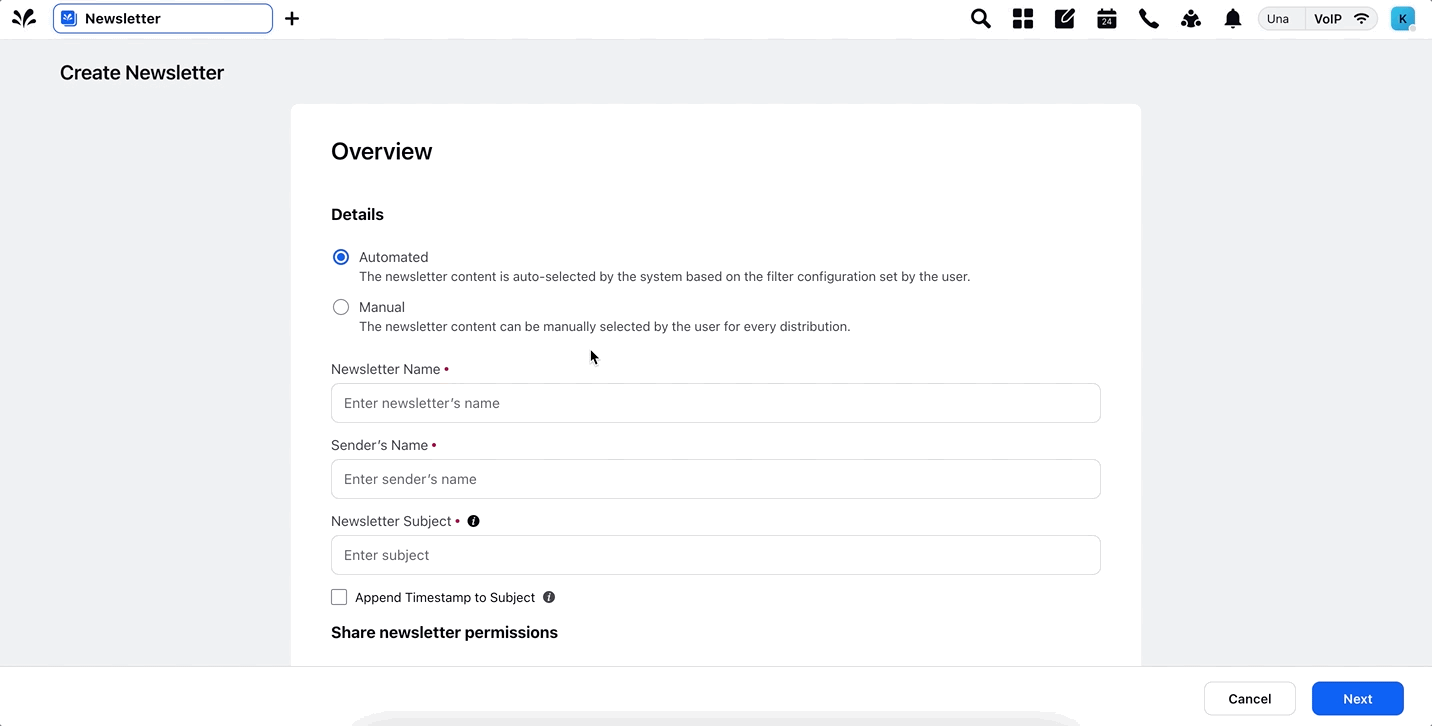
Below are the fields you are required to fill for the Overview section with their description –
Details
Field | Description |
Newsletter Name | Appropriate name that you would like to give to the newsletter. |
Sender's Name | This will appear as the sender of the newsletter. |
Newsletter Subject | This will appear as the subject of the newsletter. |
Include Timestamp | If you enable this option, each of the newsletter emails you will receive will have the time of delivery added with the main subject of the mail. It will prevent the threading of emails and users can receive each newsletter in a separate email. |
Share
Field | Description |
Visible in all workspaces | Check the box to make your newsletter visible to all workplaces. |
Workspaces | Search and select workspaces where you want the newsletter to be visible. |
Users/Users Groups | Search and select the user/user groups you want to share the newsletter with. |
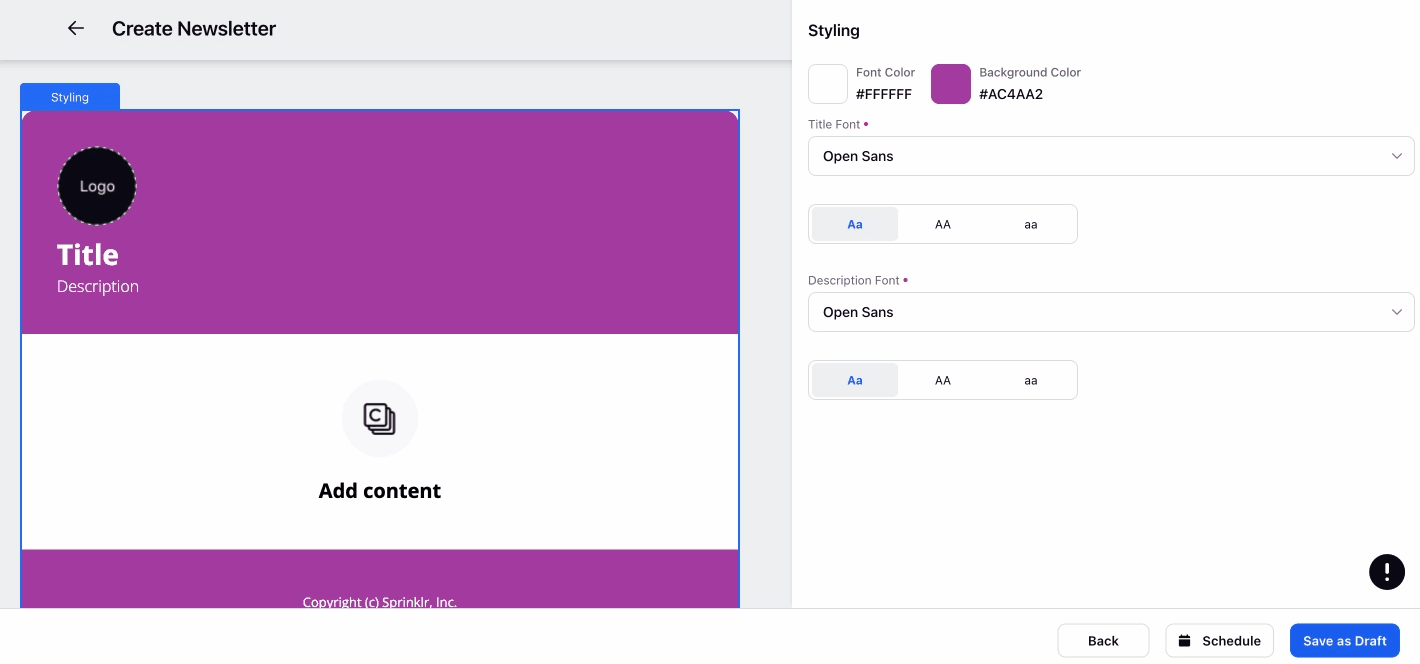
Styling
Sprinklr enables you to brand your newsletters using different elements like –
Color theme
Brand logo/image
Font style
Font color
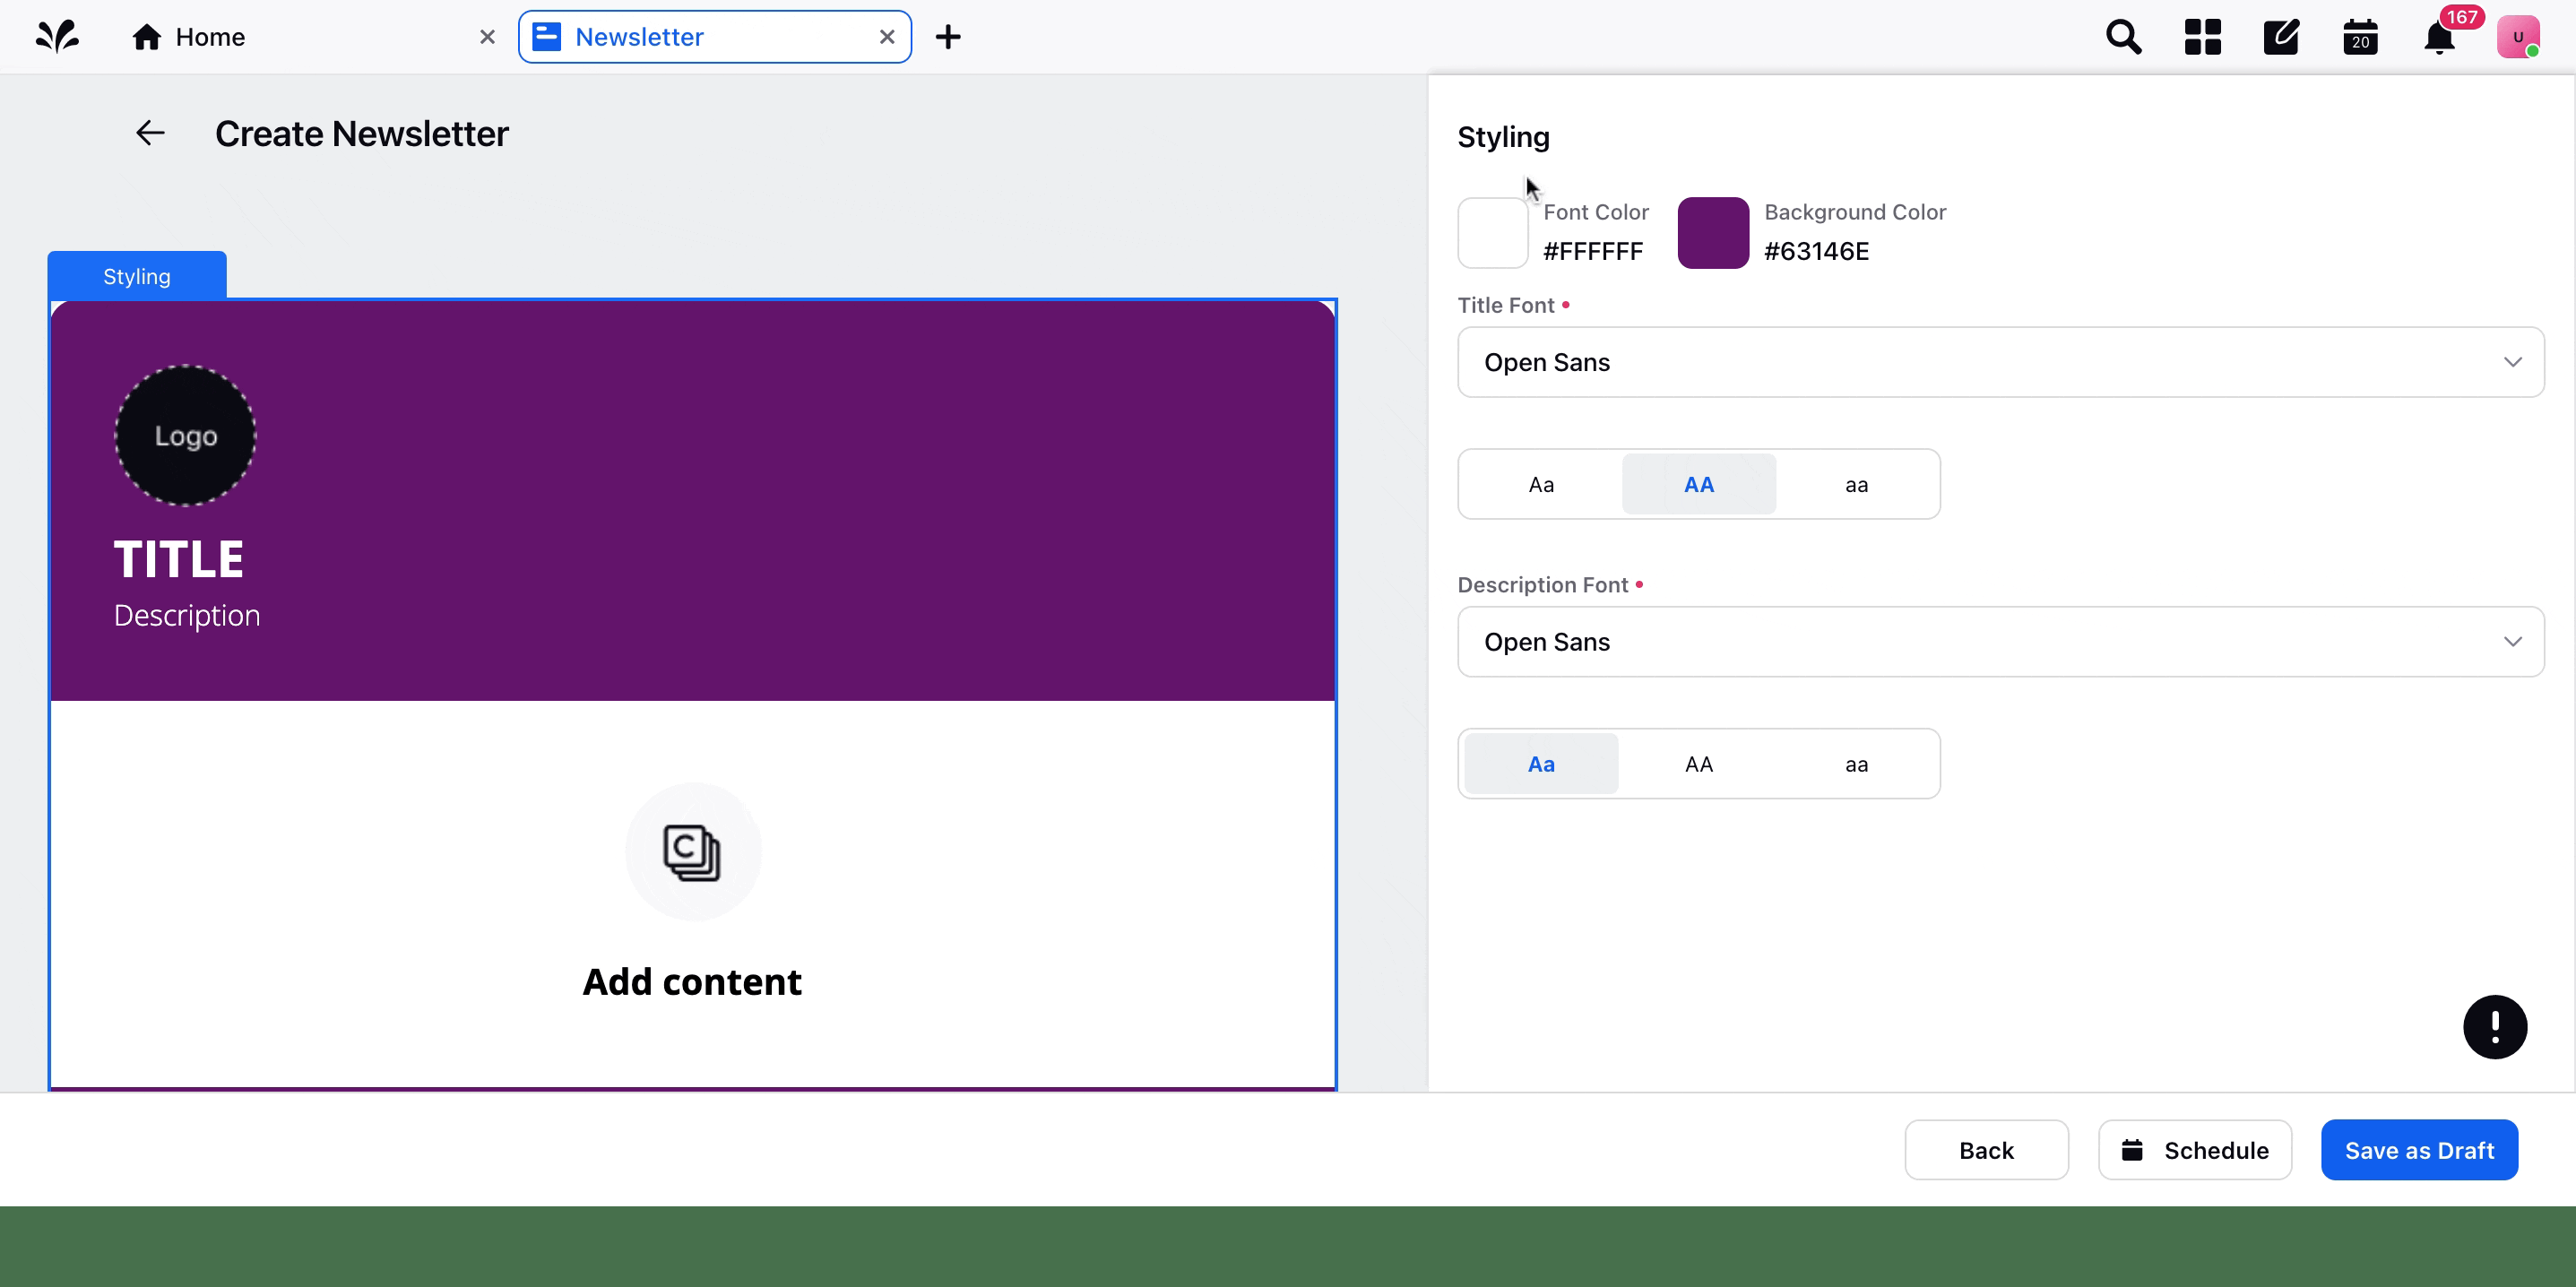
Term | Description |
Header Font | Select the font for the header section of newsletter. |
Body Font | Select the font for the body of newsletter. |
Background Color | Click the box to select the background color of the newsletter from the color palette. |
Text Color | Click the box to select the text color of the newsletter from the color palette. |
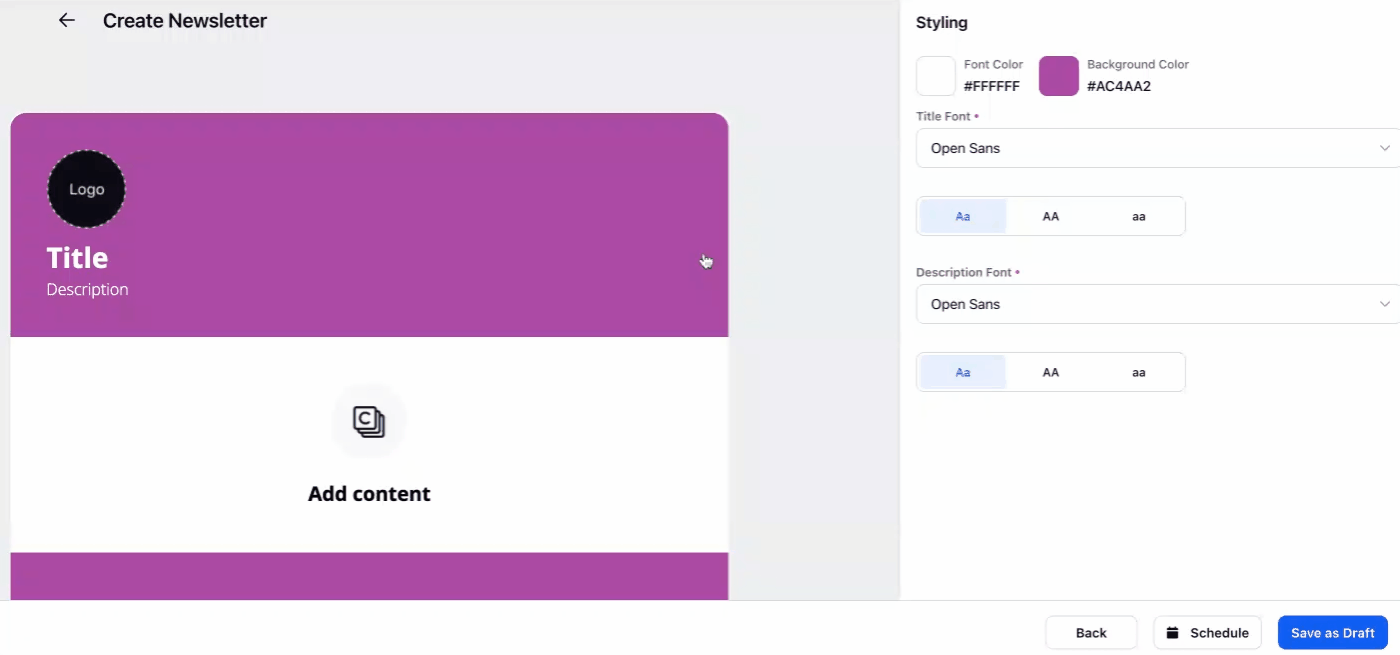
Header
Click on the Header of the newsletter preview as shown below.
Add suitable title and description for your newsletter.
Enable/disable the logo.
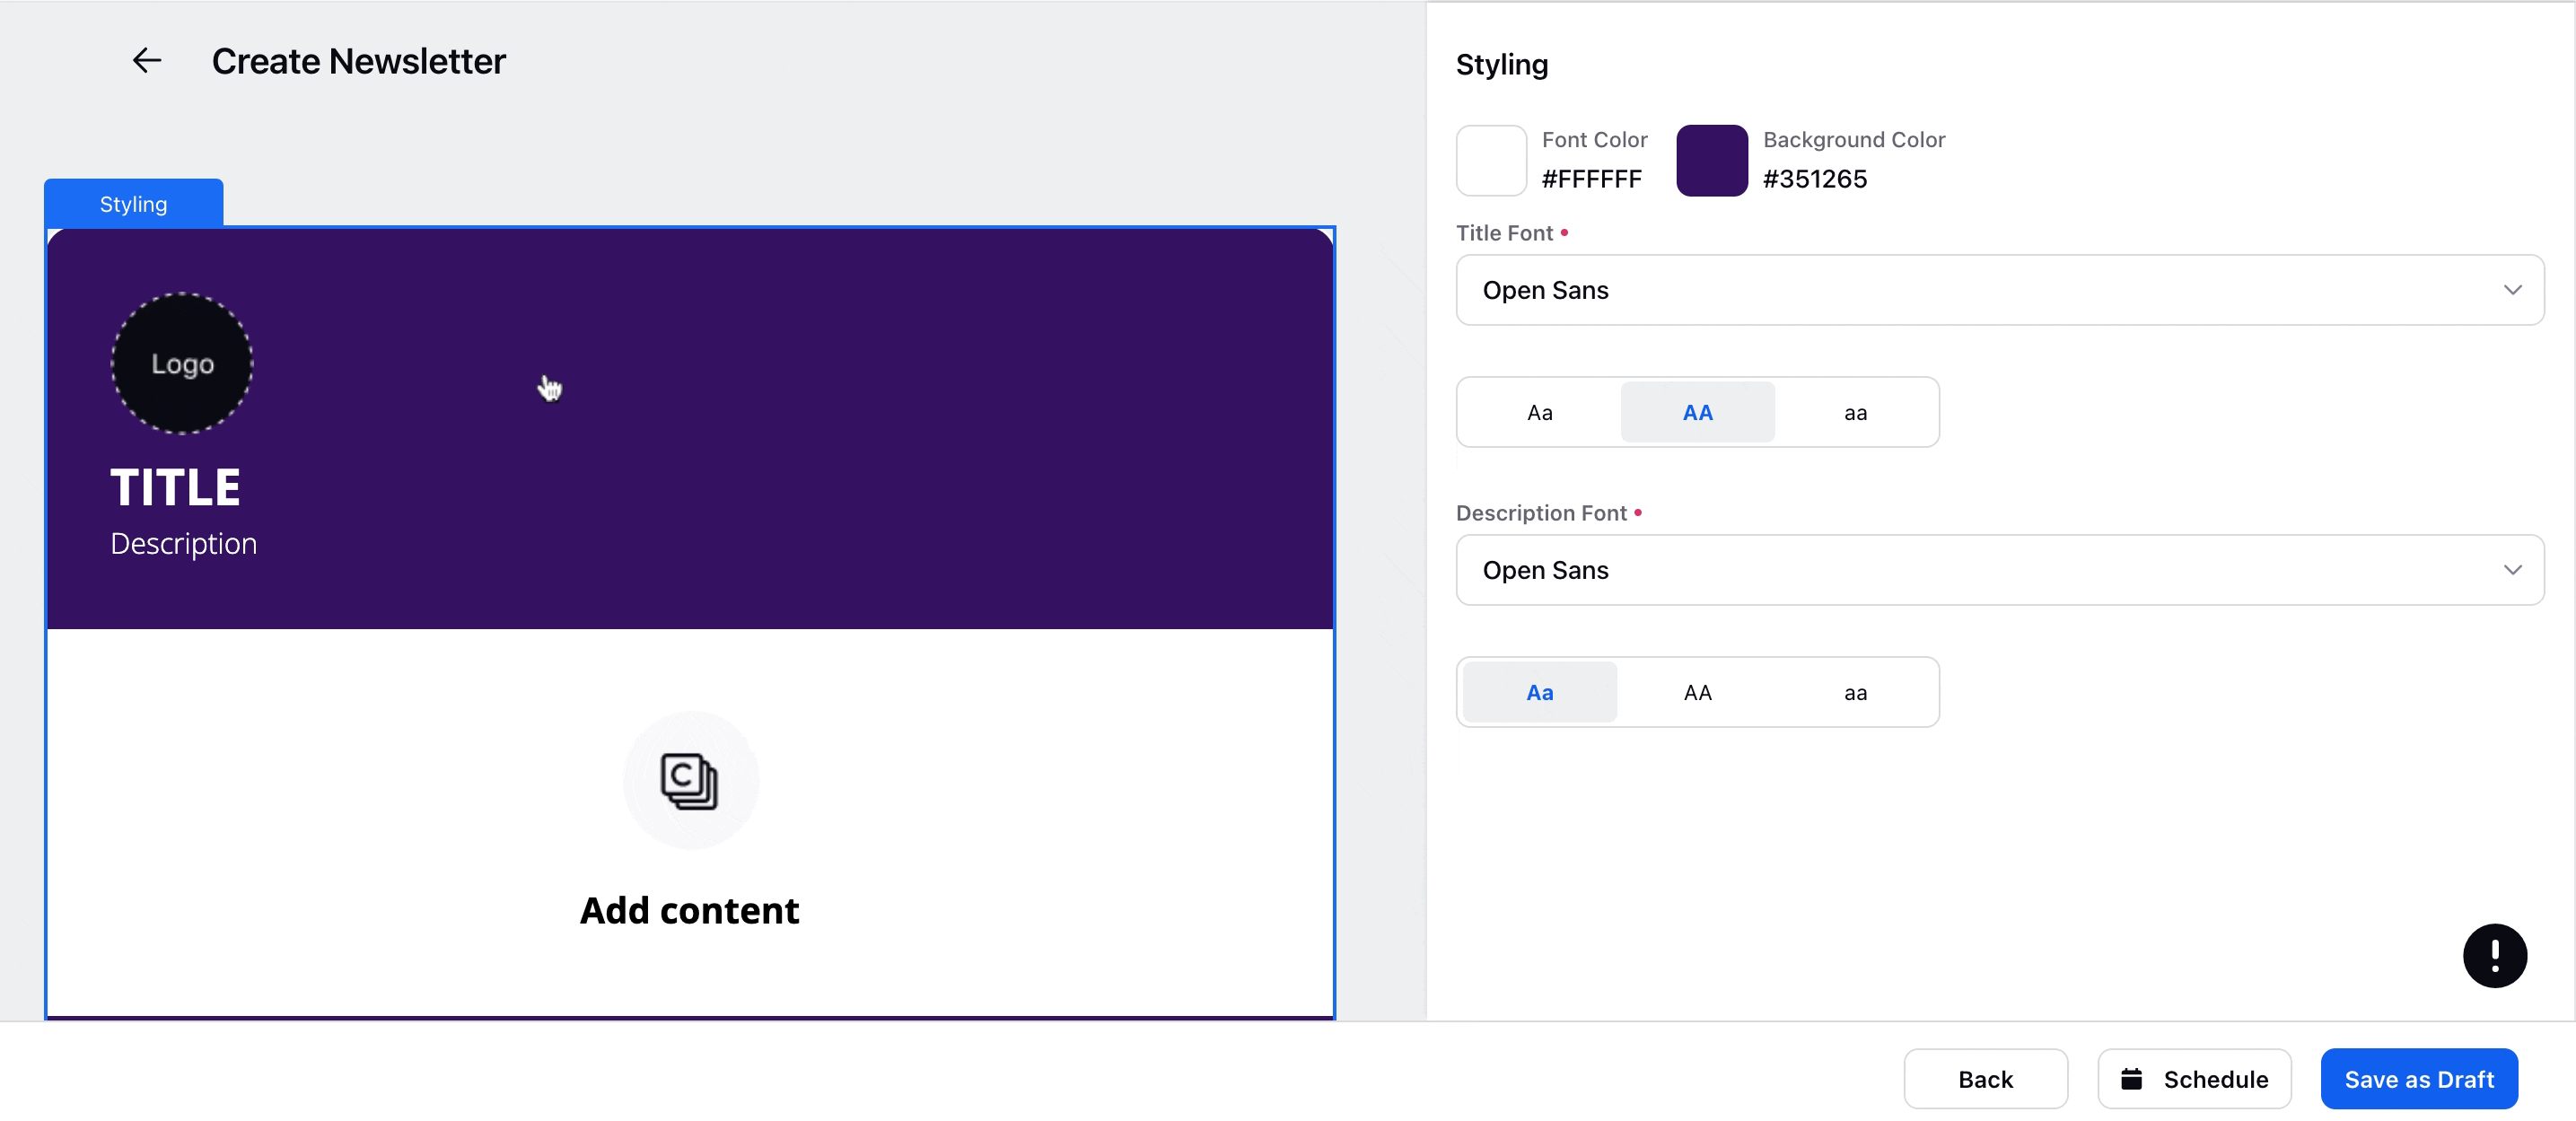
Term | Description |
Logo | Enable/disable logo using the toggle button. |
Add Image | Click this to upload an image from your local storage or other sources. |
Title | Add the title that will be displayed as the heading of the newsletter. |
Description | Add the description that will be displayed as the heading of the newsletter. |
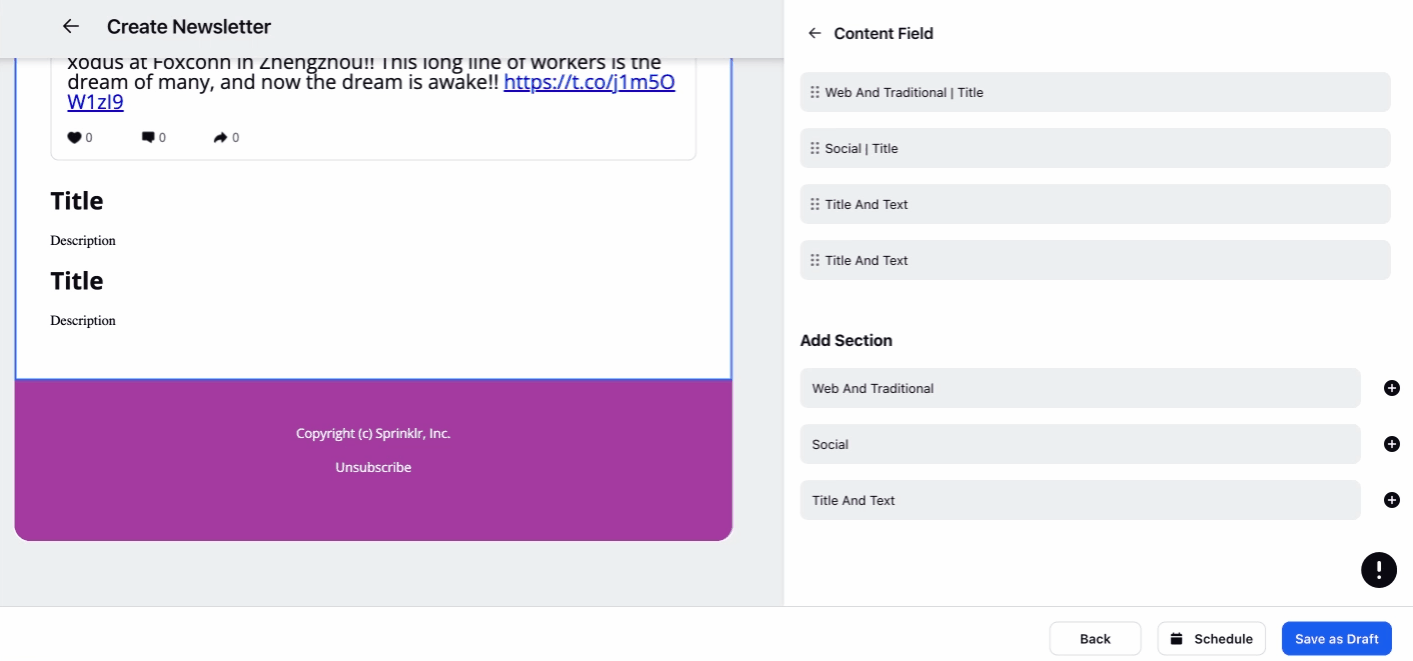
Content
Click on the content or body section of the template on the left side of the screen. It will open a form on the right side of your screen to edit the content section of the newsletter.
The form opened will have the option to select one or more sections under the Add Section option.
Click on the section tile as per the requirement. For instance, if you want to create a section based on news content then click on Web and Traditional. If you want to create a section based on social content then click on Social. Choose the Title and Text section if you want to create a text section to add internal announcements and insights.
For each section added, you can set up different filter configurations by simply clicking on each section.
Note: You can add multiple sections to suit your communication strategy.
Term | Description |
Add Section |
|
Section Title | Enter the title for the body of the newsletter. |
Description | Enter a suitable description for the title. |
Data Source | Select the data source from Listening or Story Analytics. |
Max Number of Articles | Select the number of articles to be present in your newsletter with the upper limit being 10 articles. If the upper limit needs to be increased please reach out to our success team, but increasing the limits often leads to truncation of newsletter emails. |
Date Range | Select the time span or date range over which you want the data to be pulled. The timezone can be different for every section if required. |
Filters | Select the date range within which you would like to receive content. Click Add Filter to keep adding new filters. |
Order data based on | Sort the article, posts, etc. of the content that you would receive within a section of the newsletter. The sorting options vary with respect to the data source. The default sorting available is Created Time. |
Group messages as stories | Group similar articles into a story and avoid redundancy by checking this option. |
Exclude Translate | Checking this option would exclude the translate button from your newsletter distribution. Note: Translate button allows your recipients to translate the messages into preferred language with just one click. |
Exclude Translate | Checking this option would exclude the translate button from your newsletter distribution. Note: Translate button allows your recipients to translate the messages into preferred language with just one click. |
Exclude Images | Checking this checkbox will enable the messages in the newsletter body to exclude thumbnails or images associated with an article or post. |
Exclude Metrics | By checking this checkbox the messages in the newsletter will not show any associated metrics, for eg. engagement stats, etc. |
Footer
Click on the Footer section in the left preview.
Add a footer description of your newsletter here.
You can also add your organization/department’s social and/or website information, by selecting different channels under Channel Links.
Term | Description |
Description | Enter a suitable footer description. |
Channels | Add your organization/department’s social and/or website information. |
Automated Newsletter enables you to schedule your newsletter across multiple time zones and frequencies (daily, monthly, hourly, weekly, etc.) to the recipient/s of your choice. You can also upload a mailing list of your recipients.
After setting up the required sections for your newsletter, click Schedule in the bottom right corner as shown below and enter the required details.
Below are the fields of the Schedule section of the Newsletter along with their descriptions –
Schedule (Details)
Field | Description |
Timezone | Select the timezone in which you would want the newsletters to be delivered. The schedule and end date fields work with respect to the set timezone. Also, time of message shown within the newsletter is dependent on this timezone. |
Frequency | Define how often you would like the newsletter to be sent to the recepient. |
Select End Date | Assign the end date for your newsletter. |
Schedule (Recipients)
Field | Description |
Users / Users Groups | Define the recipients to whom you would like to send these newsletters. |
External email | Enter the email ids of recipients for this newsletter. You may use the upload option to select the recipients for this newsletter in bulk. |
Download Sample Template | Click this to download a sample template of the email recipients file compatible with the newsletter. |
Upload Recepients | Drag and drop your email recipients file in CSV, XLSX or XLS format here or click browse to navigate your local storage directory to upload the file. Please ensure the upload is in the correct format. |
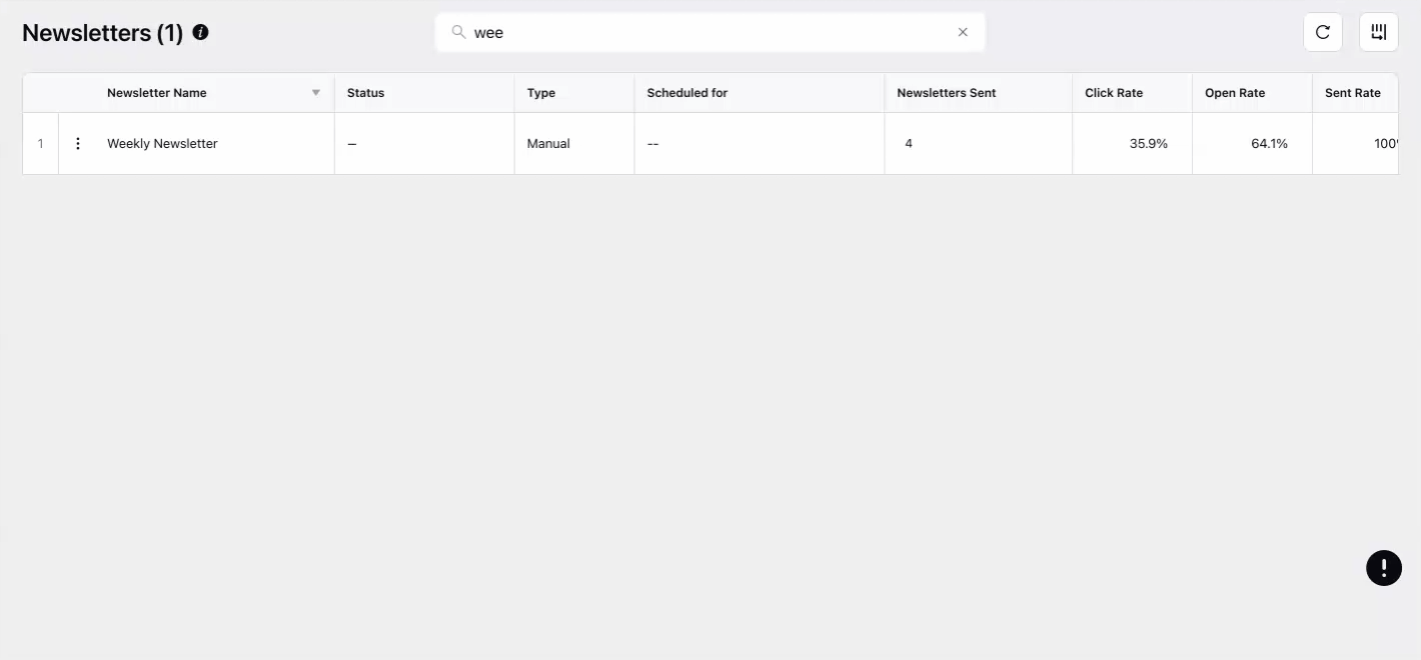
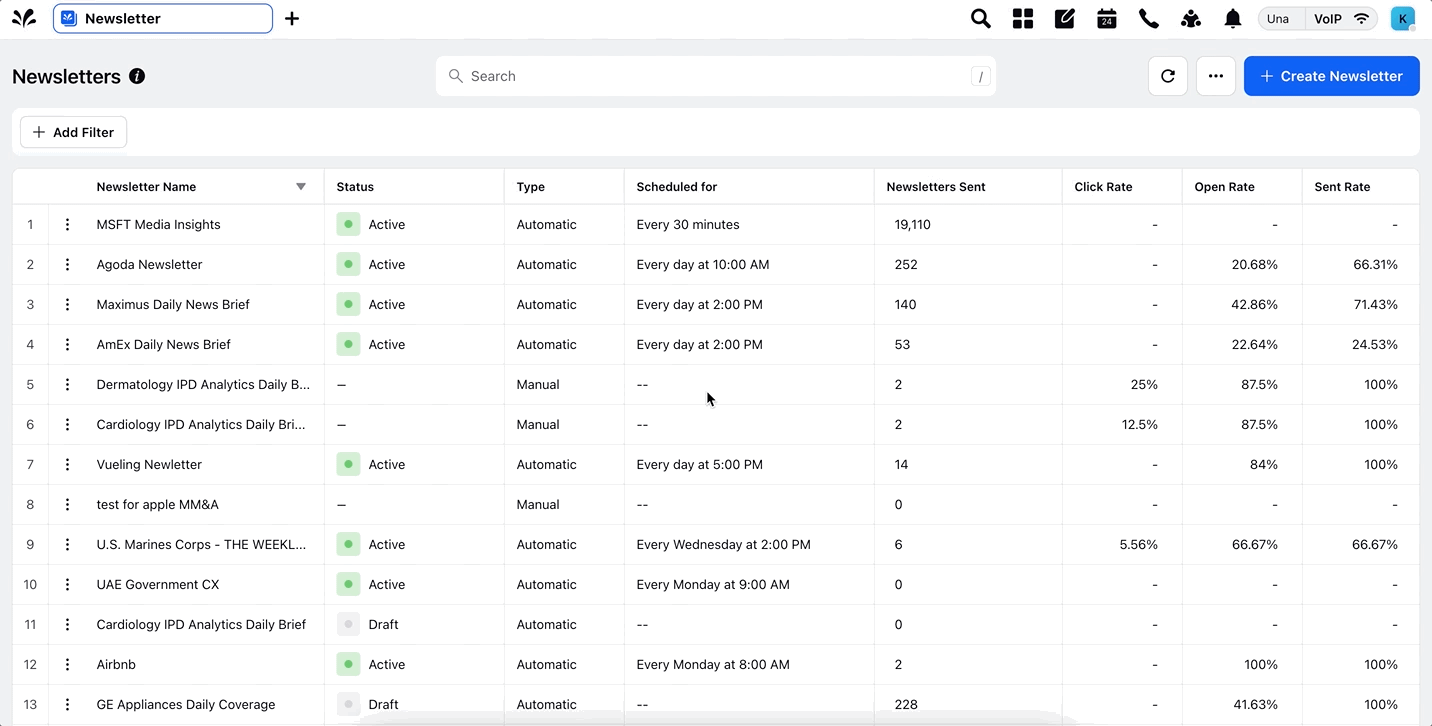
You can also view the analytics of your newsletter. To view the analytics, hover over the Options icon preceding the newsletter name on the distribution window and select View Analytics.