How to set up Manual Newsletters?
No tags available
Updated
2 years ago
, by [Redesign] Sprinklr Help Center
Hand-pick messages and curate the content for personalized communication.
Manual Newsletters allow you to handpick messages and curate message content to showcase accurate insights and avoid any noise. This ensures more control over newsletter curation. With a manual newsletter, you can create a newsletter template which further can be used to curate personalized distributions.
Method #1
Click the New Tab icon. On the Sprinklr launchpad, scroll down to Platform Modules, and click Newsletters within Collaborate.

On the Newsletters window, click Create Newsletter in the top right corner and then select Manual.
Method #2
Click the New Tab icon. Under Sprinklr Insights, click Media Insights within Learn.
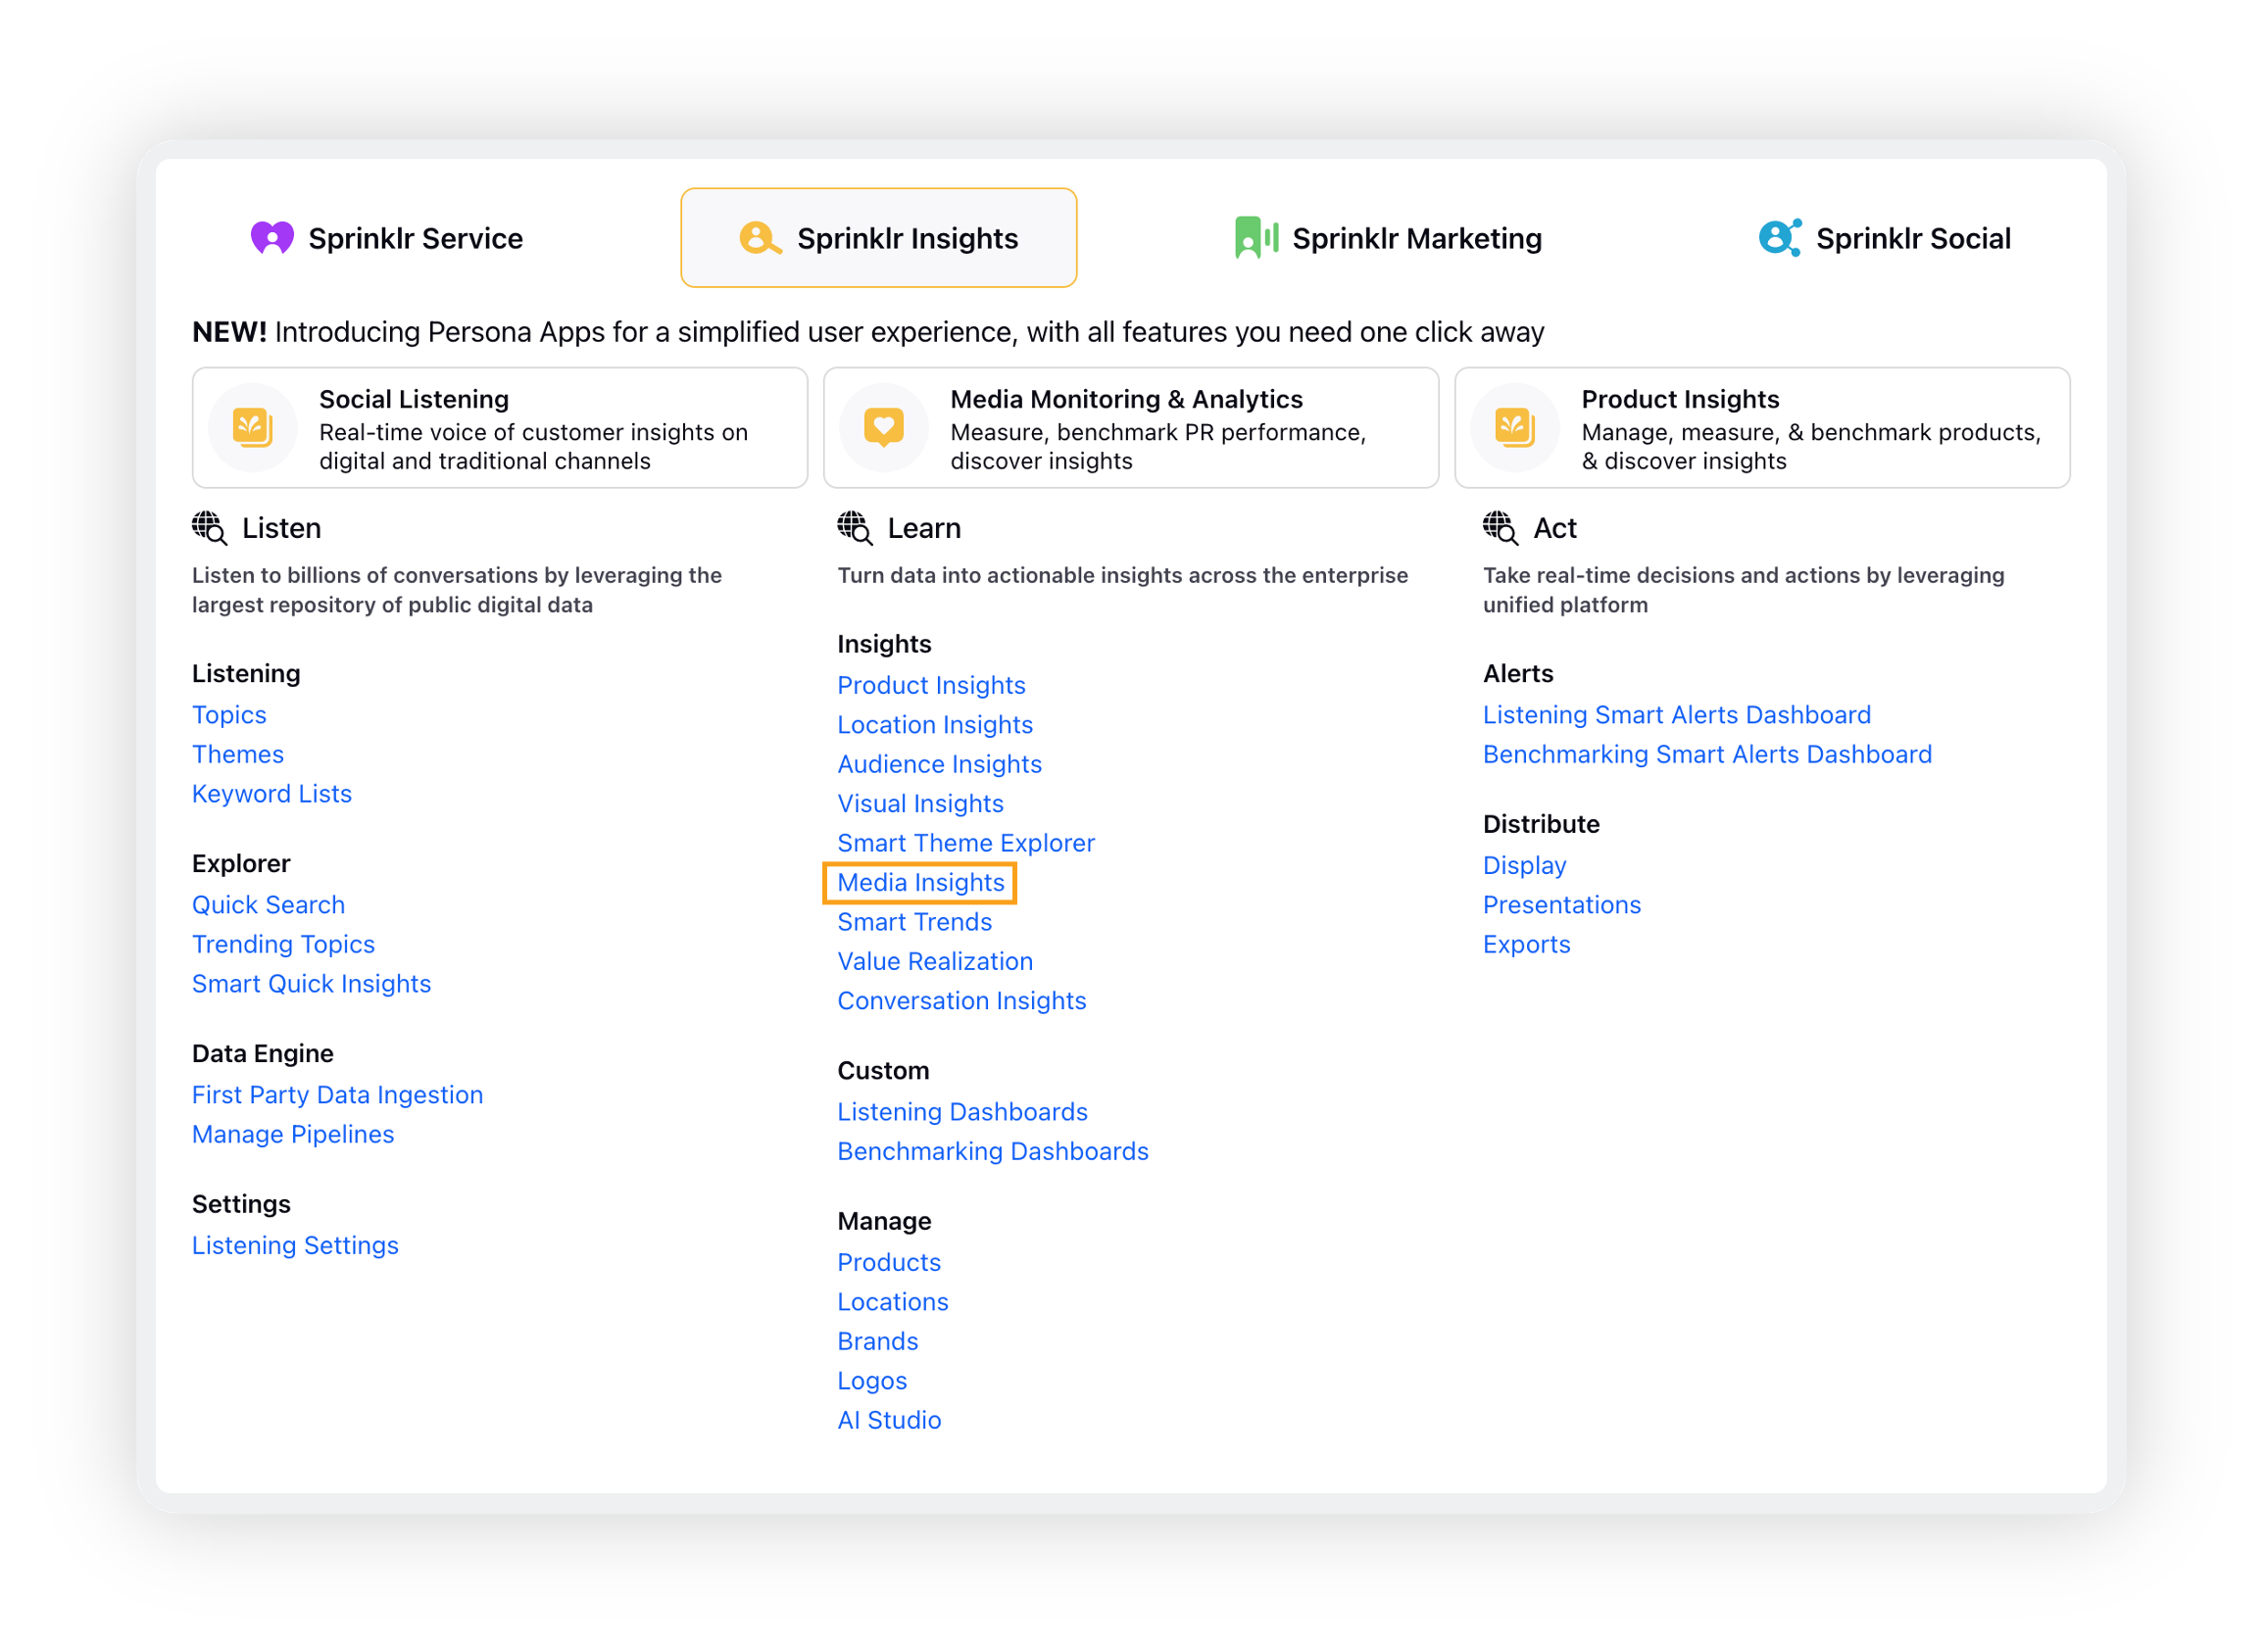
On the Media Monitoring & Analytics homepage, click Newsletter in the left pane.
On the Newsletters window, click Create Newsletter in the top right corner and then select Manual.
Upon selecting the Manual Newsletter option, you need to fill in the fields of the Overview section.
The Overview section consists of fields requiring basic newsletter details, such as name, sender's email, etc.
Below are the fields you are required to fill for the Overview section with their description –
Details
Field | Description |
Newsletter Name | Appropriate name that you would like to give to the newsletter. |
Sender's Name | This will appear as the sender of the newsletter. |
Newsletter Subject | This will appear as the subject of the newsletter. |
Append Timestamp in Subject | If you enable this option, each of the newsletter emails you will receive will have the time of delivery added with the main subject of the mail. It will prevent the threading of emails and users can receive each newsletter in a separate email. |
Share
Field | Description |
Visible in all workspaces | Check the box to make your newsletter visible to all workplaces. |
Workspaces | Search and select workspaces where you want the newsletter to be visible. |
Users/Users Groups | Search and select the user/user groups you want to share the newsletter with. |
Styling
Sprinklr enables you to style your newsletters using various elements, like –
Color theme
Brand logo/image
Font style
Font color
Term | Description |
Header Font | Select the font for the header section of newsletter. |
Body Font | Select the font for the body of newsletter. |
Background Color | Click the box to select the background color of the newsletter from the color palette. |
Text Color | Click the box to select the text color of the newsletter from the color palette. |
Header
Click on the Header of the newsletter preview as shown below.
Add suitable title and description for your newsletter.
Enable/disable the logo.
Term | Description |
Logo | Enable/Disable logo using the toggle button. |
Add Image | Click this to upload an image from your local storage or other sources. |
Title | Add the title that will be displayed as the heading of the newsletter. |
Description | Add the description that will be displayed as the heading of the newsletter. |
Content
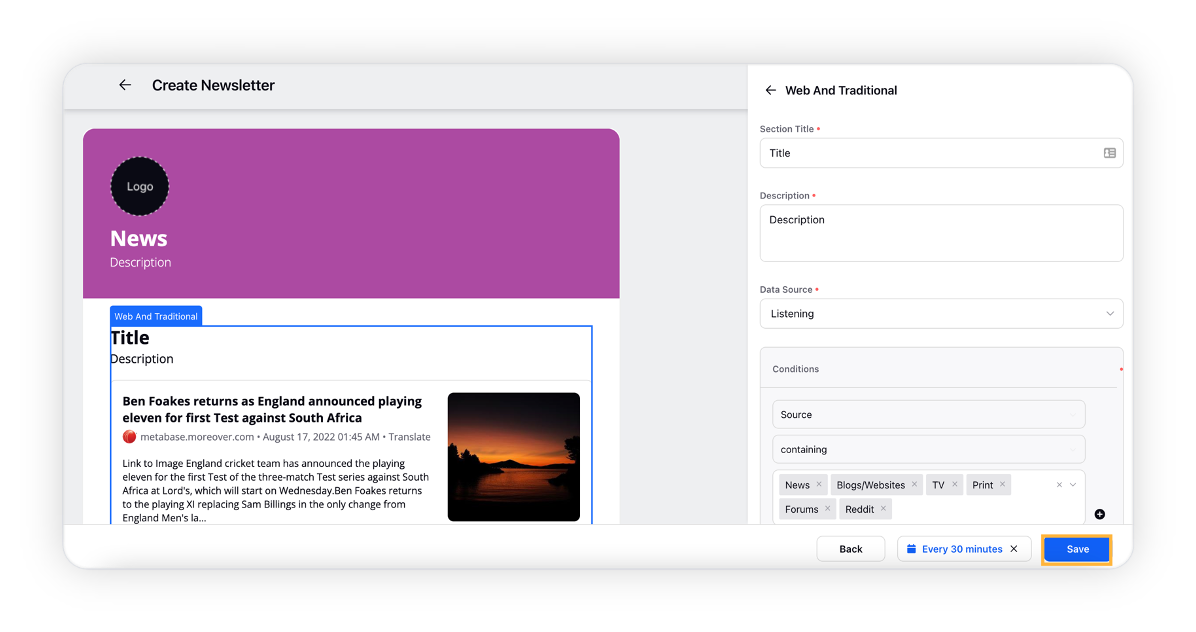
Click on the content or body section of the template on the left side of the screen. It will open a form on the right side of your screen to edit the content section of the newsletter.
The form opened will have the option to select one or more sections under the Add Section option.
Click on the section tile as per the requirement. For instance, If you want to create a section based on news content then click on Web and Traditional. If you want to create a section based on social content then click on Social. Choose the Title and Text section if you want to create a text section to add internal announcements and insights.
For each section added, you can set up different filter configurations by simply clicking on each section.
Term | Description |
Add Section |
|
Section Title | Enter the title for the body of the newsletter. |
Description | Enter a suitable description for the title. |
Data Source | Select the data source from Listening or Story Analytics. |
Exclude Translate | Checking this option would exclude the translate button from your newsletter distribution. Note: Translate button allows your recipients to translate the messages into preferred language with just one click. |
Exclude Images | Checking this checkbox will enable the messages in the newsletter body to exclude thumbnails or images associated with an article or post. |
Exclude Metrics | By checking this checkbox the messages in the newsletter will not show any associated metrics, for example, Engagement Stats, etc. |
Footer
Click on the Footer section in the left preview.
Add a footer description of your newsletter here.
You can also add your organization/department’s social and/or website information, by selecting different channels under Channel Links.
Term | Description |
Description | Enter a suitable footer description. |
Channels | Add your organization/department’s social and/or website information. |
Create distribution
After adding content to your newsletter’s content field, click Done.
On the Create a New Distribution pop up, click Create Now to create the distribution in the next step.
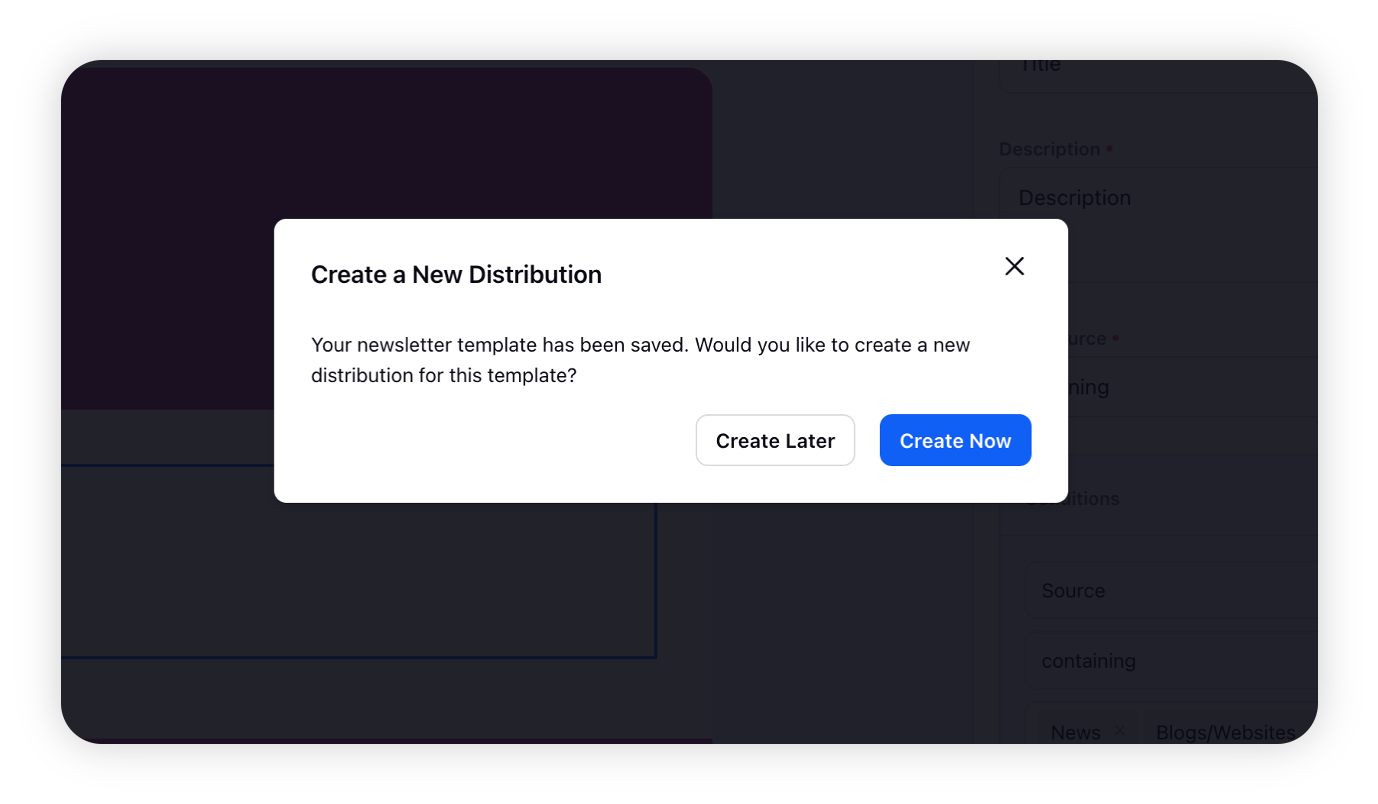
Note: Or, you can click Create Later to make the distribution later at any point of time.
Now enter your basic details, such as Newsletter Name, Sender’s Name, and Newsletter Subject. Click Next.
Select the content section on the preview of the newsletter, and click Add Content on the Create Distribution window.

Now, on the Content pop up –
Search content using keywords or phrases in the search bar.
You can sort the stories by the dimensions – Created Time, Media Reach, Moz Rank, Alexa Rank, Web Shares Overall, Web Shares on Twitter, Web Shares on Facebook, Web Shares on Reddit, Web Impact, EMV, Reddit Score, and Comments Count.
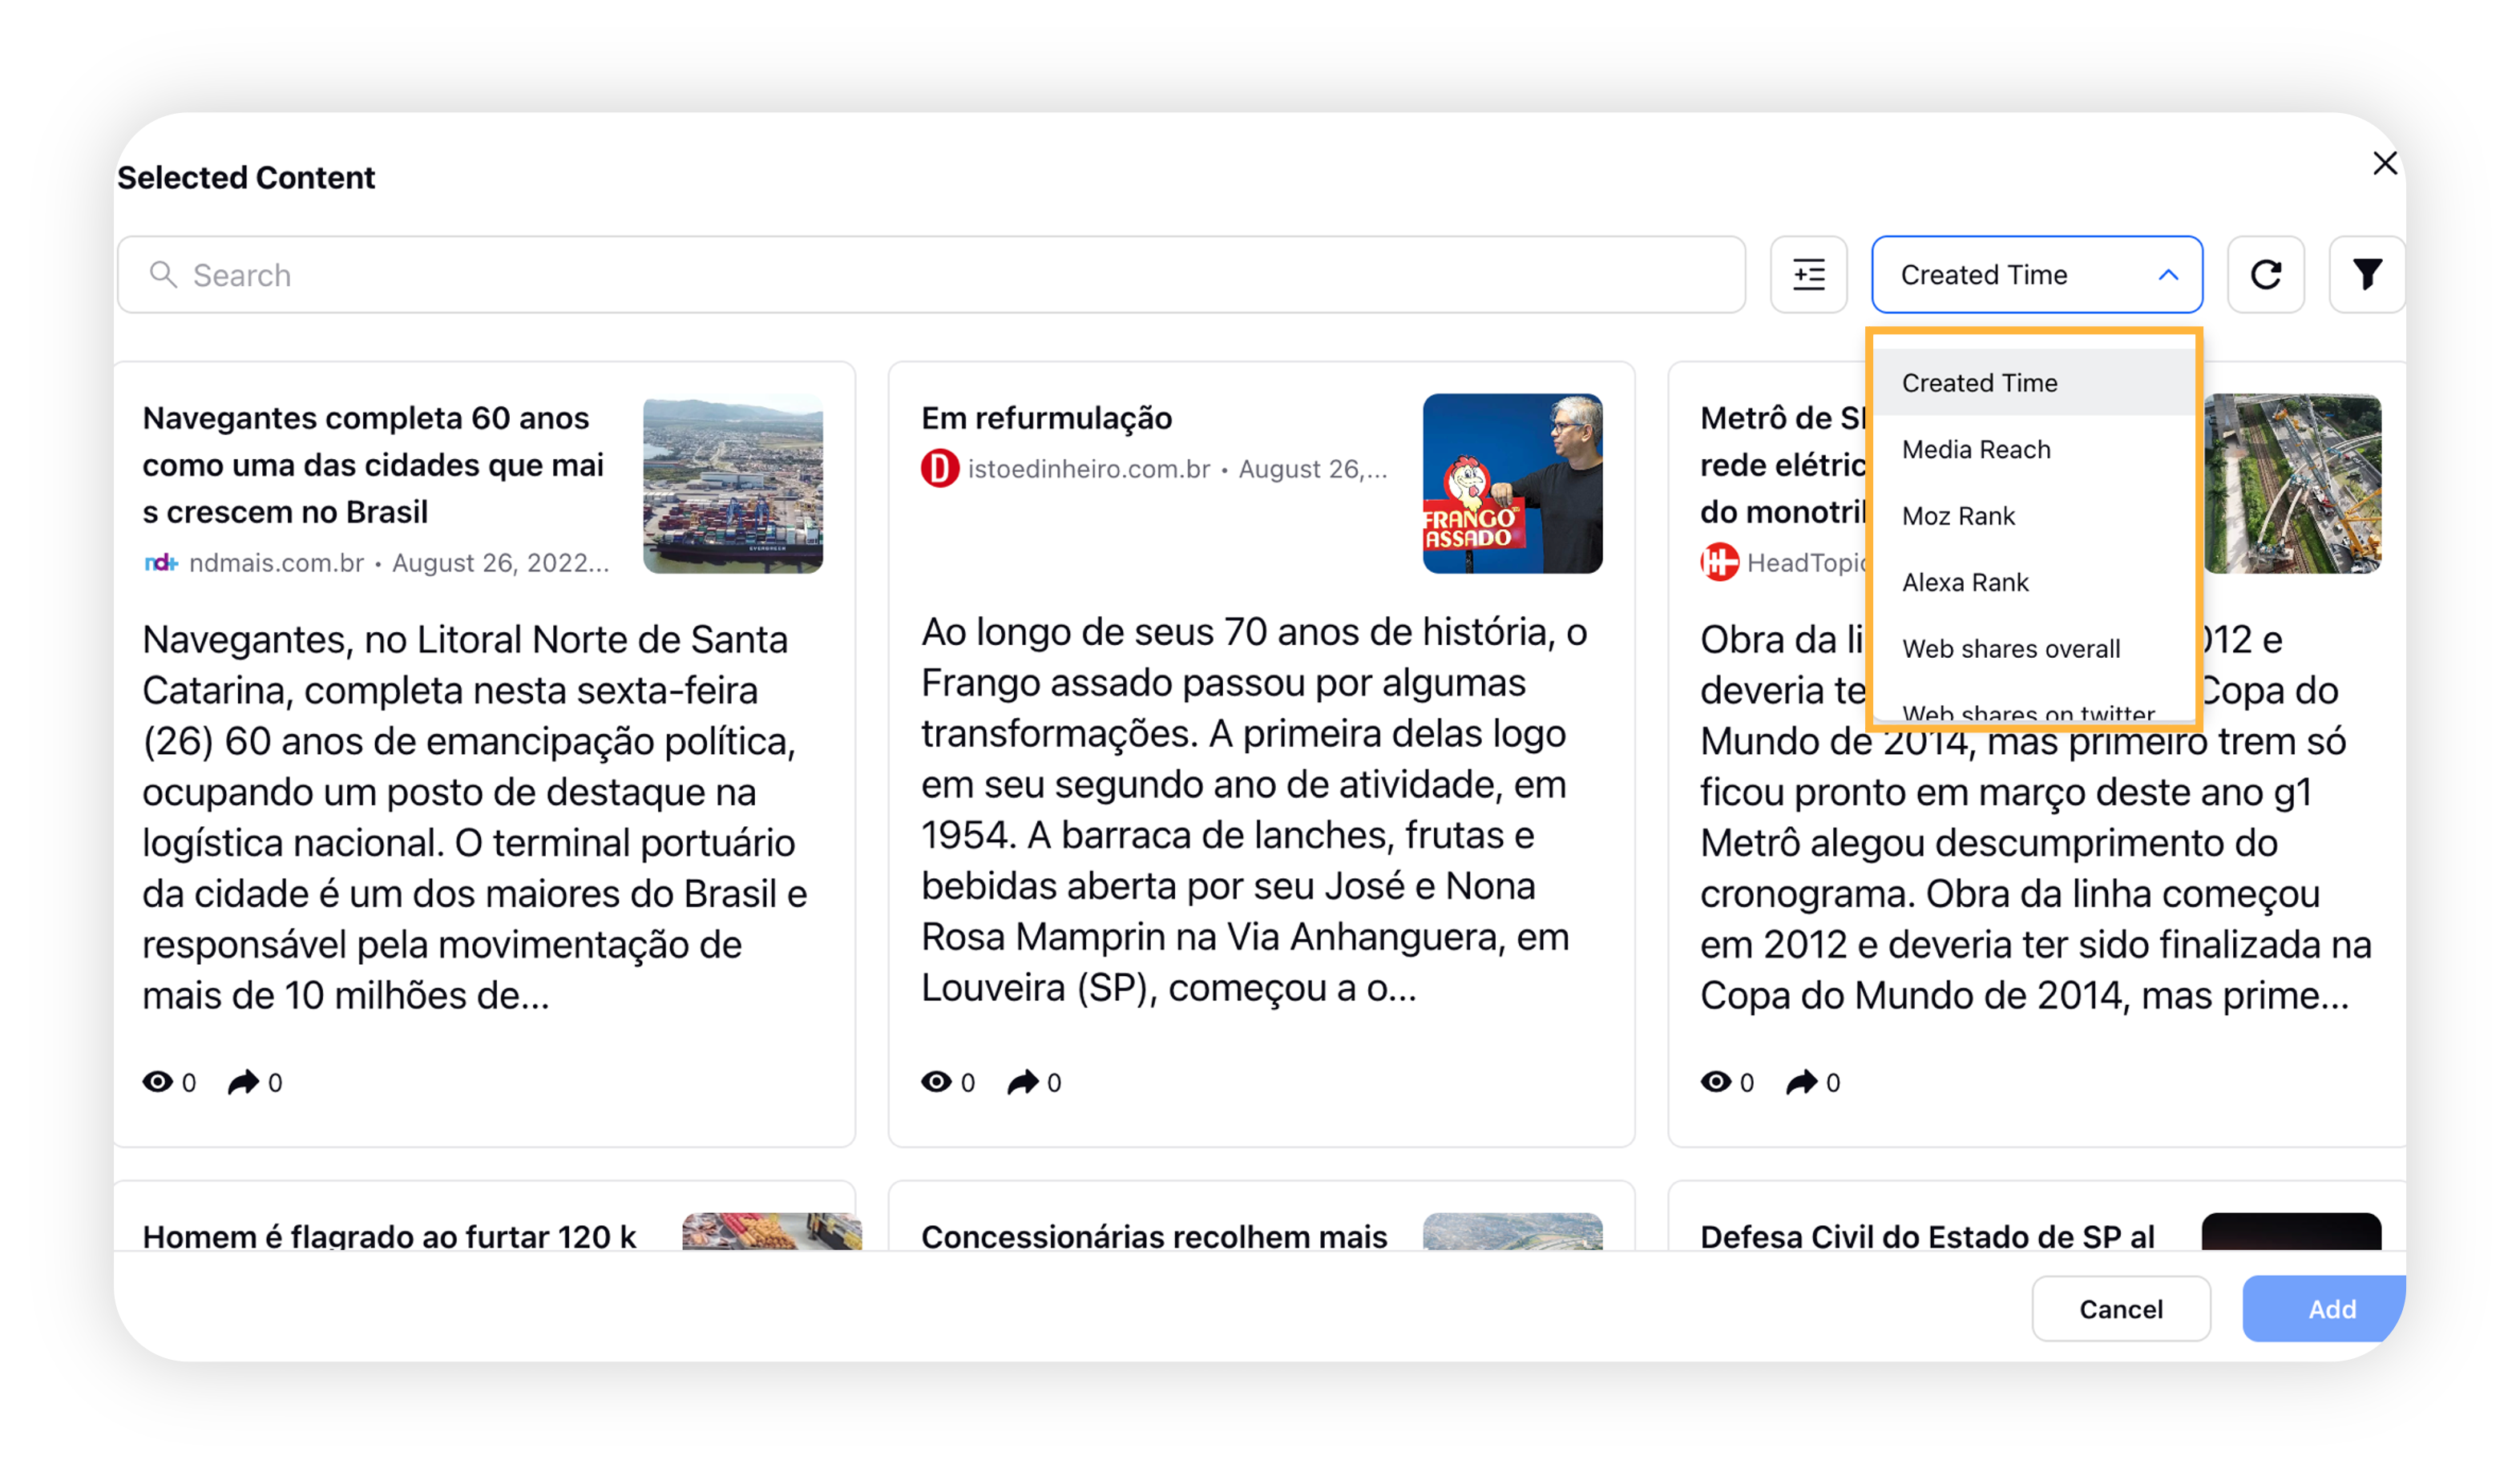
You can also sort the order as either Ascending or Descending.
Click the Group as Stories icon next to the search bar to consolidate similar articles into a single card as stories and avoid redundancy. Click this icon again to ungroup your stories into individual messages.
Once you have added the desired messages/stories, you can also edit the title, text of a message.
Use the options Exclude images, Exclude metrics and Show Messages as Snippets to define the newsletter distribution preview.
You can now either schedule your newsletter distribution or save it as draft.
Schedule your distribution of Newsletter
On the Create Distribution window, click Schedule in the bottom right corner.
On the Schedule popup, select your Sending Time, add Recipients amongs various Users / Users Groups or to External Emails.

Click Send.
Note: You can also upload the mailing list manually from your local storage by clicking Upload Recepients and selecting your files manually. Click Download sample template to download a sample format of the excel file containing the mailing list of your recepients.
Managing distribution of Newsletter
Enablement note: Manage Distribution option is permission controlled. Make sure you have the necessary permissions to access this section.
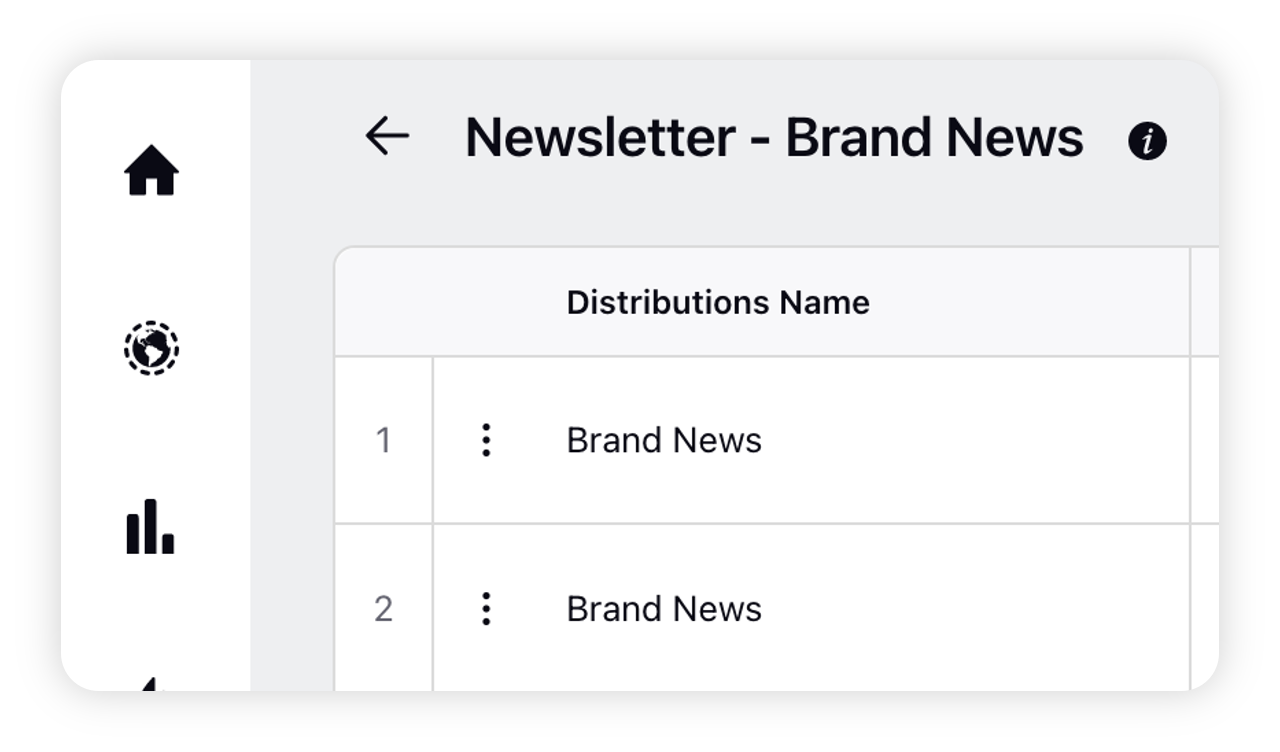
You can also manage the distribution of your newsletter by hovering over the Options icon on your listed newsletter on the Newsletter window, and clicking Manage Distribution.

A new distribution/s of the manual newsletter can also be created by clicking Create Distribution in the top right corner of the manage distribution window.
After adding the new content and schedule, click Save.
Your newly created schedule will now be listed on the Manage Distribution window.
You can also view the analytics of your newsletter. To view the analytics, hover over the Options icon preceding the newsletter name on the distribution window and select View Analytics.