How to Request Approval for a Schedule
Updated
Approval in WFM scheduling is essential to maintain operational integrity and employee satisfaction. It ensures that the schedules generated are compliant and align to business needs. By obtaining approvals and following governance, organizations can prevent conflicts, optimize resource allocation and foster a collaborative environment where both management and staff are aligned on the planned work hours. This process guarantees a smoother workflow, minimizes disruptions and enhances overall workforce efficiency.
Prerequisites for Requesting Approval for a Schedule:
Sprinklr WFM should be enabled for the environment and your user should have access to Workforce Planner Persona along with Approval Mandatory permission under the scheduling section in the workforce management module.

Creating a Tiered Approval:
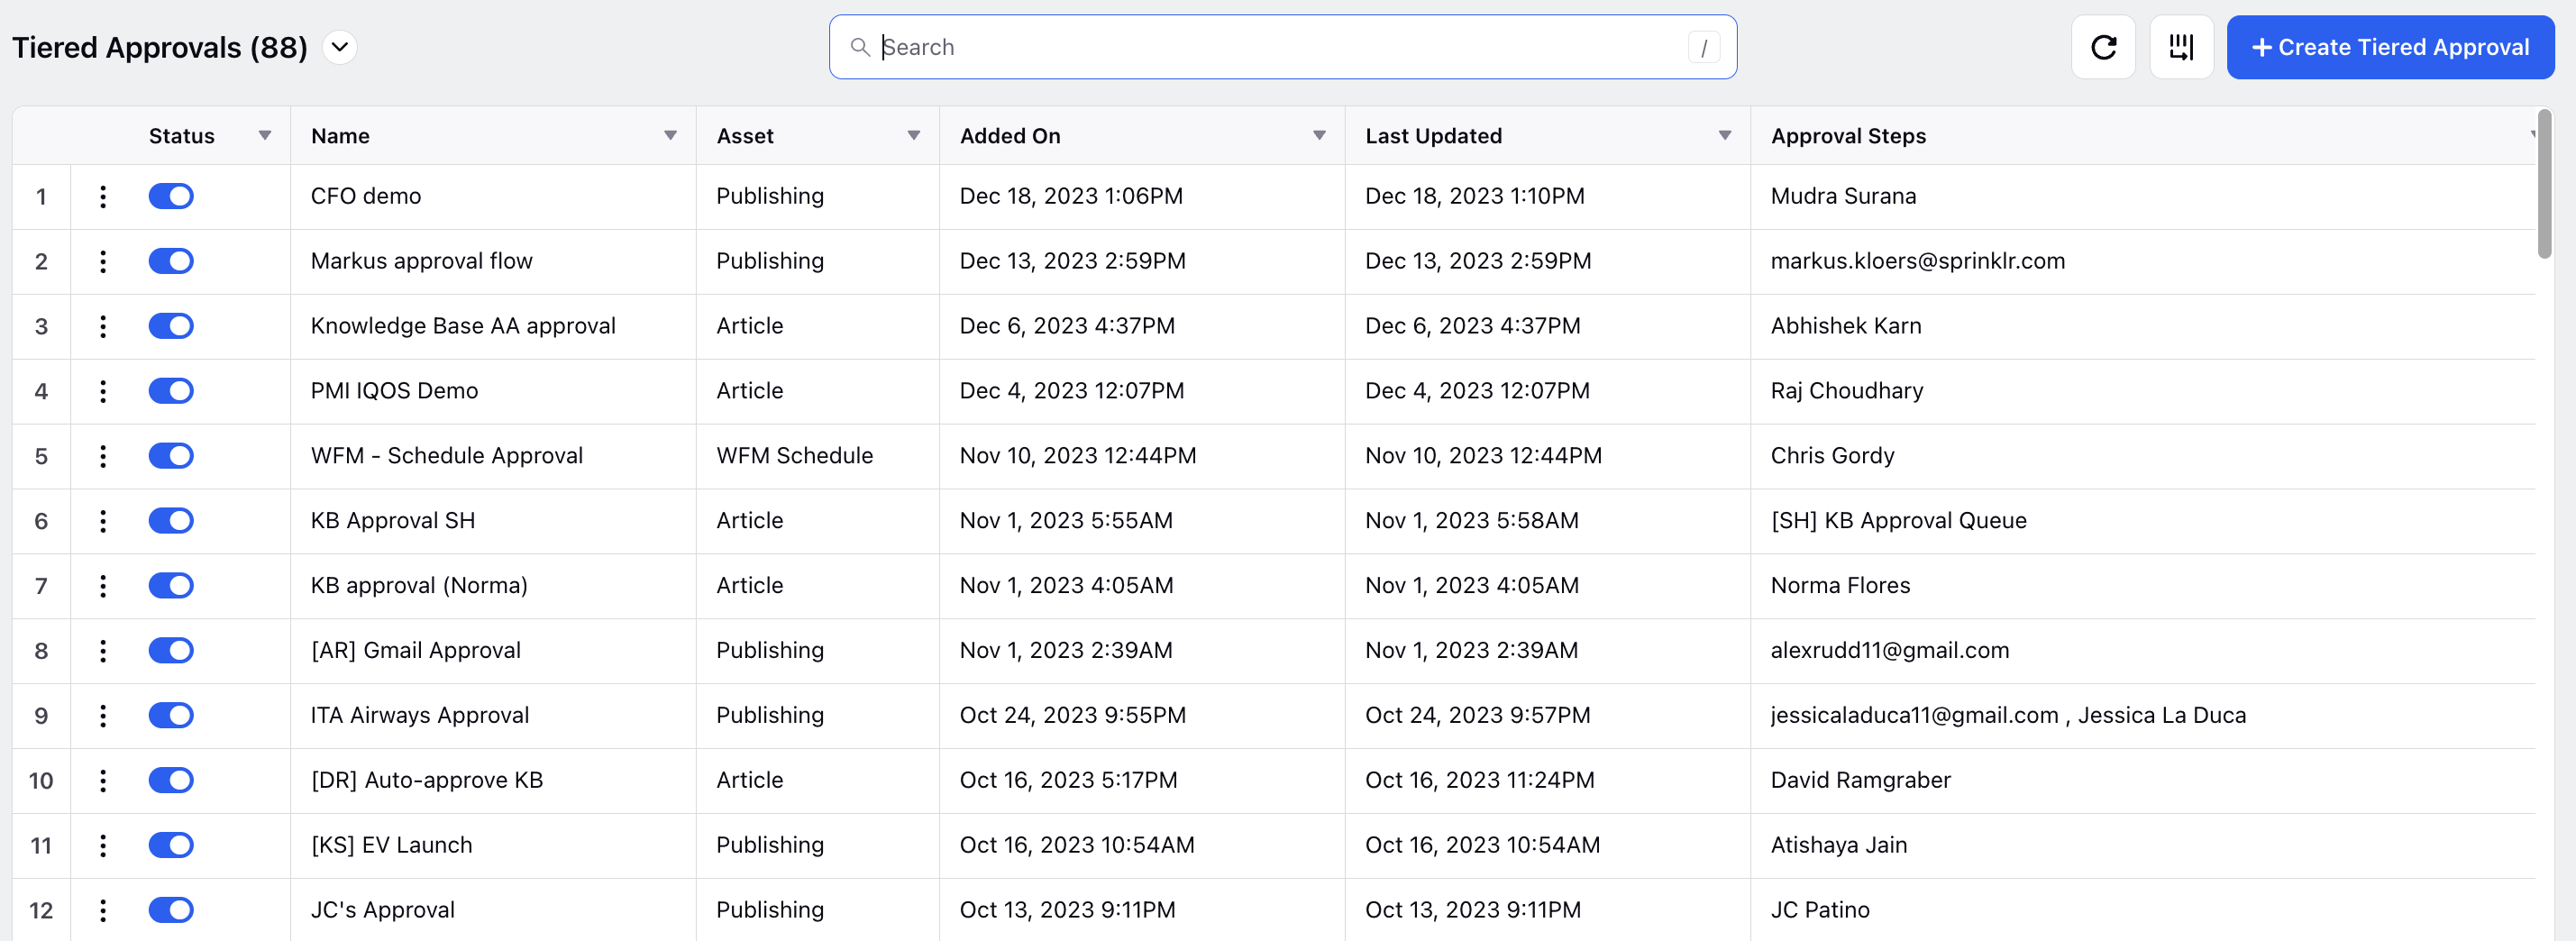
Supervisors can navigate to "Tiered Approvals" section in the Sprinklr Service Launchpad and create a tiered approval for WFM Schedule entity.
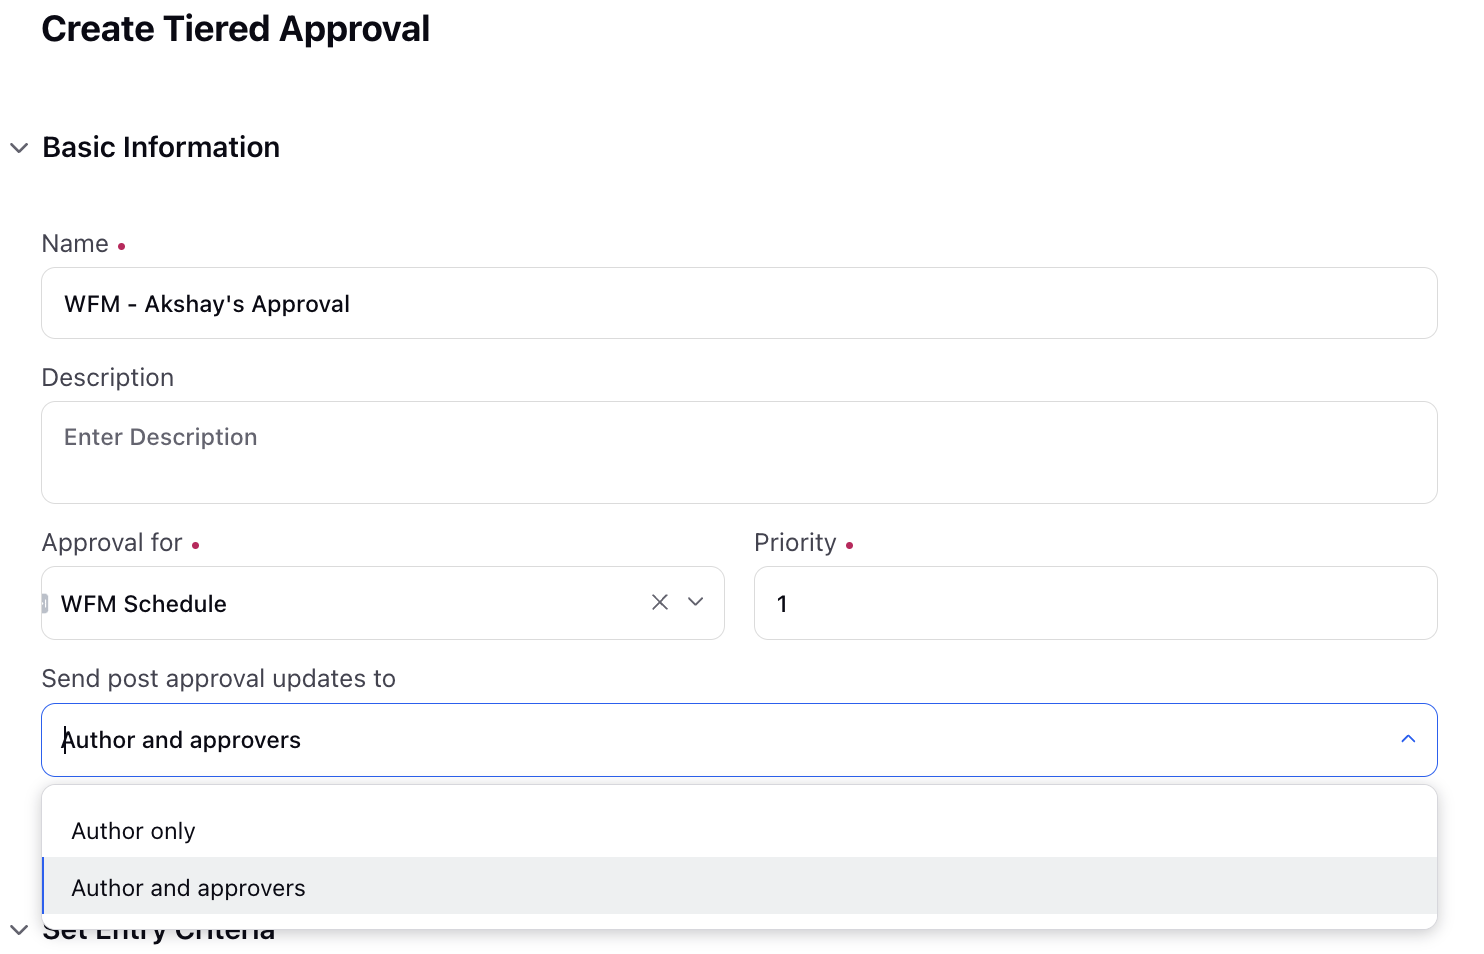
They must fill in the Basic Information section with the approval Name, an optional Description describing the reason for creating the approval, Approval Entity as WFM Schedule and Priority. They can further choose, from the drop-down menu, the users who will get post approval updates and notifications.
Supervisors can check the enabled box and then set multiple Entry Criteria for different users and/or for specific user groups who can have access to the tiered approval. They can further define the Approval Steps by selecting the Approver Type from the list of Approval Queue, User and External User and then define the approver entity accordingly.
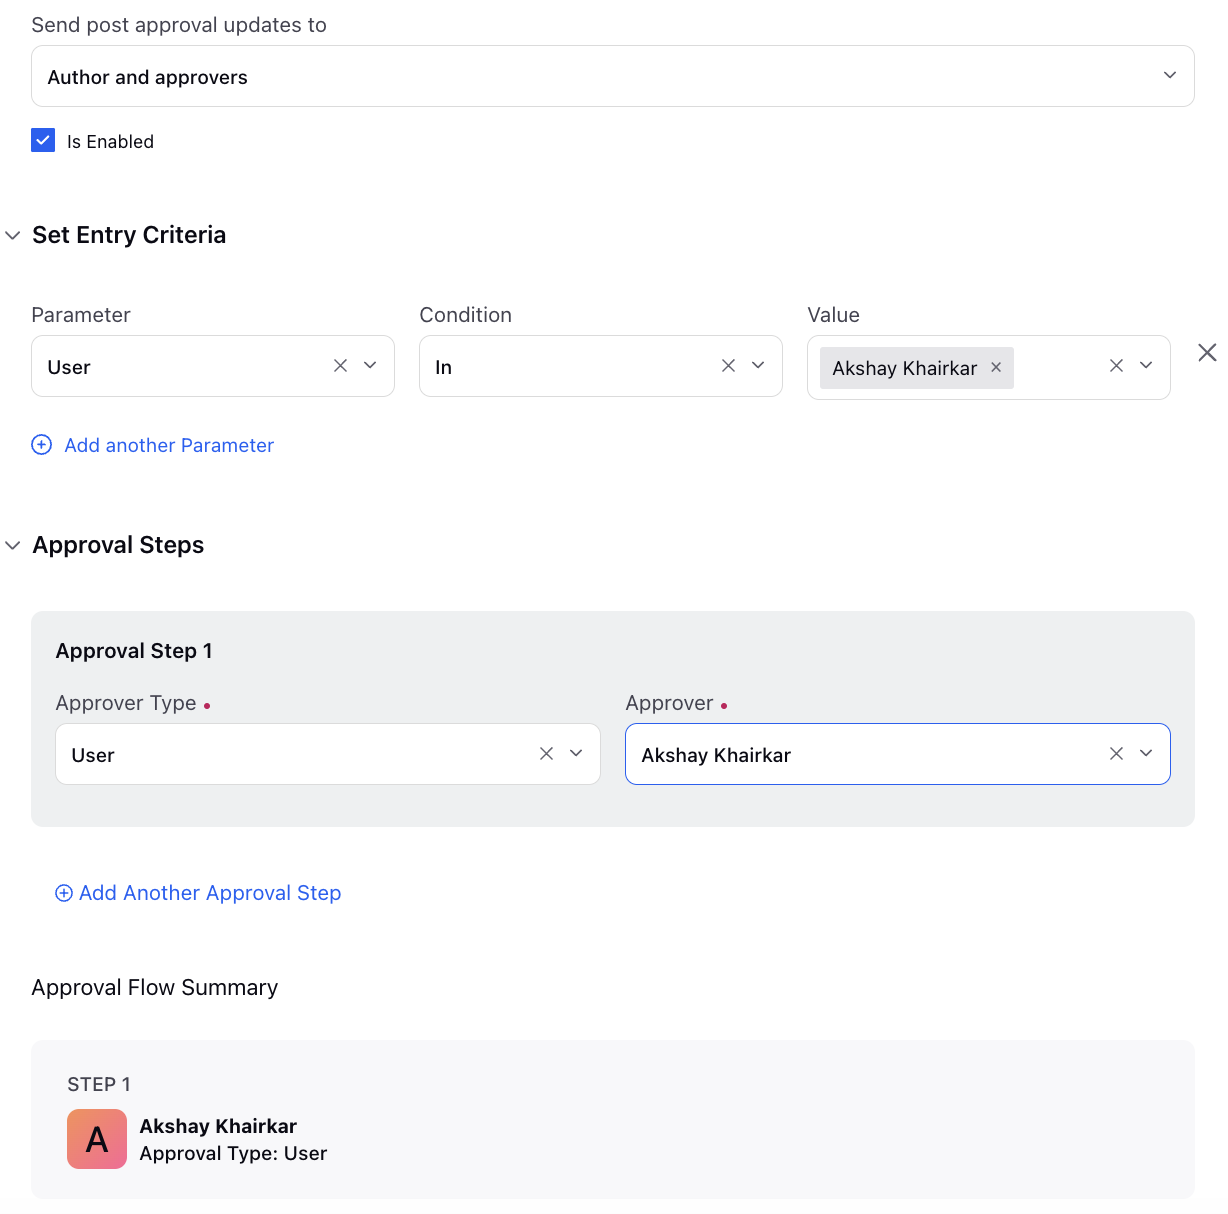
Administrators, Planners and various Supervisors can also view the Approval Flow Summary as a preview of the Tiered Approval while creating it.
Requesting Approval for a Schedule:
Once the Tiered Approval is configured on the platform, a schedule is generated and manual adjustments are finalized, the supervisor can view the schedule and click on "Request Approval" icon at the top right side. They can then select the tiered approval as approval path in the popped up modal screen and submit their request.
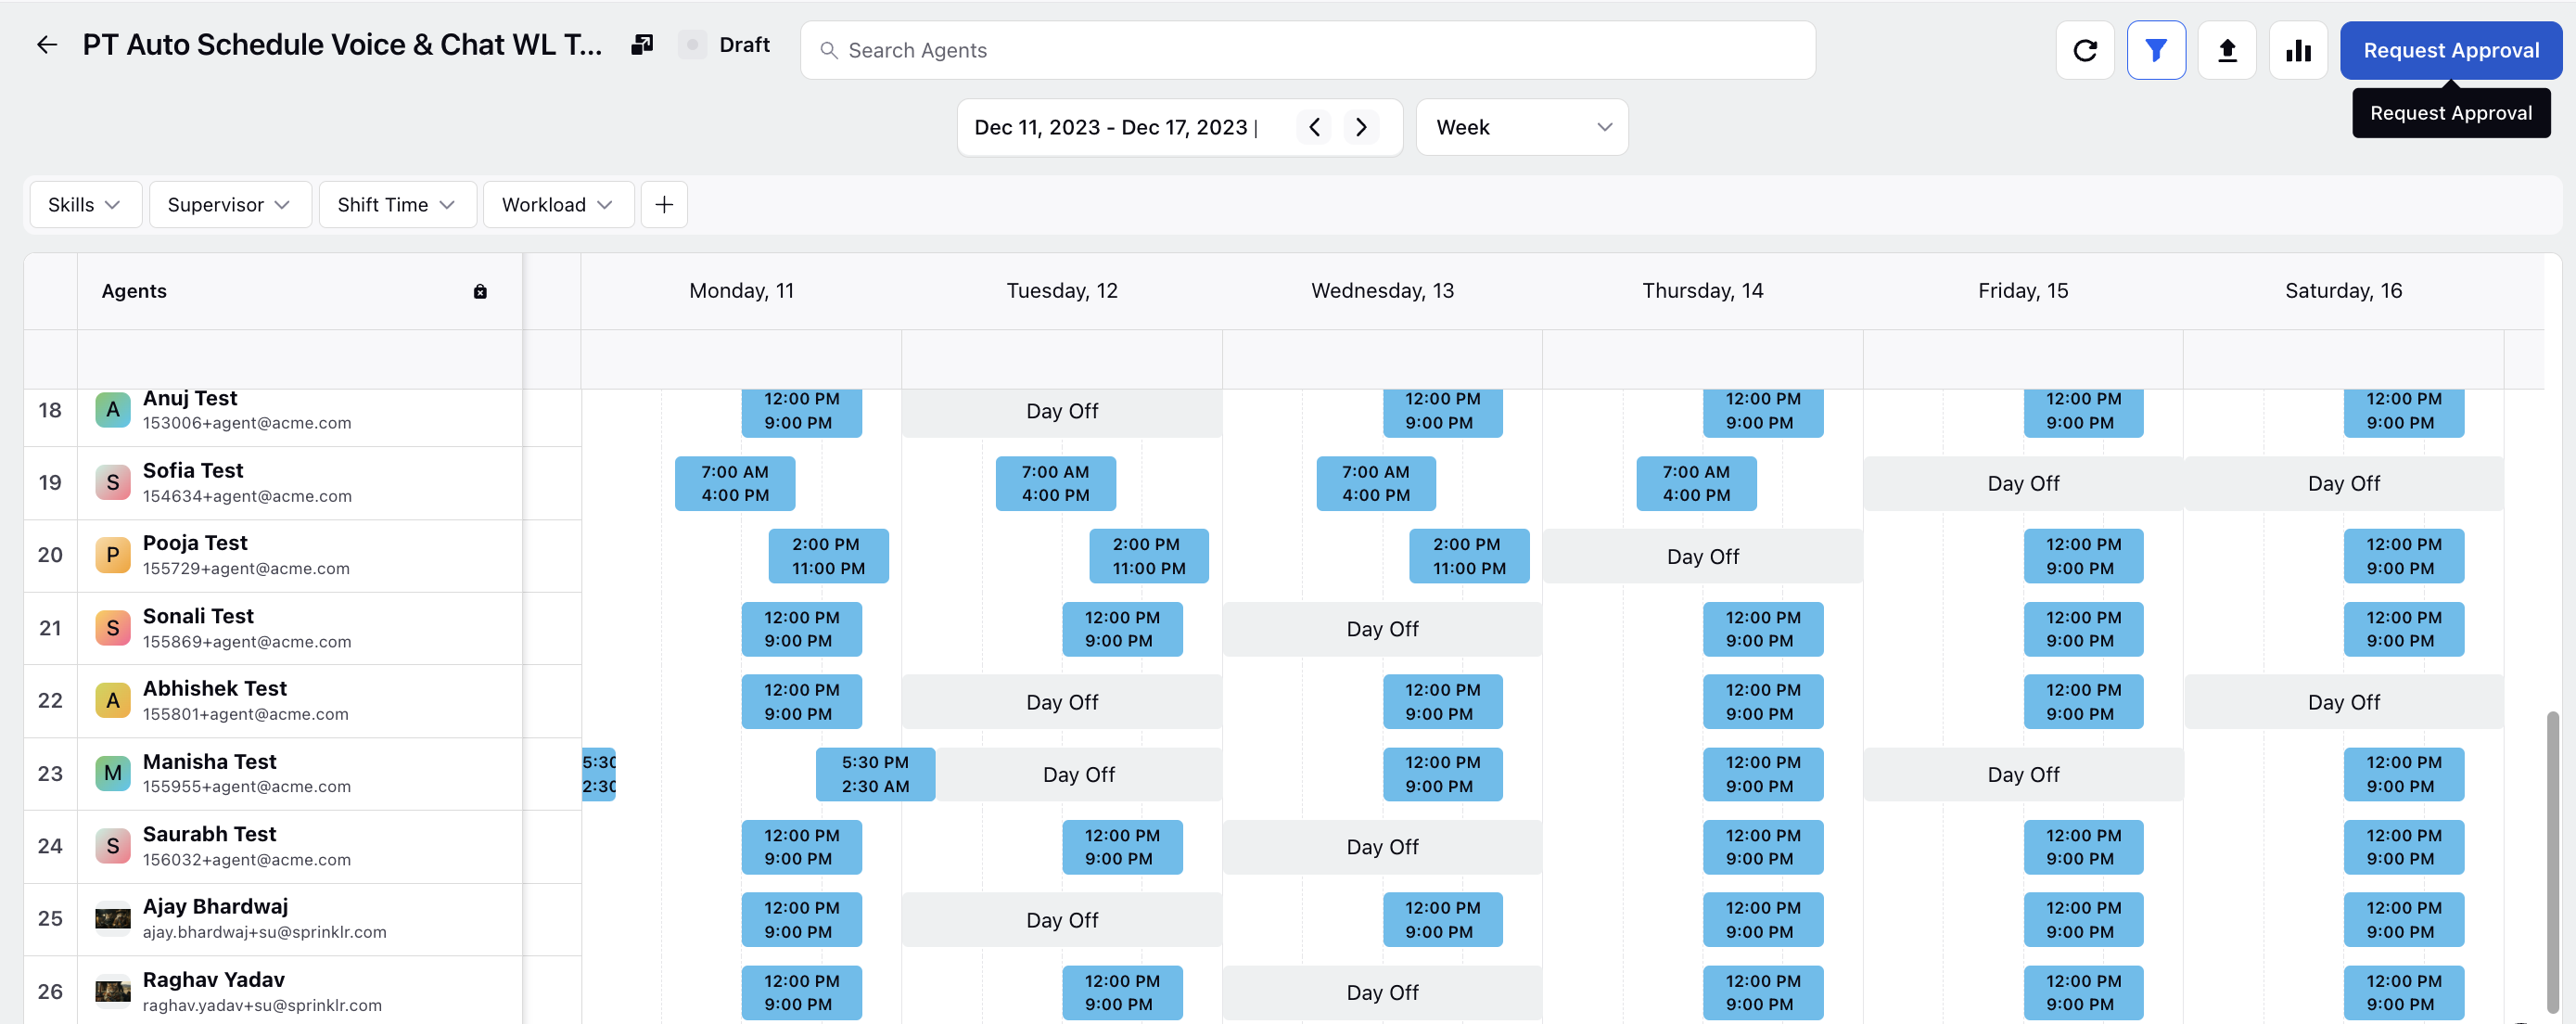 Requesting Approval for a created Schedule
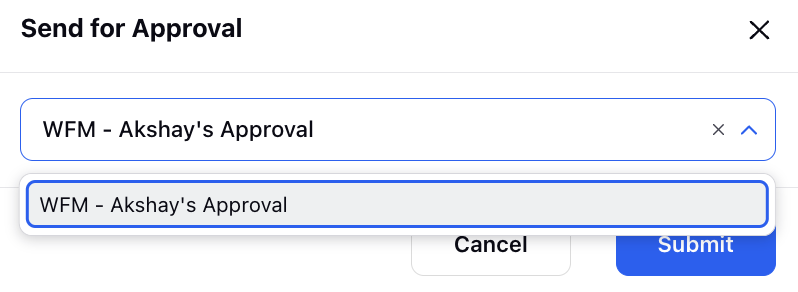 Selecting the Tiered Approval as Approval Path in the Modal Screen
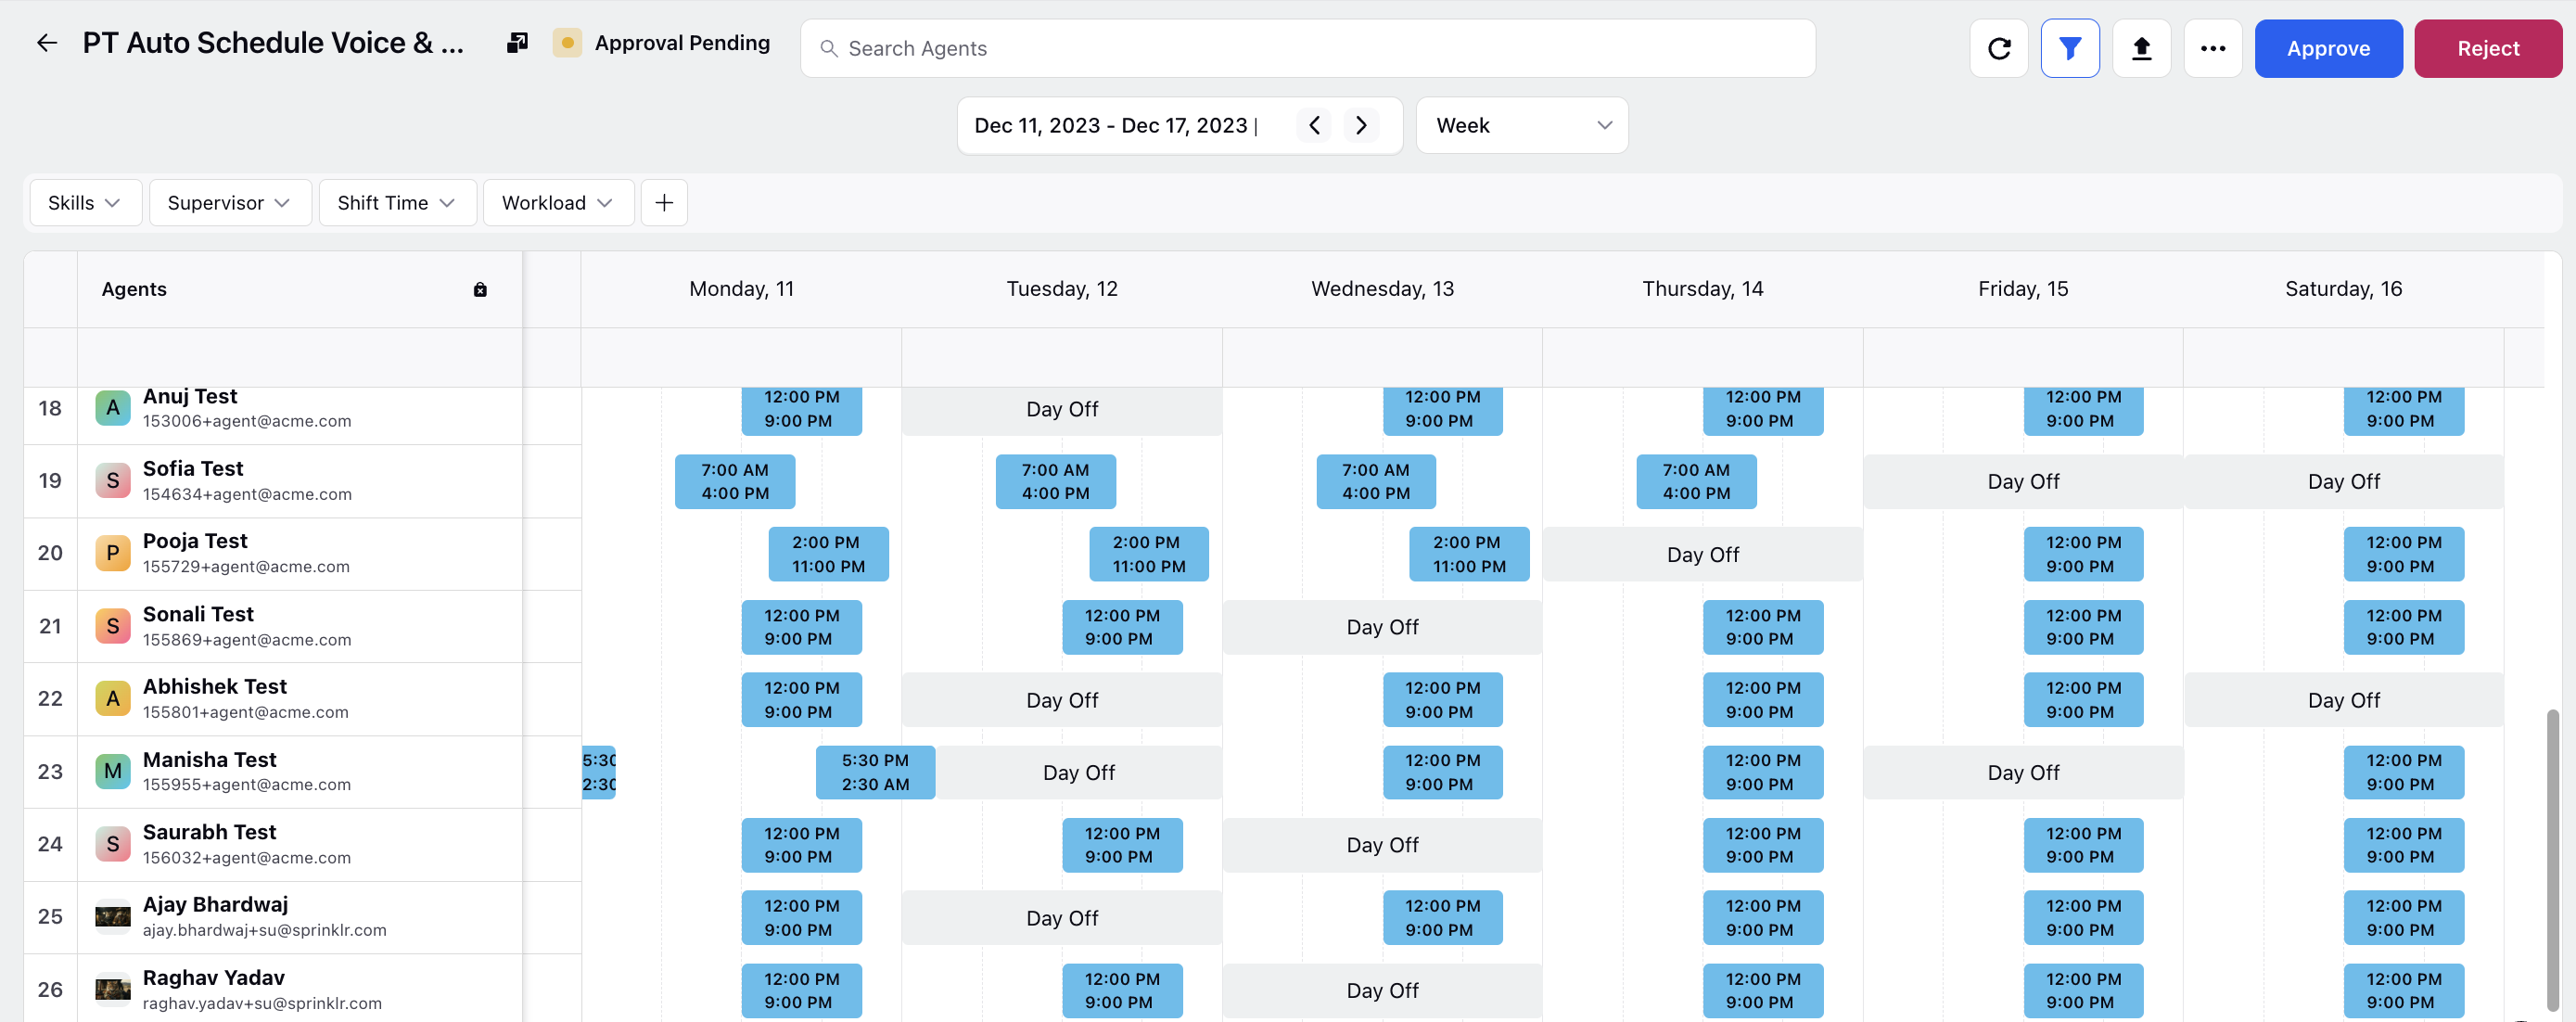
The schedule transitions from "Draft" state to "Approval Pending" state which can be verified from both the Records Screen and the Record Page.
Reviewing the Schedule:
The Approver receives the request and upon viewing, the schedule has options to Approve or Reject. Either action opens a confirmation modal and requires a brief note justifying the action taken. Once confirmed, the schedule enters "Approved" or "Rejected" state basis the action and the note enters collaboration tab in the third pane. The author receives a platform notification informing them about the status update of the schedule.
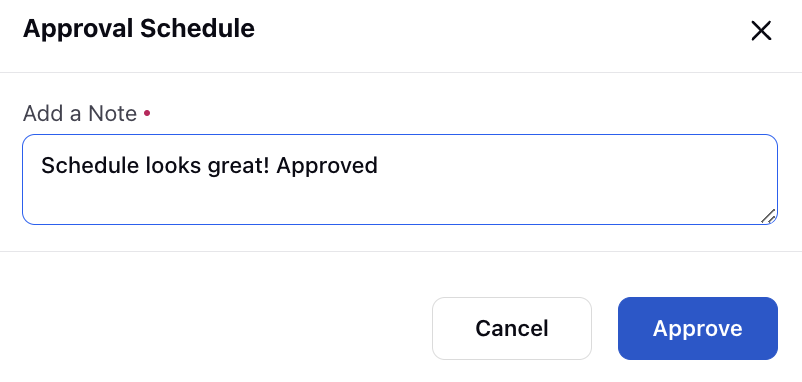 Approval Modal Screen
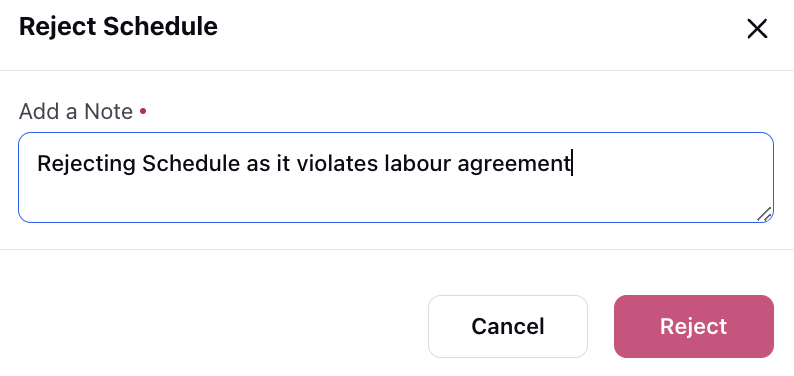 Rejection Modal Screen