Manage Products in Sprinklr
Updated
The Products Page allows users to create, edit, delete, and manage all products from one place. Here, you can create products using product-specific sources and accounts. Once created, Product Insights can generate valuable data and analysis of consumer experience based on industry-specific AI models.
To access the Products page
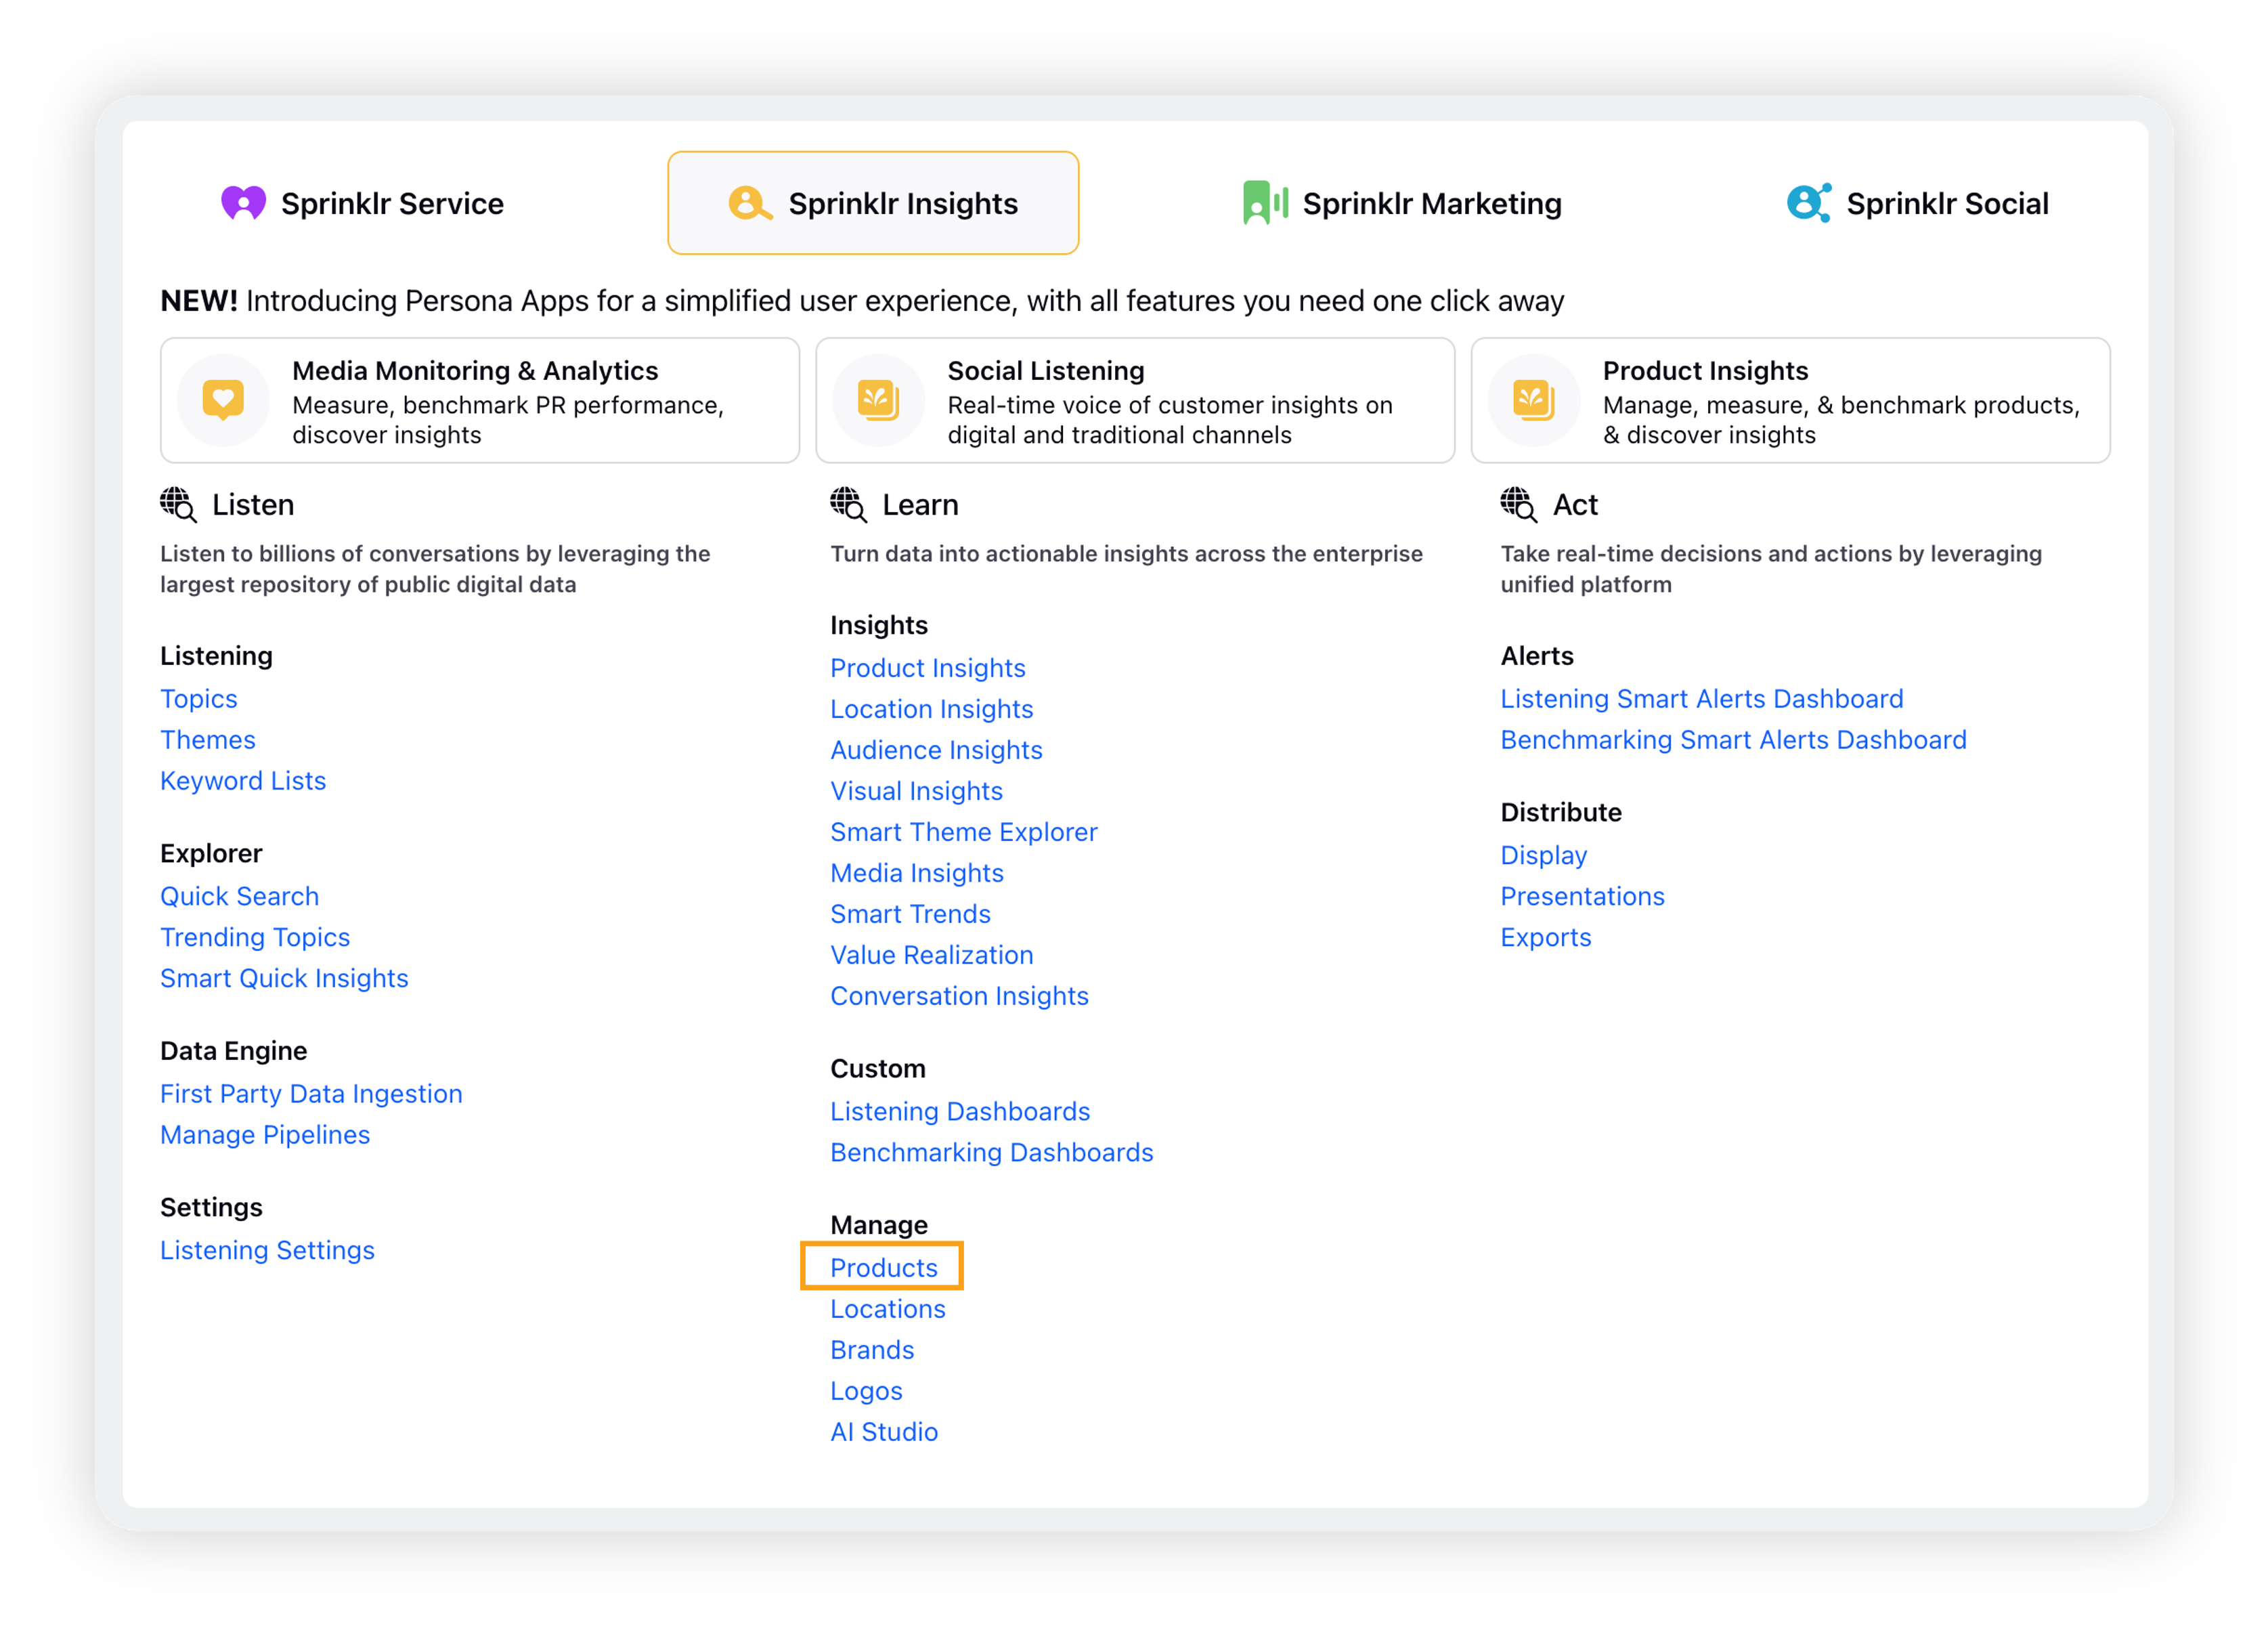
Click the New Page icon. Under Sprinklr Insights, click Products within Learn.

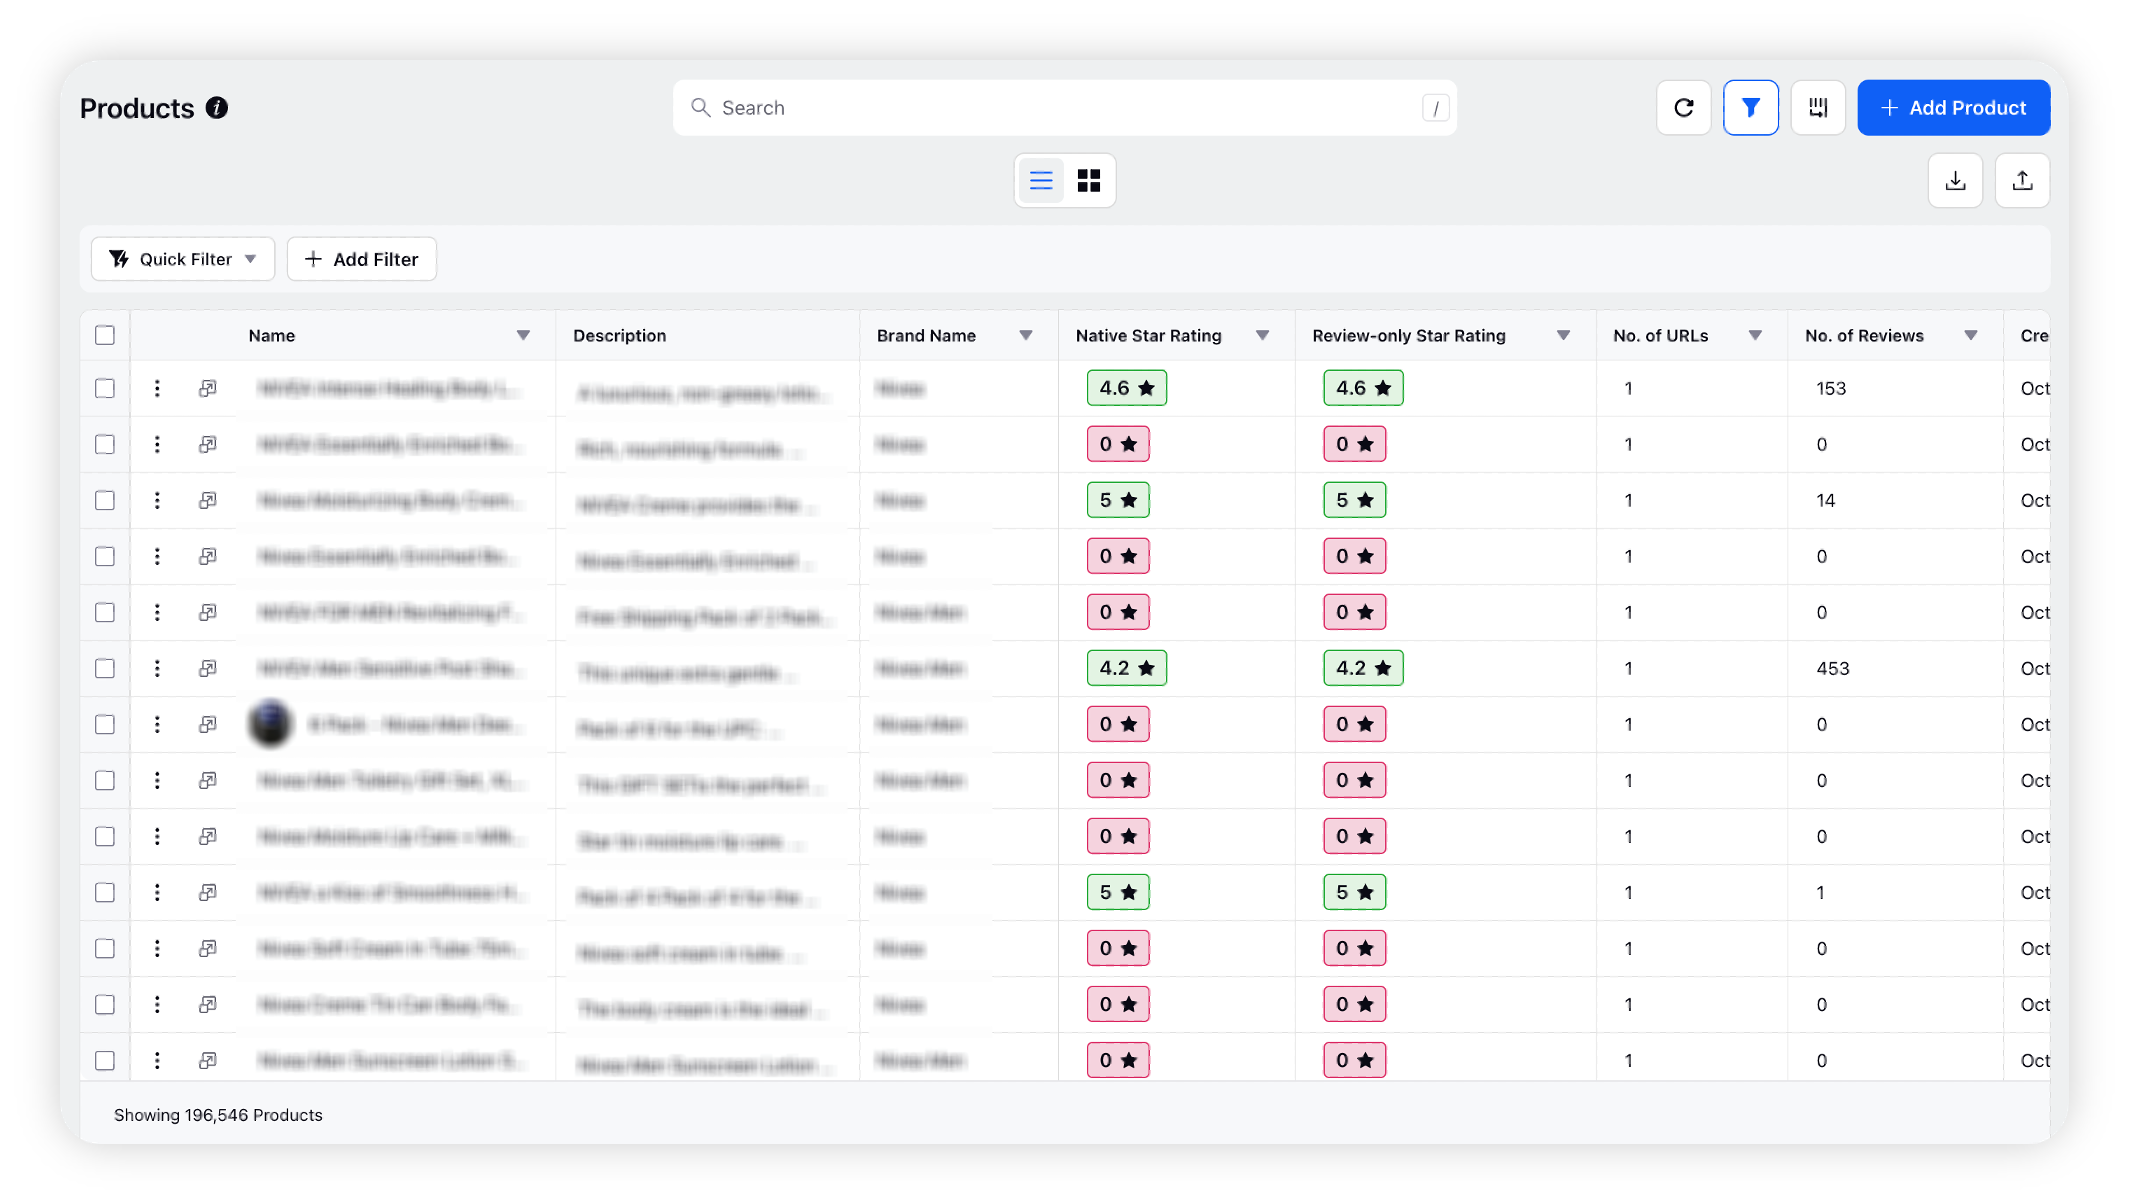
This will take you to the main Products page where you can view all the previously-created products along with their information.

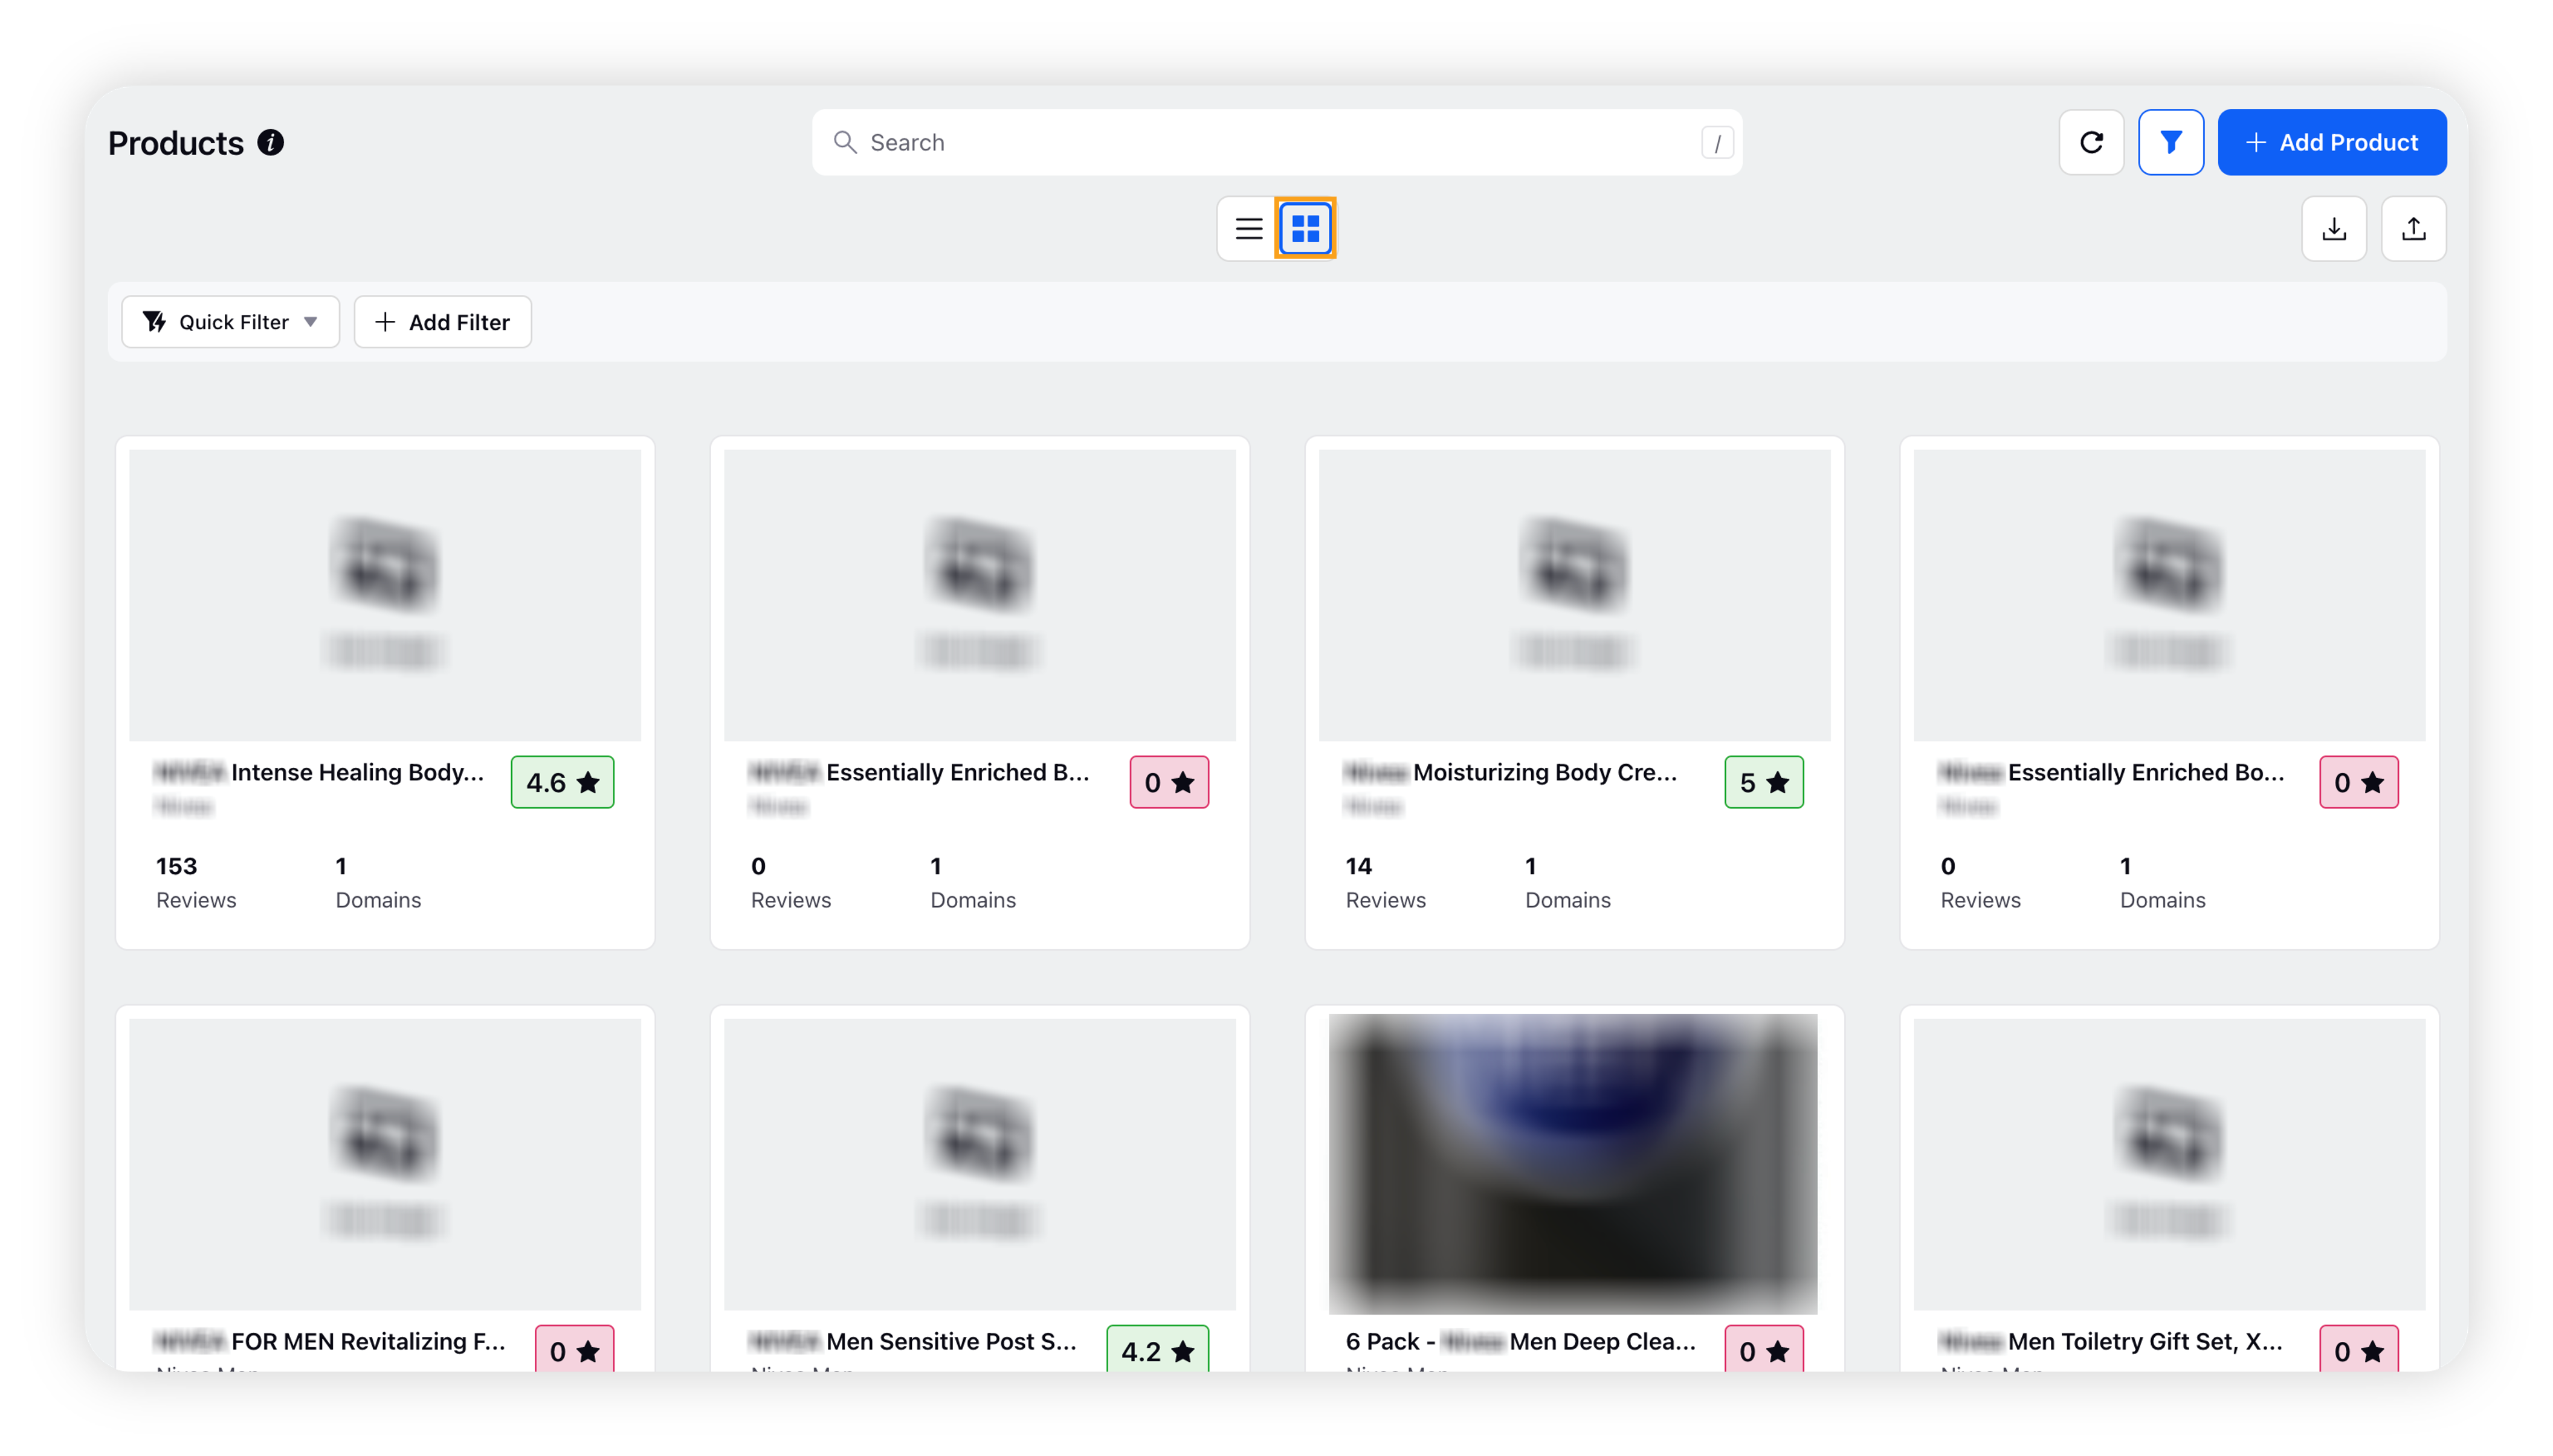
You can also view the information in Grid View.

Admin Set-up: Creating and editing Products is an Admin-only function and is not available to all users. Click here to learn more about Product Insights Roles and Permissions.
Options available on the Products page
On the Products page, you will see a number of options, such as creating new products, editing or deleting existing products, cloning products, auditing products, opening the Product Insights dashboard for these products, and importing & exporting products. Search and refresh options are also available.
You can manage and create Products that can then be reported in Product Insights, giving deep analysis on guest experience and sentiment around your products.
To create a new Product
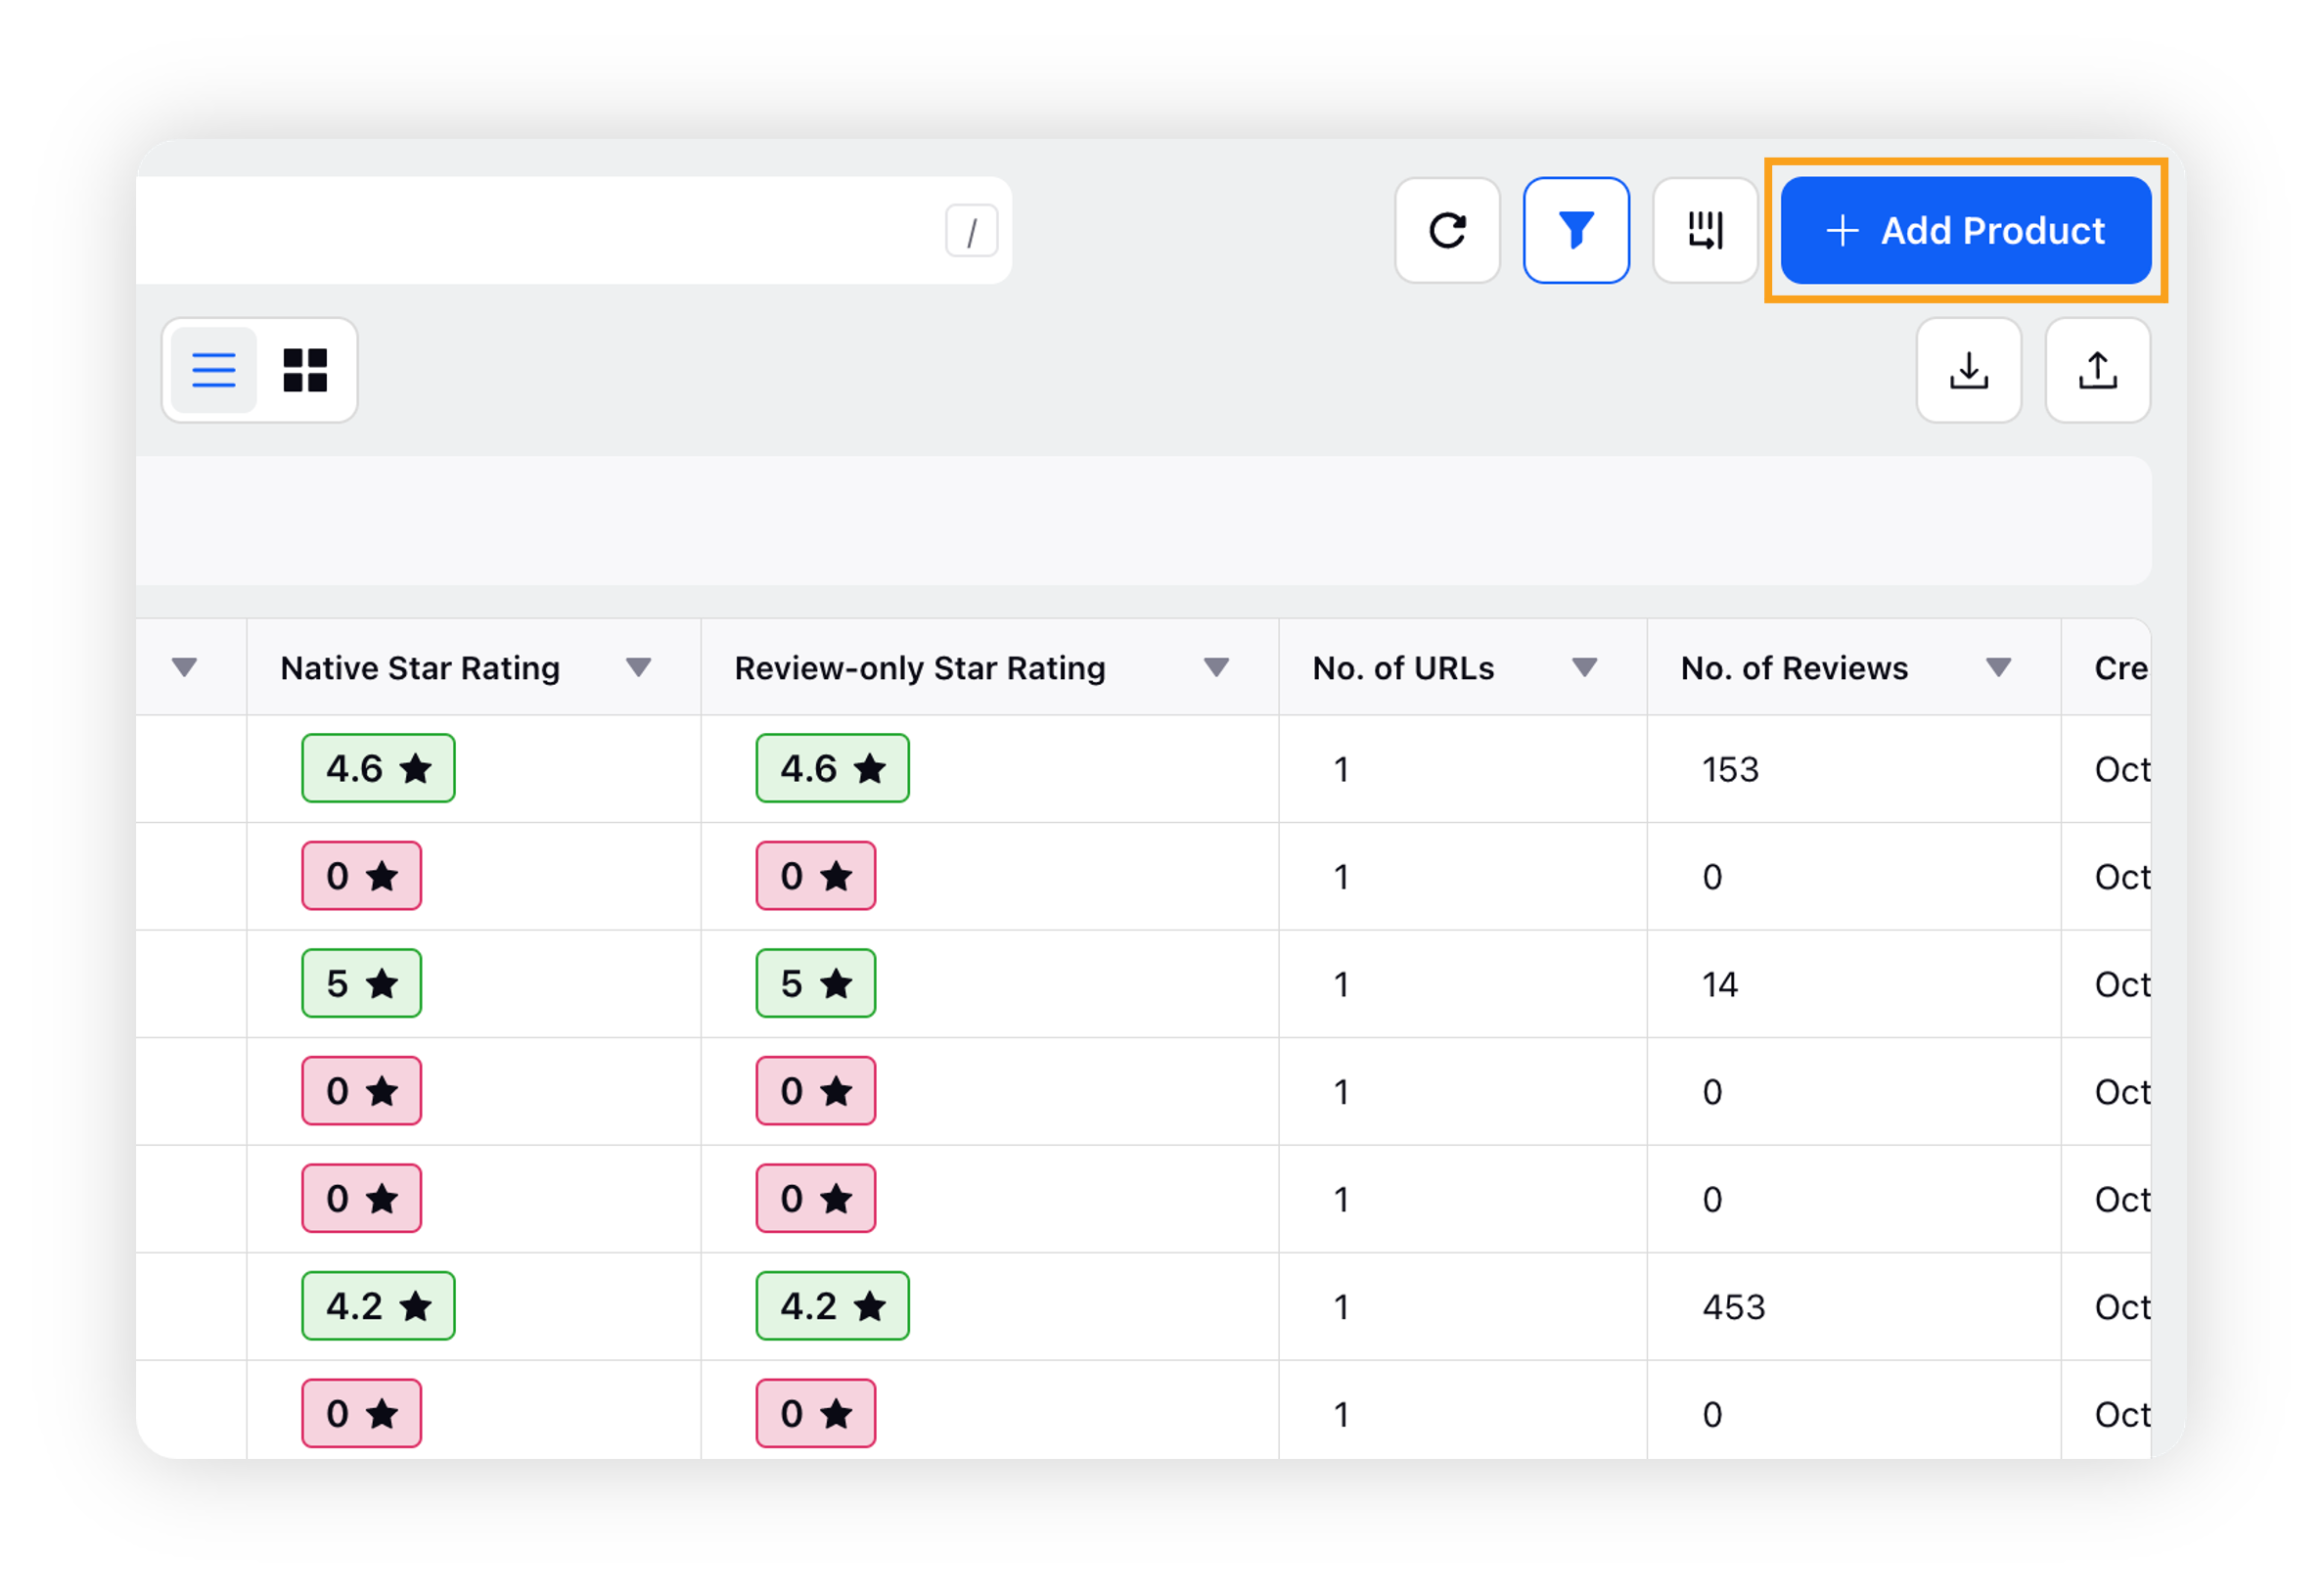
On the Products page, click the Add Product in the top right corner.

On the Add Product form, fill in the required fields to add a new product. For more information, see Add Product – Fields Descriptions.
After filling all the required fields, click Save in the bottom right corner.
To edit or delete Products
On the Products Page, you will see the products that have already been created and saved in your environment. To edit or delete a product, simply click the Options icon next to a product you want to edit or delete and select from the desired options –
Edit: To open the Product Editor where you can change the name, description, and other details. The Description field will now be available as a rich-text field on the product page.
Delete: To delete the product permanently.
To import & export Products (from the Product page)
Besides editing or deleting a product, you have the ability to import and export products. To do that, click the import/export icons in the top right corner.
Import Products: Clicking this action will take you to the Import Products window where you can upload a file with information about multiple products. A template to import can be downloaded.
Export Products: Clicking this option will download an excel file containing the details of all the products.
To clone Products
If you want clone the structure of any products, click on the Options icon next to a product you want to clone and choose Clone.
A new Product Addition Page opens up with the name of the product as “Copy of..”. Edit this name as you would like. Two products within sprinklr cannot have the same name or the same URL within them, so edit accordingly.
To audit Products
If the activity and history of changes on any product needs to be seen, click the Options icon next to a product you want to audit and click Audit.
A new widget with the history of changes made to the product will appear.
Add Product – Fields Descriptions
Basic Details
Field | Description |
Name | Enter the product name. |
Description | Enter the product description (optional). |
Image | Upload or Generate the image of the Product. If there is an image attached to the URL added in 'Sources' section, image is fetched from that URL. |
Vertical | Choose the vertical of the product. Vertical is basically the product category, the name of AI Model running on the data being fetched in the environment by the Product. |
Brand Name | Select the brand name. |
Product Identifiers
Field | Description |
UPC | Enter UPC (universal product code). |
ID / SKU | Enter product ID or SKU (stock keeping unit). |
Website URL | Enter the Bazaarvoice URL of the product, if available. |
Sprinklr Product ID | This will be auto-generated after you successfully create the product. |
Sources
Field | Description |
Pages | Select the source and enter its URL. You can add multiple source pages. |
Accounts | Select the account type and the account(s) associated with it. You can add multiple source accounts.
|
Topics | Select the Topics related to your product. |
Themes | Select the Themes related to your product. |
Share the product
Field | Description |
Visible in all workspaces | Selecting this option will make your product visible in all the workspaces
|
Workspaces | Select the workspace or workspace groups in which you want to make your product visible |
Users / Users Groups | Select the user or user groups for which you want to make your product visible |
Visible to | This will show the workspace, workspace group, user, or user group for which the product is currently visible |
Product Properties
Field | Description |
General | Select the general properties of the product |
Others | Select other properties of the product |