Introduction to Queue Rules
Updated
Queue Rules allow you to apply actions to messages and profiles when they enter a Queue (or according to the Rule's Trigger).
Steps to create Queue Rules
To create Queue Rules, you'll follow the basic steps mentioned below. Queue Rules are run on messages at the time that a message enters a Queue. You may want to use Rule Triggers to define a regular frequency to ensure that your Rule acting on messages as expected.
Click the New page icon. Under the Governance Console, click Rule Engine within Collaborate.
In the top right corner of the Rule Engine window, click Create New Rule. To learn more about how to create a rule.
On the Create New Rule window, give your rule a name and an optional description. From the Context drop-down menu, select the rule context as Queue.
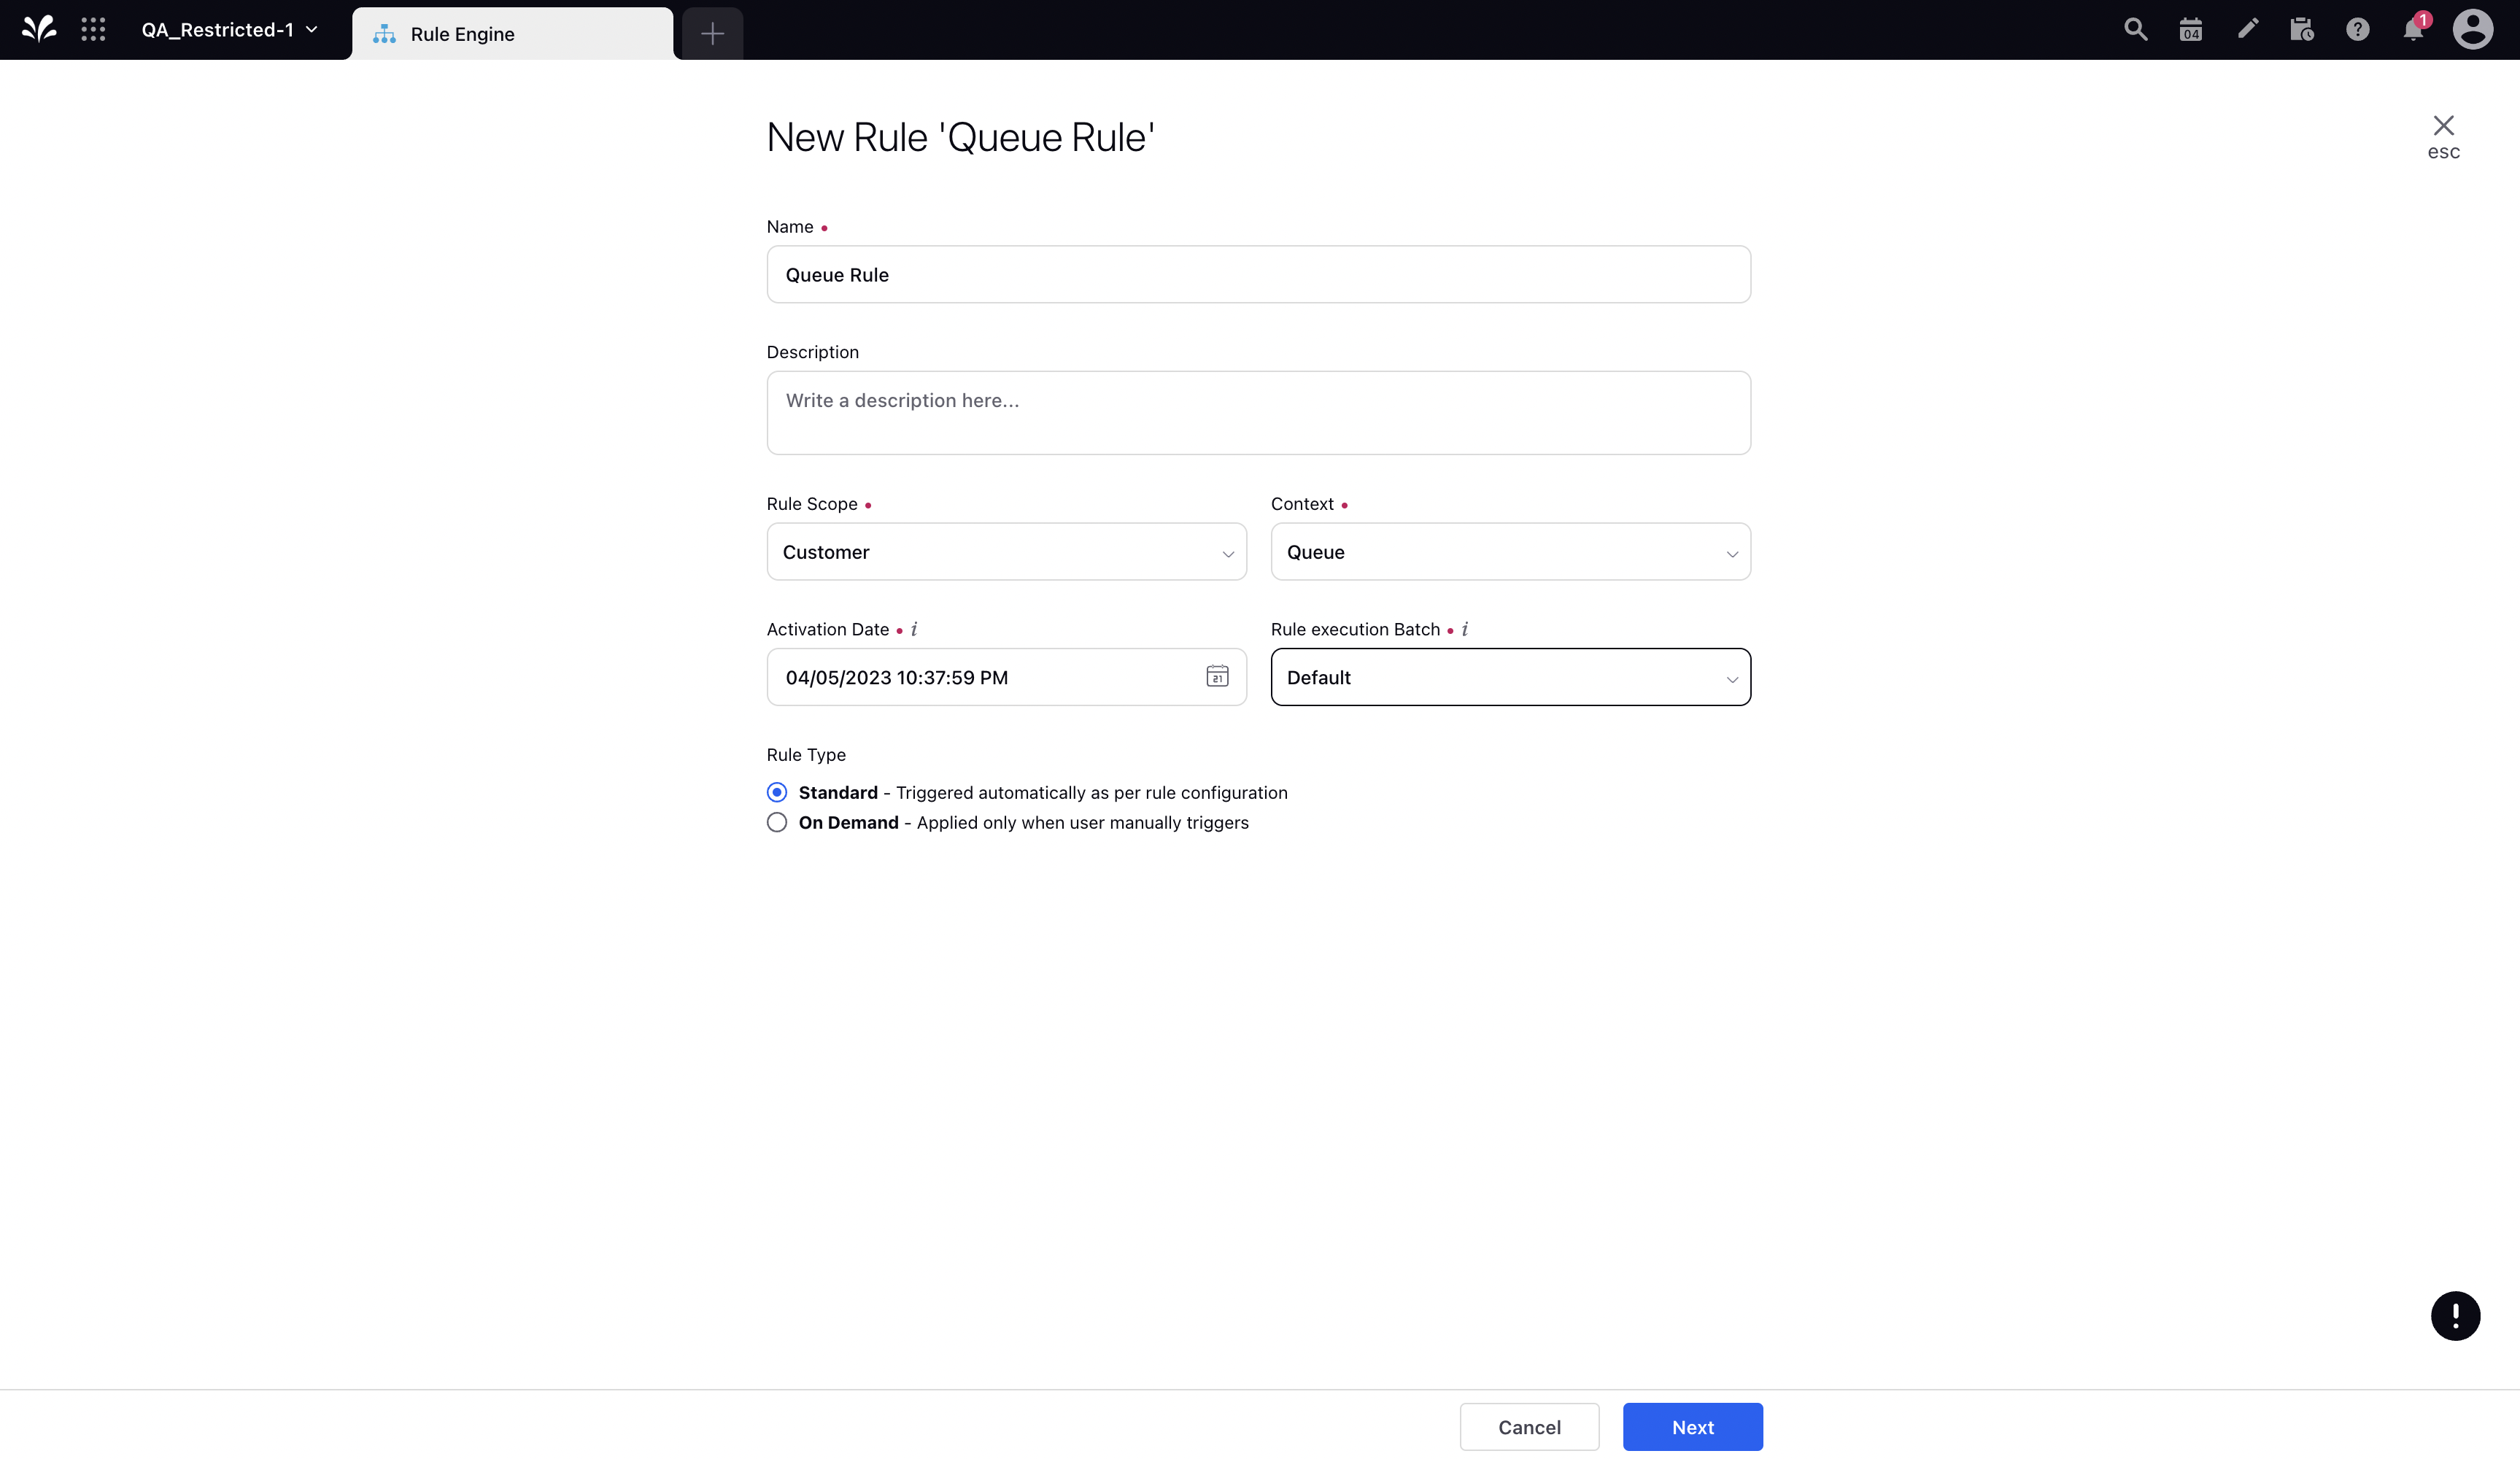
Depending upon requirements, modify the values for Activation Date, Rule Execution Batch, Rule Type, and Custom Fields. To proceed with the default values, click Next.
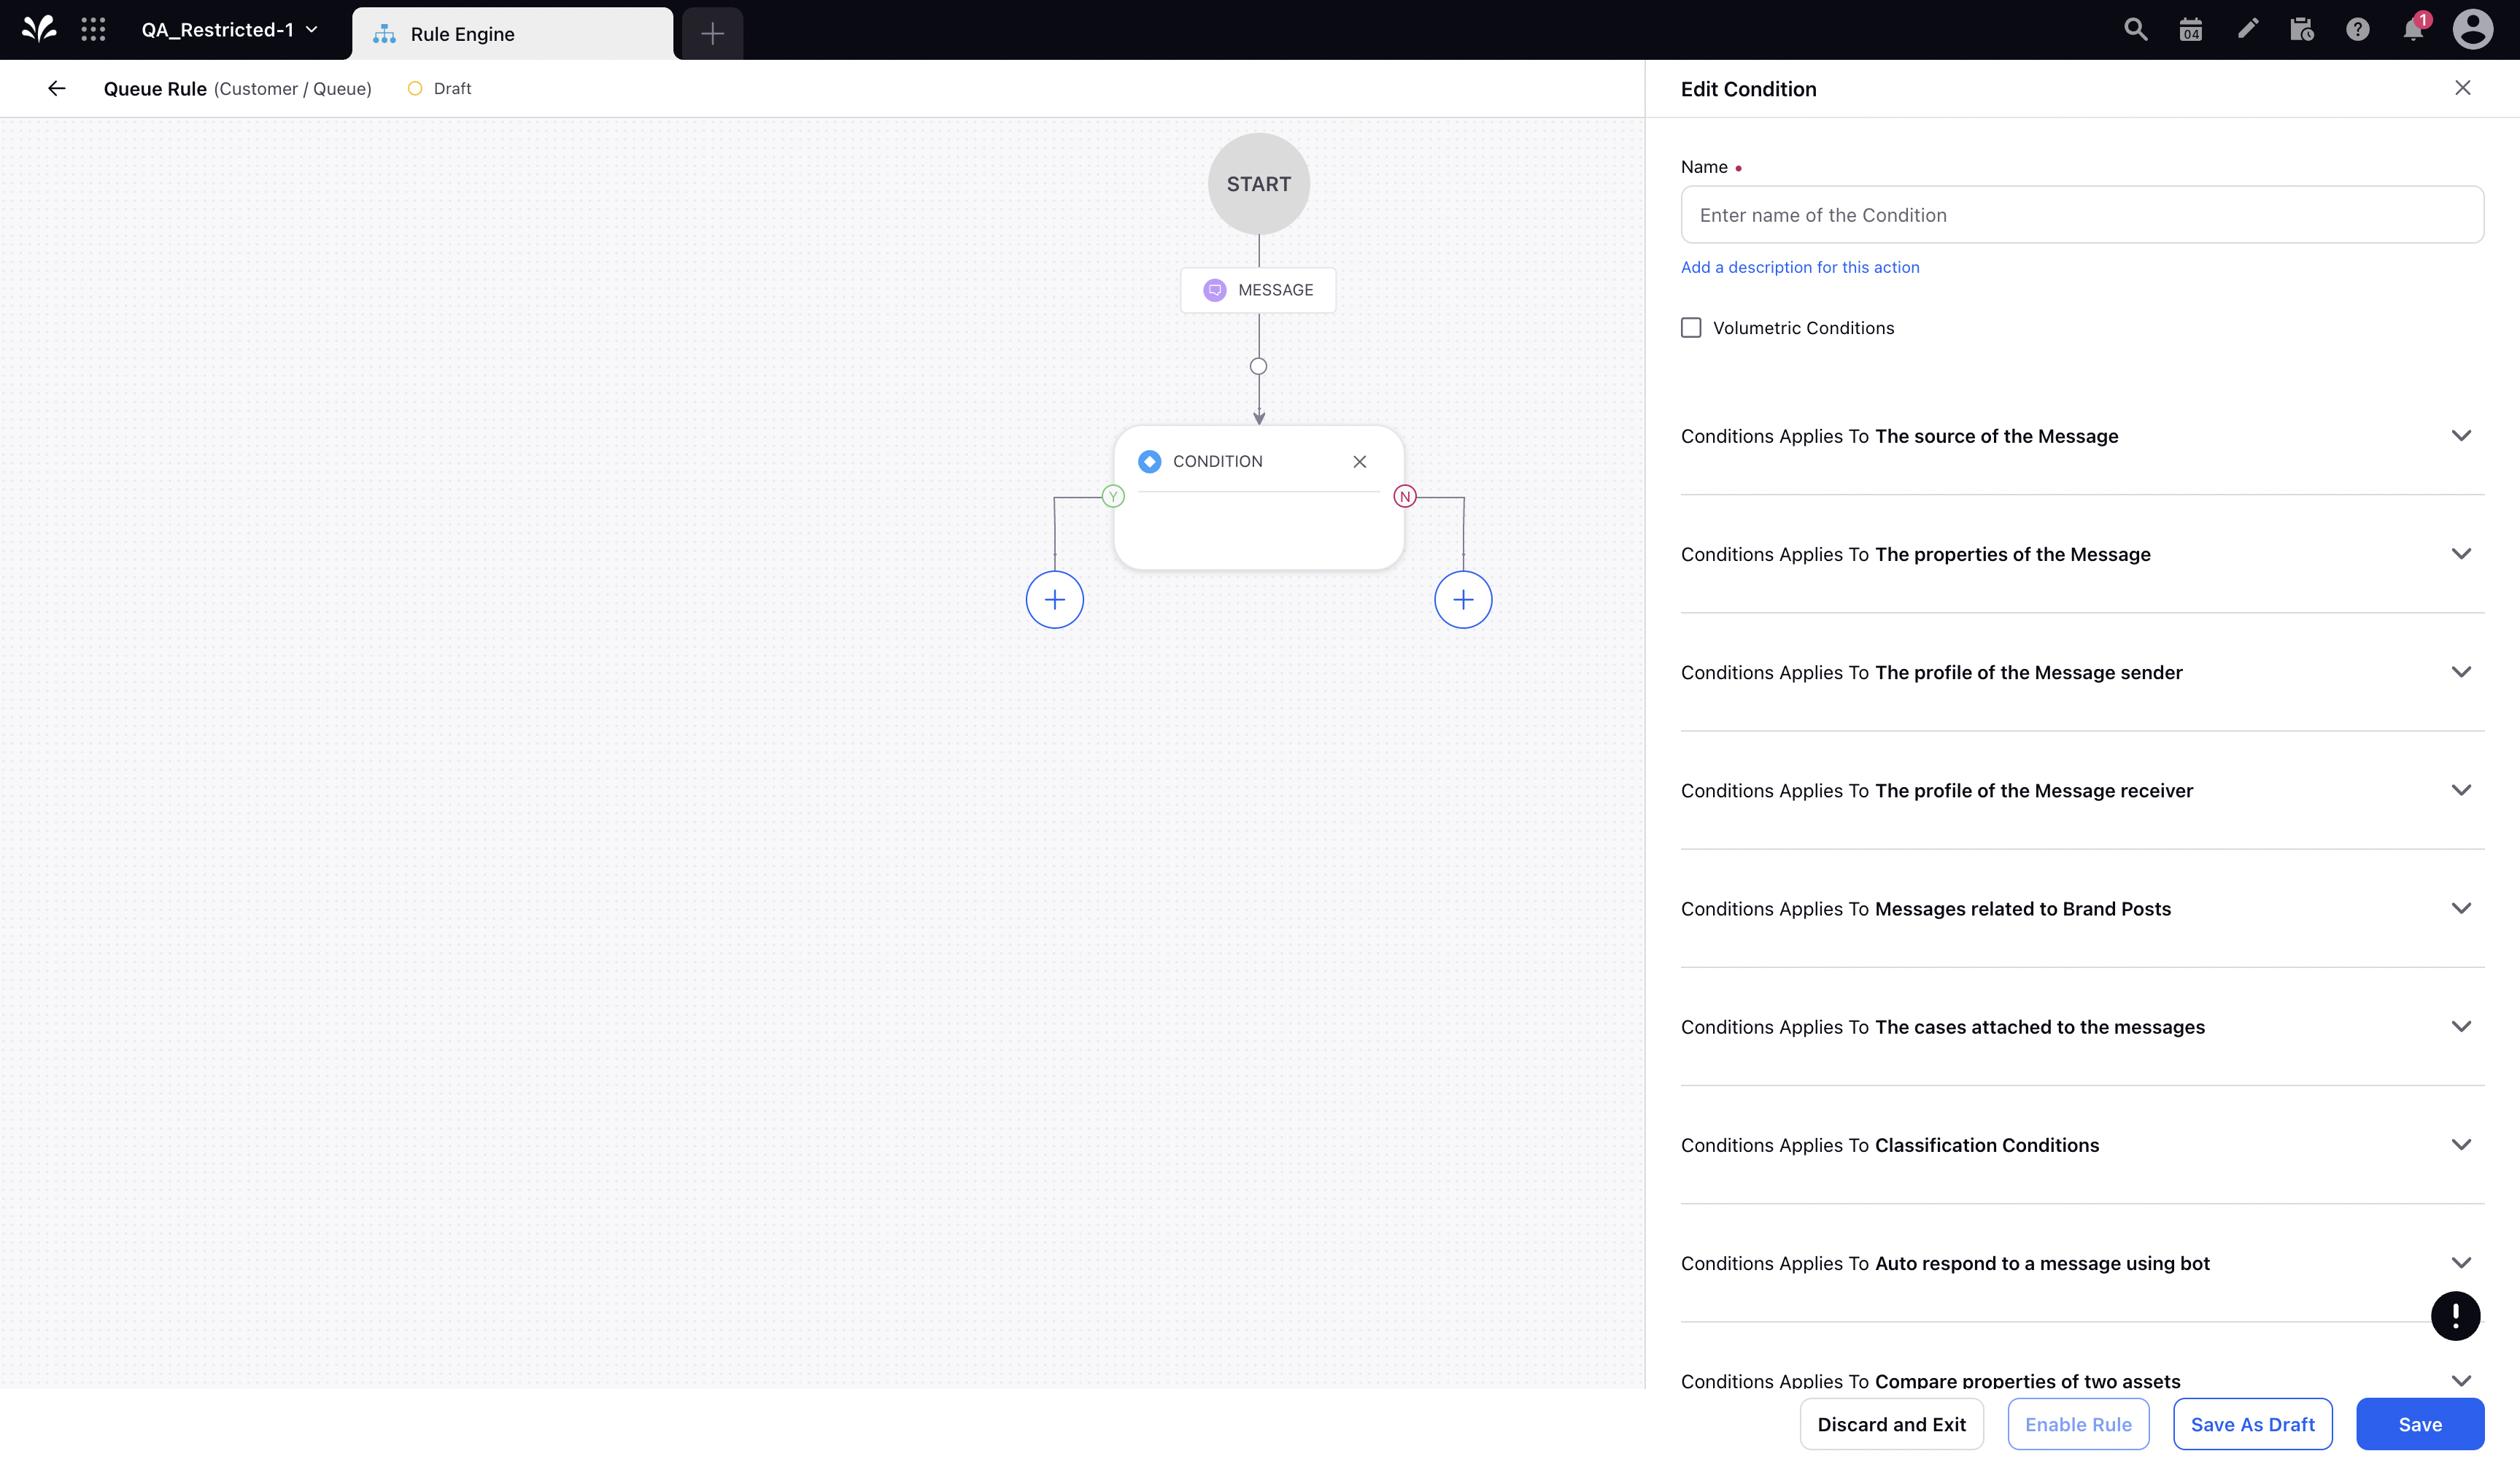
On the Rule Builder window, select Add Condition to set up specific publishing scenarios that must be met for subsequent actions to execute. You can also chain multiple conditions together to refine the scenarios. For more information, see Queue Rule Conditions.
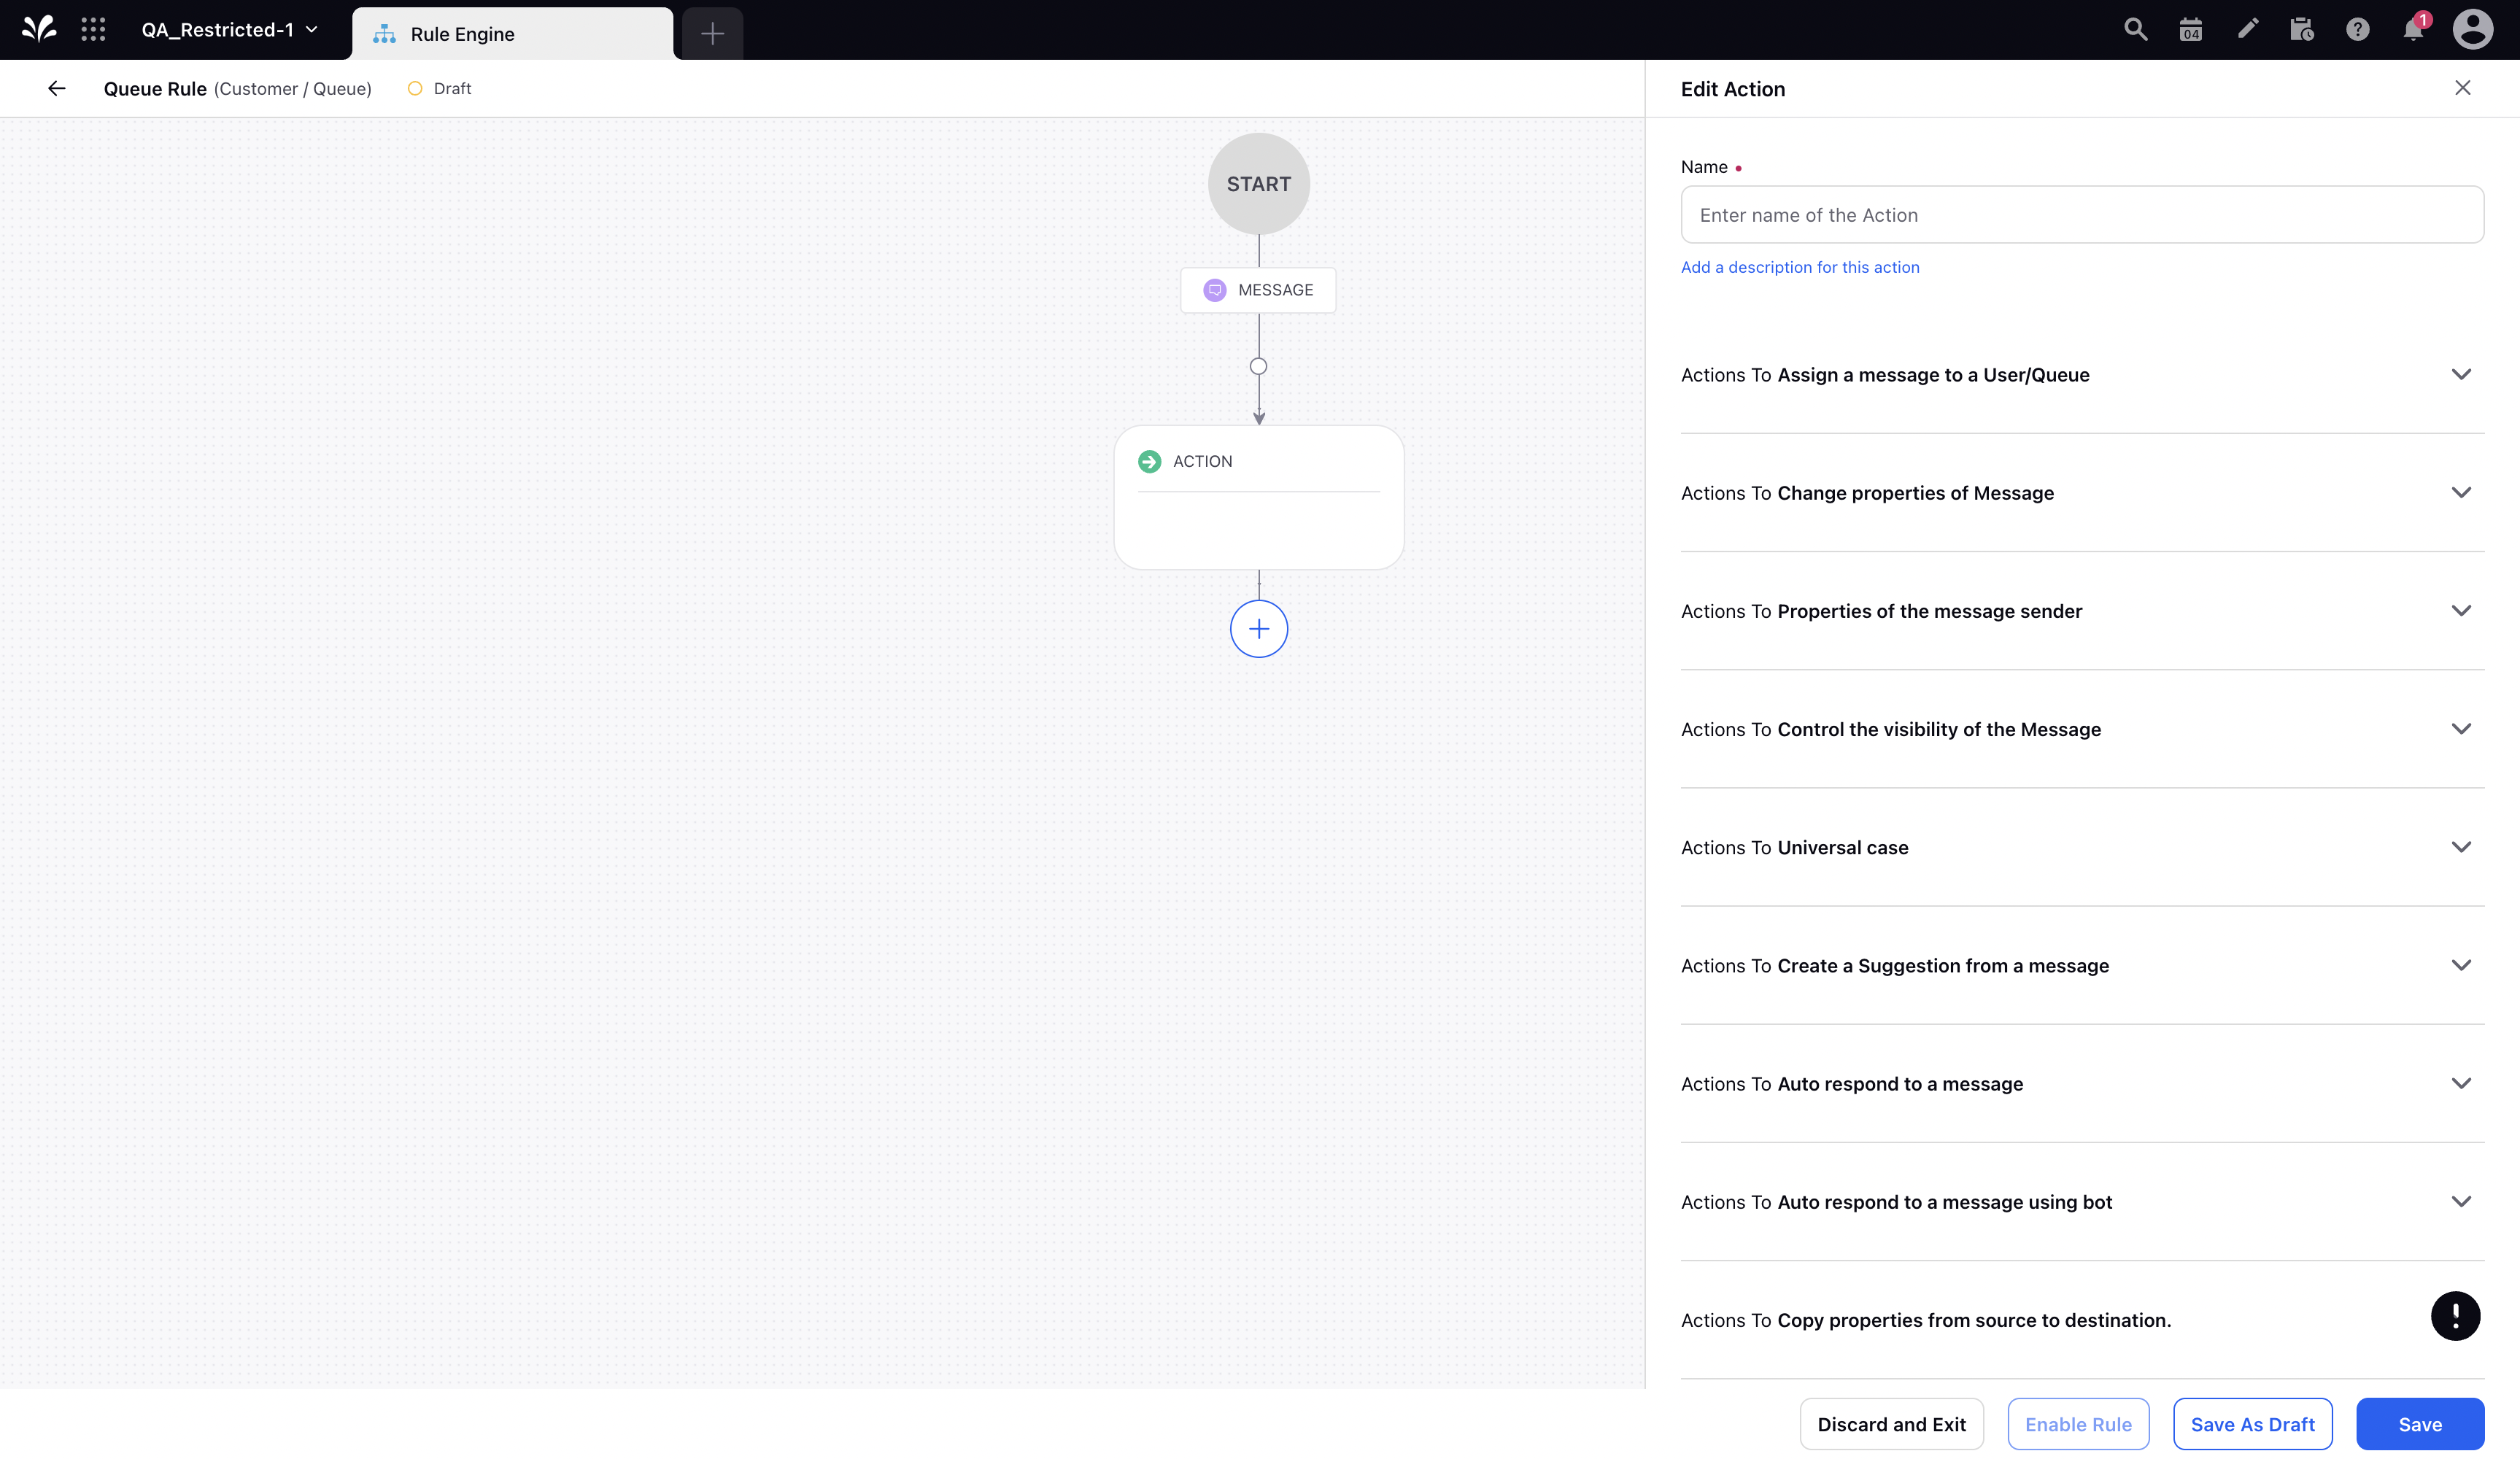
To configure actions in a rule, select Add Action on a Yes or a No branch of a condition depending on when you want the action to be executed. For more information, see Queue Rule Actions.
Click Save in the bottom right corner to finalize the creation of your new rule, or Save as Draft to create a draft version of your rule.