Topic and Topic Group governance
Updated
In this article, we will learn how to set up governance for Topics, Topic groups, and their associated functionalities.
Before we start, the user should have the required permissions to access different functionalities inside Topics and Topic Groups.
Navigating to Topics
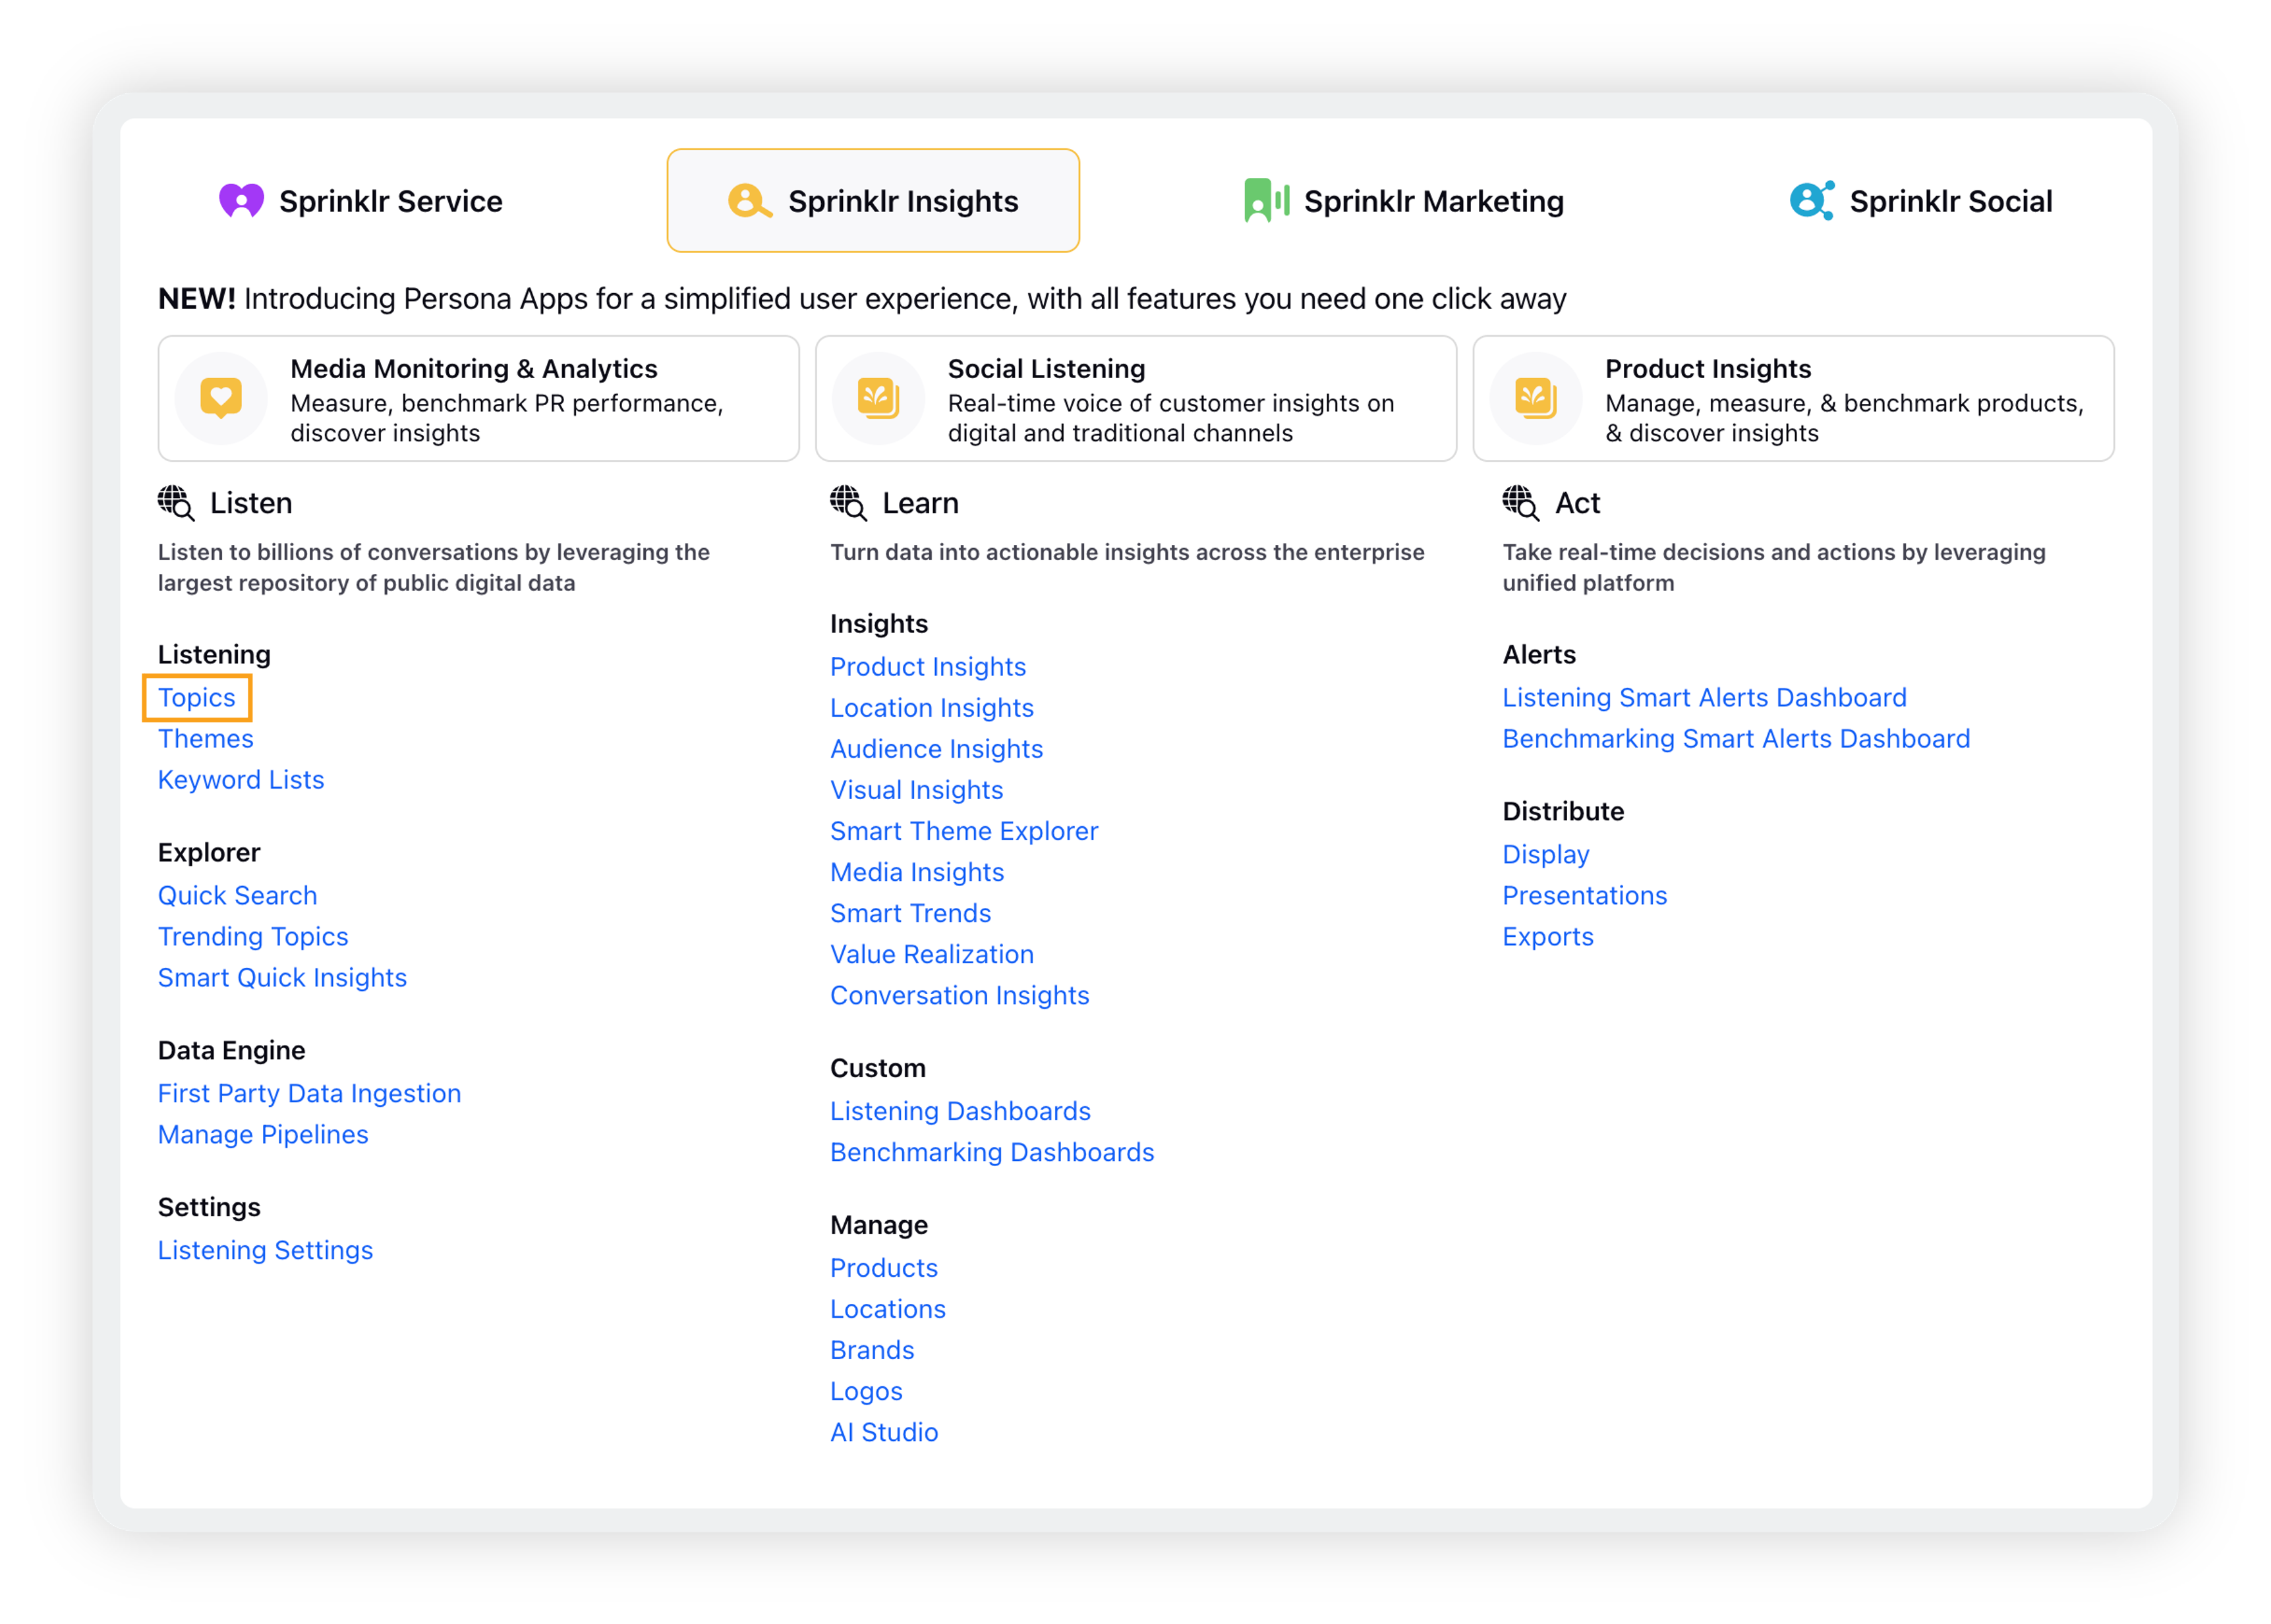
Click the New Tab icon. Under Sprinklr Insights, click Topics within Learn.

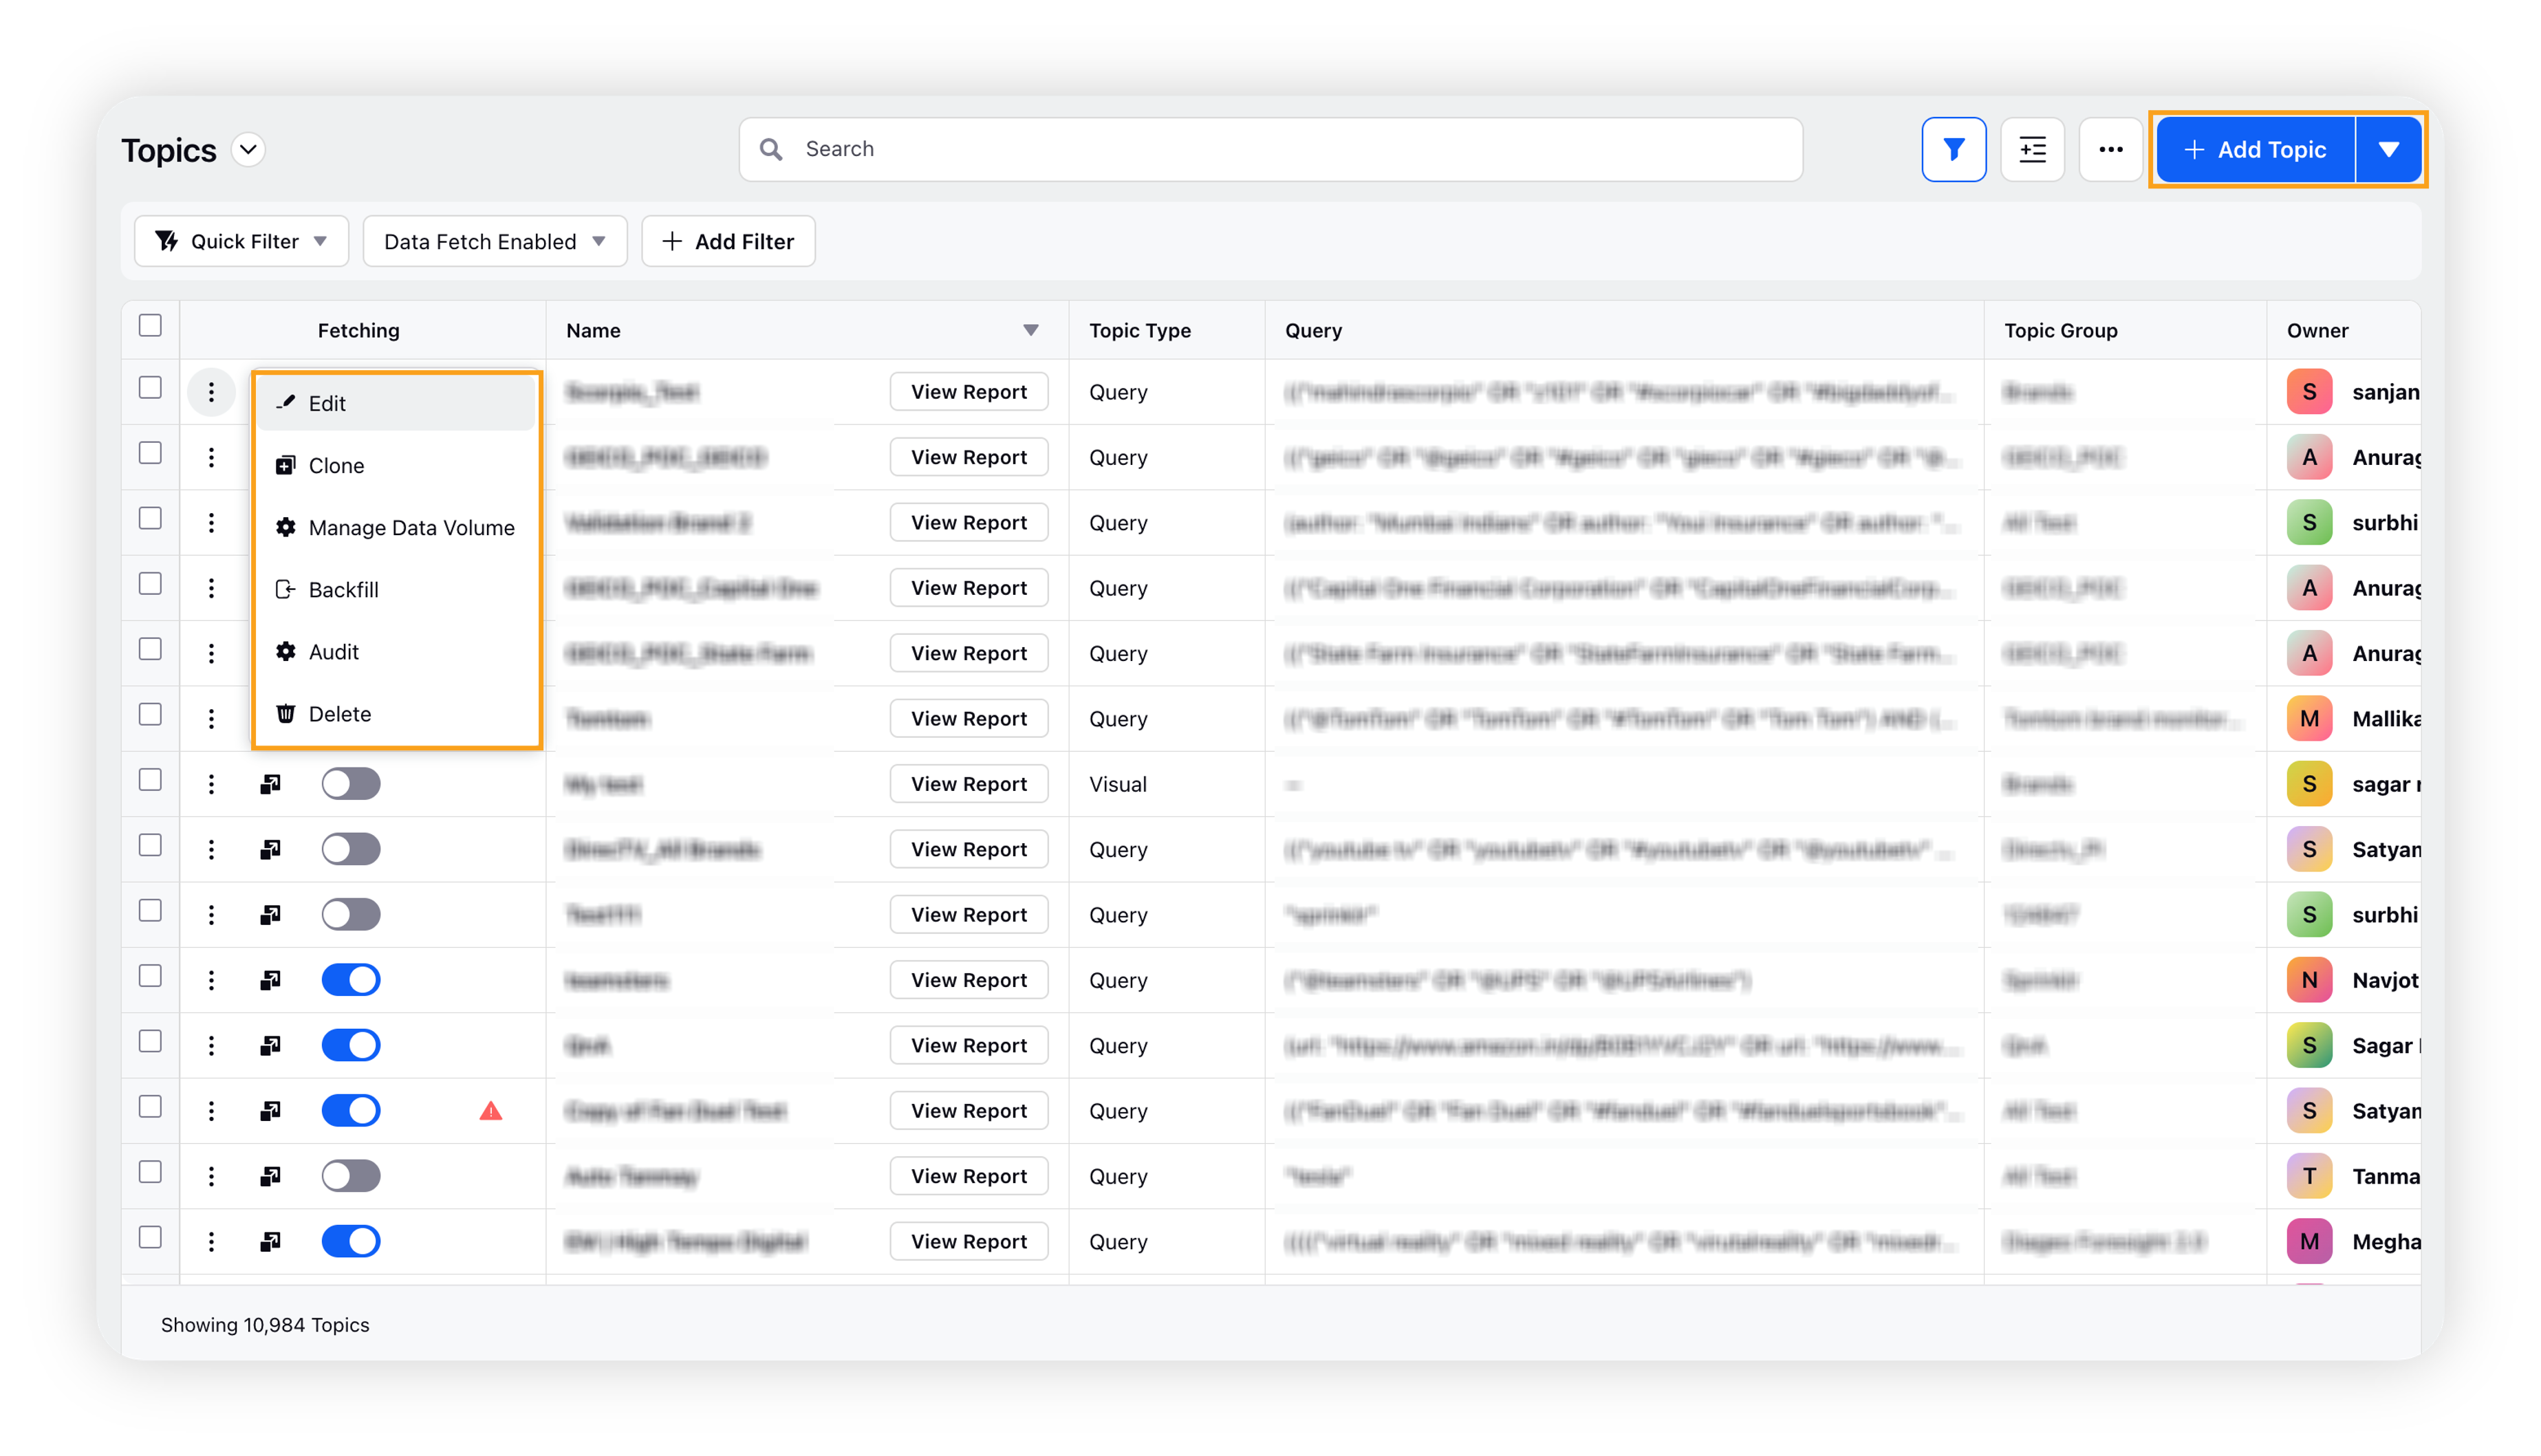
You will be taken to the Topics record manager where you can add Topics, edit, clone backfill, audit and manage the existing Topics.

Different functioanlities inside 3 dots options
Edit: Allows users to edit existing Listening Topics
Clone: Allows users to clone existing Listening Topics
Manage Data Volume: Allow user to set and manage threshold for etching mentions for the topic
Audit: Allow user to see what changes have been made inside topics, similar to version history
Open Dashboard: Allows users to open the Topic analysis dashboard directly and get overall analysis at one click
Delete: Allows users to delete existing Topics
How to manage a Topic Group?
In this section, we will learn how to –
To sort Topics by Topic Groups
To sort the Topics by Topic Groups, click the Group By icon and select the Topic Group.
This will sort all the topics by Topic Groups.
Note: Grouping cannot be done on more than 1 dimension, i.e. you can select only 1 dimension in Group By.
To add Topics to Topic Group
Hover over the Options icon next to the Topic Group, and click Add Topic.
This will open the Create New Topic screen where you can create a new topic that will be added to your topic group.
Note: You also have the options to Edit, Clone, Delete, Manage Data Volume, Share, Permissions the Topic Group from the options list.
To manage Data Volume
Hover over the Options icon next to the Topic Group, and click Manage Data Volume.
On the Manage Data Volume popup window, select or fill in the threshold details like Threshold Window, Window Count, Threshold Count, and Reset Threshold Start Date with Current Date.
Enter the notification details also – Users/User Groups to Notify and/or Email IDs to Notify.
Click Create to update the topic group.
To share Topic Group
Hover over the Options icon next to the Topic Group, and click Share.
On the Share Topic Group popup window, you can check the box "Share with everyone" to share the topic group with everyone. Or you can select workspaces and user/user groups to share with.
Click Share to share the topic group.
To provide Topics Group's access
Hover over the Options icon next to the Topic Group, and click Permissions.
On the Provisioned Access popup window, select the user(s) or user group(s) to give them access to the Topic Group from the Select User / User Groups to Give Provisioned Access dropdown menu.
Click Share.