Approve/ Reject Users in Advocacy
Updated
In Sprinklr advocacy site after a user fills in the screener question, his status changes to pending and the admin gets a request to either approve the user or reject it.
Advocates that are already a part of the Advocacy community are the Approved users.
Approved users can be given access to the website along with some on-site Admin features which are also driven via user roles and permissions. Admins can give points to Approved users for a Custom Event and update the screener questions from Member Management.
The users who had applied to be a part of the Advocacy community but were rejected by Admin for not matching a predefined condition are the Rejected users.
The rejected user always sees the Rejected page and the reason for which they were rejected which is a mandatory action the admin needs to fill.
Importance:
User Experience: Ensuring that new users are relevant to the platform's audience enhances the experience for all users. It prevents irrelevant or spammy accounts from diluting the quality of interactions.
Enhancing Security: By reviewing user profiles and information before approval, platforms can identify and mitigate potential security risks. This includes verifying identities and preventing malicious activities.
Steps to Approve/ Reject Users:
Manually: Admin can approve and assign a role to user or reject user through member management section on site or by creating a column in engagement dashboard.
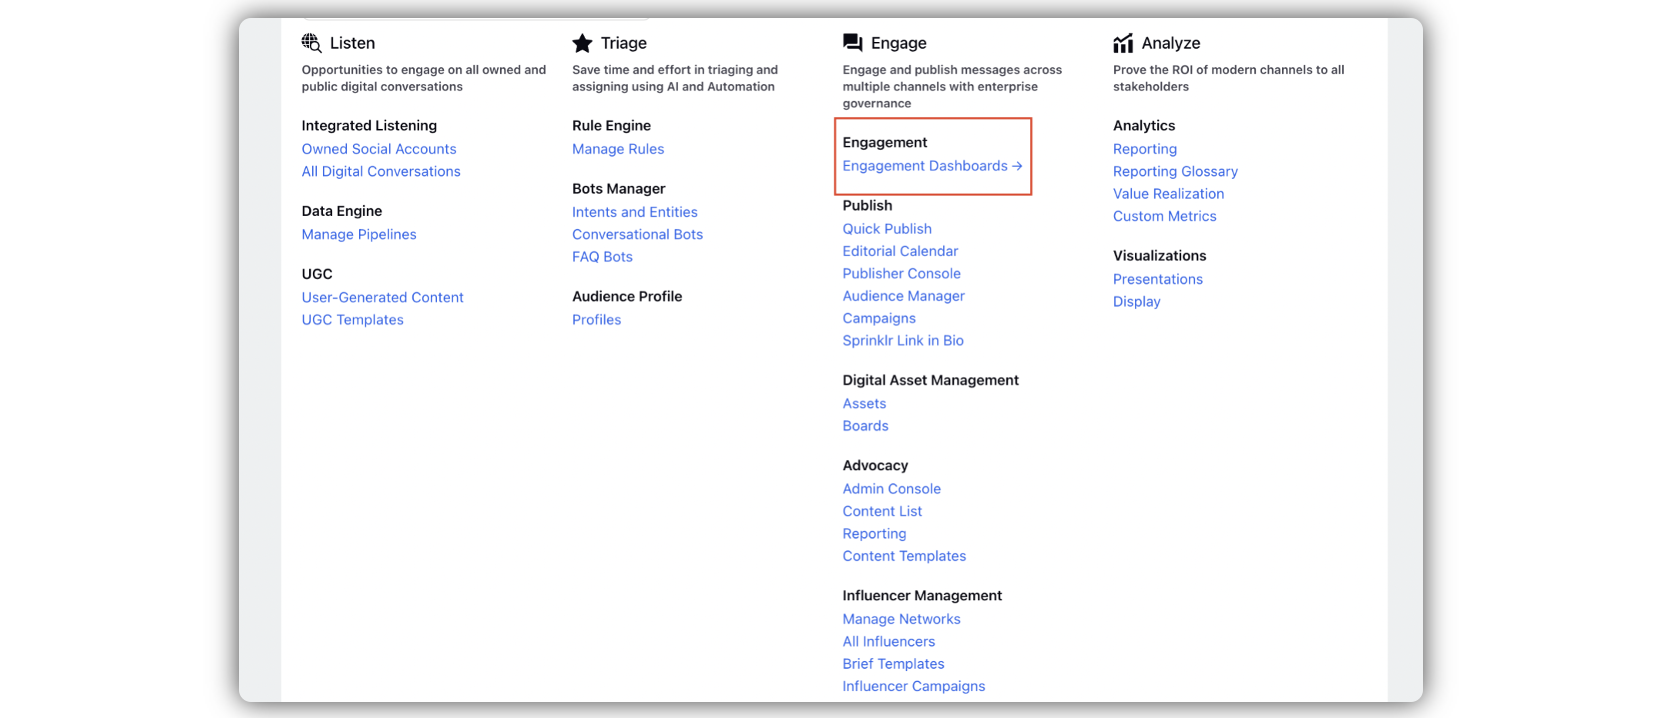
Click Engagement Dashboard under the Sprinklr Social tab.
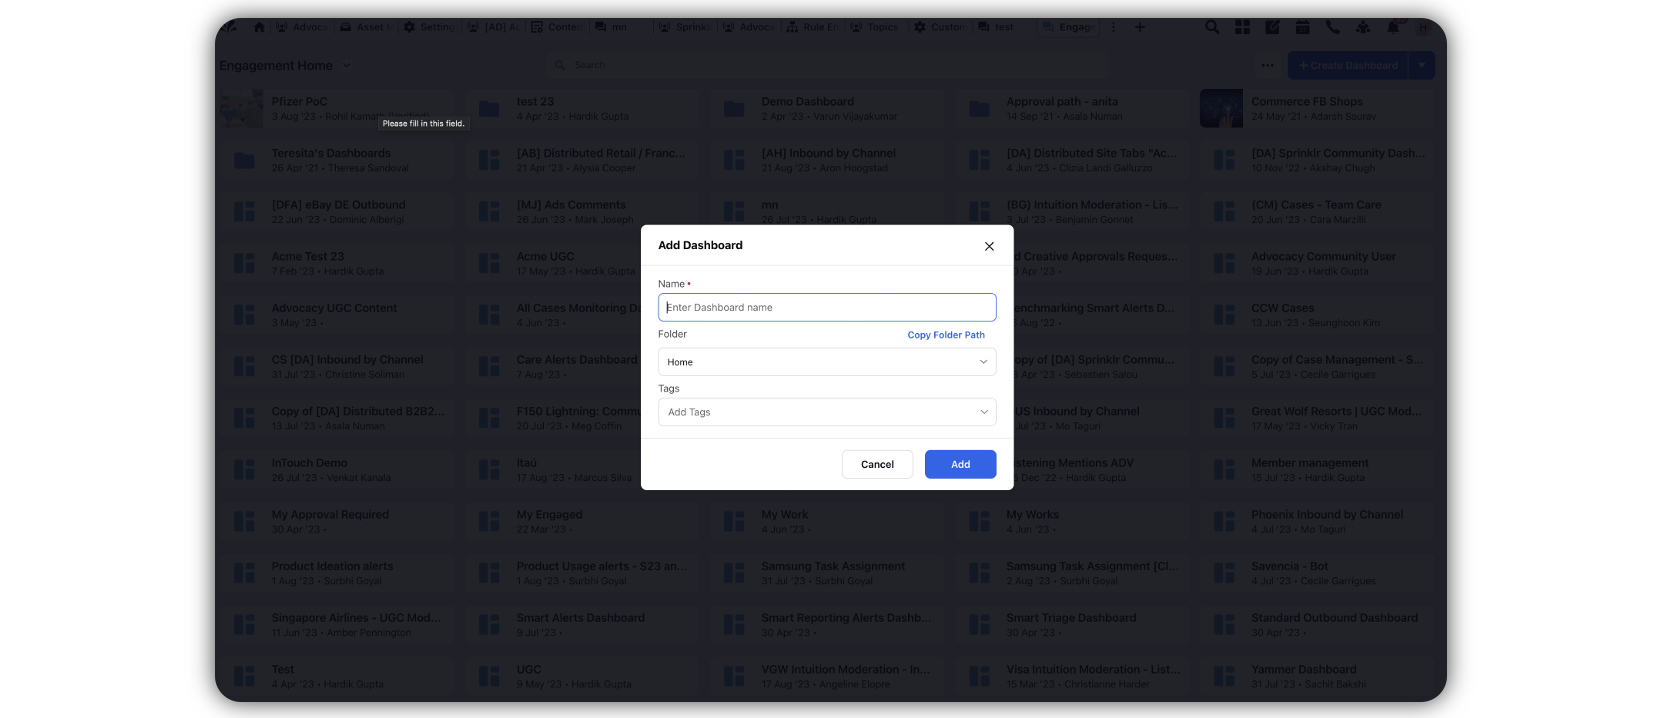
Create a dashboard and assign it a name.
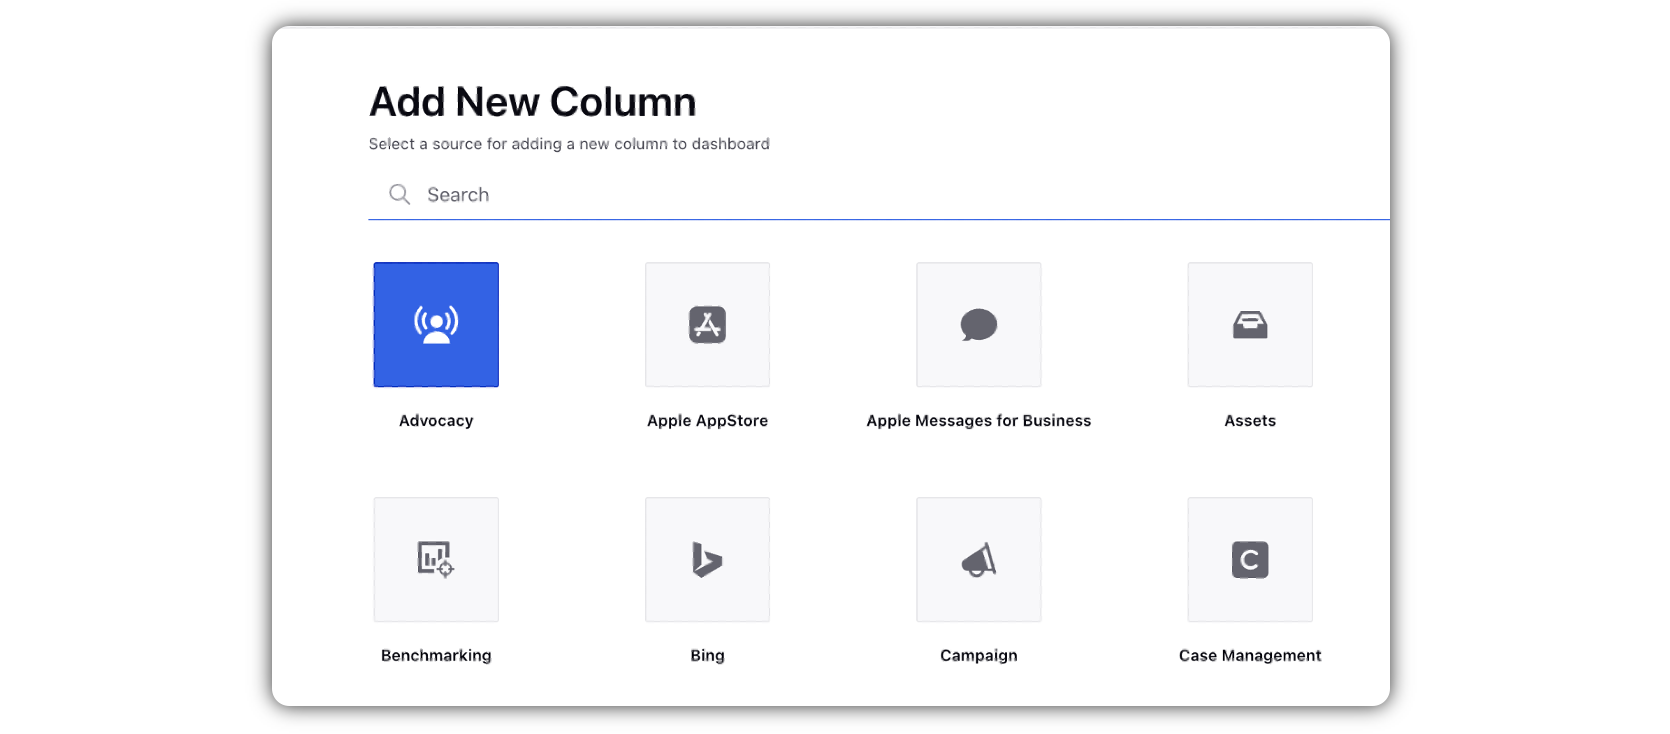
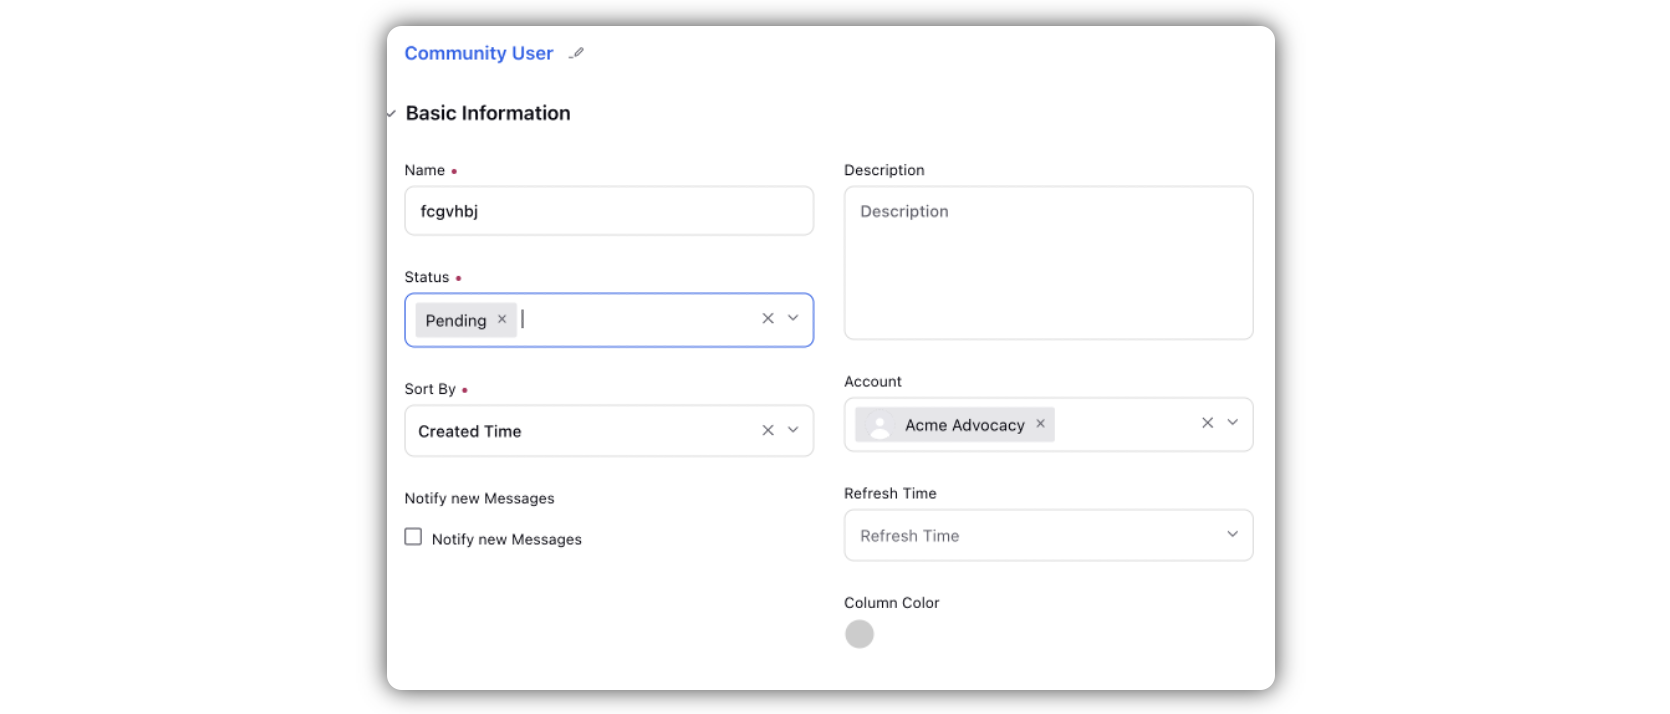
Add a new column by clicking Create Column.

Select Advocacy as the data source.
Select Community User and assign a name to the column. Specify the desired advocacy account name.

Add the desired status of the users and click Save.
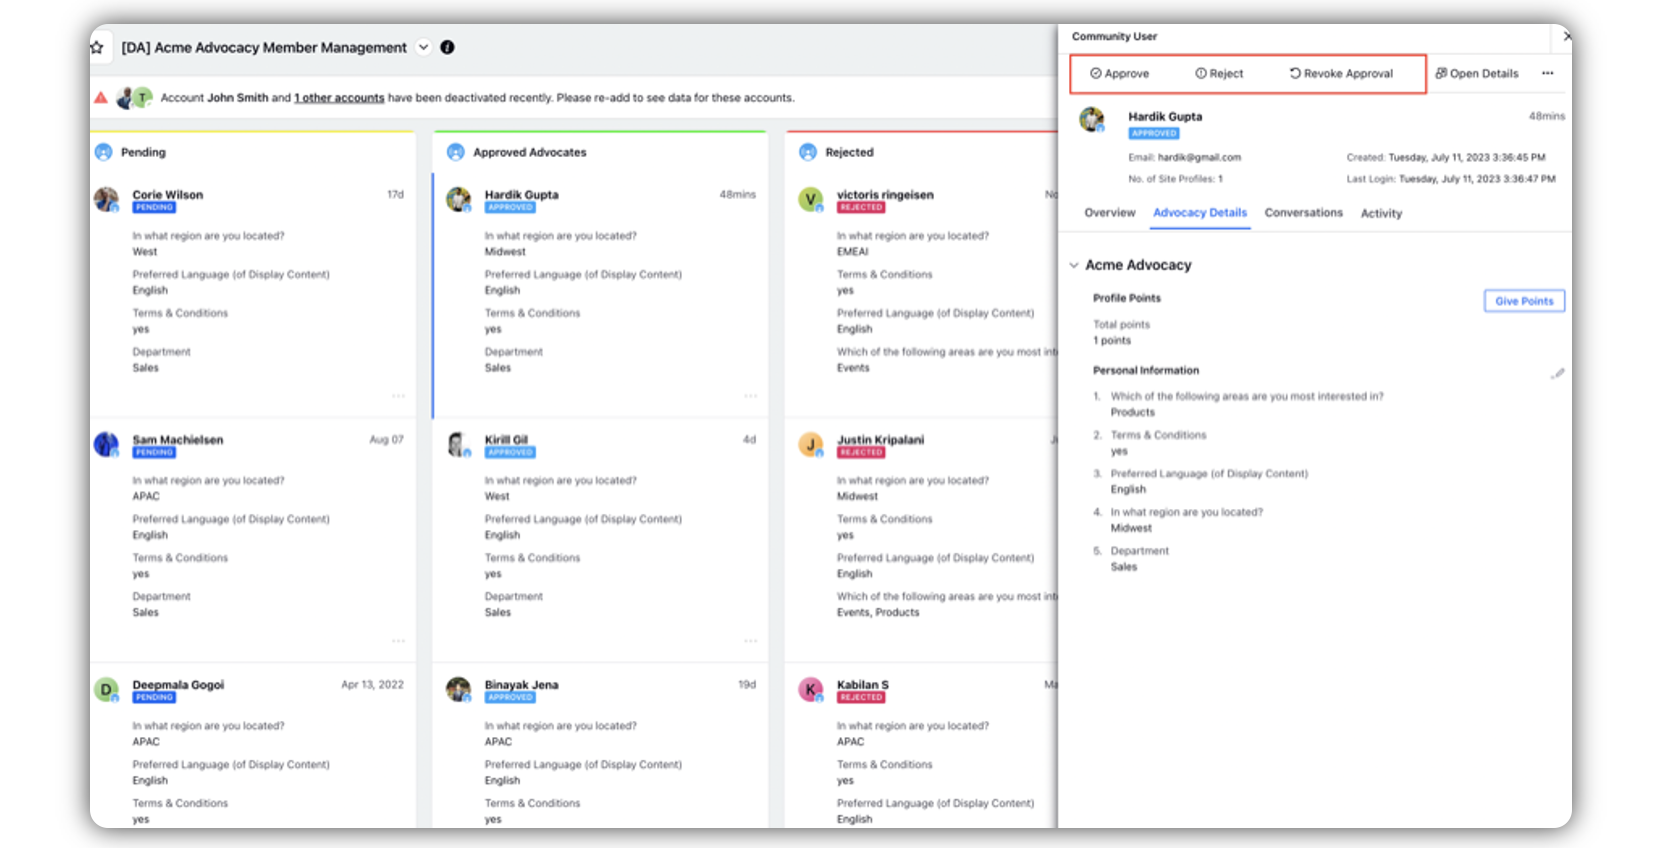
Double click any user card present on the pending column to open the third pane and add select on approve/ reject as required.
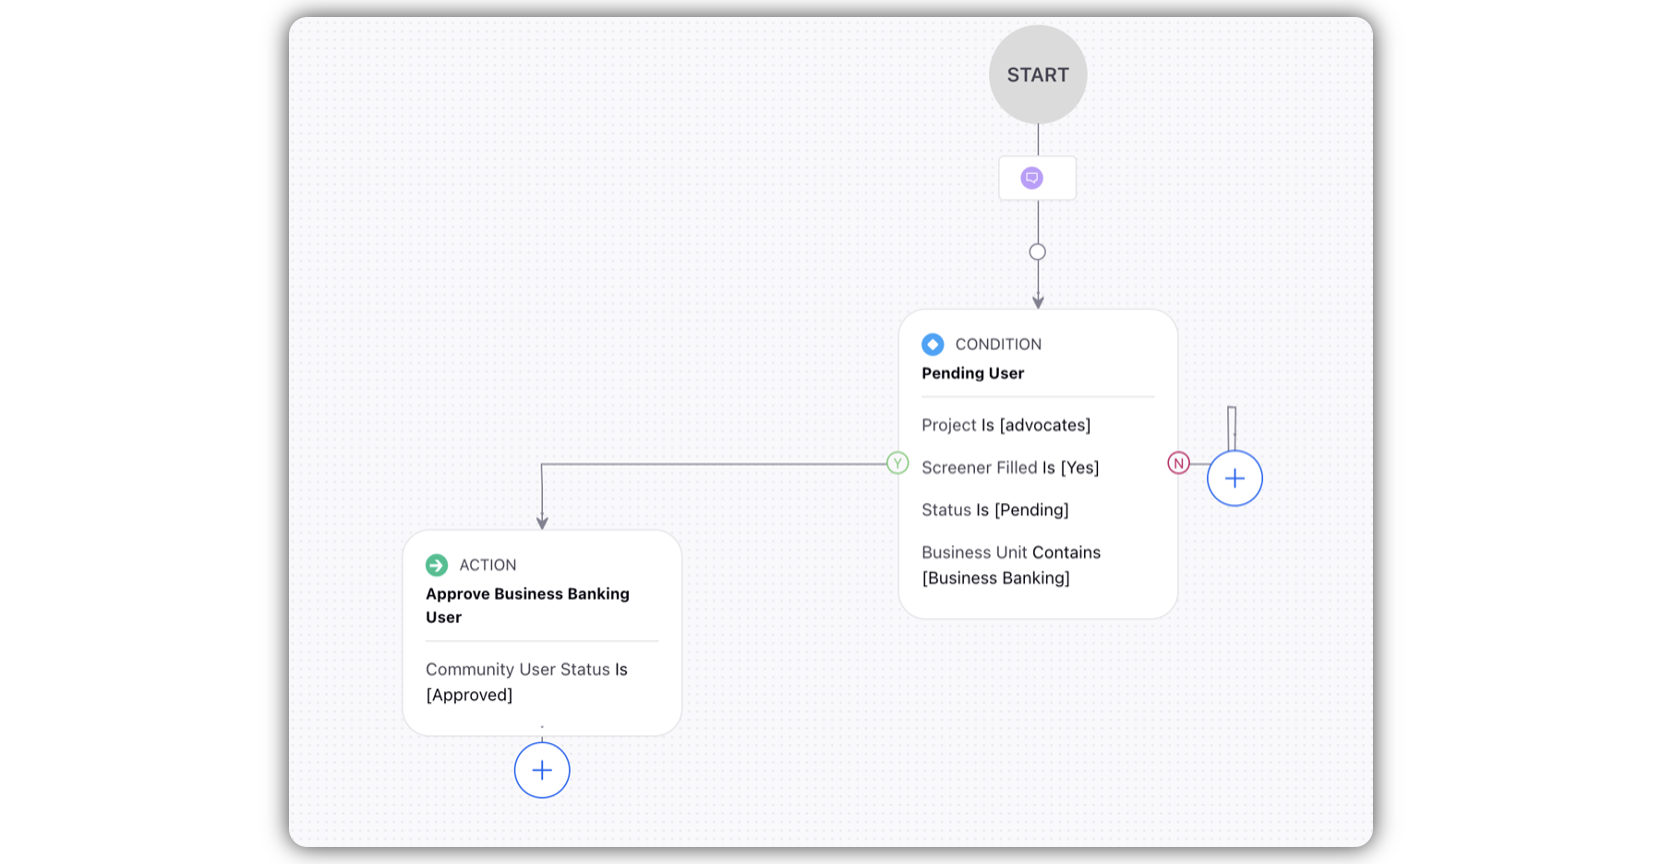
Auto Approval: Admins can set a rule based on certain condition to Approve the user
Create a rule in Customer/Community in rule engine under social tab in space site.
Set condition on "Screener Conditions for Community User", select custom field and value.
Set action on "Community Actions", select "Community user status" from drop down and set "Approved" as value.
