WhatsApp Survey Distribution
Updated
WhatsApp Distribution enables companies to conduct surveys directly through WhatsApp, utilizing the platform's extensive user base and strong engagement levels. This functionality provides two main distribution options:

Standard Distribution: You can send a WhatsApp message to respondents with a link to the survey. They’ll click the link, complete the survey in their browser, and receive a follow-up thank-you message.


Conversational Distribution: This method uses conversational AI to send survey questions directly within the WhatsApp chat, so respondents don’t need to leave WhatsApp to complete the survey. Each question is sent as a WhatsApp message, and responses are collected in real-time, creating a more natural, human-like interaction.


Business Use Cases
Post Service Feedback: Businesses can streamline post-service feedback collection by sending automated surveys through customers' preferred messaging channels, such as WhatsApp, SMS, or Messenger. After a customer completes a service or interaction, a post-experience survey is automatically delivered through the same platform, allowing them to respond quickly and conveniently without switching apps. The survey typically includes questions focused on service quality, satisfaction, and specific aspects of the experience. Responses are collected in real time and analyzed to uncover trends, identify recurring issues, and highlight positive feedback. These actionable insights enable businesses to make informed decisions, prioritize improvements, and continuously enhance the overall customer experience.
Post-Purchase Feedback: Businesses can enhance the post-purchase experience by integrating the entire customer journey within a messaging platform such as WhatsApp, widely preferred by users for its convenience. After a customer places an order, they receive real-time updates, such as order confirmation, shipping, and delivery notifications, directly through the platform. Once the order is delivered, an automated follow-up message is sent containing a survey link to collect feedback. The survey gathers insights on areas like shopping experience, product availability, delivery satisfaction, and product quality. Analyzing this feedback allows businesses to identify pain points (e.g., delivery delays) and implement necessary improvements. This approach not only streamlines feedback collection but also increases customer engagement and contributes to a more responsive and satisfying shopping experience.
Using WhatsApp for survey distribution offers several key advantages, starting with its wide reach and high engagement. With billions of active users globally, especially in regions where it is the primary messaging platform messages sent through WhatsApp are significantly more likely to be opened and read promptly, leading to higher engagement rates compared to traditional email or SMS surveys. It also ensures a seamless user experience by offering a familiar, convenient, and user-friendly interface, allowing respondents to complete surveys directly within the app they use every day, without needing to switch platforms or download additional tools. Additionally, WhatsApp supports real-time interaction and personalization, enabling two-way communication, immediate follow-ups, and a conversational survey flow. This increases survey completion rates and improves the chances of capturing at least partial responses if a user drops off mid-way through the survey.
Prerequisites
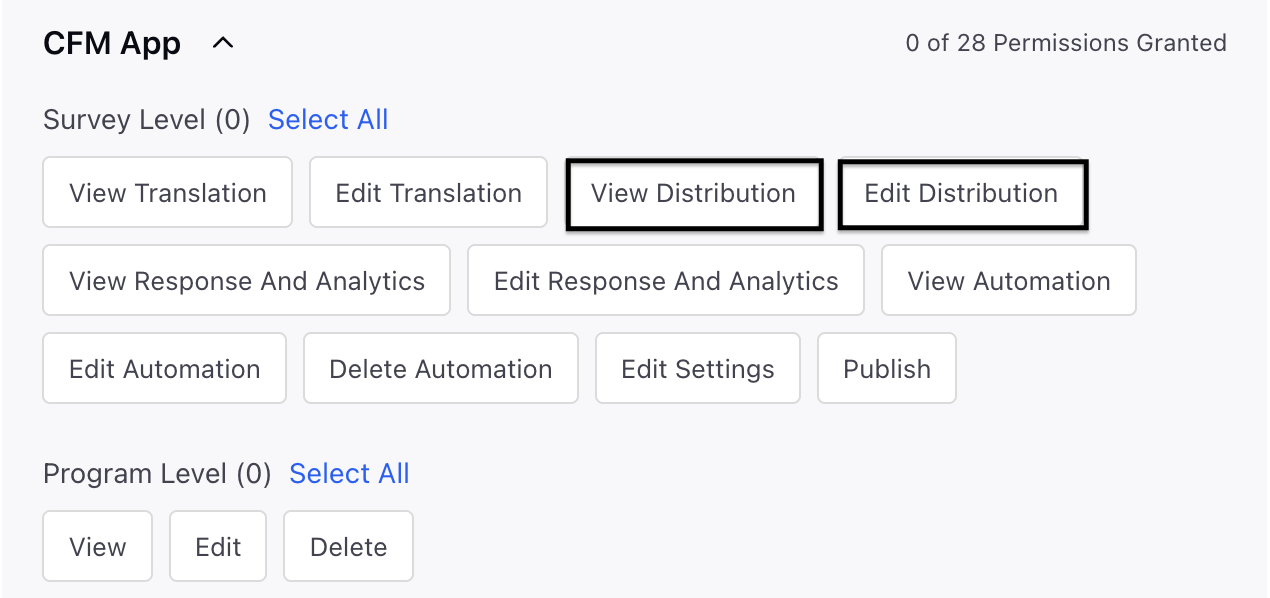
In order to access the WhatsApp distribution, you must have access to the following View and Edit Distribution permissions at Survey Level.

Key points to note
Potential Issue with Asset Approval: When setting up WhatsApp distributions, be aware that HSM (Highly Structured Message) template approvals may fail if multiple approval requests are submitted for the same asset.
This happens as the current system does not support selecting already-approved WhatsApp assets, which can lead to duplicate submissions and potential delays or rejections from Meta.
To avoid these issues, make sure to track and manage your WhatsApp assets carefully, and refrain from submitting duplicate approval requests until the system is updated to support reuse of approved assets.