Setup Wizard
Updated
Setup Wizard is used to create a Crisis Project. It has a simple, step-wise procedure to input the requirements for setting up the Crisis Project. We’ll discuss each step one-by-one:
Note: This feature is in Beta. To enable this feature, a Definition Partnership agreement needs to be signed. Contact your Success Manager.
Step 1: Select Crisis Type
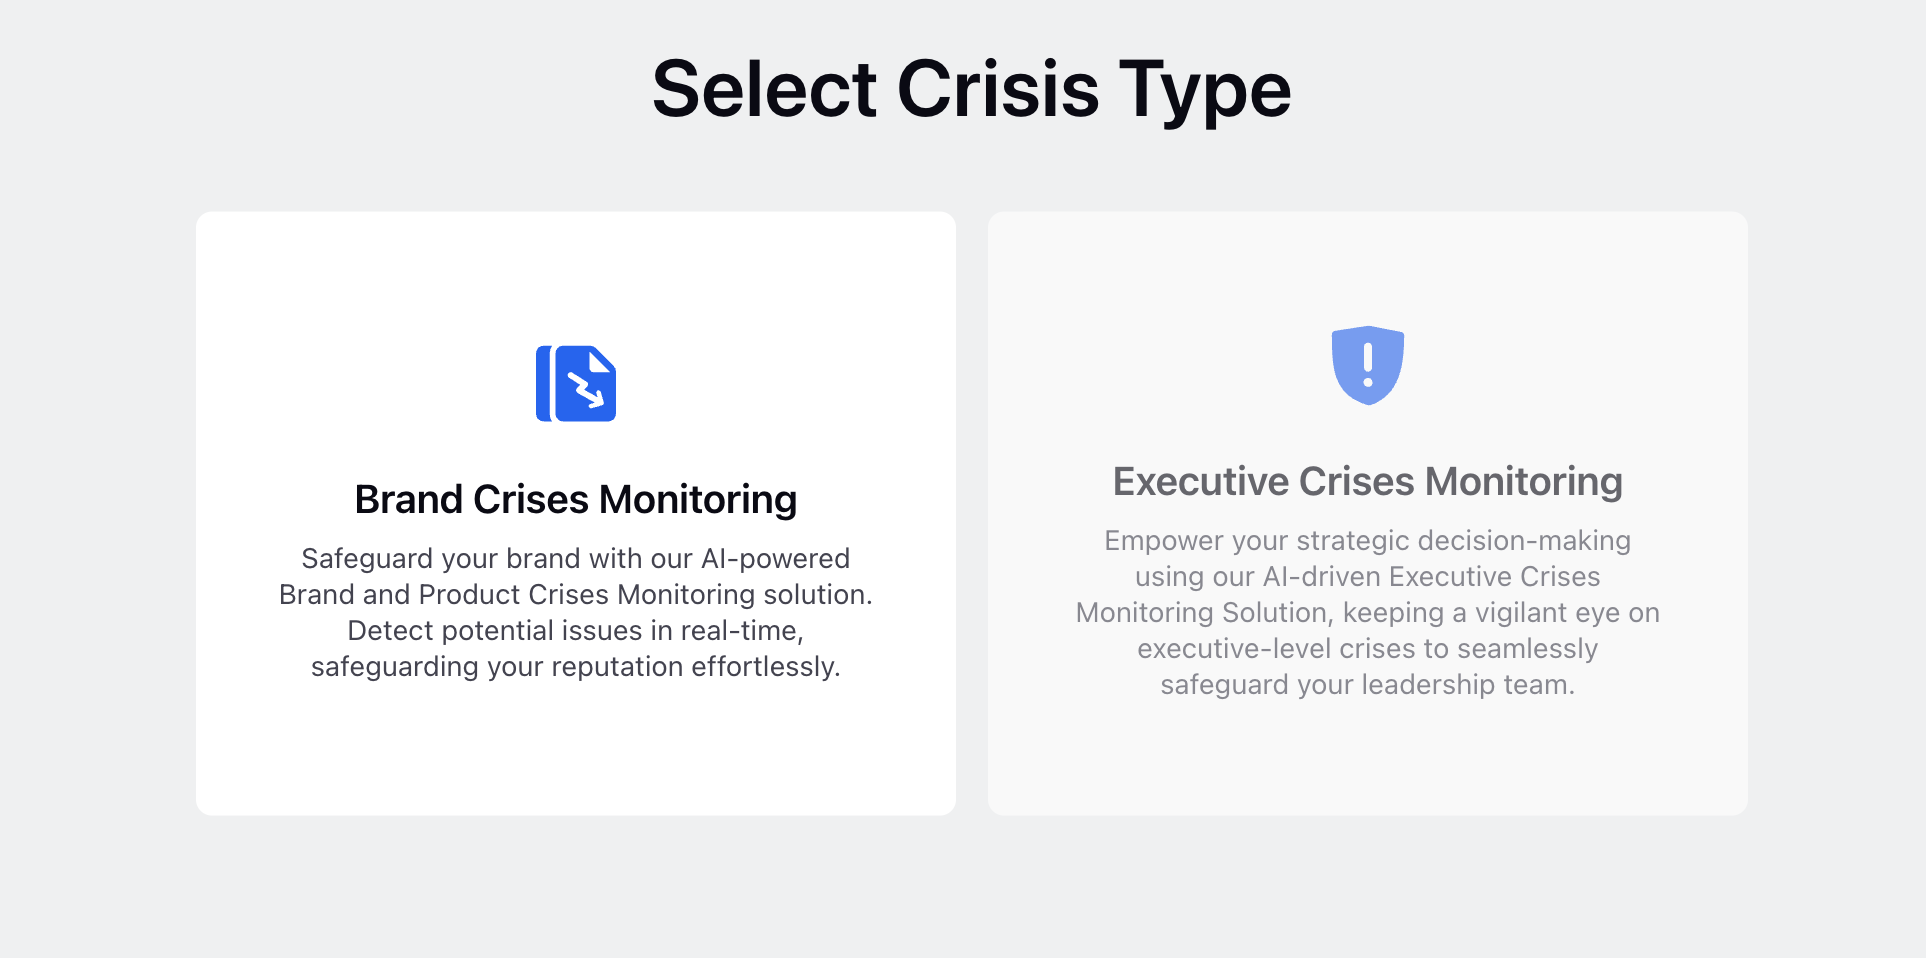
There are broadly two types of crises that can be monitored – Brand (19.5) and Executive (19.8). As the name sounds, Brand Monitoring is meant for monitoring Brand-related crises, and Executive Monitoring is for monitoring themes and conversations around Executives. User simply needs to select either of the two options to proceed to the next step.
Step 2: Select Brand
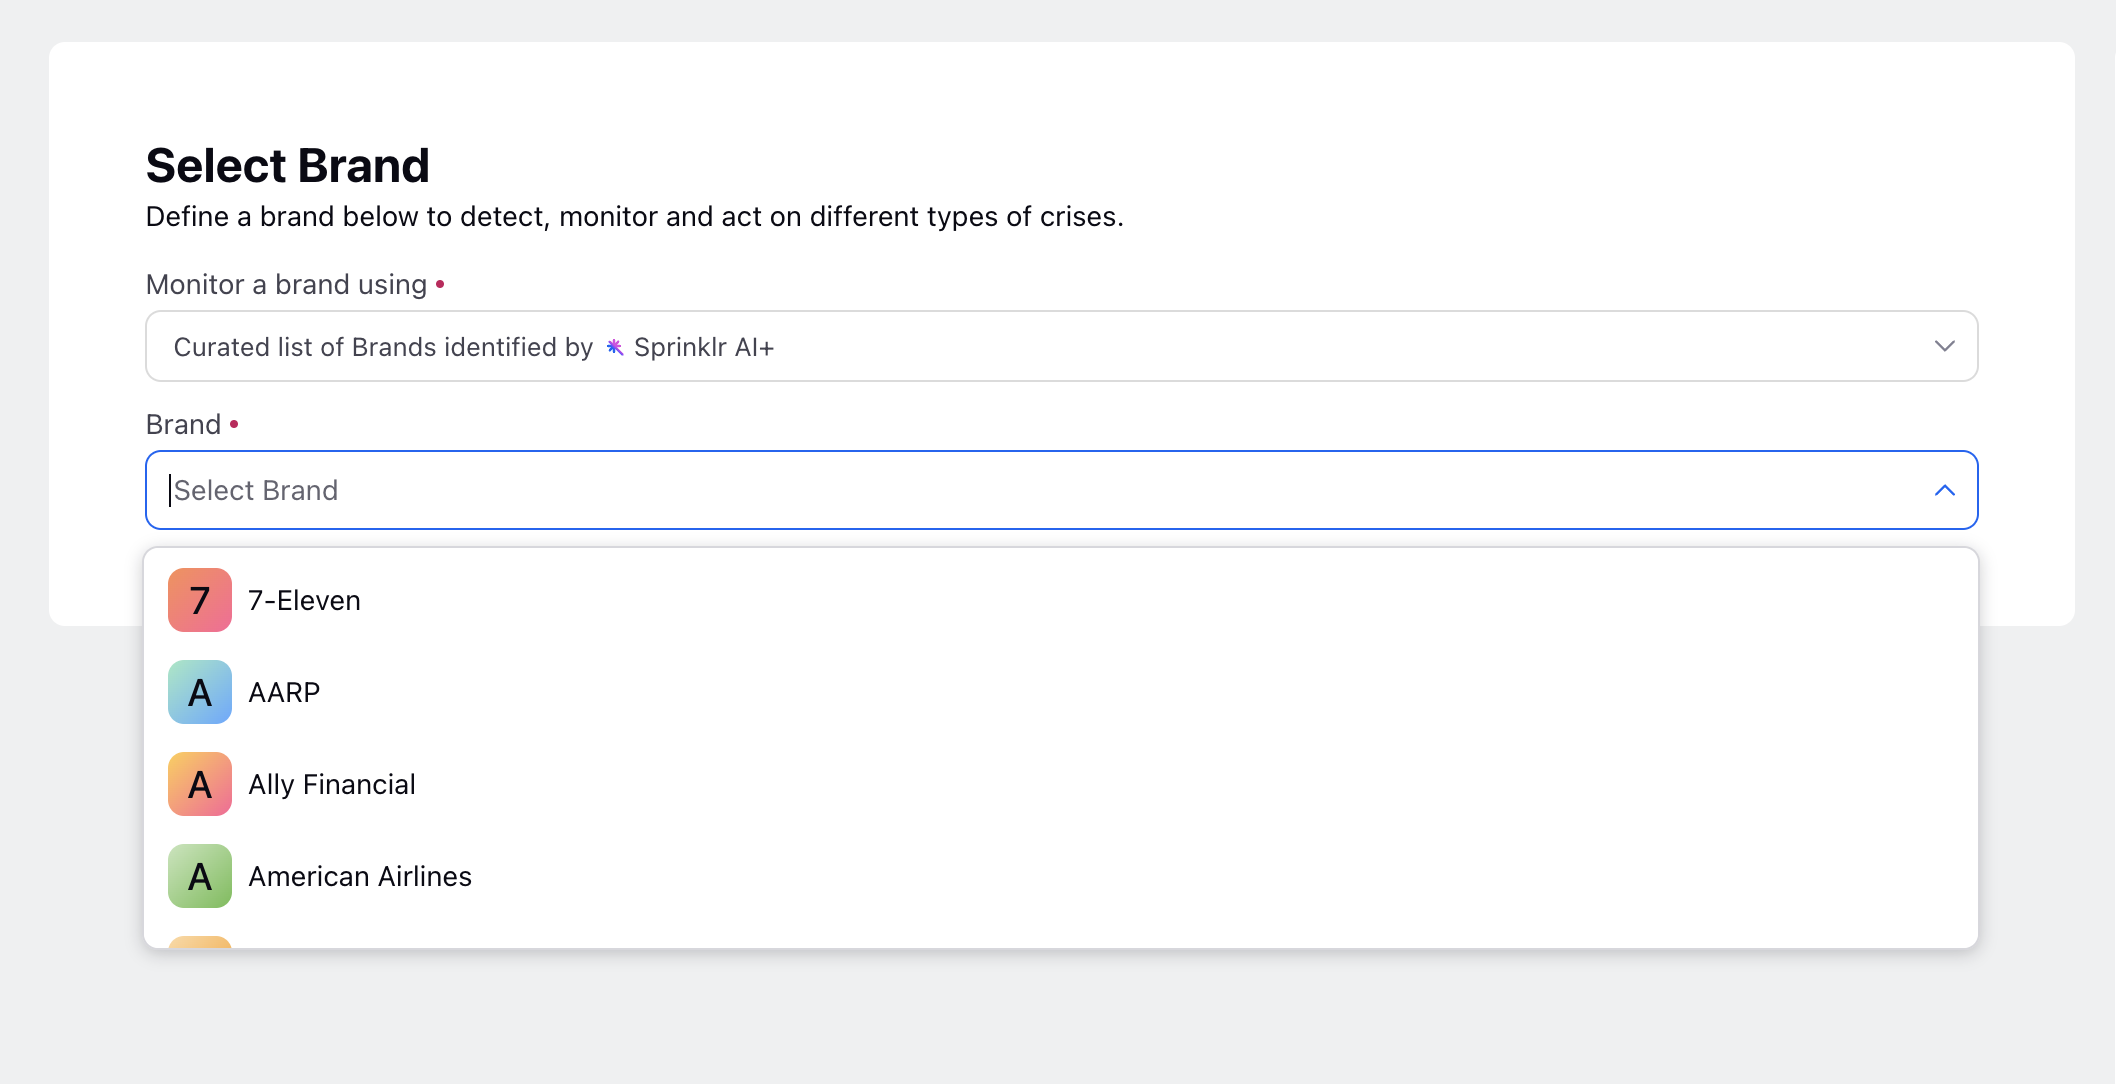
In the step, the user needs to select the brand they want to track the crisis for. This can be done in two ways:
From Brand Database
Users have the option to select from amongst the list of brands present in the dropdown list.
This is a straight and simple way to have your data configuration in place without getting into complex queries.
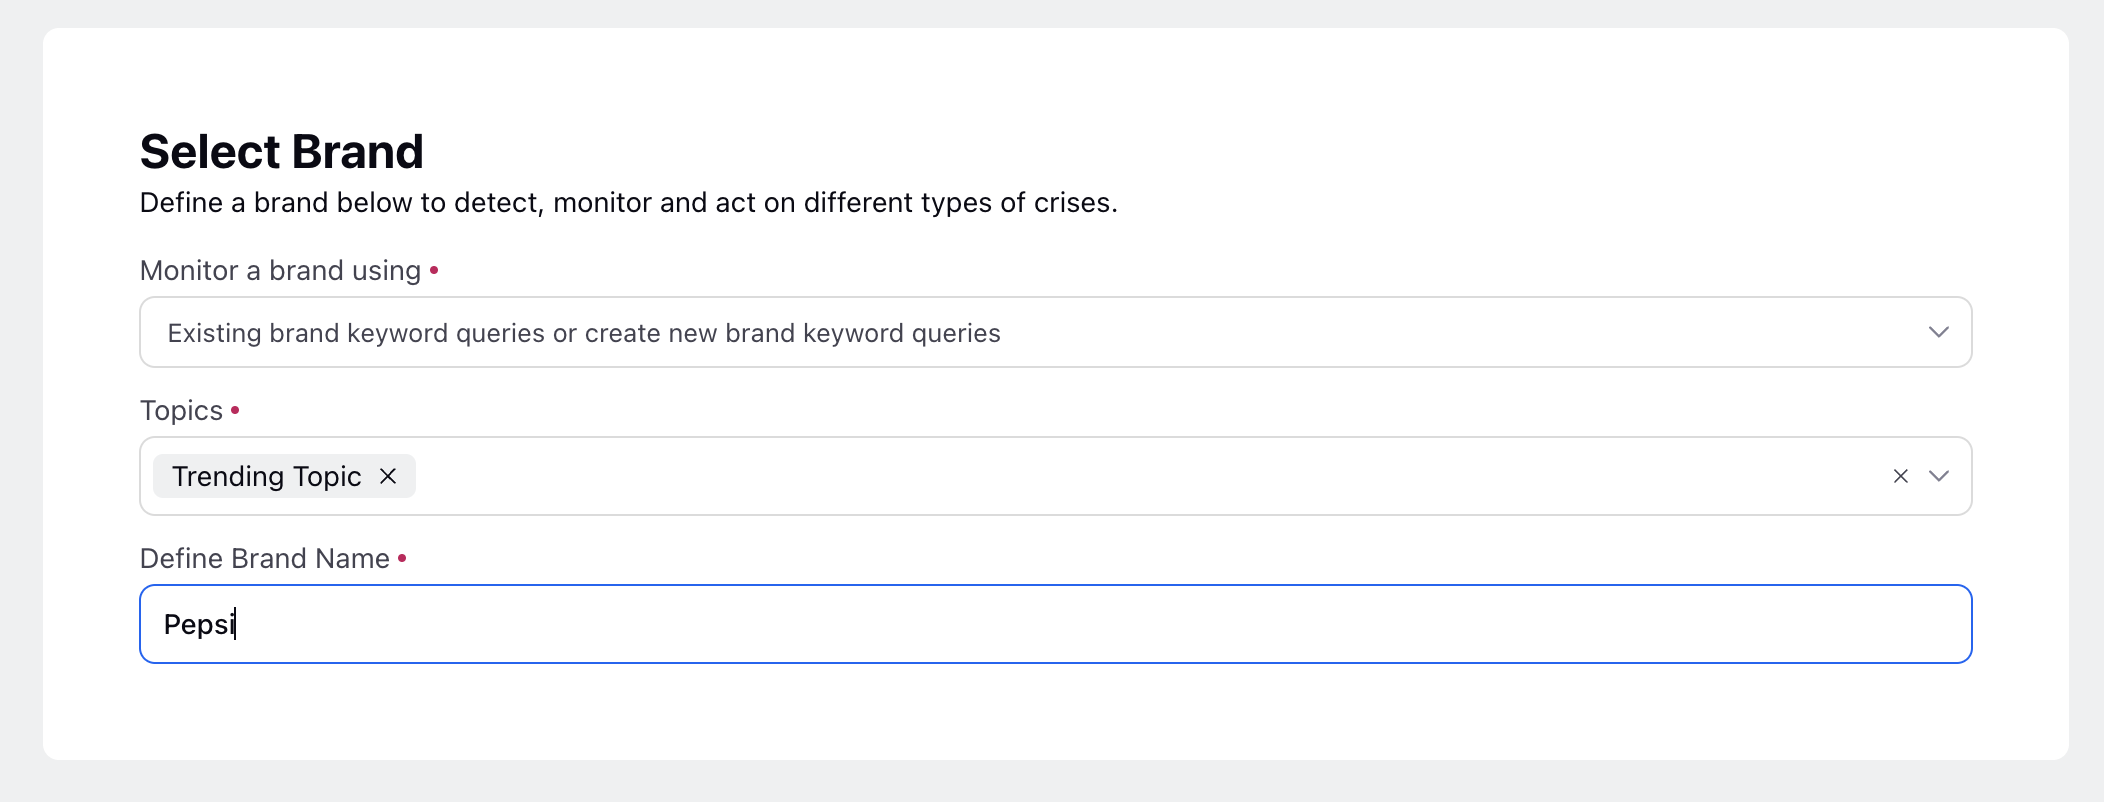
Using Topics
Users can also create or use existing topics to fetch data for their brands. Once they enter the topics, they also need to specify that to what Brand these topics are associated with.
This is to provide the system the context of the brand, as it might not always be clear with the name of the topics.
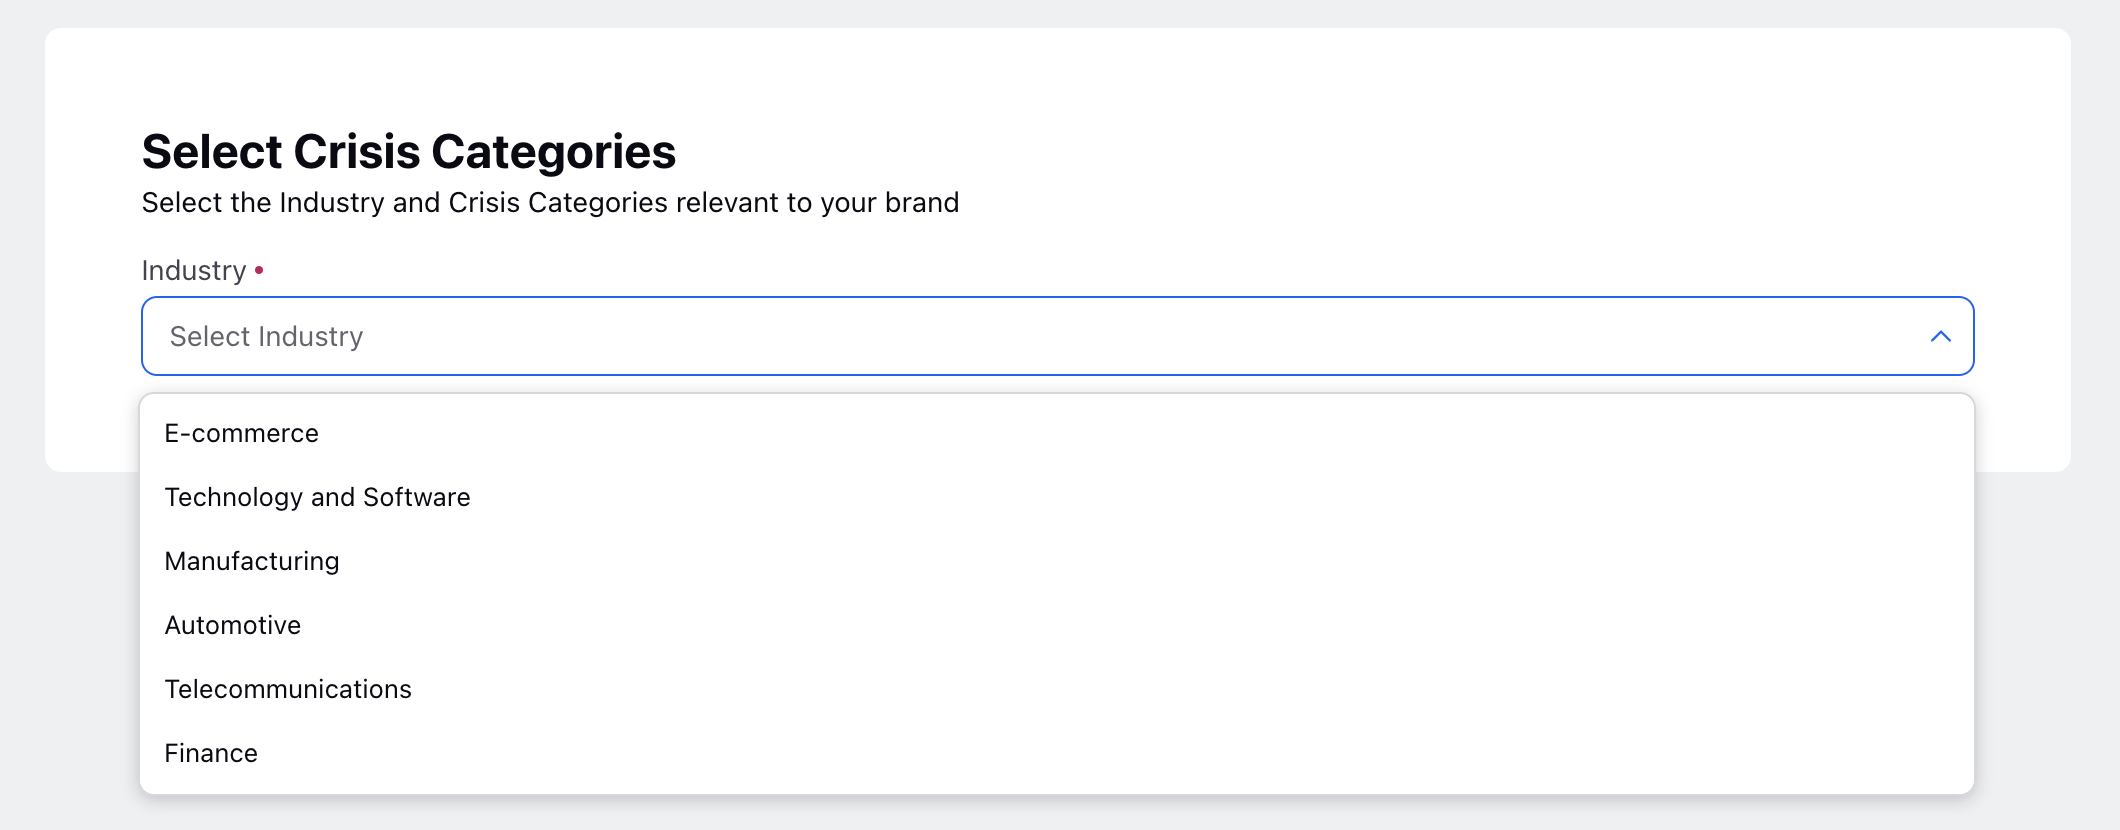
Step 3: Select Industry
Selecting Industry
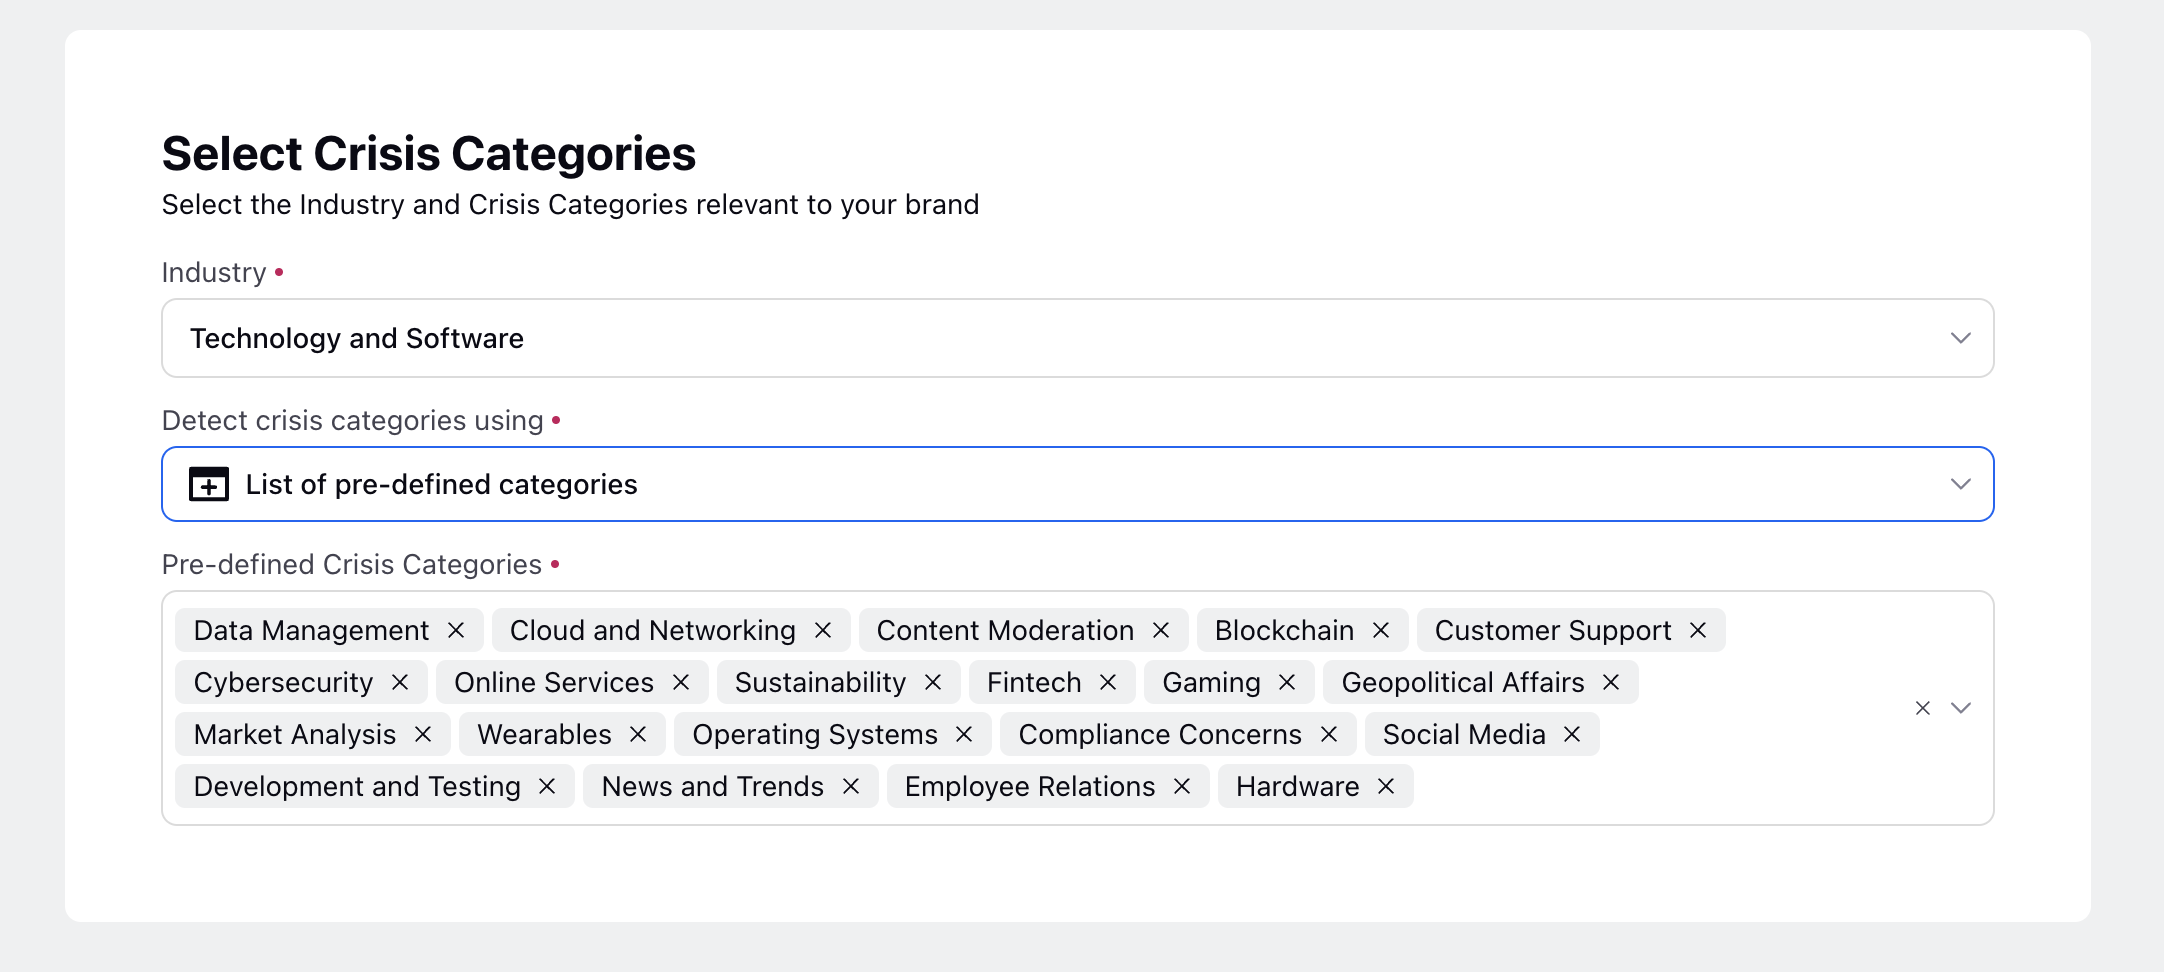
The Crisis Project also need to have the context of the Industry, aligned to which the crisis cards should be created. For example, a brand like McDonalds will perhaps be tracked for crisis on the Food and Beverage industry, similarly Google for Tech Industry, so on and so forth.
Selecting Categories
After selecting the industry, there are two ways in which you can bucketize your crisis messages – either via a fixed list of categories, or a dynamic one.
Sprinklr AI+ Powered
This route should be taken when the user wants the crisis categorization to be on a dynamic list of categories.
Through Sprinklr AI+, crisis cards are generated on a wide variety of categories, which keeps the project up-to-date with the evolving themes of conversations, as Sprinklr AI+ is able to categorize it accordingly into newer types of categories.

Manually Selected
This allows users to track their Crisis Project only on a selected set of categories.
A list of categories populate in the “Crisis Categories” box, amongst which the users can select the categories that suit their use-case.
Step 4: Alerts Setup
Alerts Setup
Automated Alerts
Crisis is tracked on two metrics: “Engagement” and “Volume of Mentions”.
Engagement: Fluctuations in engagement are tracked
Volume of Mentions: Fluctuations in volume of messages are tracked

Cards are automatically generated on these metrics, and the user can specify if they want to track the crisis on either or both of the metrics. This method eliminates the steps of setting up alerts separately and specifying the exact percentage change in the metrics for an alert to be generated.
Manual Alerts
Through this step, users can specify the particulars (Crisis Category, percentage change, etc.) on which they want to setup a crisis alert. Multiple manual alerts can be setup on a single project.

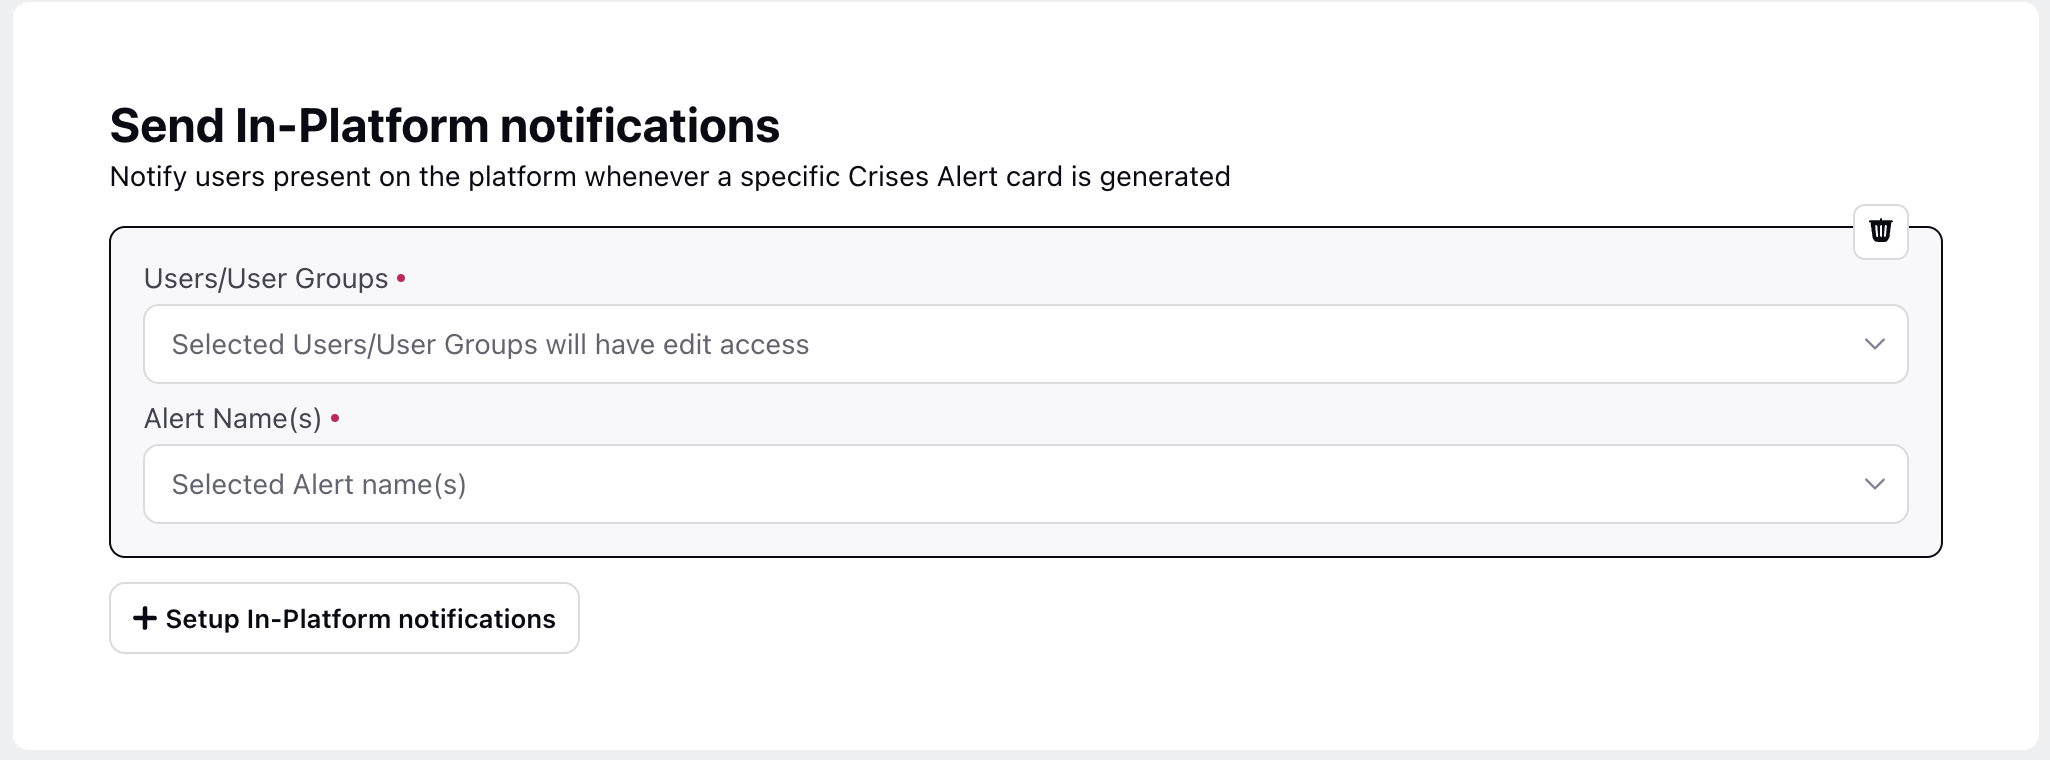
In-Platform Alerting
This feature allows to alert users on the Sprinklr platform whenever a Crisis Card is created on the project. User/ User groups can be specified to whom the alert is to be sent, and what type of alert is to be sent.
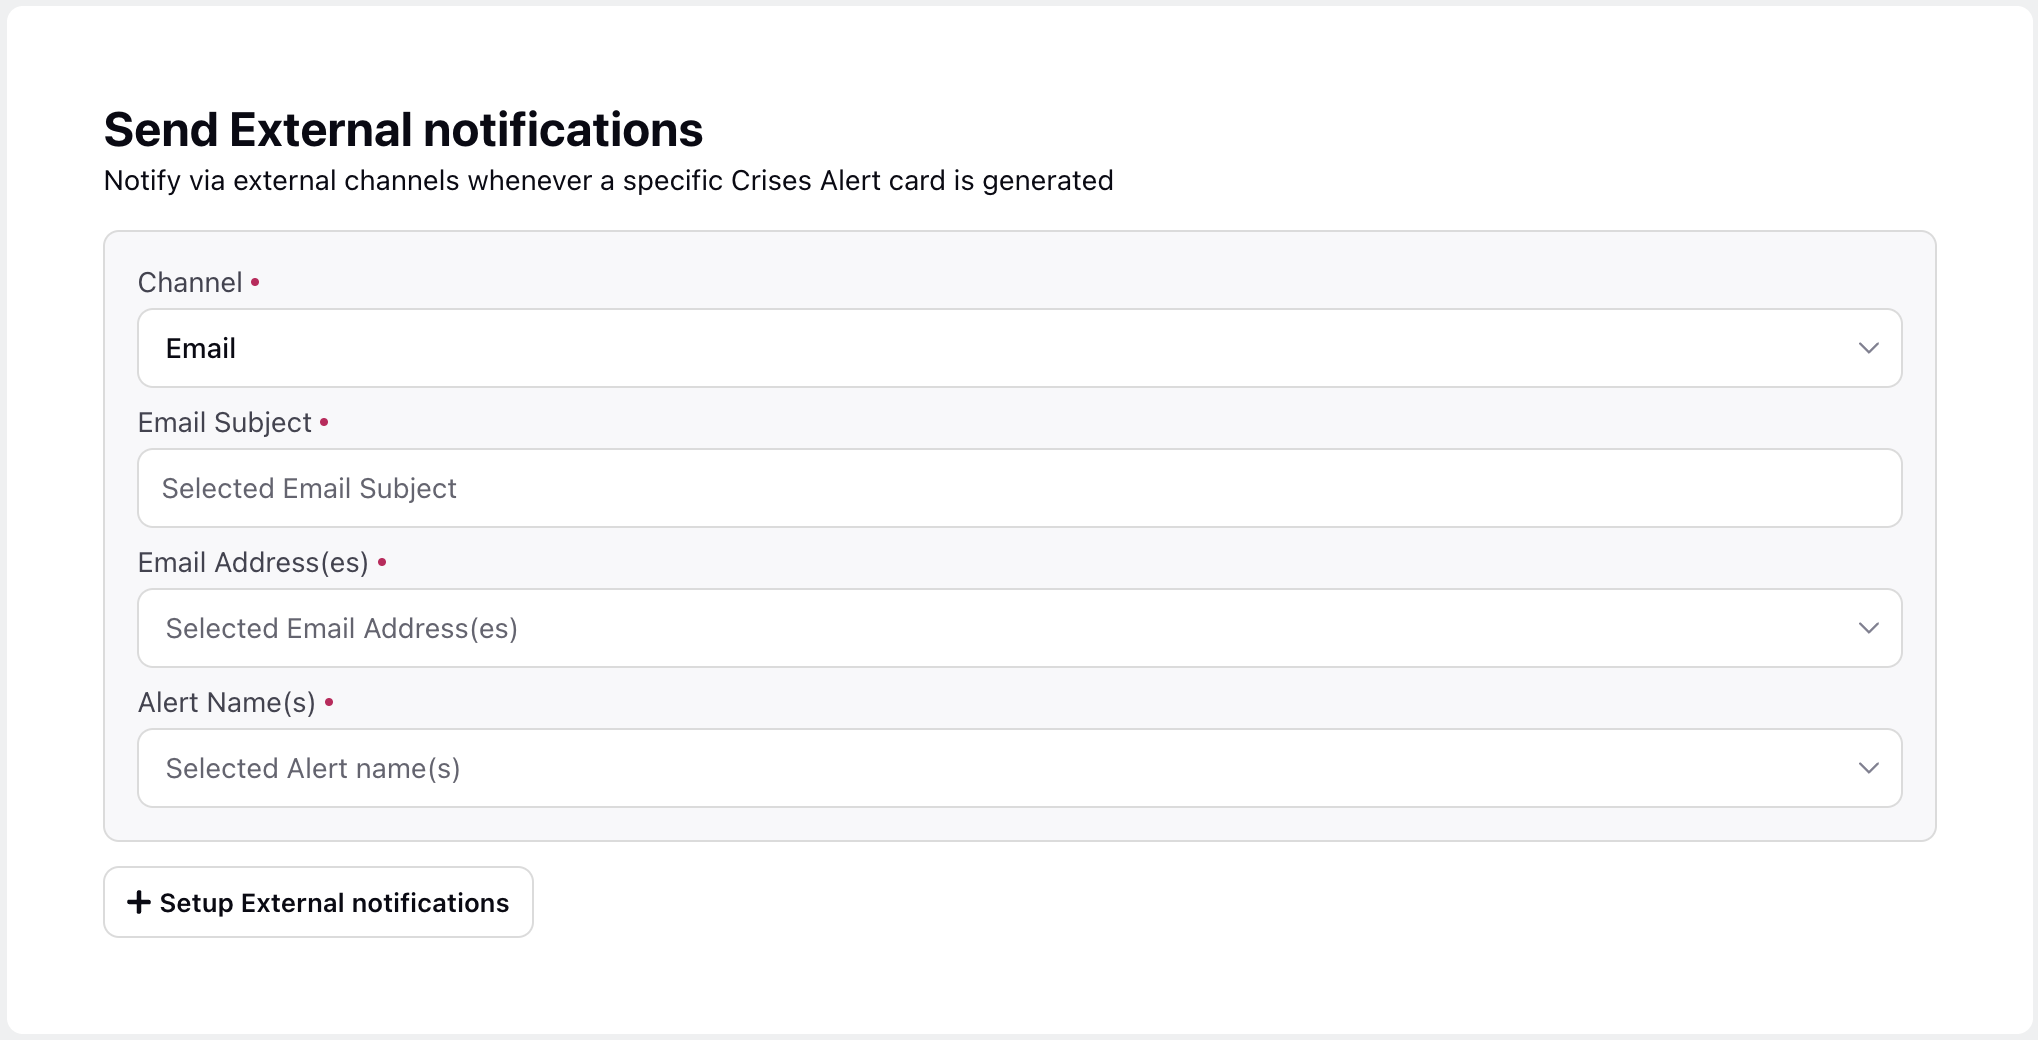
External Alerting
This feature allows to alert users on the Sprinklr platform whenever a Crisis Card is created on the project. This can be done via 3 mediums:
E-Mail
WhatsApp (19.8)
SMS (19.8)
Step 5: Project Details
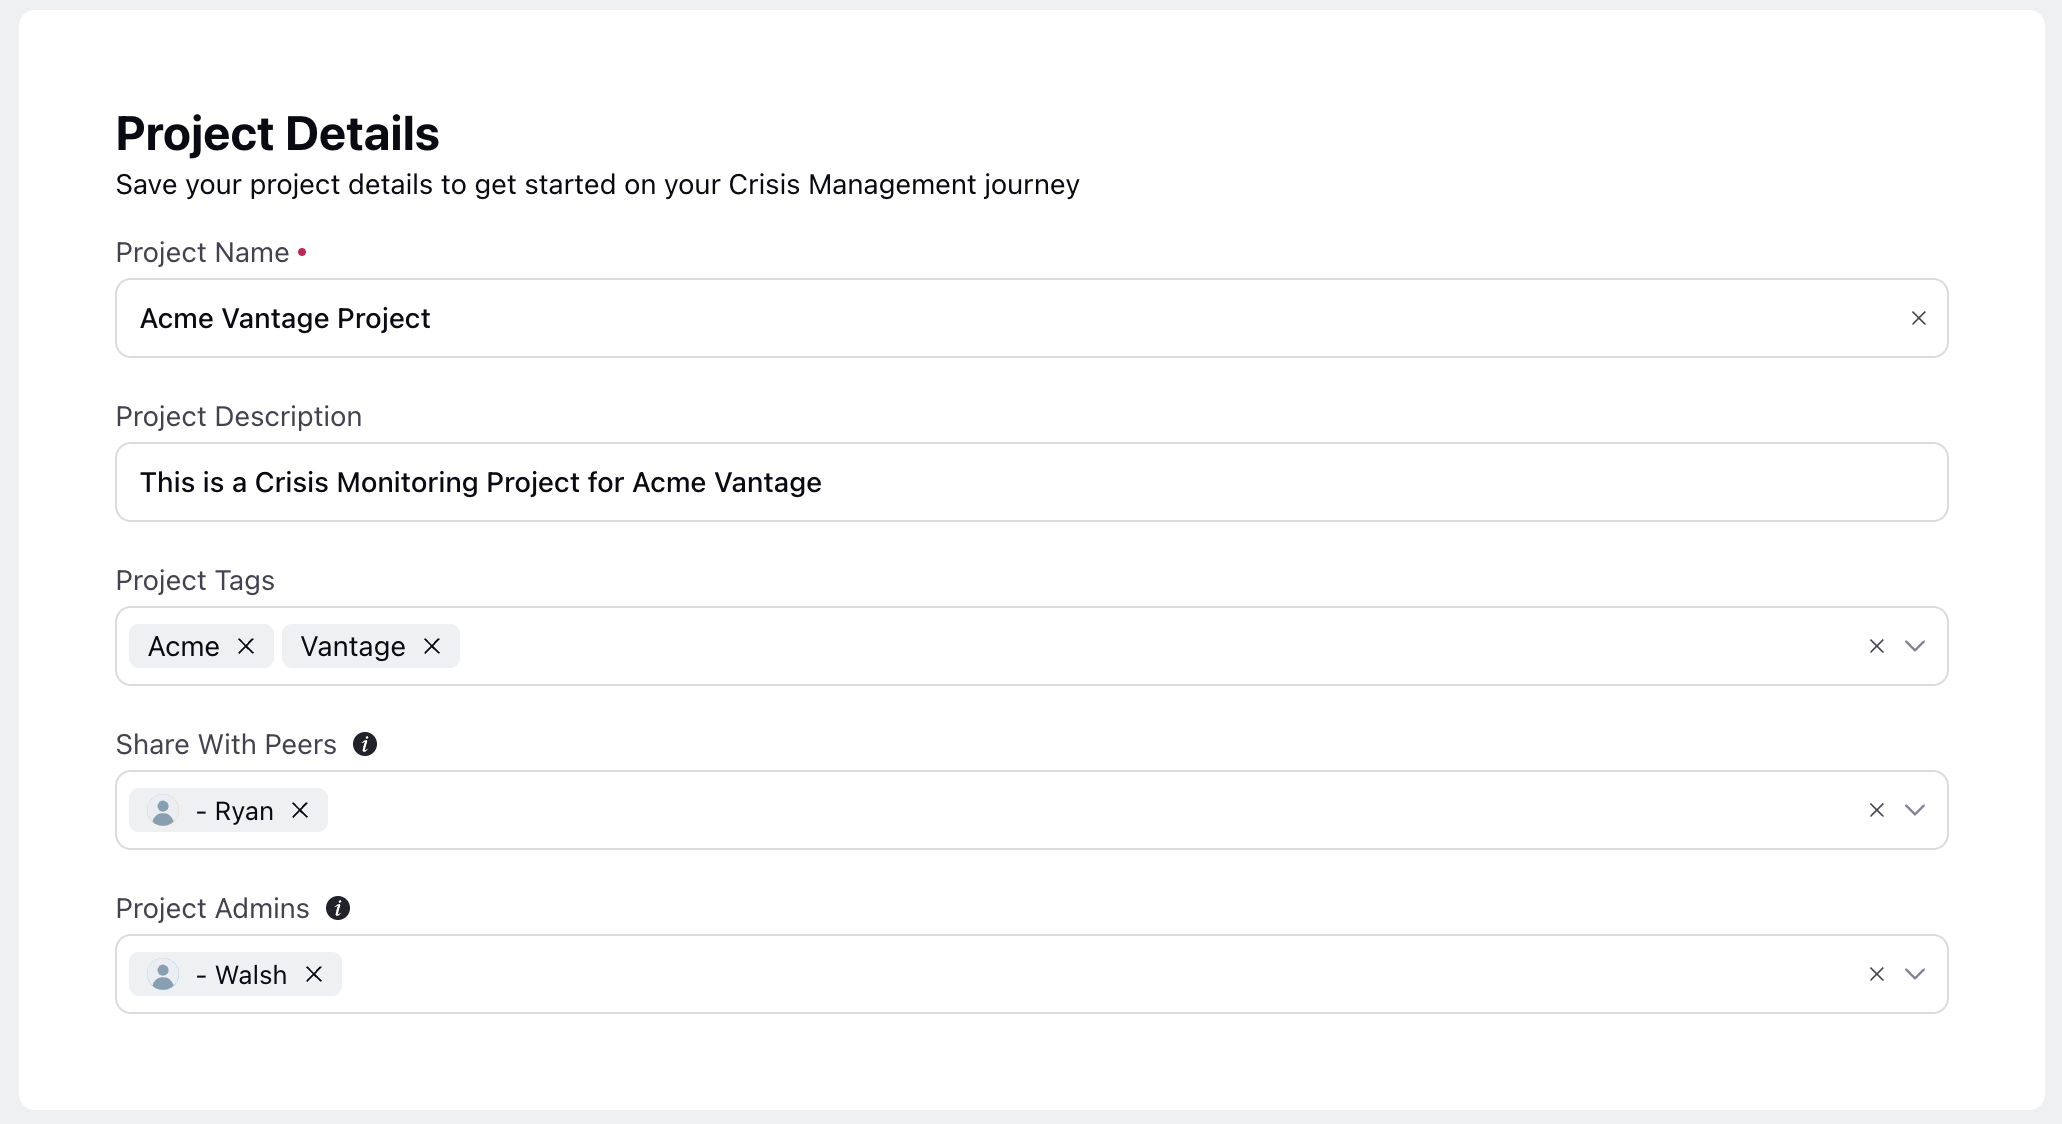
This step is to simply give the name, description and tags to the project, and to specify the admins and peers of the project.
Admin: View, Edit and Delete the project
Peer: Can only view the project
After creating the project, the user lands on the Project’s Crisis Feed, about which we’ll discuss in the "Crisis Feed" section.
Related Articles