Creating a Discovery
Updated
With Contact Driver Discoveries, you can leverage Sprinklr AI+ to automatically identify and generate a list of recommended contact drivers by analyzing contact center conversations. This AI-generated list can be customized to suit your needs, allowing you to effortlessly create a contact driver model.
To Initiate a Contact Driver Discovery
To initiate a Contact Driver Discovery, follow these steps:
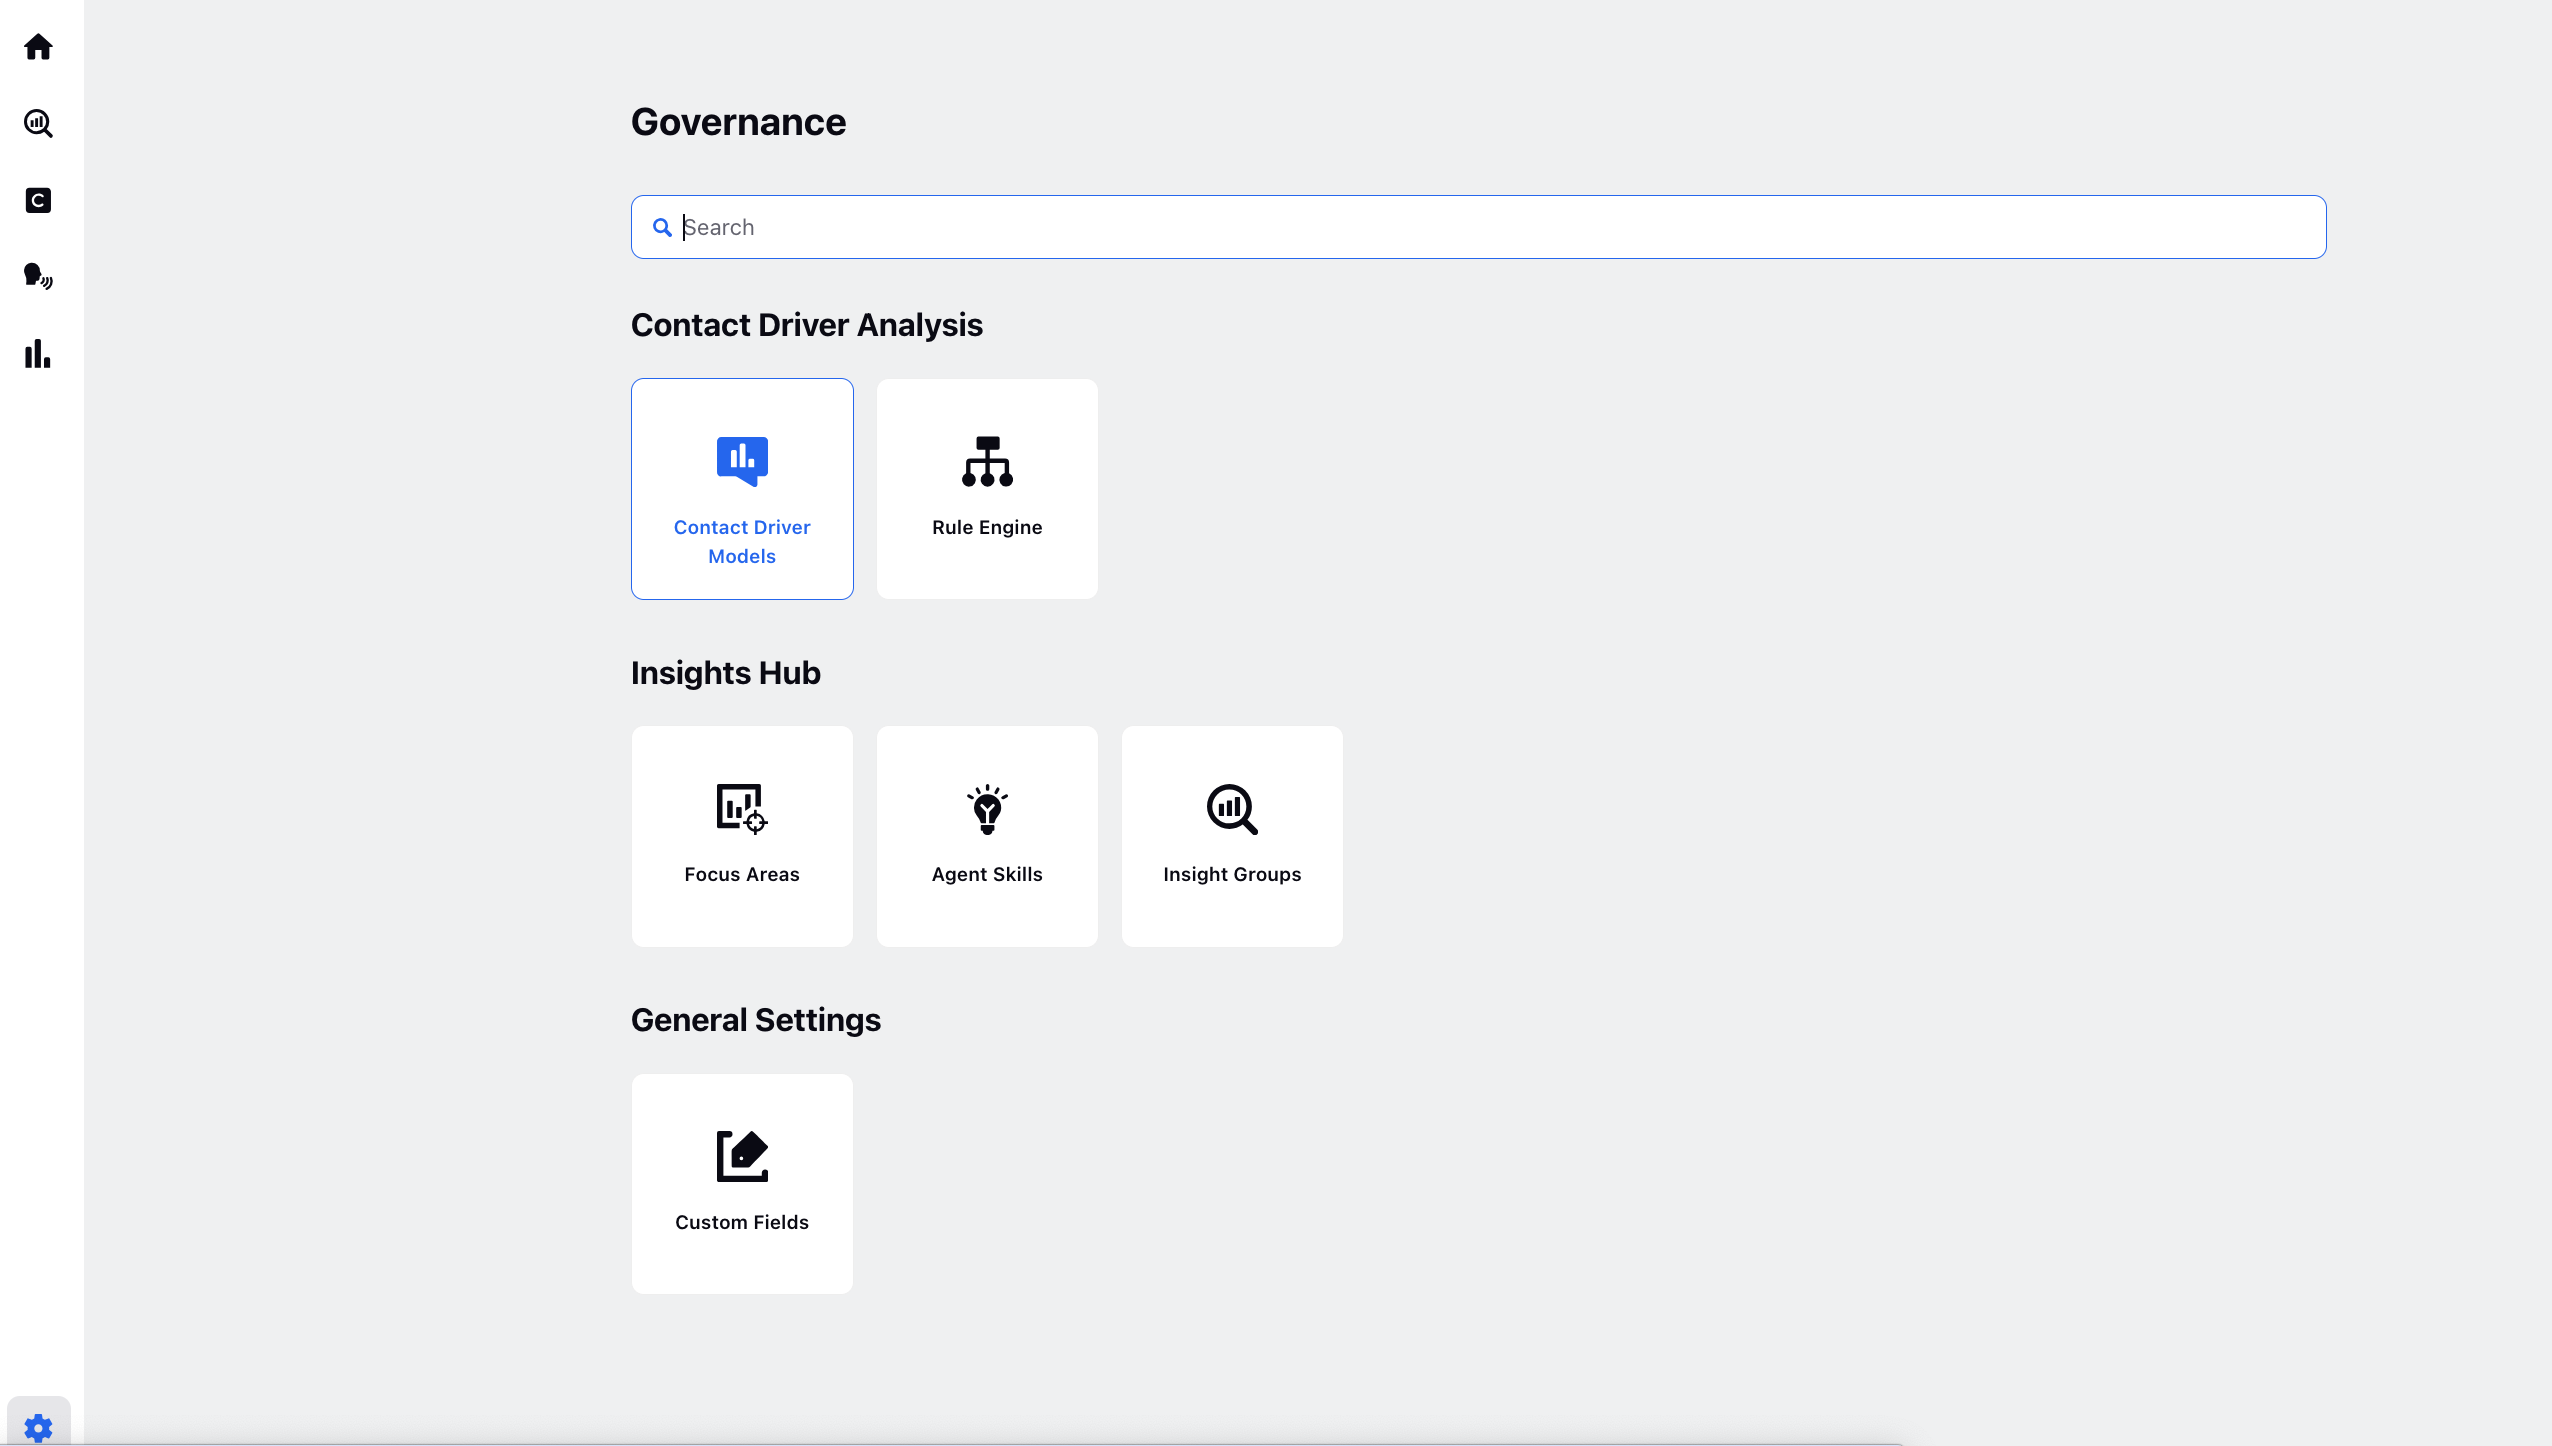
Navigate to the Discover tab: Navigate to the Governance section within the Conversational Analytics Persona. Click Contact Driver Models to access the Contact Driver Models window. From the left-side menu on the Contact Driver Models window, select the Discover tab.
Start a new discovery: On the Discovery Runs window, click + Discover Run in the top right corner.

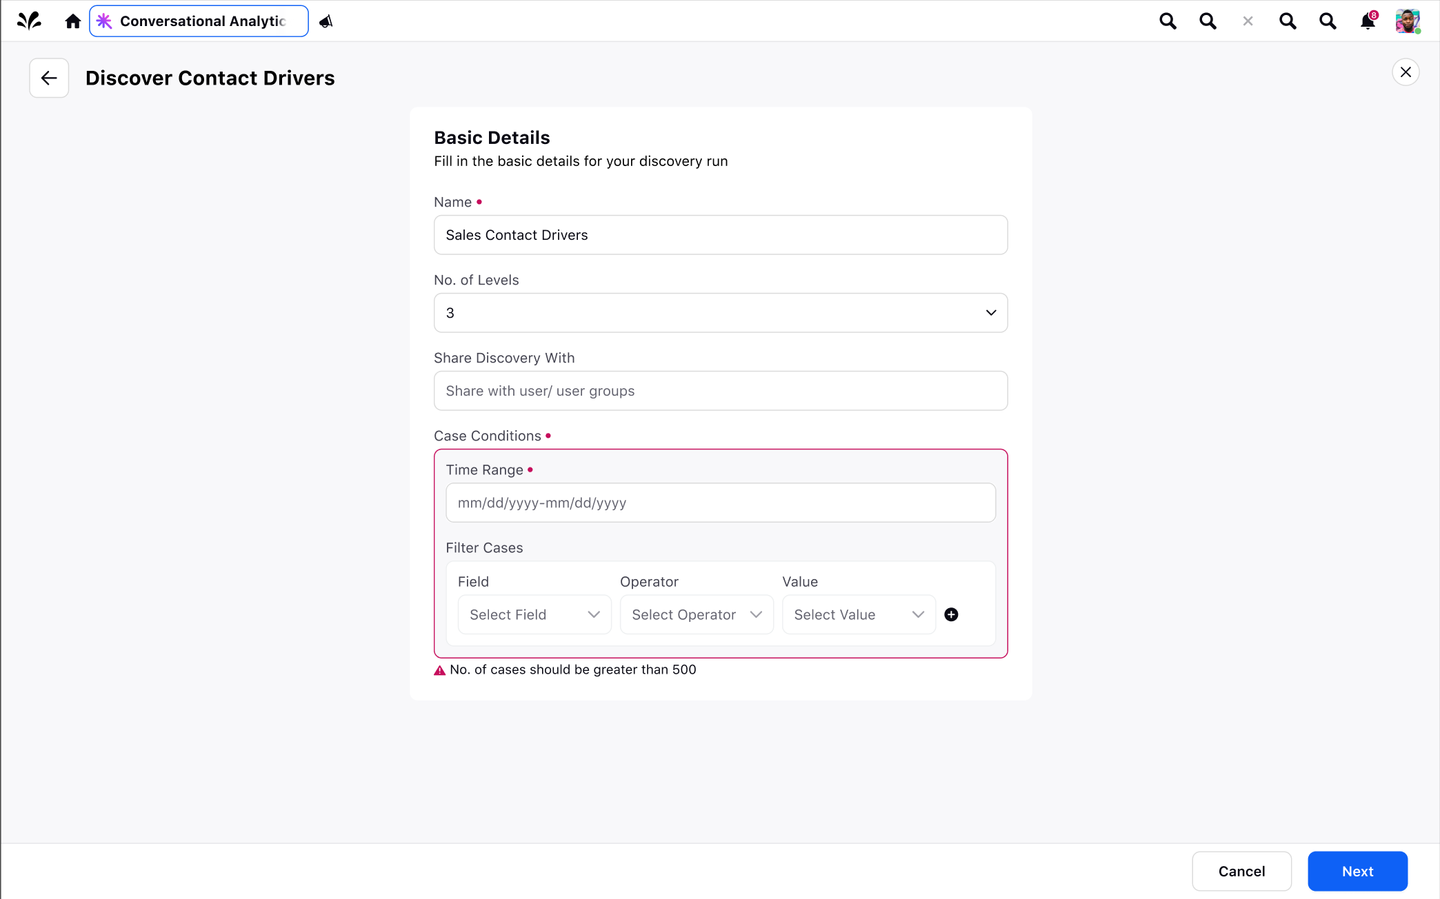
Enter Basic Details:
Name: Provide a meaningful name for this discovery run.
No. of Levels: Specify how many levels deep you'd like the contact drivers to be organized.
Share Discovery With: Select specific users or user groups with whom you want to share the discovery. You can set permissions as either:
Editor: Can edit, view, and delete the contact driver discovery.
View Only: Can only view the contact driver discovery but cannot make changes.
Case Conditions: Case Conditions have two fields, Time Range and Filter Cases.
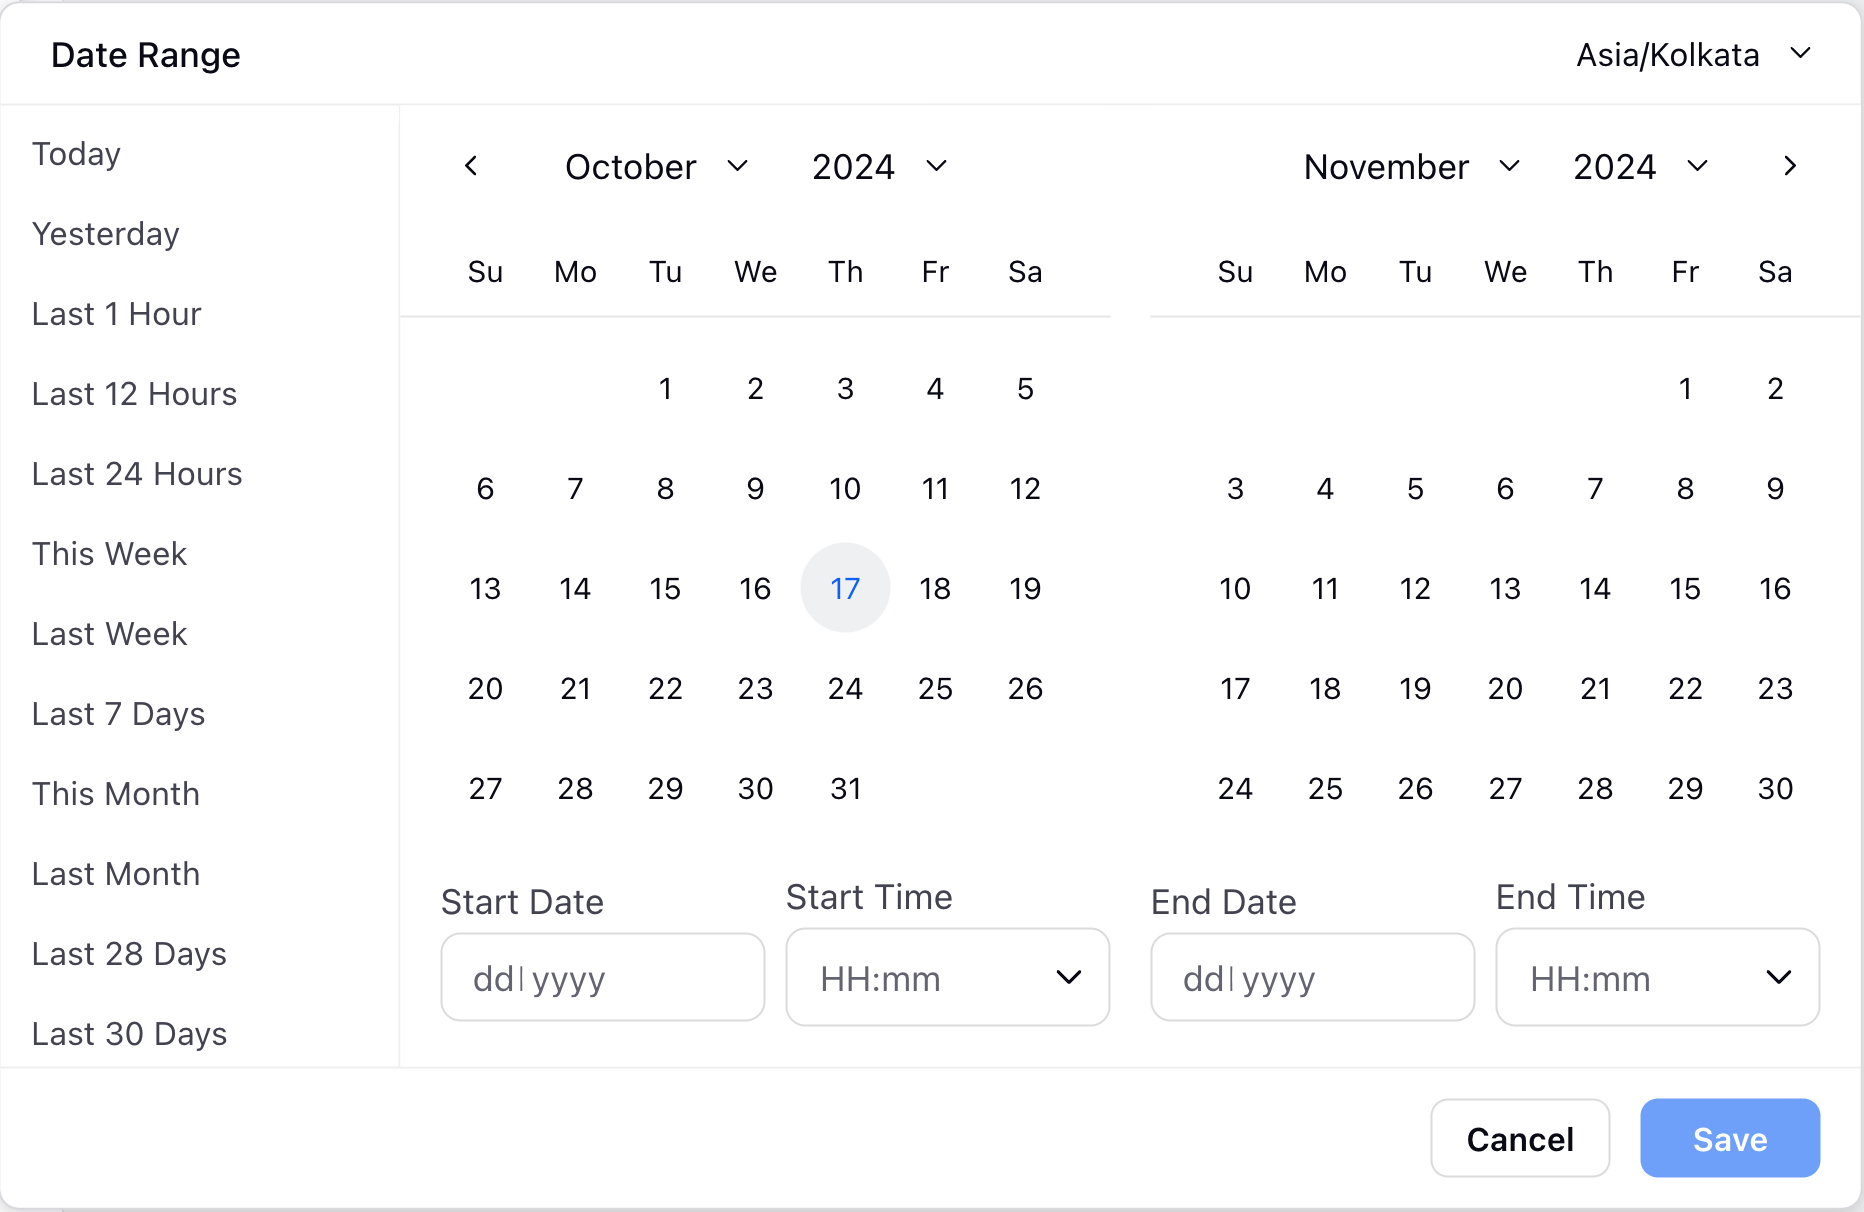
Time Range: On the Date Range window, select the Start Date and End Date for your event by clicking the dates. You can also input the Start Time and End Time to have an accurate date range saved. For further details on this, see Date Range filter on the Reporting dashboard.
Filter Cases: Define criteria for which cases to analyze. It's important to note that:
The number of cases must fall between 500 to 10,000. If fewer than 500 cases are selected, an error message appears.
If your filter results in more than 10,000 cases, the system randomly selects 10,000 cases for the discovery.
When the filter selects a number of cases within the specified range, the system displays the exact number of cases that meet the criteria.
 Note: For both the fields of Case Conditions, Time Range and Filter Cases, the number of cases must fall between 500 to 10,000. If fewer than 500 cases are selected, an error message is displayed.
Proceed: Once all fields are filled, click Next to move to the next step.
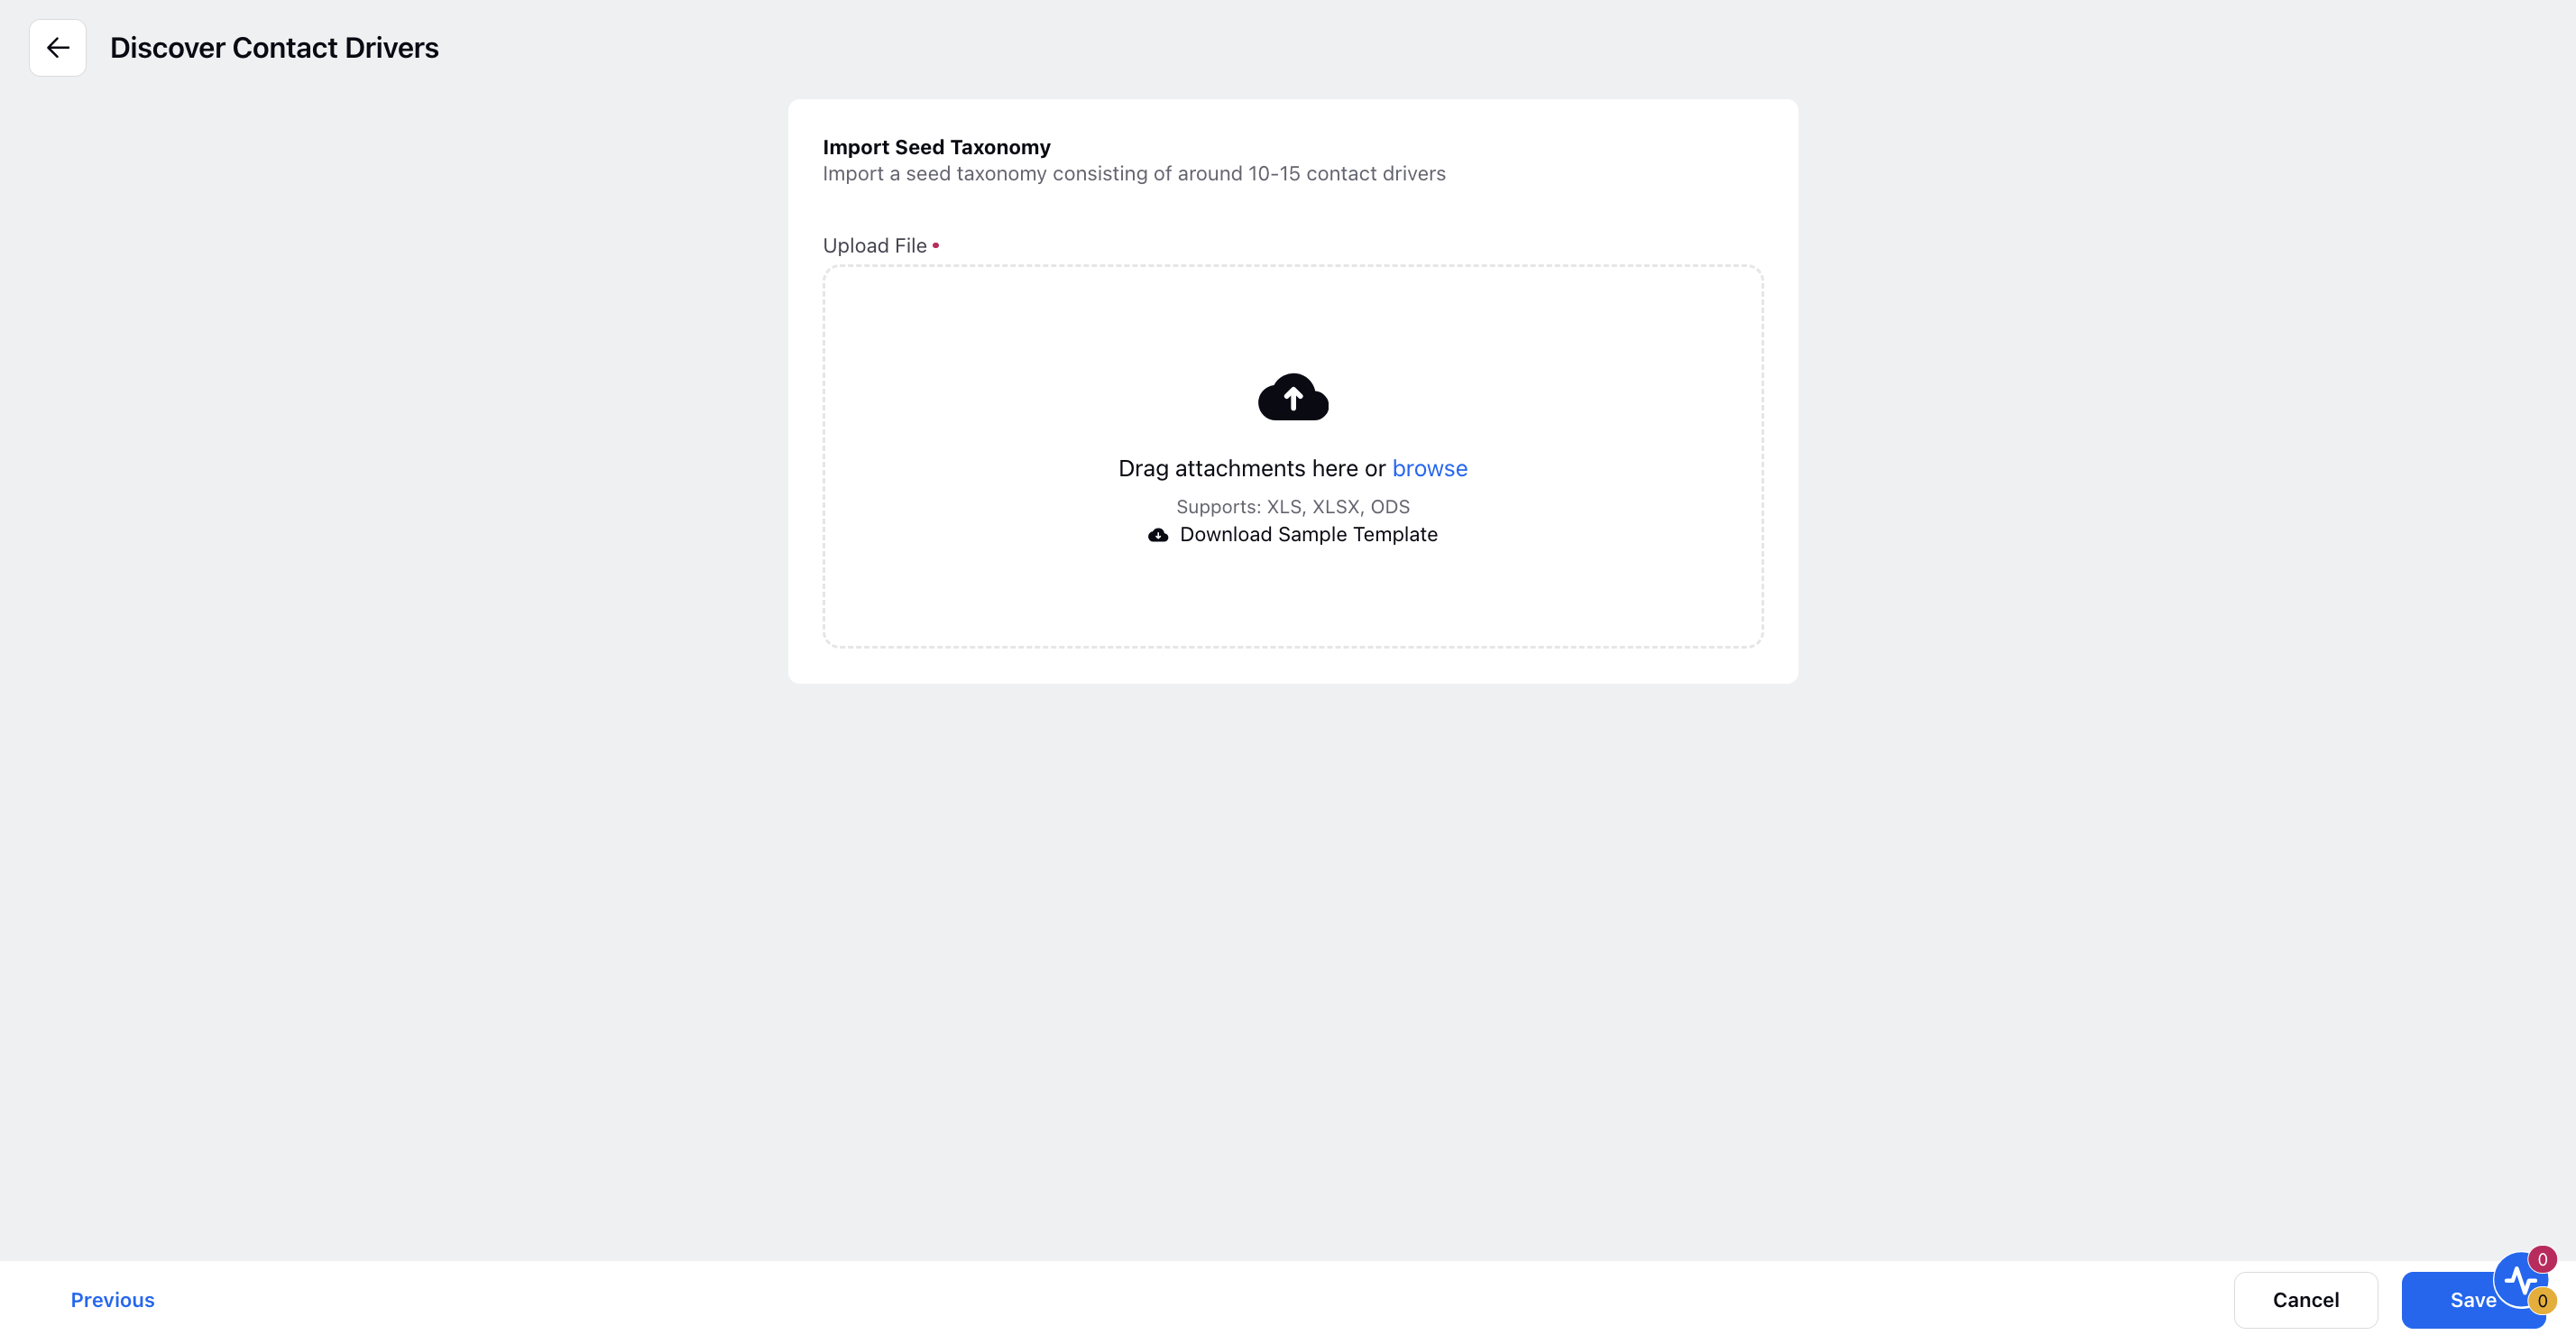
Import Seed Taxonomy:
- Upload a pre-defined seed taxonomy with approximately 10-15 contact drivers. This taxonomy acts as the foundation for your discovery run and helps guide the AI in understanding both the granularity and the hierarchical structure expected in the output.
- To ensure your taxonomy follows the correct format, you can download a sample template with guidelines to help structure your contact drivers properly.
Save: Once you've imported the seed taxonomy, click Save at the bottom to finalize your settings for the discovery run.
Actions on a Discovery Run
Once a discovery run has been initiated, its status is displayed in the Status column with one of the following indicators:
In Progress: The discovery run is currently being processed.
Failed: The discovery run encountered an error. You receive a notification allowing you to download the seed taxonomy file, which includes details about the errors.
Completed: The discovery run has successfully finished.
For completed discovery runs, you can hover over the Options icon (three dots) next to the run and select from the following actions:
View Discovery: View the generated contact drivers and insights from the discovery run.
Edit Details: Modify the discovery run's basic details such as name or sharing preferences.
View Details: Review the settings of the discovery run.
Delete Discovery: Permanently delete the discovery run from the system.
Download Seed Taxonomy: Download the seed taxonomy file that was used for the discovery run.
Download Discovery Output: Export the results of the discovery run for external analysis.
