Guided Workflow Application Manager
Updated
For external guided workflows, you have the capability to integrate them into an application, providing a means to define and customize their styling. This allows you to tailor the appearance and visual elements of the guided workflows according to the specific branding or design requirements.
To Add Guided Workflow Application
Navigate to the Guided Workflow Applications tab from the left pane. Click Add Application in the top right corner.
On the Guided Workflow Application window, configure the application settings by providing a name, selecting the desired guided workflows, and defining the theme to customize the visual aspects. Adding CSS in the Theme Details section allows you to apply specific styling, such as colors, fonts, and layout adjustments, to align the appearance of the guided workflow with your design preferences.

Sample CSS
Label Color of the Radio Buttons
{"theme": {"radio": {"labelColor": "#A85B57"}},"formFieldLabel": {"fontSize": "1.4rem"}}Enable Authentication: When a guided workflow is linked with an application and made accessible externally, it becomes available to a broad audience on the internet. To mitigate potential misuse, it's crucial to implement an authentication layer to control access.
When the Authentication Type is selected with Live Chat OTA, the external app doesn't execute directly but opens within the Live Chat interface.
Enable Live Chat: You can integrate Live Chat into a standalone webform guided workflow. After embedding the live chat app, it will be accessible on the external guided workflow link, appearing at the bottom right.

Whitelisted Domains for Allowing Embedding as Iframe: Within the Application Embed Settings, define the whitelisted domains to permit embedding the Guided Workflow via Iframe. Enhance security in customer-facing Guided Workflows by restricting external embedding to authorized websites, thereby mitigating the risk of unauthorized use on malicious platforms. Additionally, you have the option to configure specified webforms to exclusively operate within authorized domains, rather than functioning as standalone links.

Once created, activate the application to genrate the link.

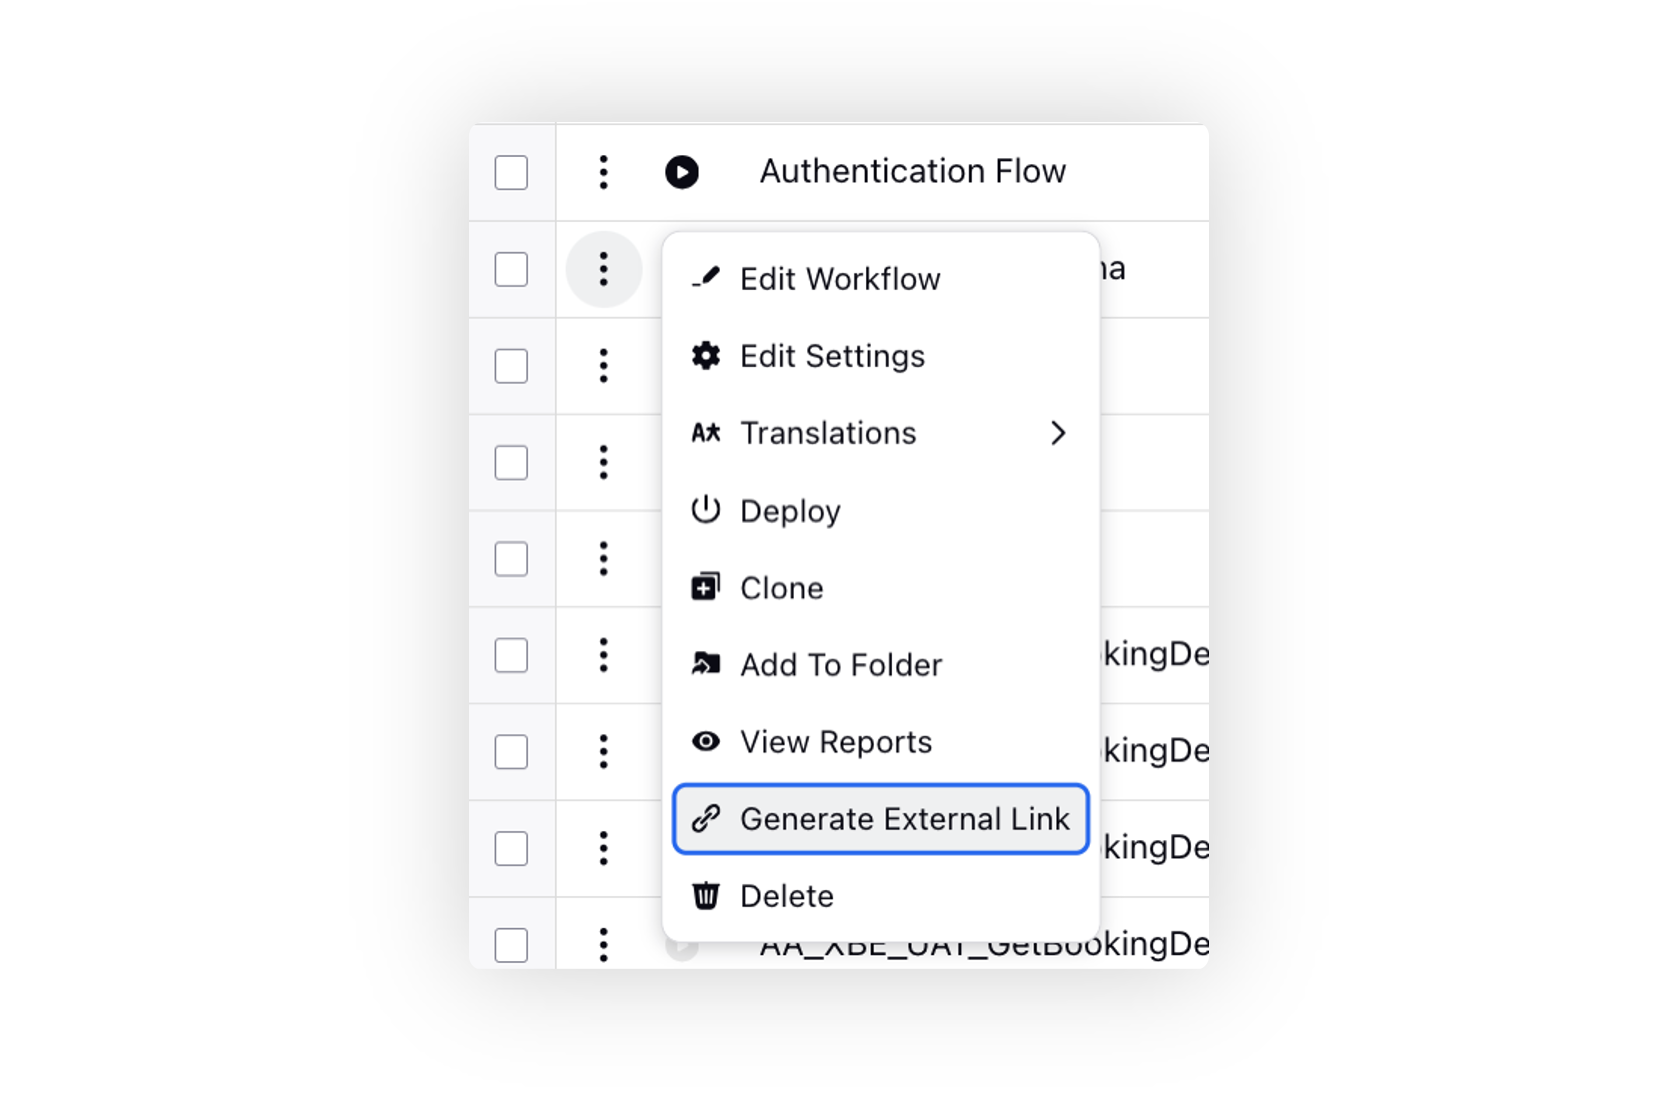
To Generate External Link
Hover over the Options icon alongside the guided workflow and select Generate External Link.
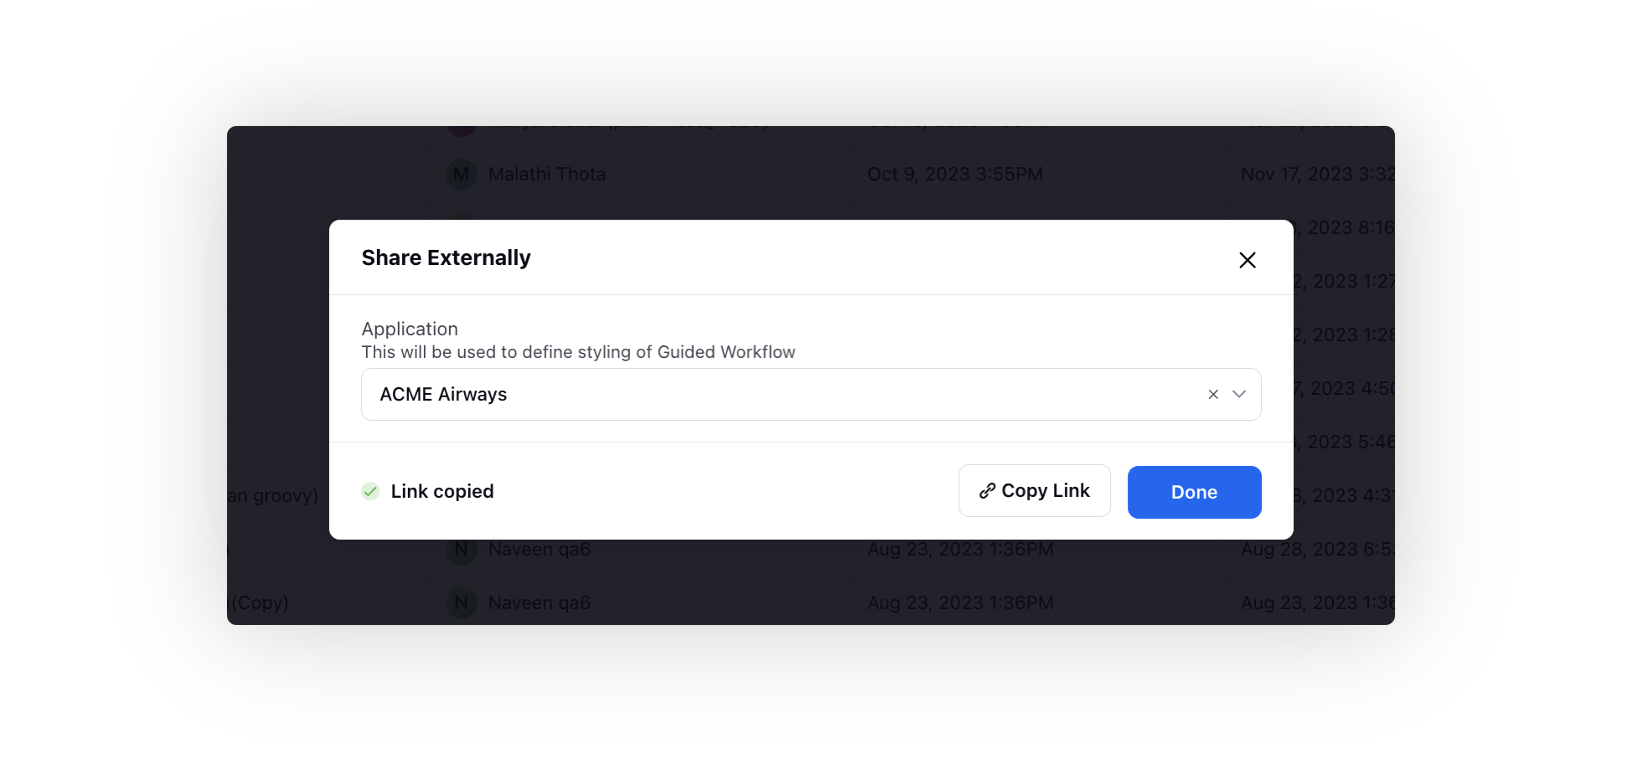
Choose the Application to define the styling of the guided workflow and utilize the Copy Link option to copy the URL to the clipboard. Only applications mapped with this guided workflow will be displayed in this selection.
You can use this link to embed the guided workflow on external platforms.